I know it has been a long time since I updated this blog on what we have been doing. A lot of it was just finishing off small job and working towards completion of things that didn’t look that impressive. That’s why I hadn’t updated. Plus with the pandemic and many other health-related setbacks, I just didn’t feel it.
But not I have some progress to show: the completed powder room and a driveway in progress.
The Powder Room
I had visions of what I wanted this room to look like, but I wasn’t sure exactly how to get that done. I wanted to do something on the upper walls because the ceiling is so high in this room compared to it’s size, but I didn’t want to spend a fortune here. I am all about the most bank for the buck! Wallpaper for a wall of probably 16 ft. would not be cheap, so I had to move on to something else. I decided on a mural that I would paint. I looked for a long time, but could commit to anything that I saw. I did like this one from The Gold Hive:

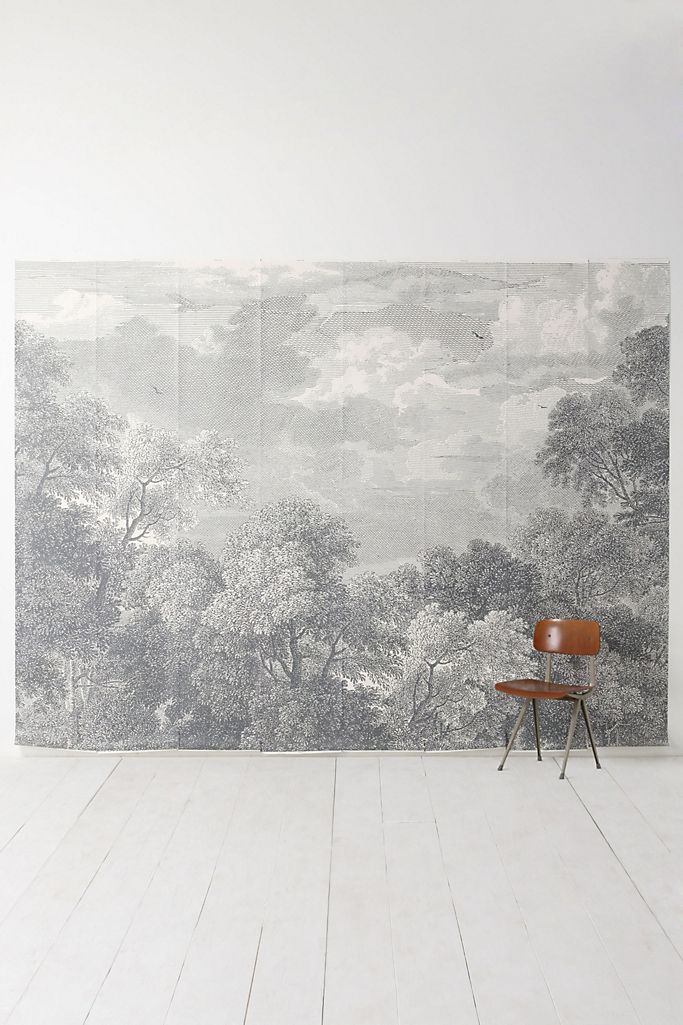
I thought it was a little too intricate for the space and only addressed one wall. But it did remind me of this wallpaper that I loved, but was out of my price range and it has the wrong size:

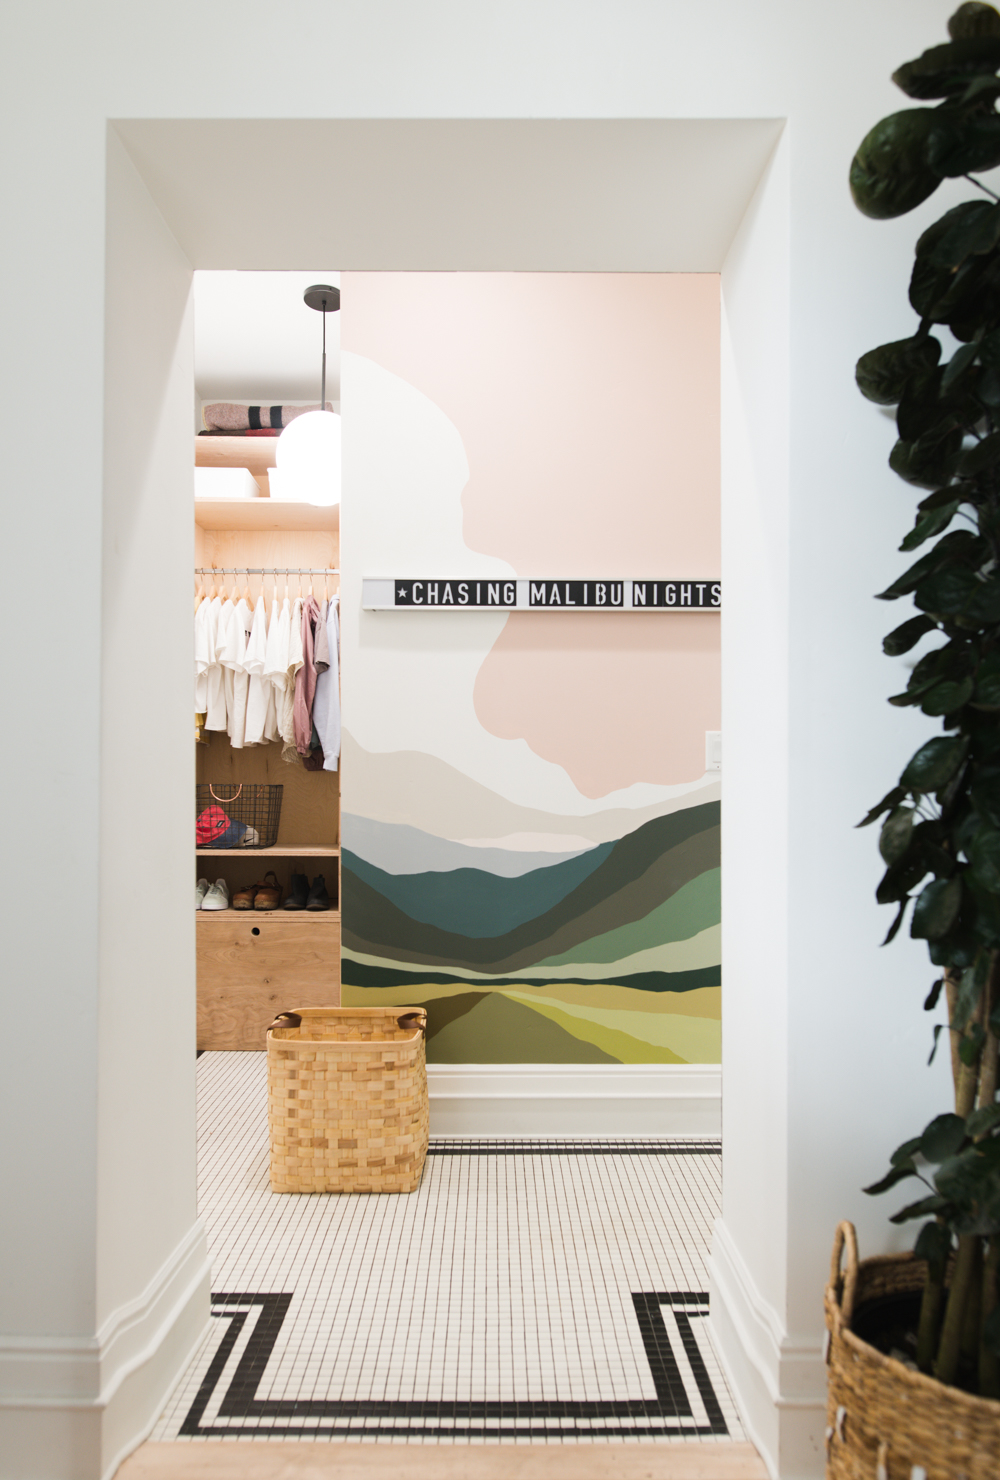
After going some more searching I found exactly what I wanted:

I found the post on Vintage Revivals blog : https://vintagerevivals.com/bathroom-reveal-paint-by-numbers-wall-mural/ . The mural was designed by Colleen Elizabeth ( https://colleenelizabethart.com/ ) and it was perfect. I followed the instructions on the blog and I had to get creative and replicate Colleen’s style on the remaining 3 walls because I wanted the mural to surround the room. I made a grid on both the photo of the mural and on my wall to transfer it. Here is what it looked like:

I have done smaller murals before in HS. That helped is figuring this out. Next I got the paint. I got the colors she suggested, but since you don’t use a lot of paint (and the smallest size paint you can get from Sherwin Williams is a quart) you could always try to use another brand of paint that comes in smaller sizes or even acrylic paints from the craft store. I couldn’t find an easy way to figure out comparable colors, so I just went with her suggestions and waited until SW had a sale and used the coupon you can find on the VR blog.
From there I started painting! Most of the colors required at least two coats and a very steady hand.


After completing this much I also added to the mural on the sides of the room by using other paintings of Colleen’s for inspiration, but didn’t follow any of them exactly. I made space at the bottom of the mural so that I could add my collection of vintage school photos that I have collected for a long time. You’ll see what I mean in the final photos.
And after about a month of work (definitely not continuous), I completed the mural and I couldn’t be happier!

The final photos also show the board and batten finish I did at the bottom of the wall. It was really pretty inexpensive. MDF battens and MDF boards attached to the wall with trim nails and then painted with Magnolia Paint in Shiplap (like the rest of our house). Here’s the final product:
I still have to hang the mirror. I have to figure out the best way to do that and I have totally decided if I want to use the one I have. When I have a little more time, I will update the post with links for all of the items I used. I also have to install the trim on the door, but it needs moved in the doorway to center it (the wall is a 2×6 instead of a 2×4).
The Driveway
We finished up the garage this Spring and it is so nice to have somewhere to store a lot of our stuff. We still have a lot in the basement, but hopefully we’ll start on finishing that this winter.
Sine we used pre-poured walls for our basement, the elevation of the house sits higher than normal. This is why the garage and house sit higher and we had to do additional grading work. The plan has always been to add in a partial paver driveway and eventually a pool with a paver patio in the backyard. The driveway part is going on now. We selected Unilock Westport pavers for our project. We have used Unlilock before at our home in Chicago and had great luck with them. We are installing these ourselves, which is not easy. It takes a lot of site preparation to get ready to lay the block. And since they are for driveways, they are heavier than usual!
We’ll continue work on this over the next few days (and probably weeks) after the sand dries out. The finished pad size should be 35′ x 35′. If you are local to our area, we have worked with and bought all our stone from The Barn, located in Pittsburgh. They have the best prices and are more than willing to help you find exactly what you need. http://thebarnlandscapesupply.com/
Tanks for checking in with us! Let me know if you have any questions! I will try to update more often.


