Merry Christmas 2020!

I’m sure that I am not the only one that will be happy when this year is finally over and we can look forward to hopefully a better new year with 2021!

I thought I would show a few photos of our home decorated for the holidays.

Let’s start in the kitchen:

One of my sets of wall shelves. This one is to the right of the sink next to the stove. It contains lots of goodies I have either gotten from my parents or things I have collected over the years.
These are the shelves to the left of the sink. This set has part of my snowman collection.
On the opposite side of the kitchen, we have the fireplace. Decorated with a wool garland and Christmas carolers that are older than I am. They were handmade by a lady in Freedom and have walnut heads covered in crepe paper. I always loved these as a child and was so excited when my mom gave them to me. They are getting pretty fragile, but I still get them out every year.

Next up is the mud room:

Here’s my Elder’s Bench that I bought from Ben and Erin before they were famous. I add to the wall behind it when I find something that works. The Christmas pillow is from Mudpie and the other pillow and sign I purchased at Christmas in the Woods.
The pantry just gets a little adornment over the shelves.

Great Room & Dining Room are next:

The mantle is decorated this year with various felt ornaments and trees I have collected. The boys still have their same stockings from when they were little. To the right are Annie and Keddy’s stockings.
This is a caroler set that my mom painted when she first started making ceramics probably over 40 years ago. I think it was one of the first things she made.
And here is the Christmas tree! It is beautiful, but takes me forever to decorate. I think that it is 16 or 18′ tall. I have to get one of our tallest ladders to get it done. I have a large variety of ornaments that I have had from childhood to now. I try to buy a few every year to add. The types include vintage glass, new glass, Hallmark and a variety of others. I’ve never counted, but there are several hundred. I leave up the decorations until Orthodox Christmas, just like I did when I lived at home. It is nice to enjoy them and I hate to put them away.

And finally we’ll go upstairs:

The second tree is up in the second floor landing. This tree is filled with ceramic ornaments that my mom and I painted.
It also features my manger set that my mom painted for me when I was still in high school. Some of the pieces got broken (dog and person responsible shall remain nameless, but it involved a remote control car) and she repainted them for me.
I hope you enjoyed our short tour! It snowed overnight and was icy when we went to church, but luckily we made it there and back ok. We ended up with about 4 inches.

Merry Christmas and a blessed New Year to all!

Progress in 2020 – October 22, 2020

I know it has been a long time since I updated this blog on what we have been doing. A lot of it was just finishing off small job and working towards completion of things that didn’t look that impressive. That’s why I hadn’t updated. Plus with the pandemic and many other health-related setbacks, I just didn’t feel it.

But not I have some progress to show: the completed powder room and a driveway in progress.

The Powder Room

I had visions of what I wanted this room to look like, but I wasn’t sure exactly how to get that done. I wanted to do something on the upper walls because the ceiling is so high in this room compared to it’s size, but I didn’t want to spend a fortune here. I am all about the most bank for the buck! Wallpaper for a wall of probably 16 ft. would not be cheap, so I had to move on to something else. I decided on a mural that I would paint. I looked for a long time, but could commit to anything that I saw. I did like this one from The Gold Hive:

I thought it was a little too intricate for the space and only addressed one wall. But it did remind me of this wallpaper that I loved, but was out of my price range and it has the wrong size:

After going some more searching I found exactly what I wanted:

I found the post on Vintage Revivals blog : https://vintagerevivals.com/bathroom-reveal-paint-by-numbers-wall-mural/ . The mural was designed by Colleen Elizabeth ( https://colleenelizabethart.com/ ) and it was perfect. I followed the instructions on the blog and I had to get creative and replicate Colleen’s style on the remaining 3 walls because I wanted the mural to surround the room. I made a grid on both the photo of the mural and on my wall to transfer it. Here is what it looked like:

I have done smaller murals before in HS. That helped is figuring this out. Next I got the paint. I got the colors she suggested, but since you don’t use a lot of paint (and the smallest size paint you can get from Sherwin Williams is a quart) you could always try to use another brand of paint that comes in smaller sizes or even acrylic paints from the craft store. I couldn’t find an easy way to figure out comparable colors, so I just went with her suggestions and waited until SW had a sale and used the coupon you can find on the VR blog.

From there I started painting! Most of the colors required at least two coats and a very steady hand.

After completing this much I also added to the mural on the sides of the room by using other paintings of Colleen’s for inspiration, but didn’t follow any of them exactly. I made space at the bottom of the mural so that I could add my collection of vintage school photos that I have collected for a long time. You’ll see what I mean in the final photos.

And after about a month of work (definitely not continuous), I completed the mural and I couldn’t be happier!

The final photos also show the board and batten finish I did at the bottom of the wall. It was really pretty inexpensive. MDF battens and MDF boards attached to the wall with trim nails and then painted with Magnolia Paint in Shiplap (like the rest of our house). Here’s the final product:

I still have to hang the mirror. I have to figure out the best way to do that and I have totally decided if I want to use the one I have. When I have a little more time, I will update the post with links for all of the items I used. I also have to install the trim on the door, but it needs moved in the doorway to center it (the wall is a 2×6 instead of a 2×4).

The Driveway

We finished up the garage this Spring and it is so nice to have somewhere to store a lot of our stuff. We still have a lot in the basement, but hopefully we’ll start on finishing that this winter.

Sine we used pre-poured walls for our basement, the elevation of the house sits higher than normal. This is why the garage and house sit higher and we had to do additional grading work. The plan has always been to add in a partial paver driveway and eventually a pool with a paver patio in the backyard. The driveway part is going on now. We selected Unilock Westport pavers for our project. We have used Unlilock before at our home in Chicago and had great luck with them. We are installing these ourselves, which is not easy. It takes a lot of site preparation to get ready to lay the block. And since they are for driveways, they are heavier than usual!

We’ll continue work on this over the next few days (and probably weeks) after the sand dries out. The finished pad size should be 35′ x 35′. If you are local to our area, we have worked with and bought all our stone from The Barn, located in Pittsburgh. They have the best prices and are more than willing to help you find exactly what you need. http://thebarnlandscapesupply.com/

Tanks for checking in with us! Let me know if you have any questions! I will try to update more often.

Progress – April 16, 2018

Last time I showed you this tile that I was installing in the kitchen:IMG_3868

Here’s how it looked as I was working on it in the left side of the counter.

IMG_3925

And on the right side of the kitchen:

81DFE908-E369-4469-BE26-017333E460C6

It was a little more tricky to get everything to match up at the back of the stove. Lots of cuts!

IMG_3926IMG_3929

And here is the final product after grouting.

IMG_3939IMG_3943

Here you can see more, including the trim we devised for all the windows. Slowly by surely we are getting there! I still have to devise something to go around the hood vent from parts I have collected.

IMG_3969

I also installed shelves to the left of the hood (two more will be installed to the left of the sink also. The wood is wormy oak and the brackets are made from steel.

IMG_3974

The tile is complete around the fireplace in the kitchen, along with the brick veneer hearth.

IMG_3945

The Stairs

This is been the single most difficult part of the house to figure out. It took Mark a long time to figure out exactly how he wanted these to go and a lot of figuring. Finally he had it figured out and we got most of it rebuilt about a week ago. All the stringers were recut and we enlarged the space in between the stairs. All the stairs and risers were then covered in plywood.

IMG_3977IMG_3976

From there we started assembling all the stairs and risers from reclaimed oak I got from Good Wood Nashville. Each tread was 3 pieces that we joined, biscuit-ed, glued and clamped together , and each riser was on board cut in half and then finished with the same process. Very labor intesive!

IMG_3975

The landings were covered in reclaimed flooring.

IMG_3978

And here is the final product! Walls covered in tar paper in prep for the barnwood installation.

IMG_3985

View at the top of the stairs.

IMG_3986IMG_3992IMG_3993

The railing spindles will be made out of rebar and installed at 4″ intervals.

IMG_3990

Next up is to install the spindles, make sure all the stairs are ready to be coated in Varthane and install the barnboard.

We’ve also been working outside as the weather permits. We got work done there this weekend, but today it is supposed to snow again! But at least we are making progress! Once we complete the scratch coat on the outside and get drywall on the ceiling in the basement, we can apply for our building permit and move in!

Progress – 2/27/18

At the beginning of January, we took a short time off to recuperate from past 2 years of construction and recharge our batteries in Kauai. It was so wonderful!IMG_3795


But back to work we must go! We installed some more barnwood at the top of the stairs. This isn’t as easy as it looks because most of the wood is twisted and not the same size throughout the entire plank. It takes a bit of work to fit it all together.IMG_3805

Next we have to finish designing any changes to the stairs and redo them with the reclaimed wood.

I got my art work installed above the bench in the mudroom. Now the rooms are starting to take on some personality!IMG_3860Countertops were installed in the Laundry/Pantry. They are Hi-Macs from LG in Ice Queen.IMG_3807

I wanted a hanging bar beside the dryer, so we installed simple black piping (that I removed the sticky finish from) and hung from the ceiling from the rafters.IMG_3872

Carrick hung my floating shelves for me from Ikea. I plan on storing all my baking items in the canning jars. I find these for cheap at places like Marshalls, HomeGoods and even Ace Hardware.

I also just installed the larger subway tile and the border. It just has to be grouted.

IMG_3880

We actually got the shower completed in the Master Bath! This took me a LONG time to complete. It is a large shower and the mural was more work than I thought it would be.IMG_3848

I made the mural out of stones & glass from tiles that I had, found stones I collected from our vacations and small ceramic animals. The marbles in the mosaic I found in our current house when we were renovating! That is a Border Collie chasing a red marble “ball”.

IMG_3850

I always wanted one of these rainshower heads. I found this one on eBay from the UK.

IMG_3849

Here’s the shower niche. The back tiles were from Mercury Tile and are all handmade and fit in perfectly with the colors from the stone. It was an odd lot of seconds that I put together to fit.

IMG_3851

In the kitchen, most of the work is done with the exception of the tile work around the fireplace and the back splash. The fireplace is installed, but logs still need to be inserted. The mantle is an antique I found a couple of years ago. The photo above the fireplace was my Christmas gift from my dad. It shows my great-aunt Gertrude harvesting waterlilies from a pond not far from our property!

IMG_3869

These are the tile I’ve selected to use for the backslash in the kitchen. These two are from Lowes and will be going around the perimeter.

IMG_3868

These are from the Tile Shop and will be centered over the stove.

IMG_3866

The Great Room fireplace is also getting further along. Here it is with the scratch-coat.IMG_3855

From there we started installing the cast stone. This was after the first day.

IMG_3863

Last night we completed up over the mantle. This is the same stone that will be installed on the exterior of the house. We are waiting for warmer weather to be able to complete that! Hopefully it will be soon as we’d like to move in soon! It’s just too hard and costly to keep two houses going.

IMG_3878

Thanks for checking on our progress! Hopefully the weather will stay nice and we’ll have lots of progress to report!

Progress 1/15/18

Hard to believe it’s been two months since I updated. Lots has happened since then. Most of the siding is completed and most of the gutters, too (not shown in the photo). We were lucky to have had warmer weather for so long, but now it has been record cold and we can only work inside. That means it will still be a while until we can move in because we cannot get our occupancy permit until all of the Tyvek/OSB is covered on the outside (install the scratch coat for the stone). So we’ll have to wait until it’s warmer!IMG_3531IMG_3536

Panorama of the first floor before Christmas. Check out our construction zone Christmas tree.IMG_3529

Kitchen

I found out that you can select your own slabs here when you go through a fabricator. We used Steel City Granite and I chose my slabs at DalTile in Cranberry. If I remember correctly, the name of this is Silver Cloud granite. I needed two slabs, so these are it!

IMG_3519IMG_3521


And here is the installed product. I loved all the movement in the granite. There were some beautiful marbles, but I couldn’t work around the maintenance and the fact that I would be the only one to be careful not to stain the stone! That is a deep-fryer in the countertop below… it was Mark’s only request for the new kitchen. IMG_3591IMG_3600

We are finally able to move some of the items I have been hoarding for the past 2+ years up from the basement and our garage. This bench is the “Elder Bench” made for me by Ben Napier out of all reclaimed wood. I purchased it right after I saw their pilot for the HGTV show “Home Town“, probably 2 years ago. It is such a beautiful piece (and heavy!) and I can’t wait to hang all of my artwork I have collected above it (but it’s going to have to wait until we aren’t producing so much dust). It will be great for sitting on to put on/take off our shoes. Thanks, Ben!IMG_3578

Shot of our dining room! This makes me so happy because it’s just as I envisioned it. The table is this one from IKEA, the chairs are from Target, rug from Dash and Albert, and the upholstered chairs are from C&B. We actually had Christmas dinner here! I got all of them on sale or clearance. That is one of the perks of this process taking so long! I could decide what I wanted and wait until it was on sale. IMG_3597

The fireplaces have been installed, but still have to be finished up. Here is the Great Room ready for the scratch coat before the stone goes on.IMG_3613

I finally decided on a paint color for the barn door that will be in the mudroom. Only took 3 tries! If you look hard enough, you can see them on the bottom of the door. IMG_3621

We also got some of the barnwood installed in the foyer. Next we have to figure out the final stair placement. Doesn’t it look great? I love the differences in texture.IMG_3594

The platform is finally out and all the windows in the great room have cedar trim!IMG_3583

Here’s a photo of the Great Room on Christmas Day. As you can see, some of the flooring was in and we moved some old furniture up just to have some where to sit.IMG_3601

This is where the TV will be permanently. I still need to install the chinking here, but that can wait.IMG_3635

I finally got the whole mosaic finished. I still need to grout it, but you get the idea. It has a beach theme, with the colors of the ocean.IMG_3550IMG_3559

Carrick’s bath is complete. Just need to add towel bars.IMG_3545

Carrick’s showerIMG_3544

Cole’s bath is done!IMG_3543

Cole’s bath/showerIMG_3542

Cade’s bath is also done!IMG_3540

Cade’s showerIMG_3541

We also have flooring! The flooring is installed in the whole house, with the exception of the foyers — we still have other work to complete there before it can go down. IMG_3560

That’s about it for now. Right now we are finishing up installing the built-in fridge and freezer, beams in the Foyer and Great Room, a bunch of tiling in the kitchen (fireplace and backsplash) and waiting for the Laundry/Pantry countertops. I’ve been putting furniture together and it is so satisfying to see everything going together like I envisioned. Thanks for checking in with us!

Progress — 11/14/2017

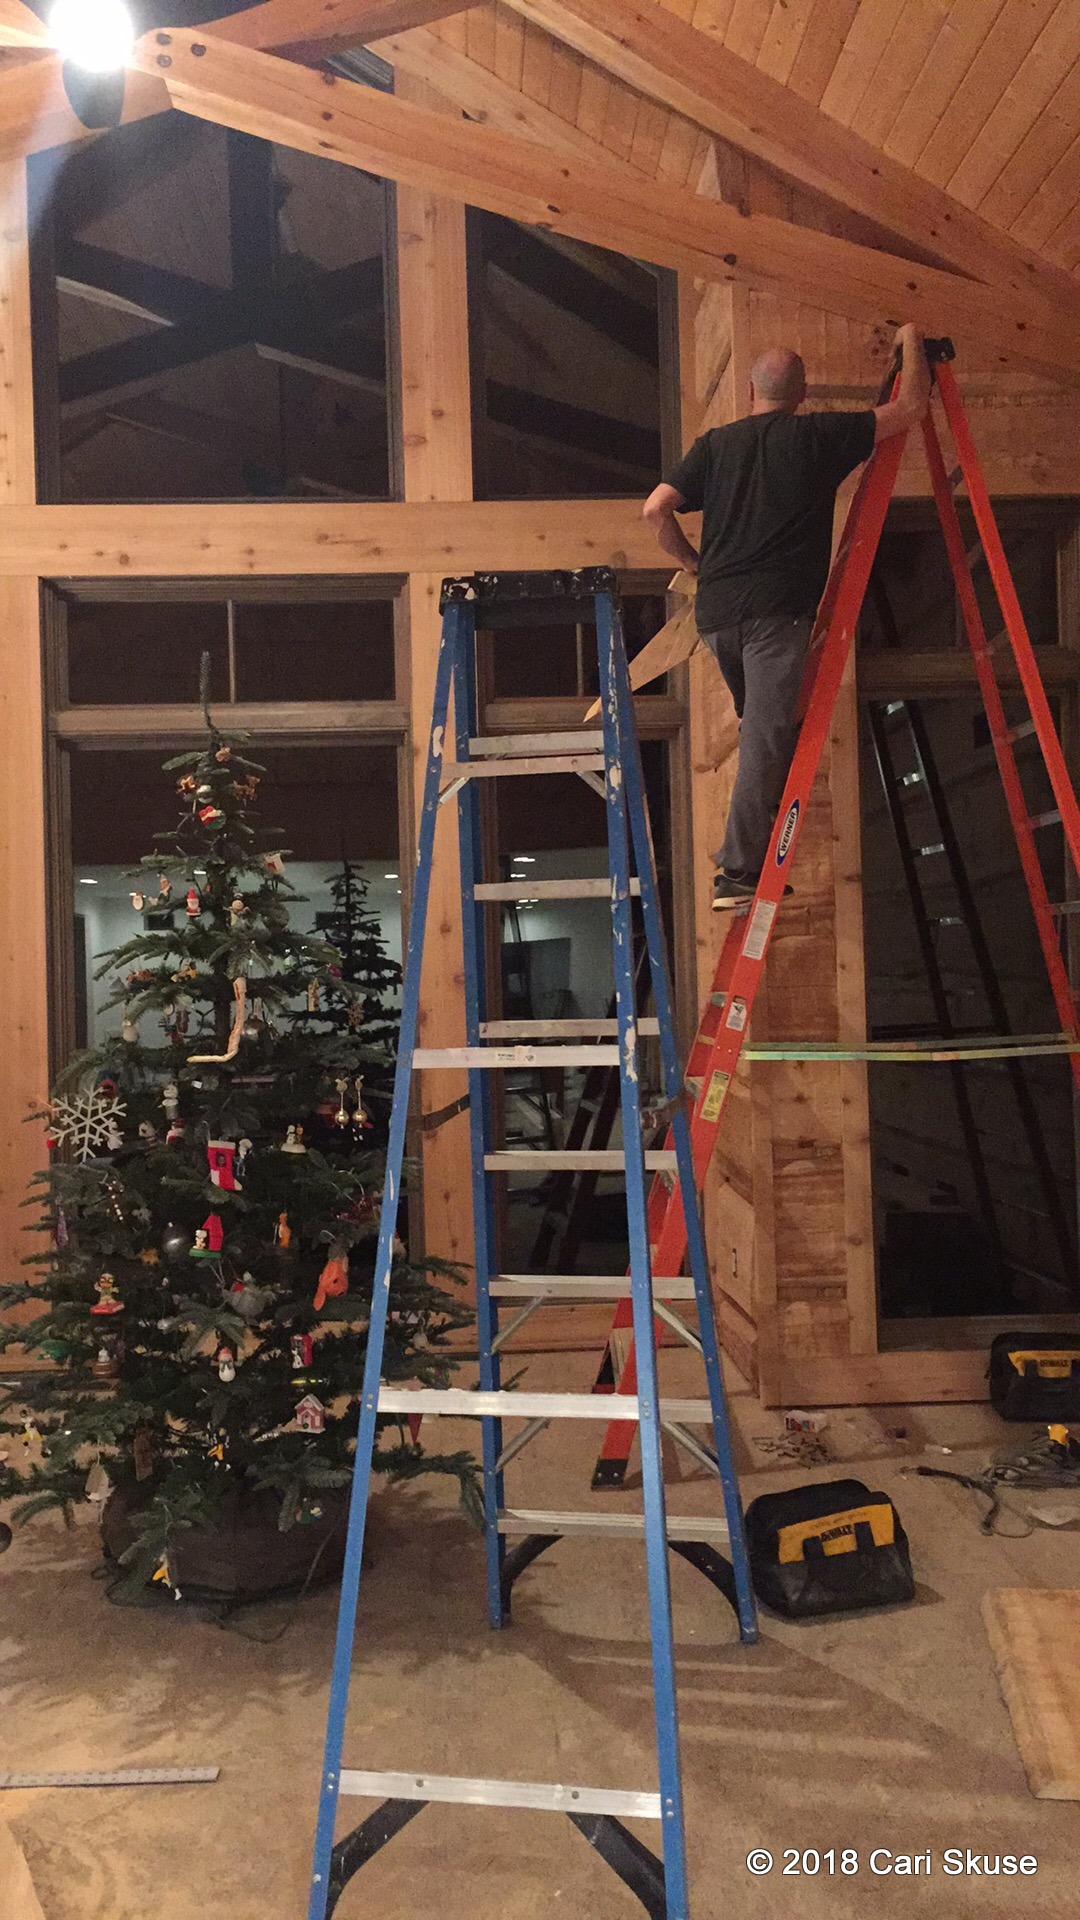
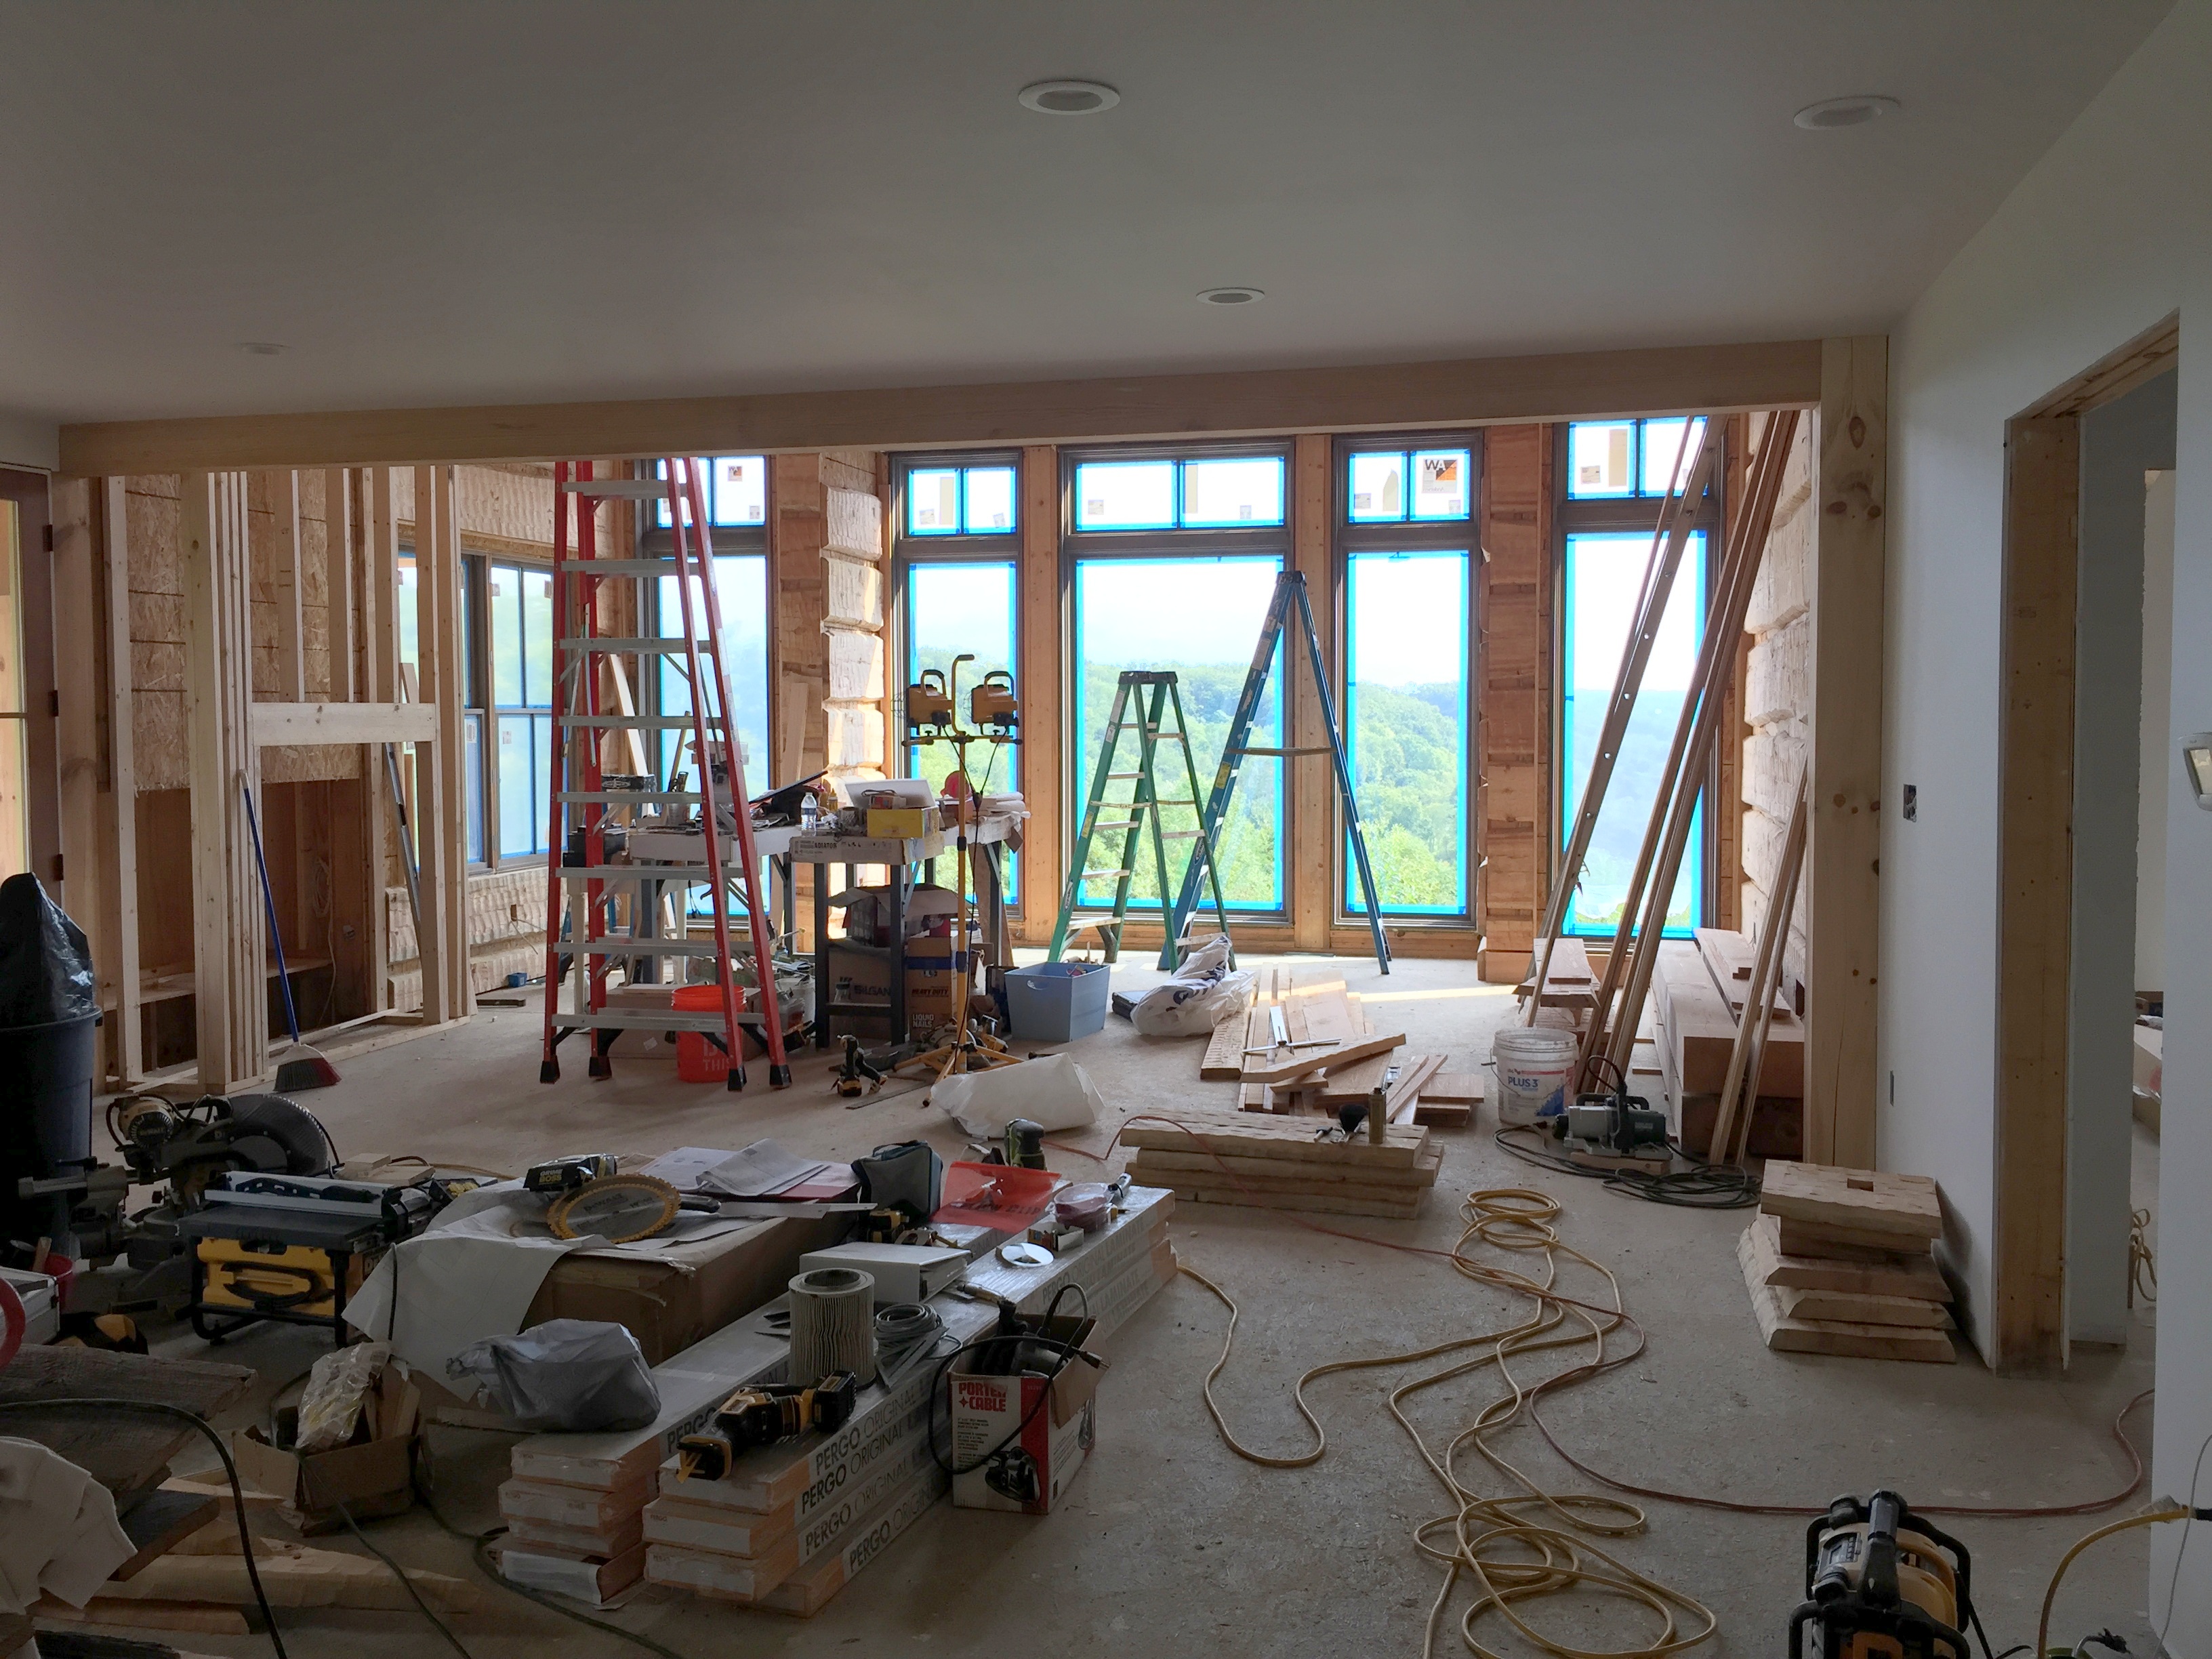
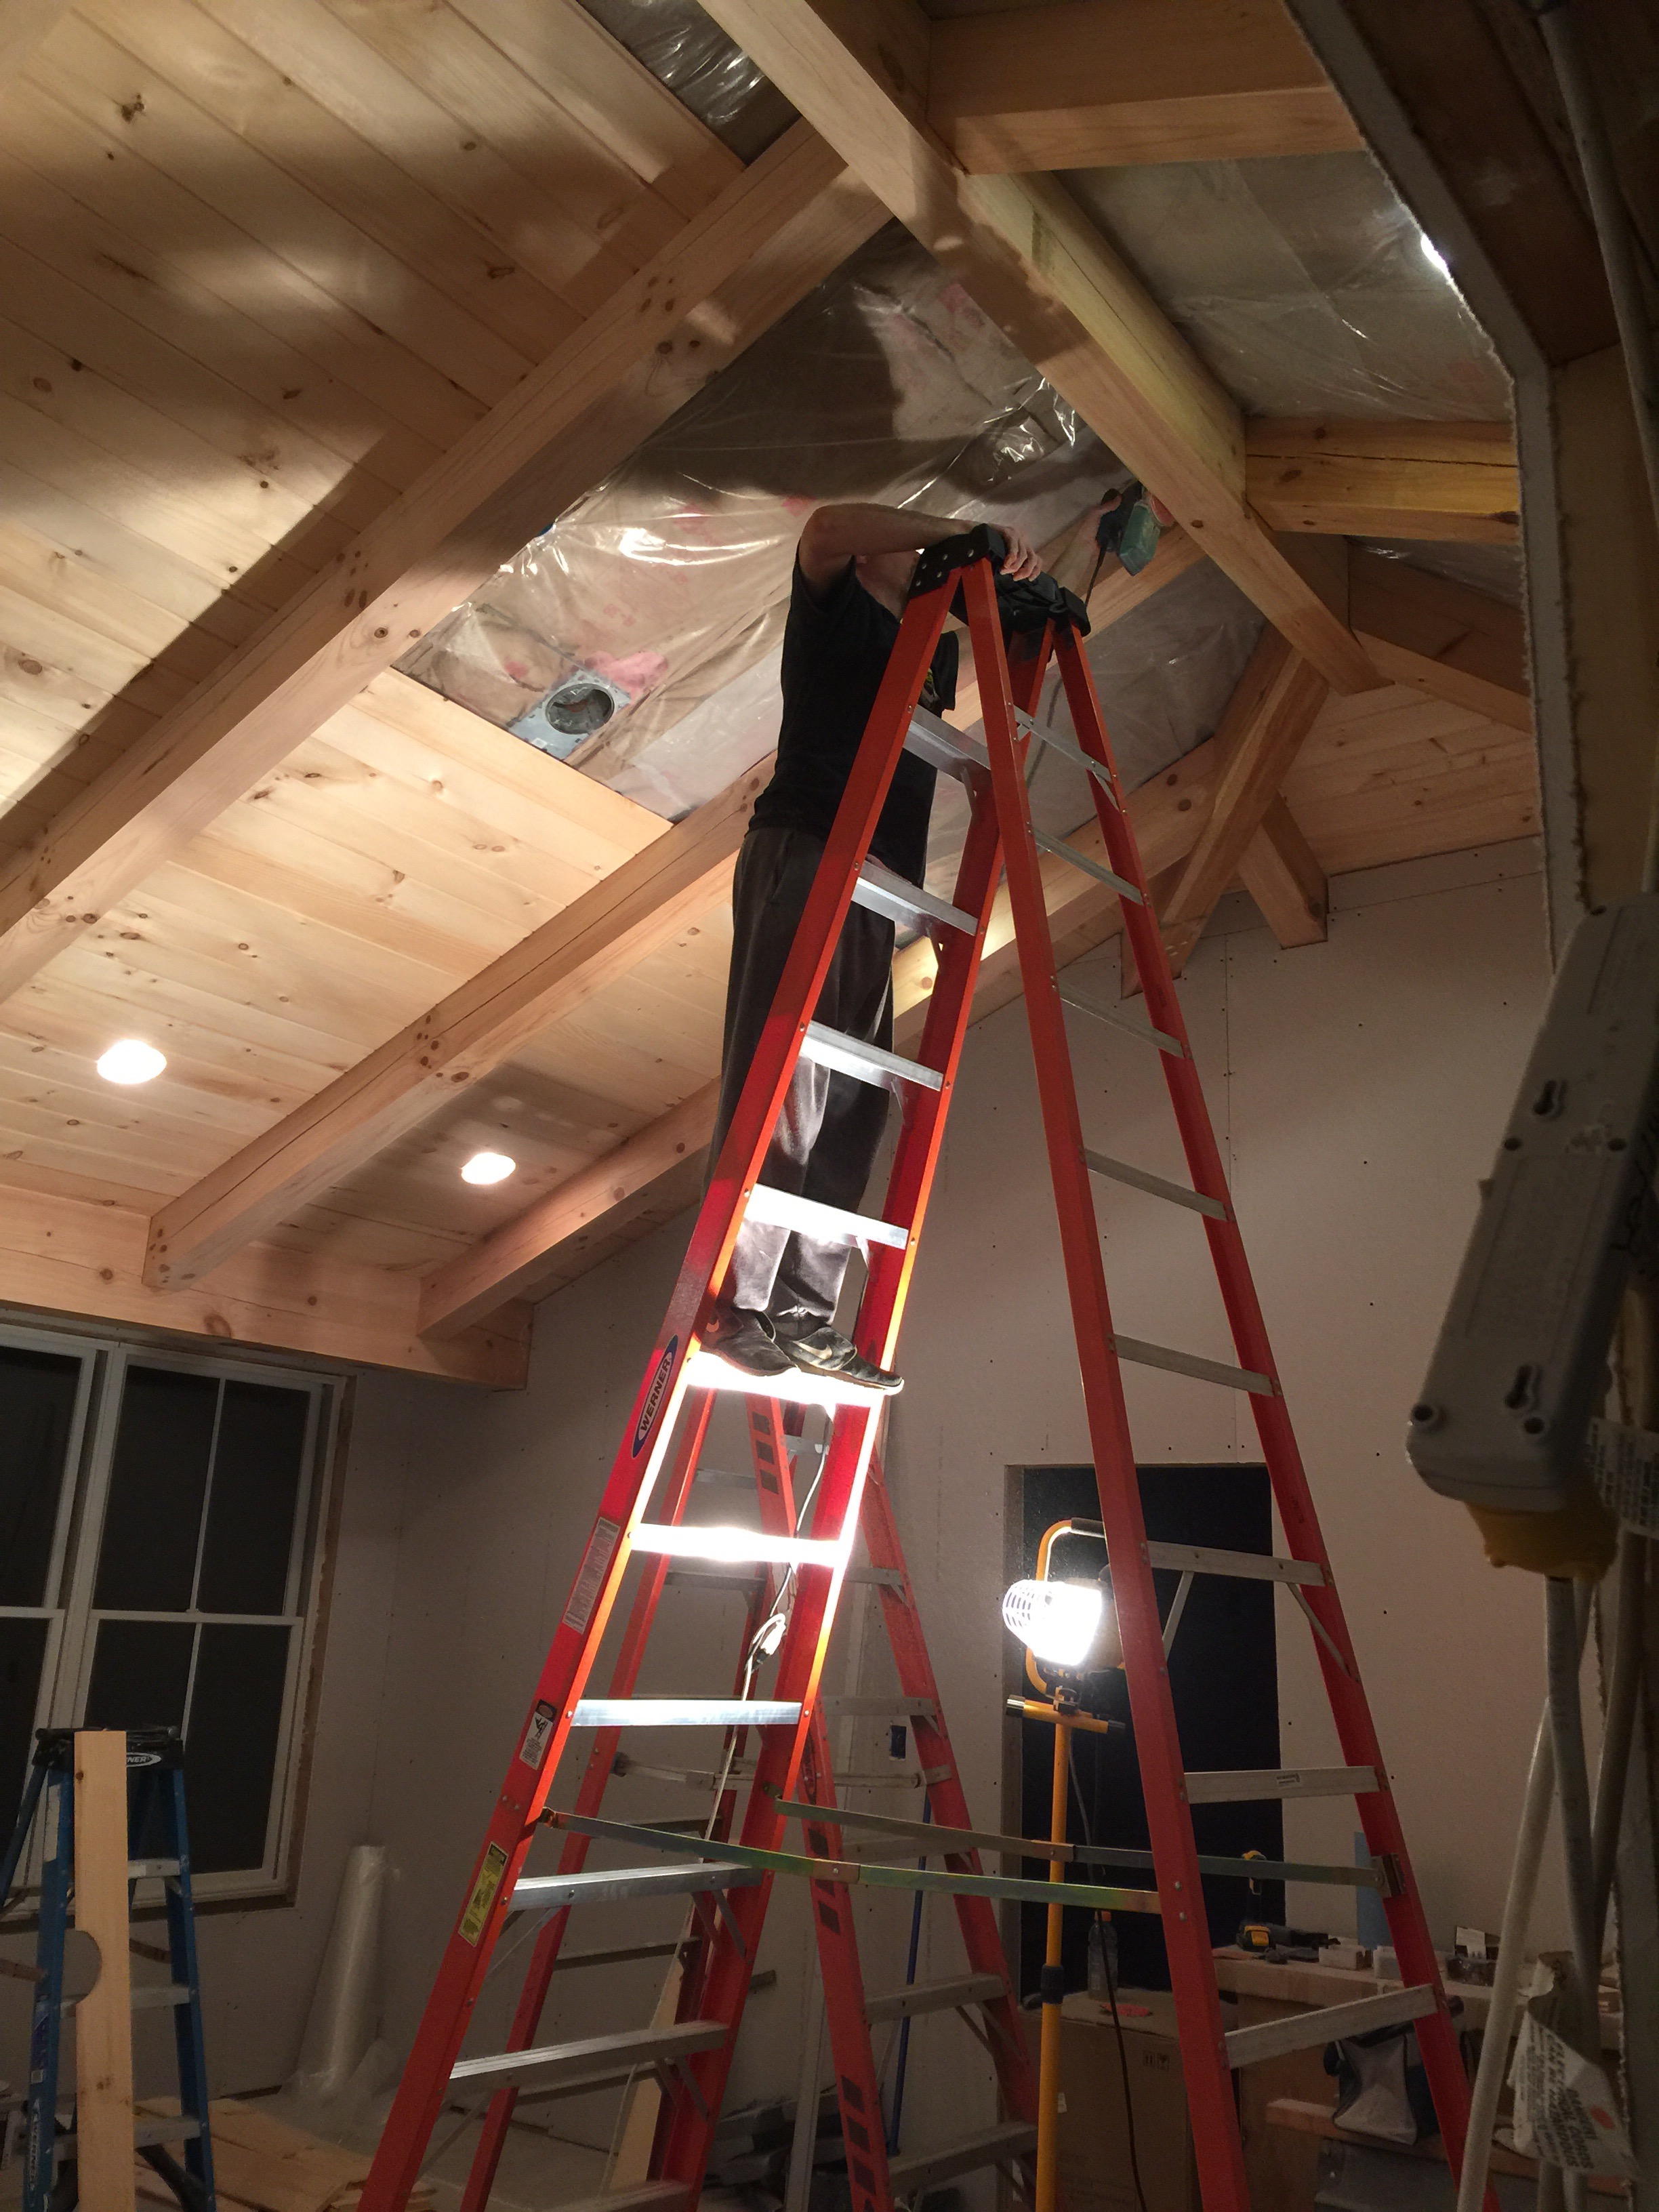
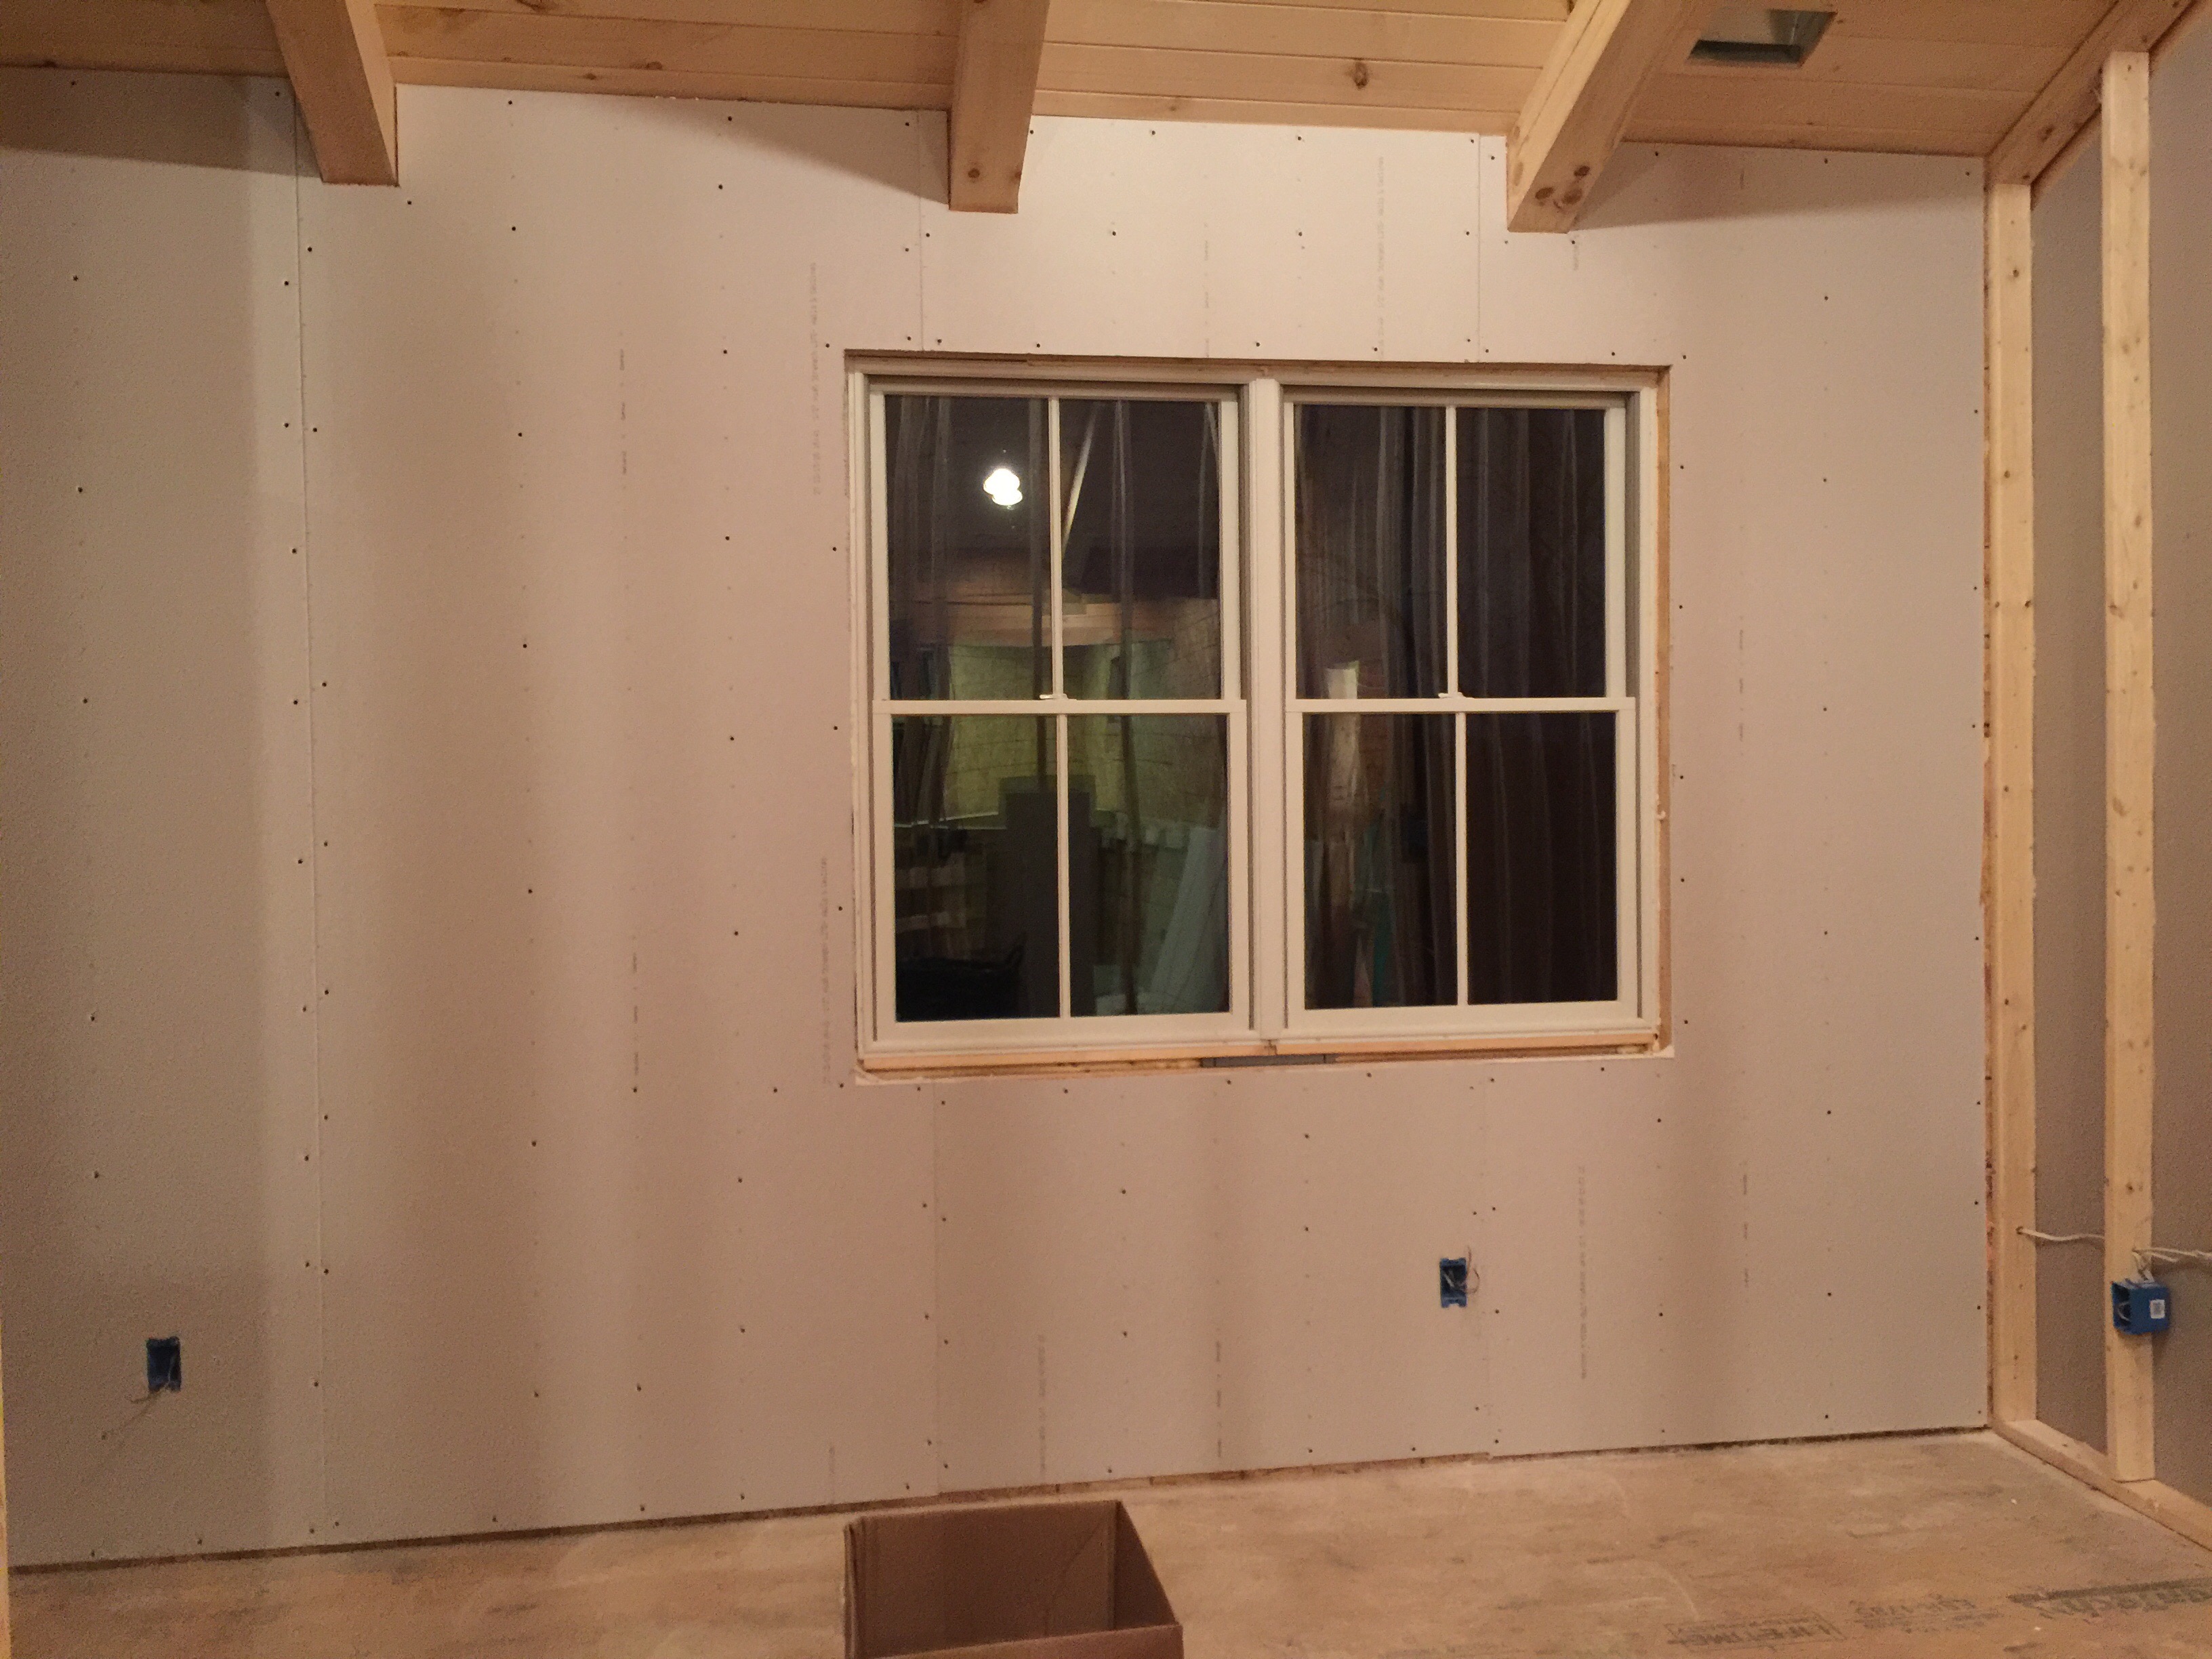
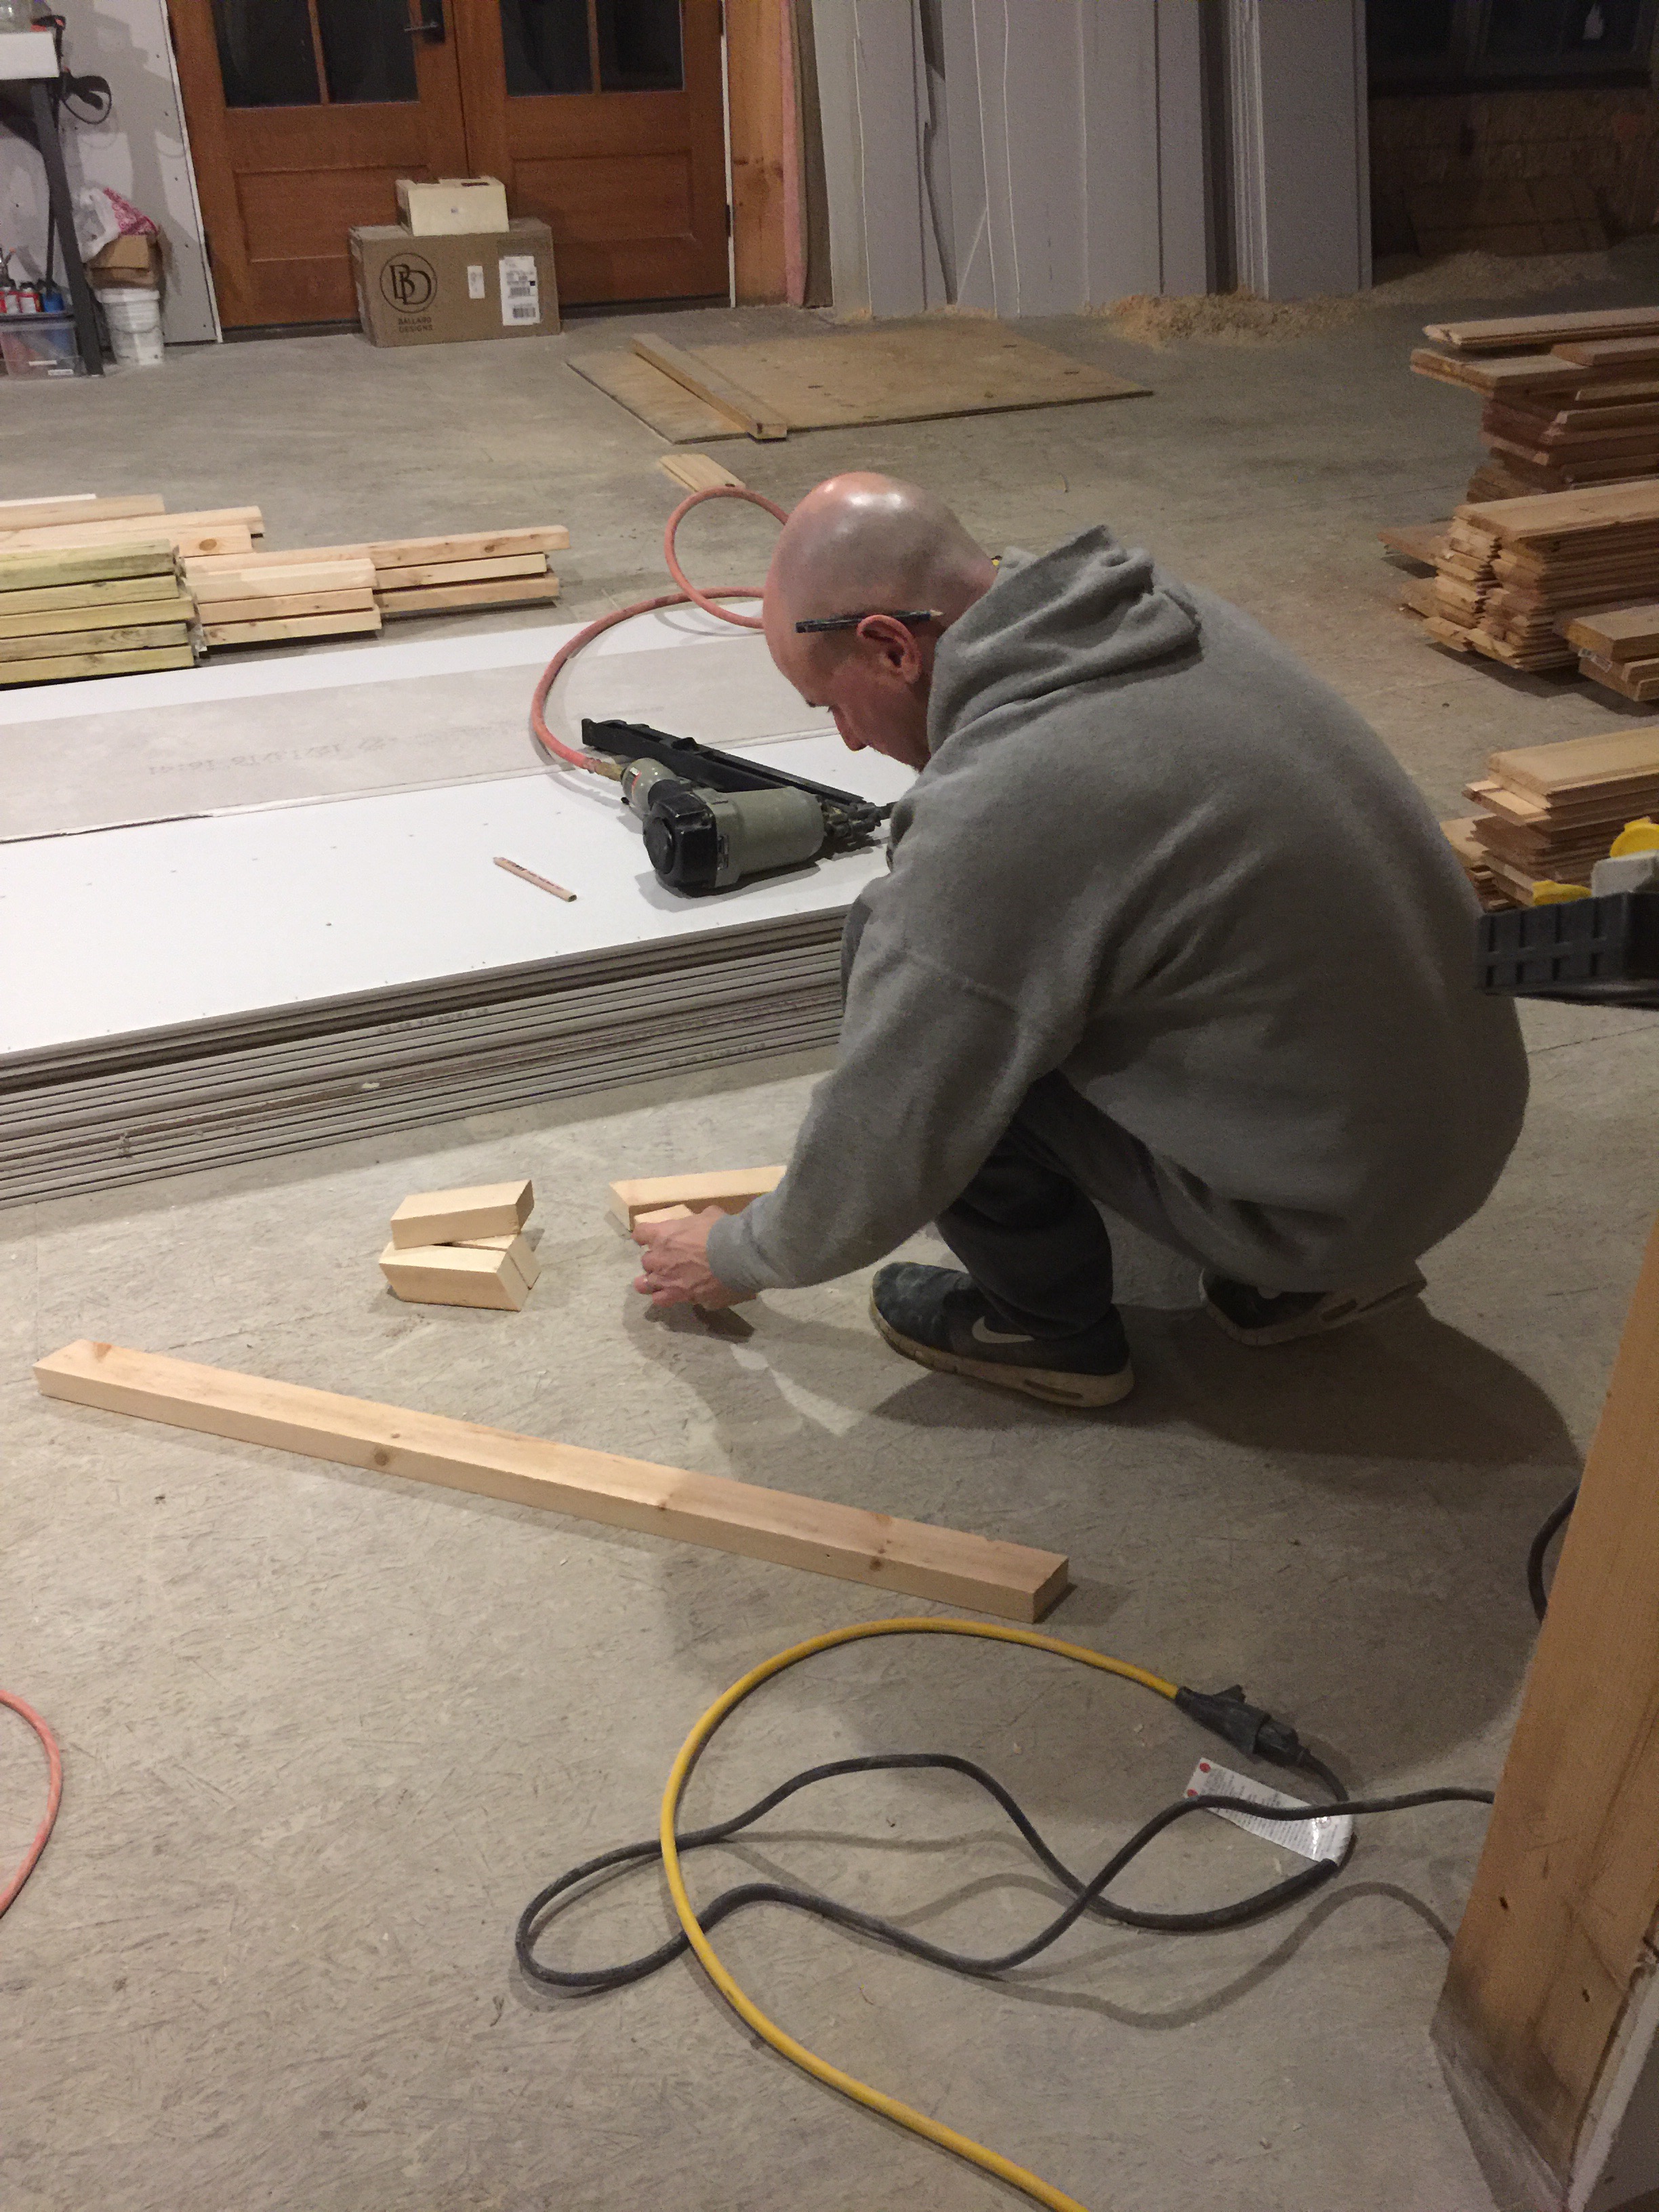
We’ve been getting a lot done recently! It feels good to actually see parts of the house get completed. It is hard now to get much done when it’s dark by 5:15 pm, so we move inside to do small jobs there.
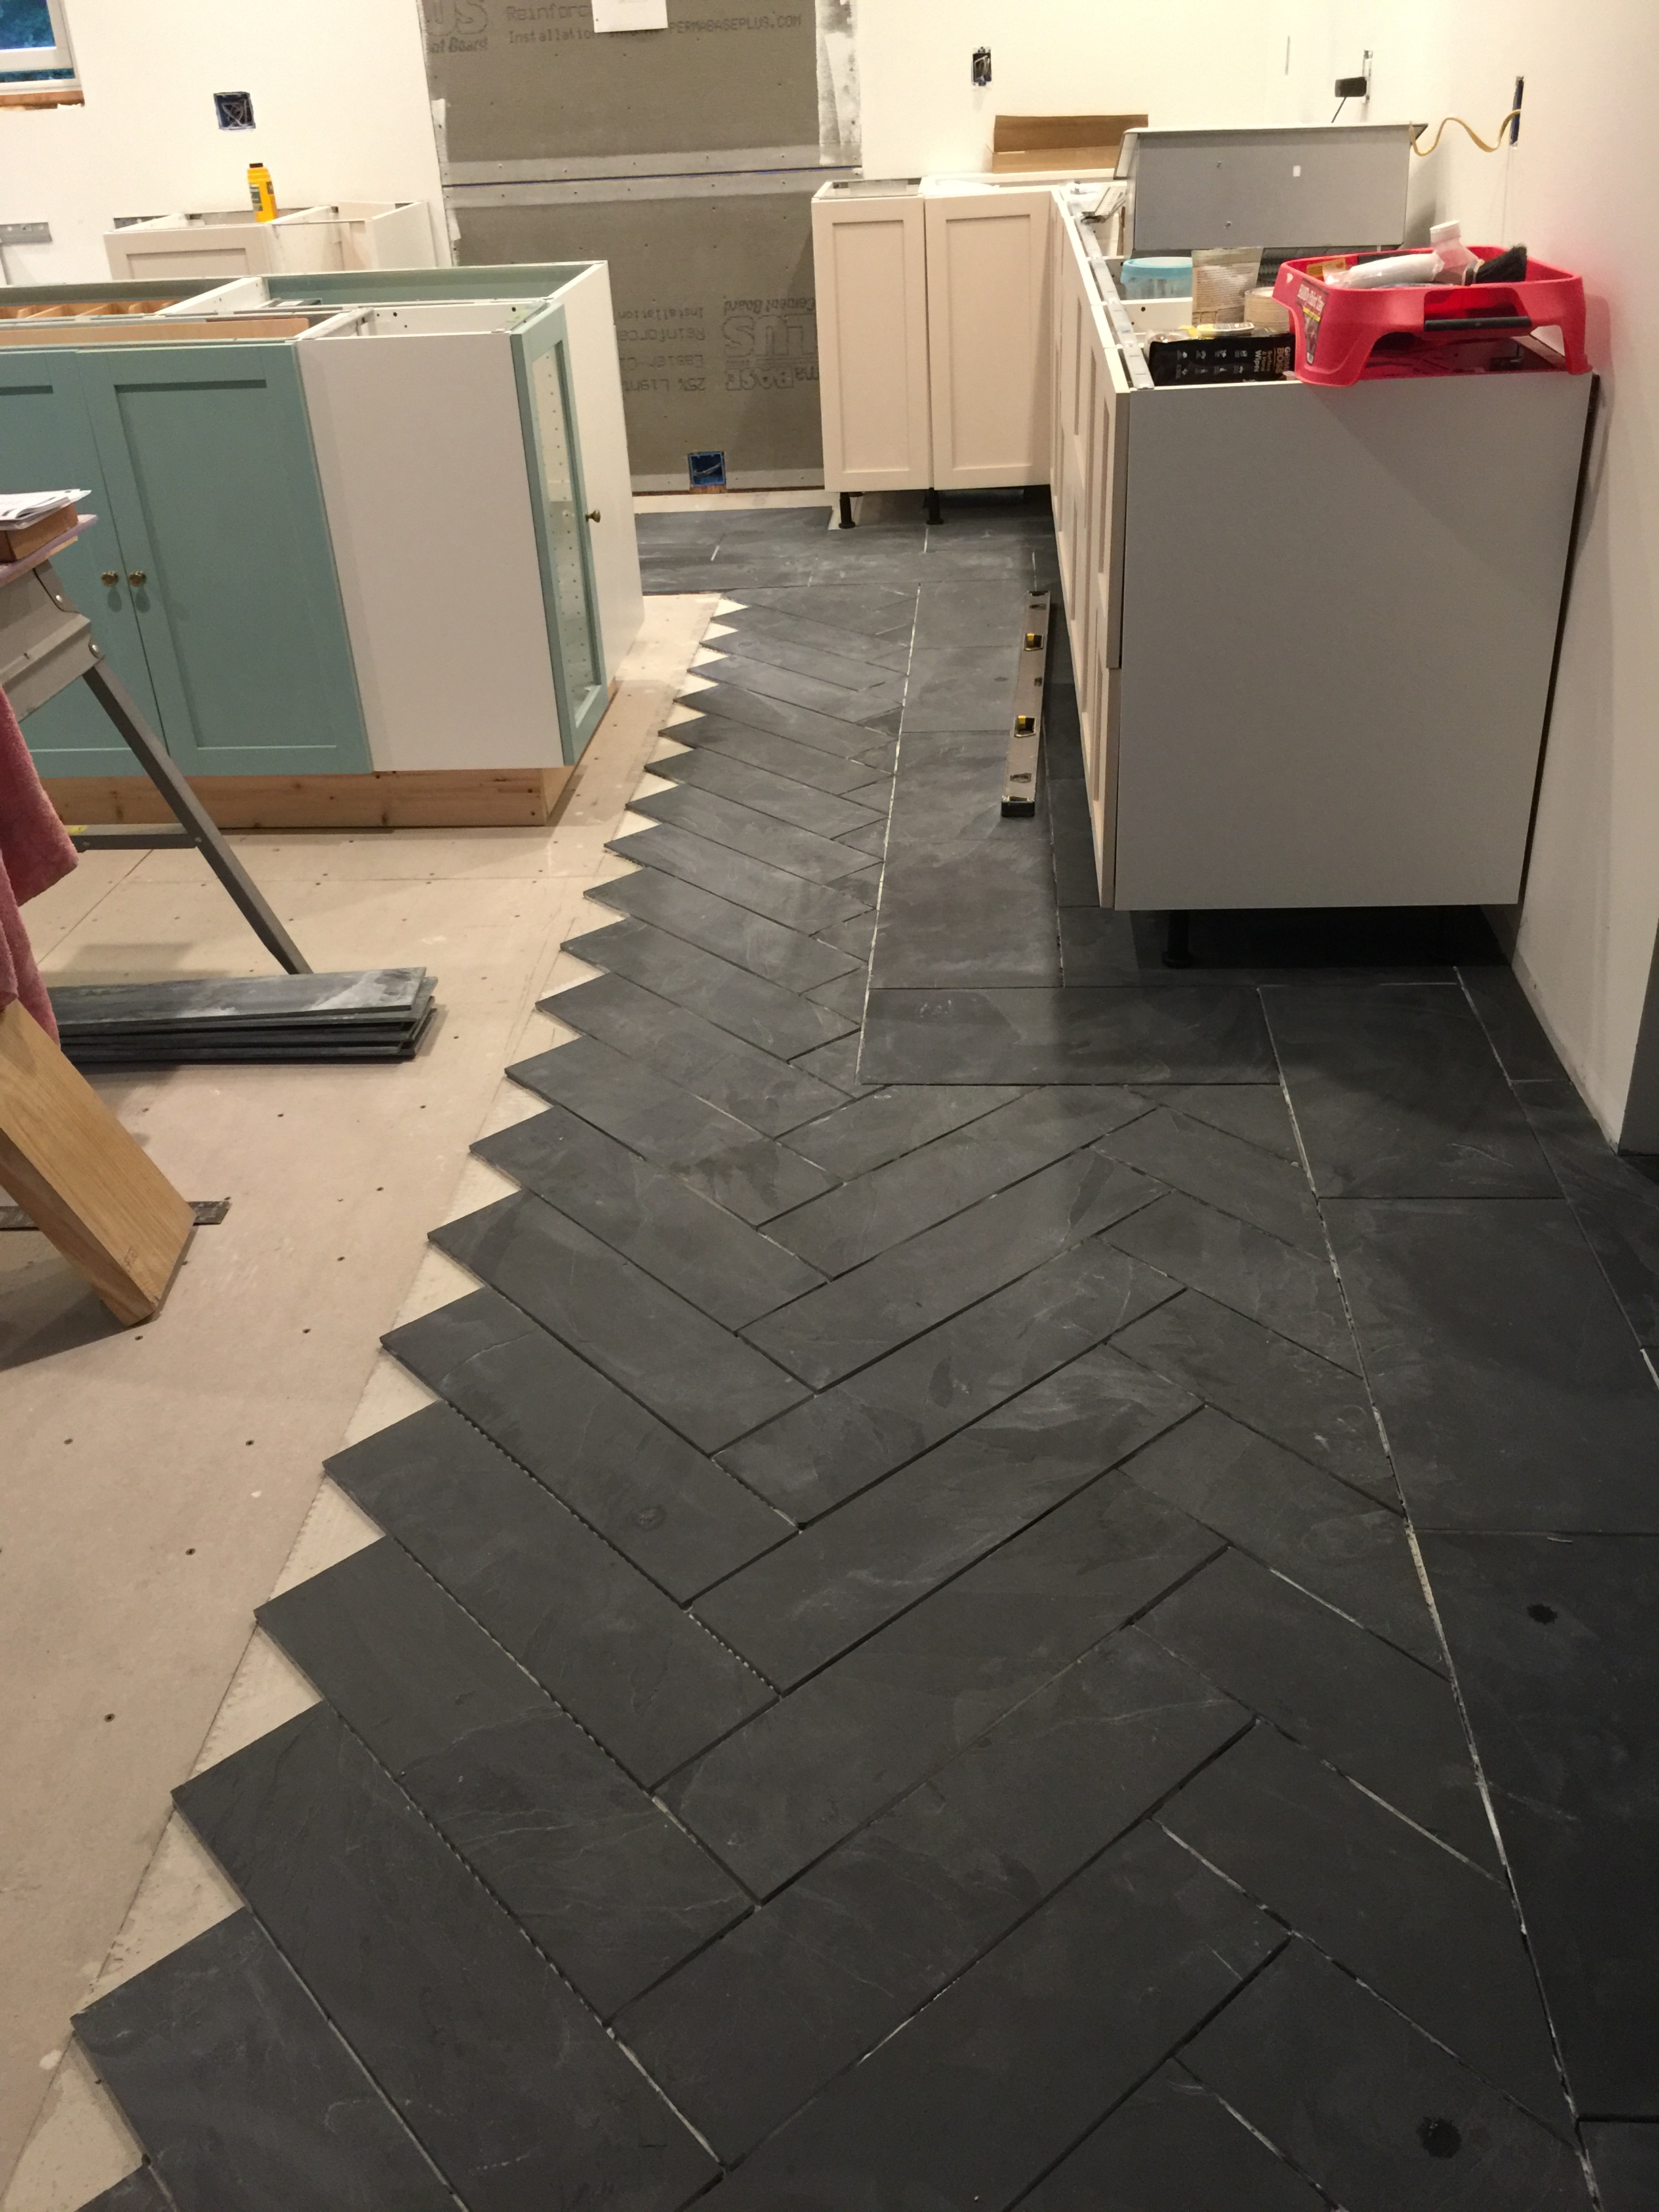
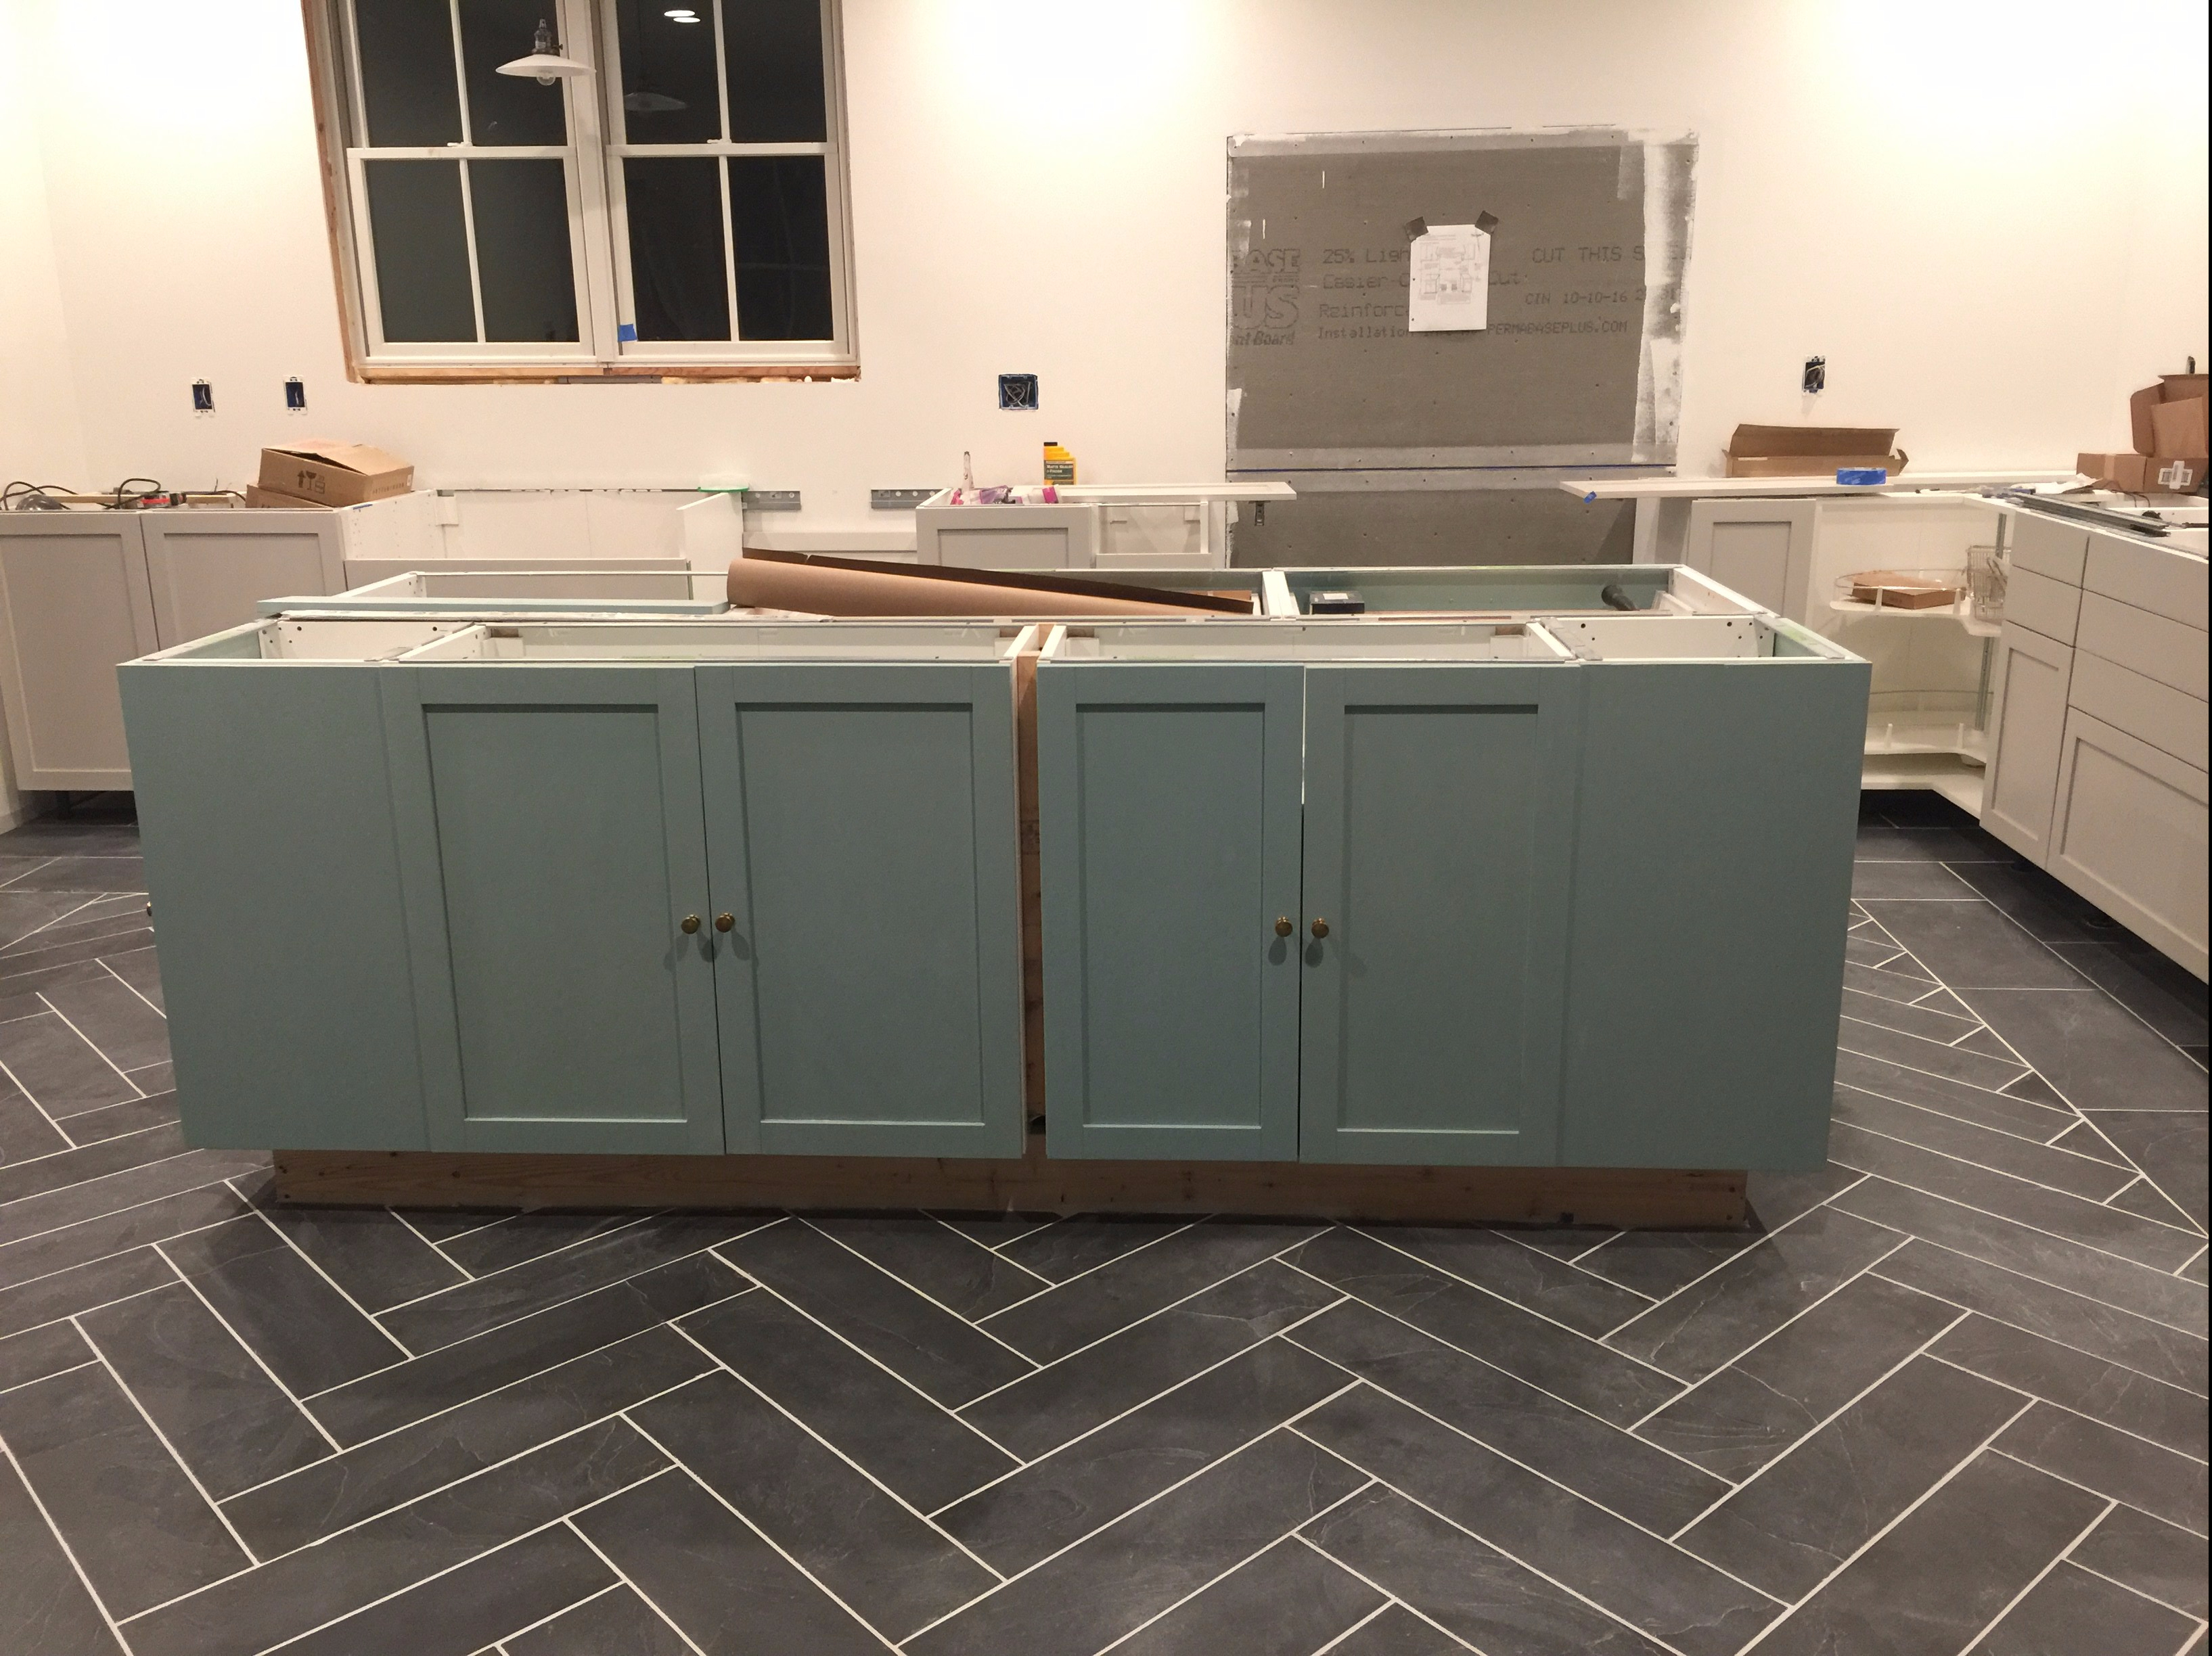
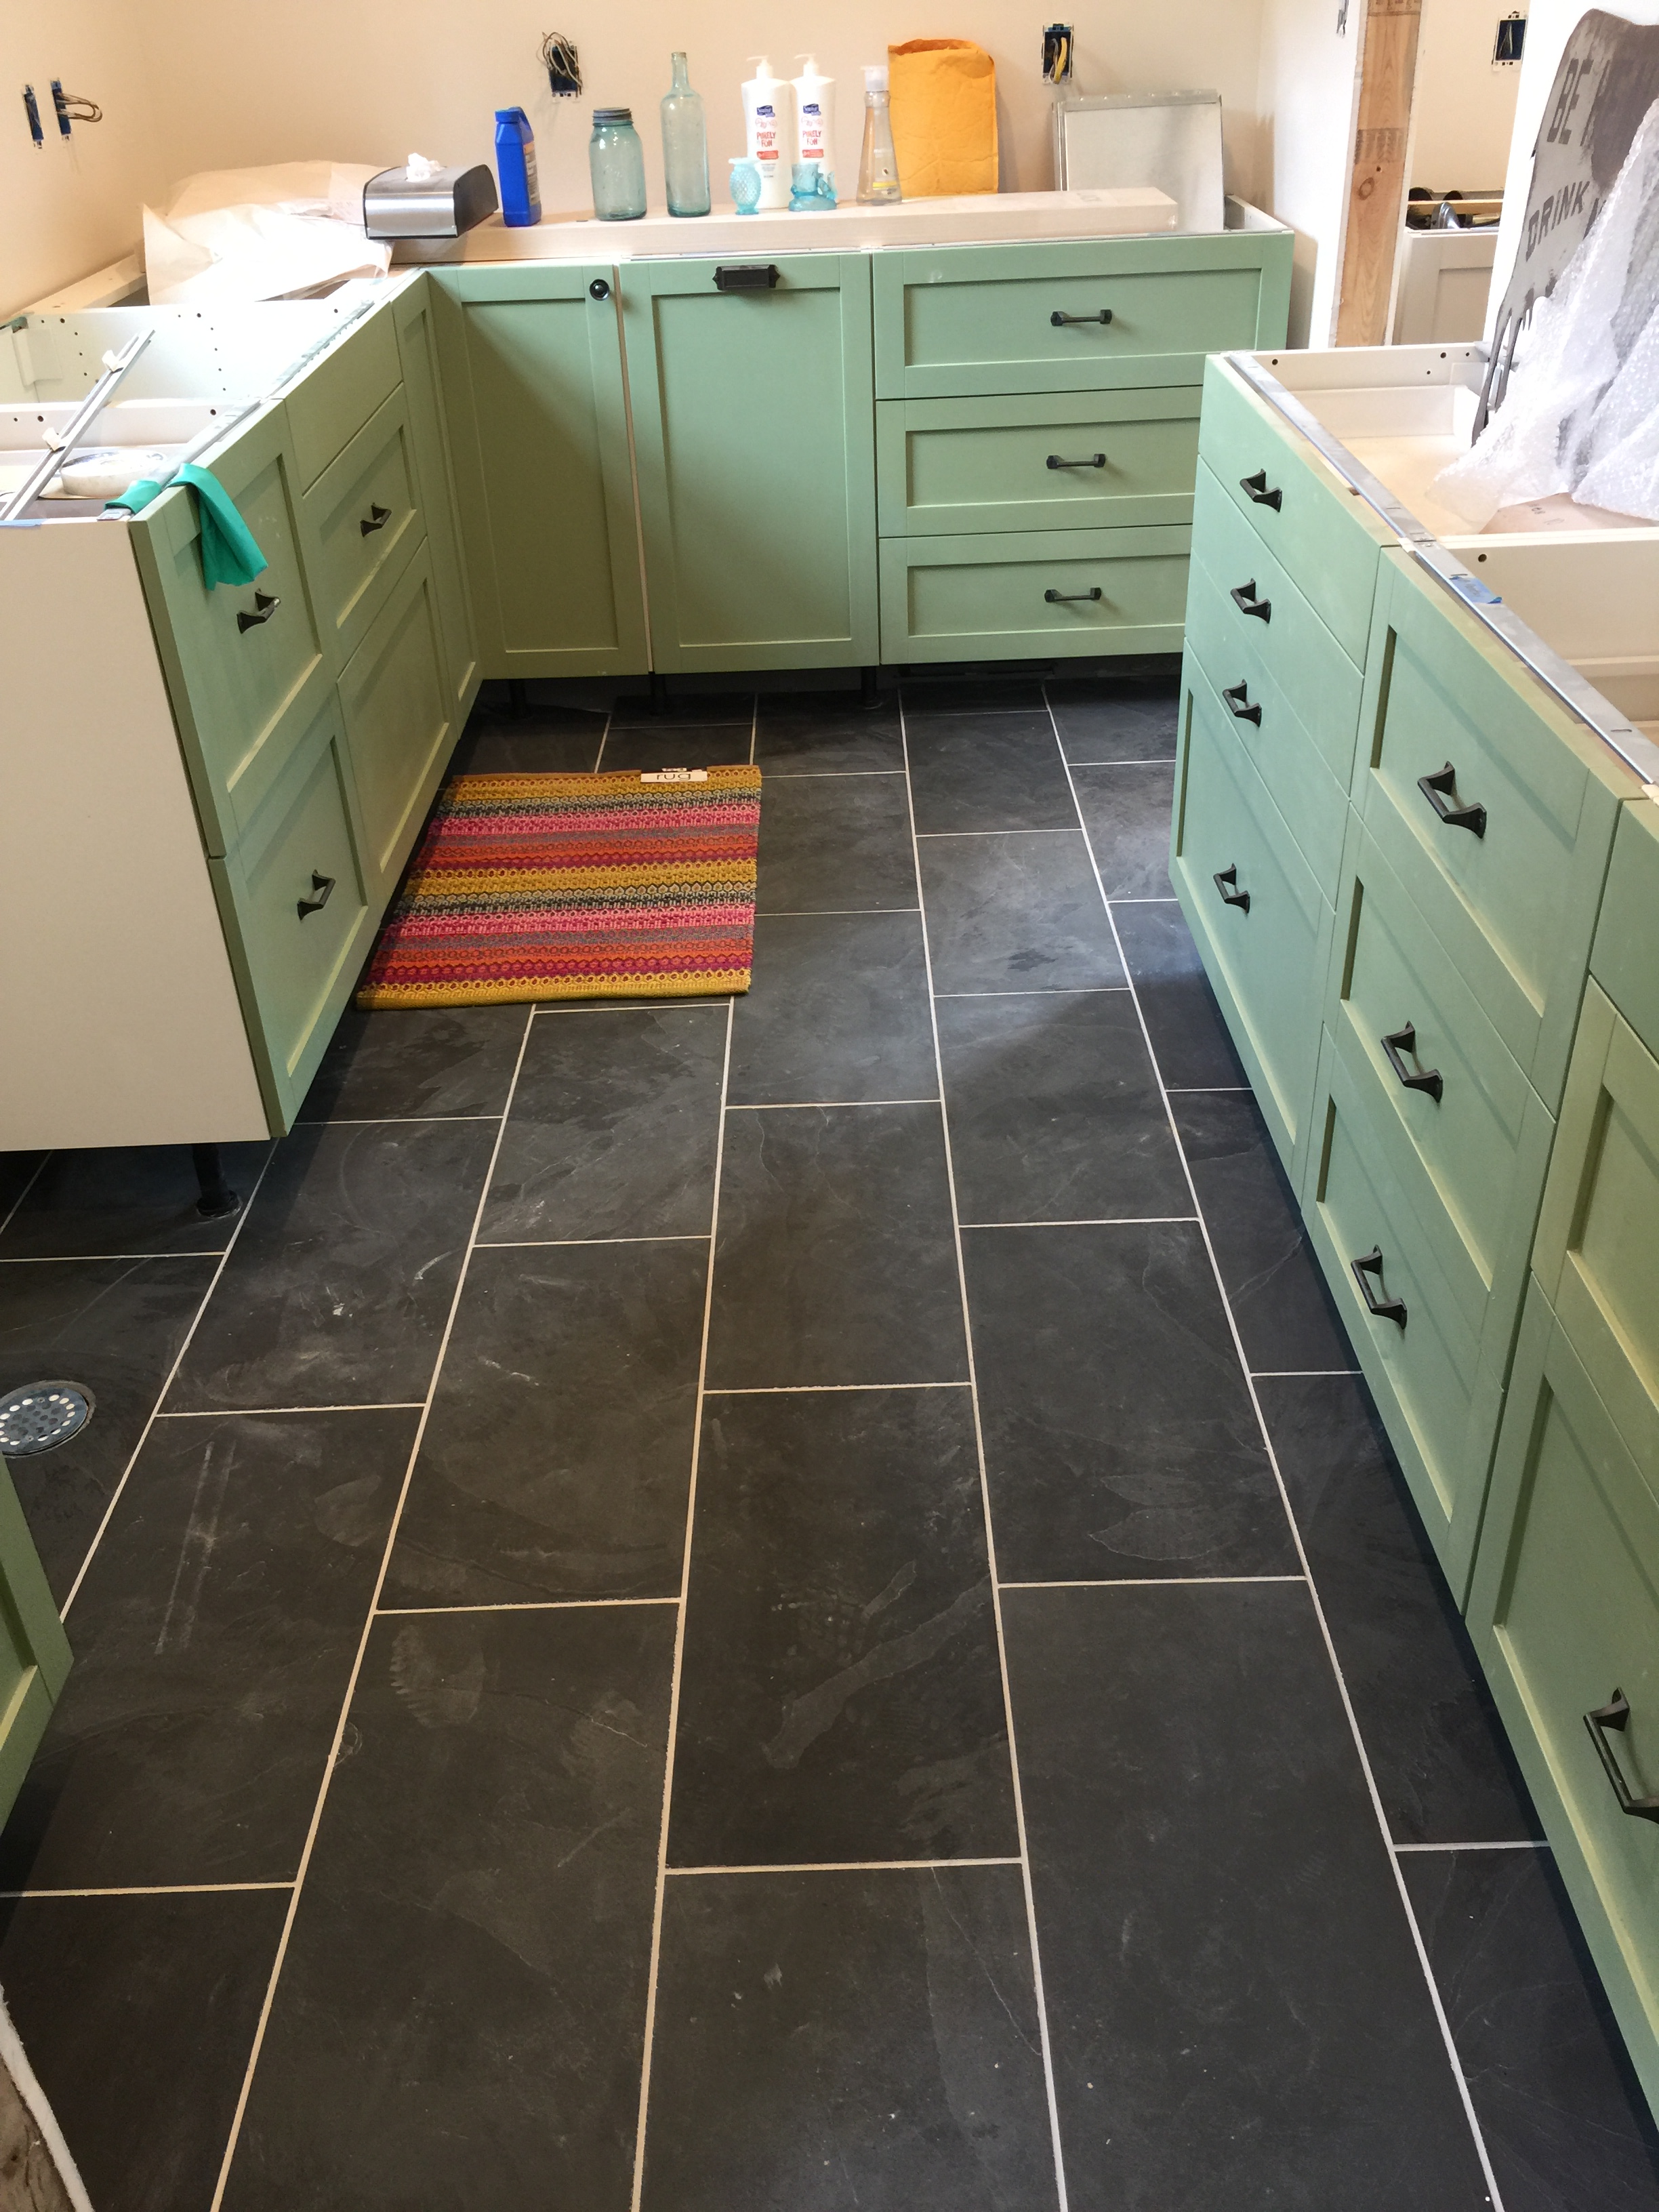
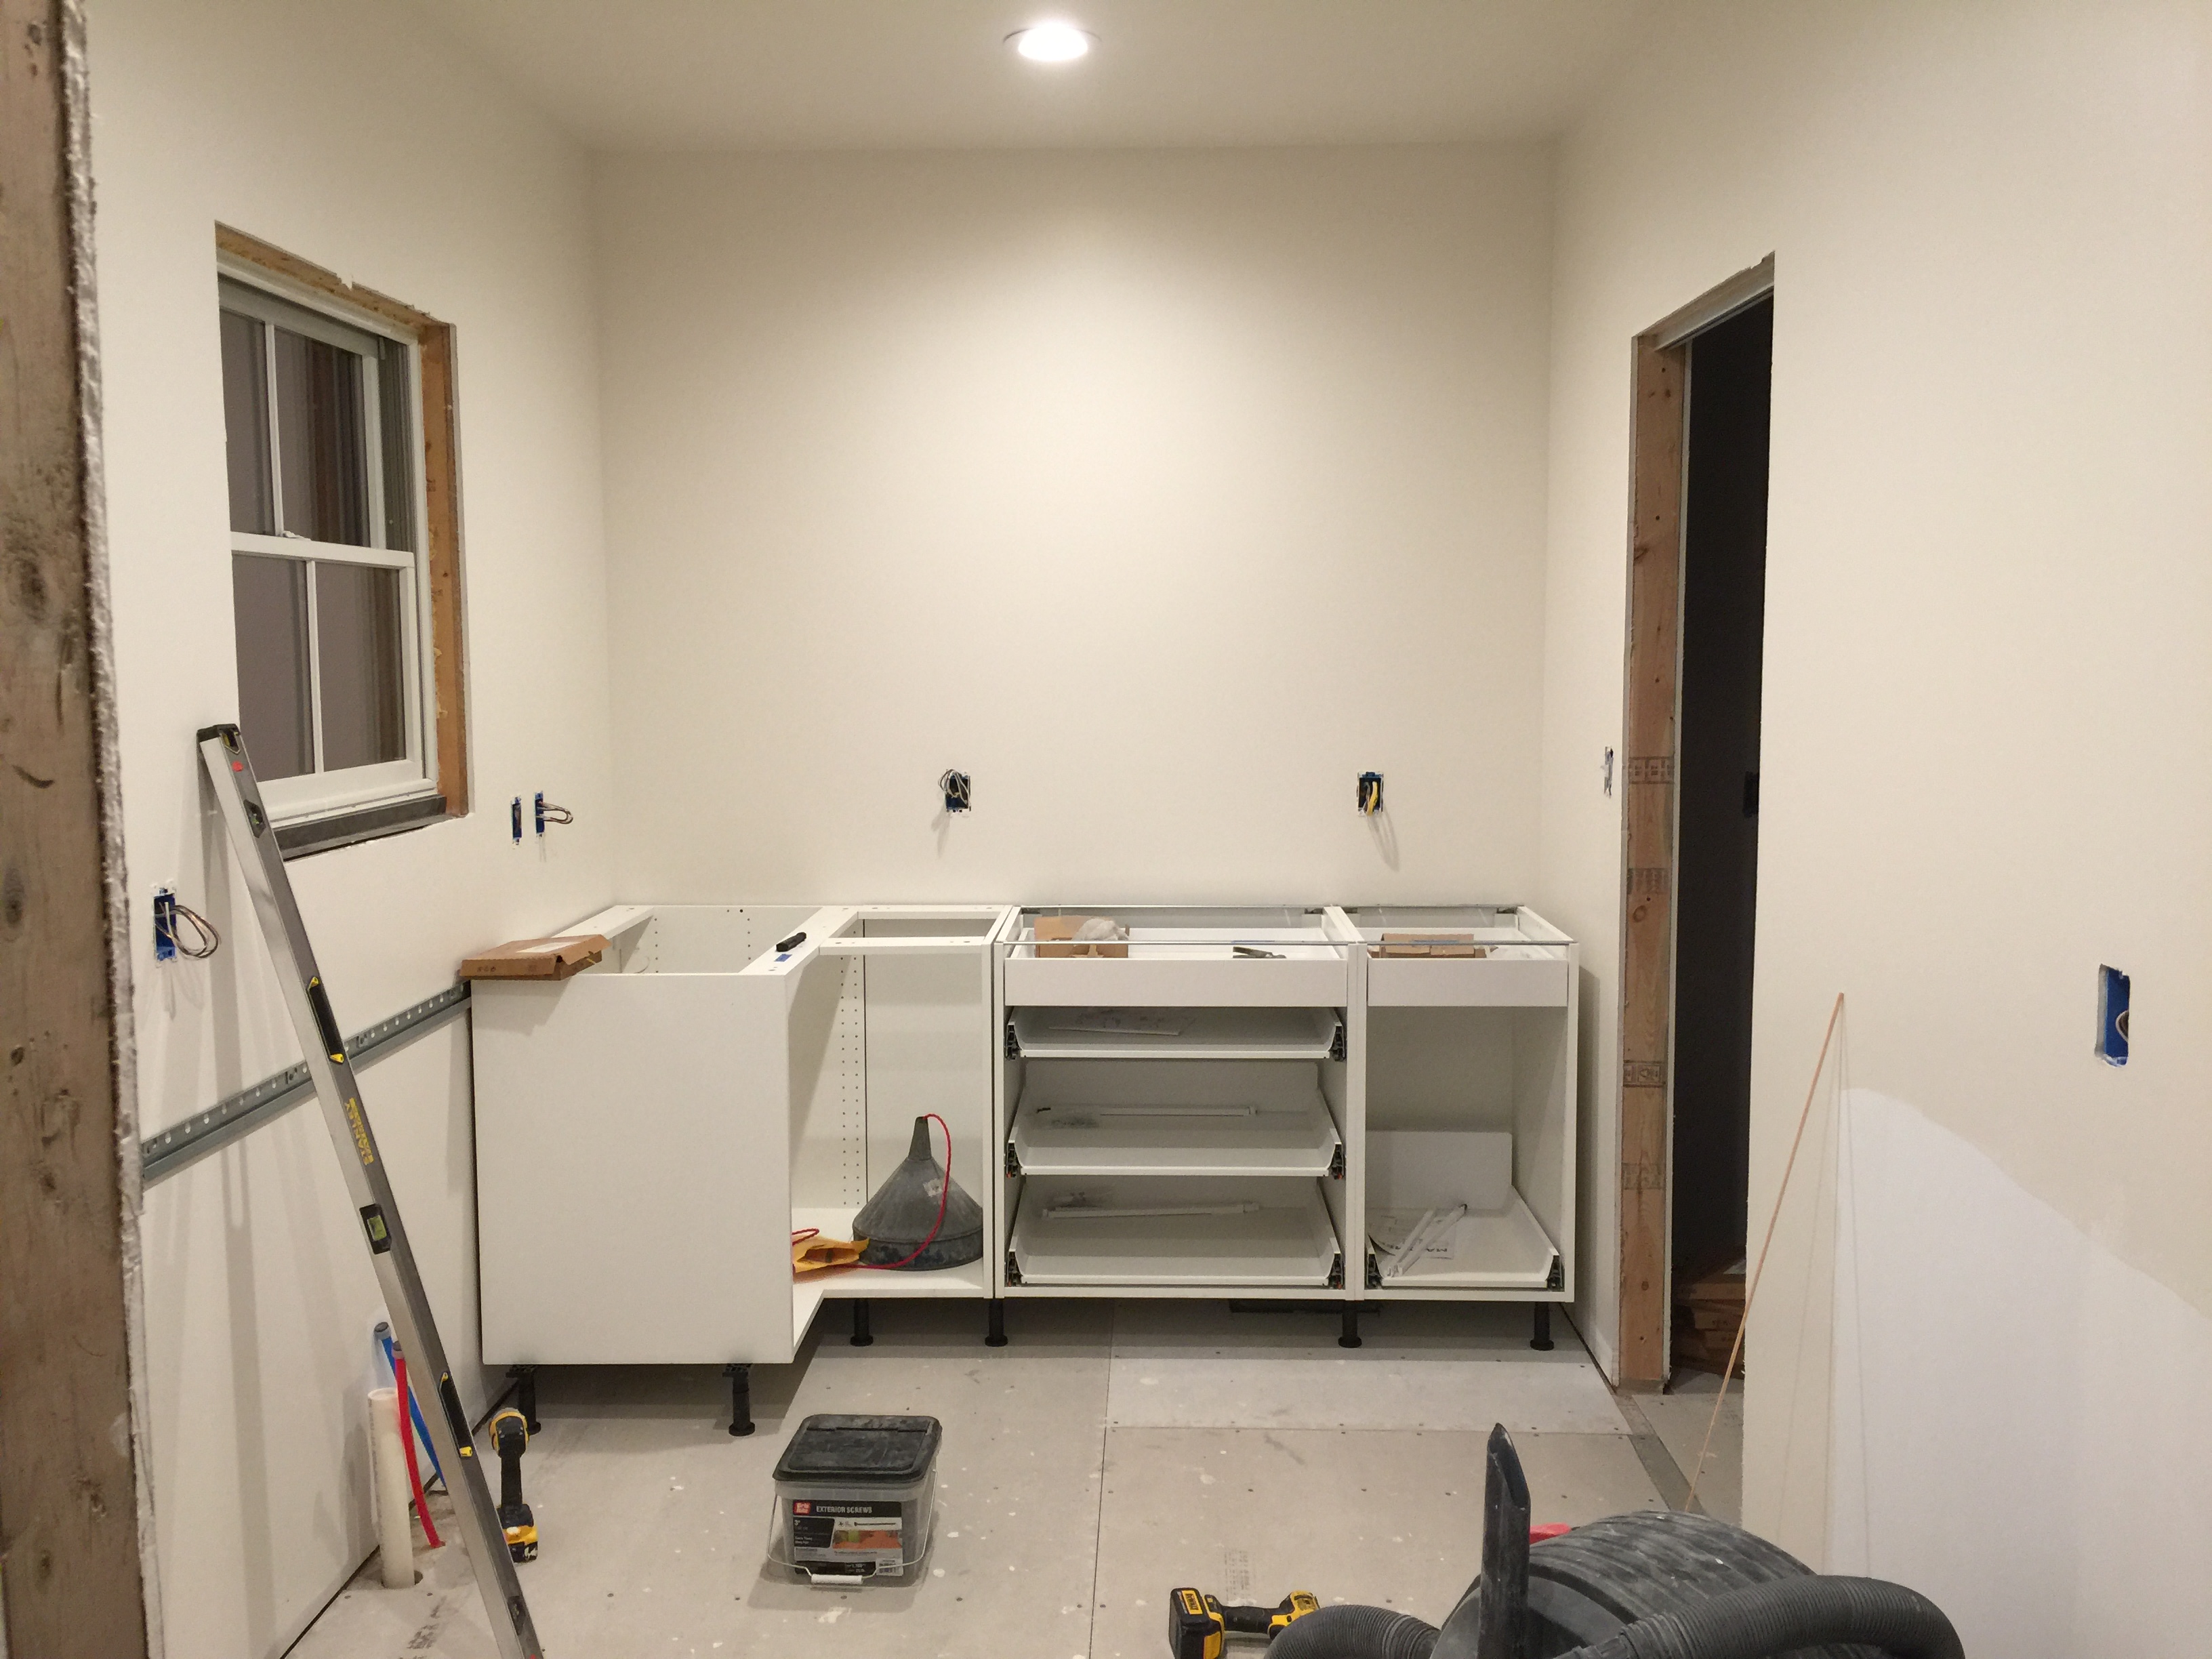
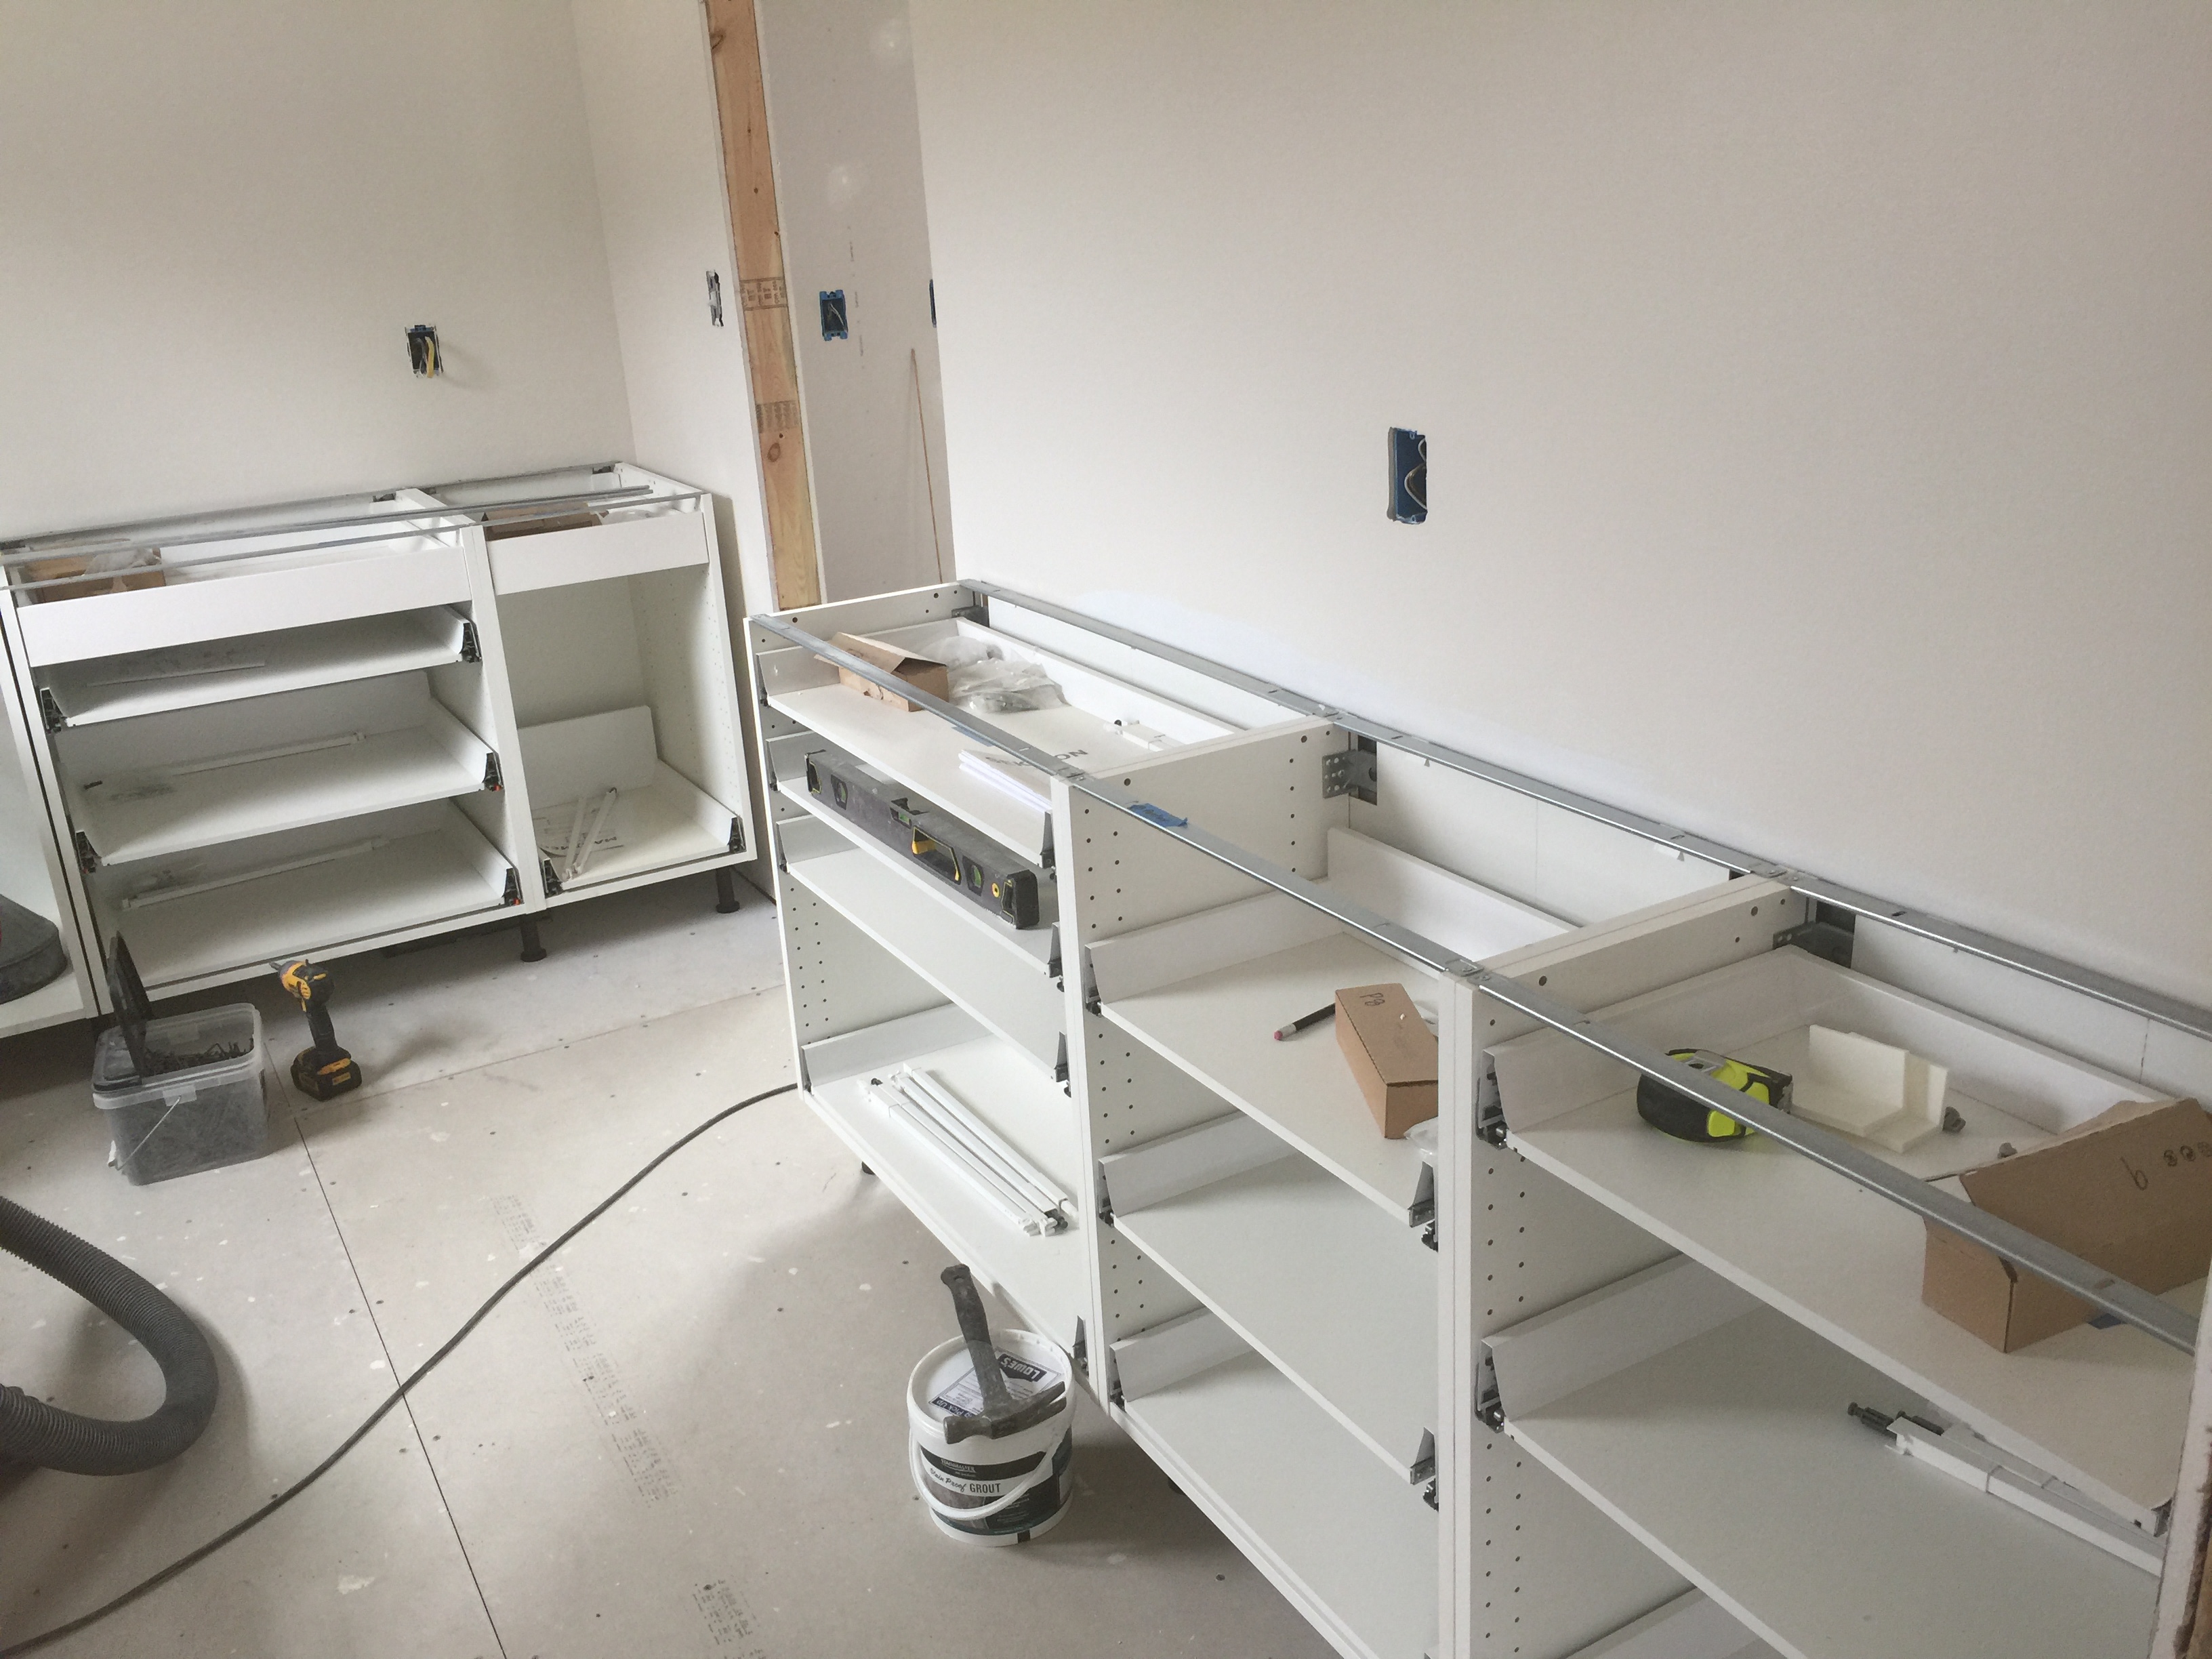
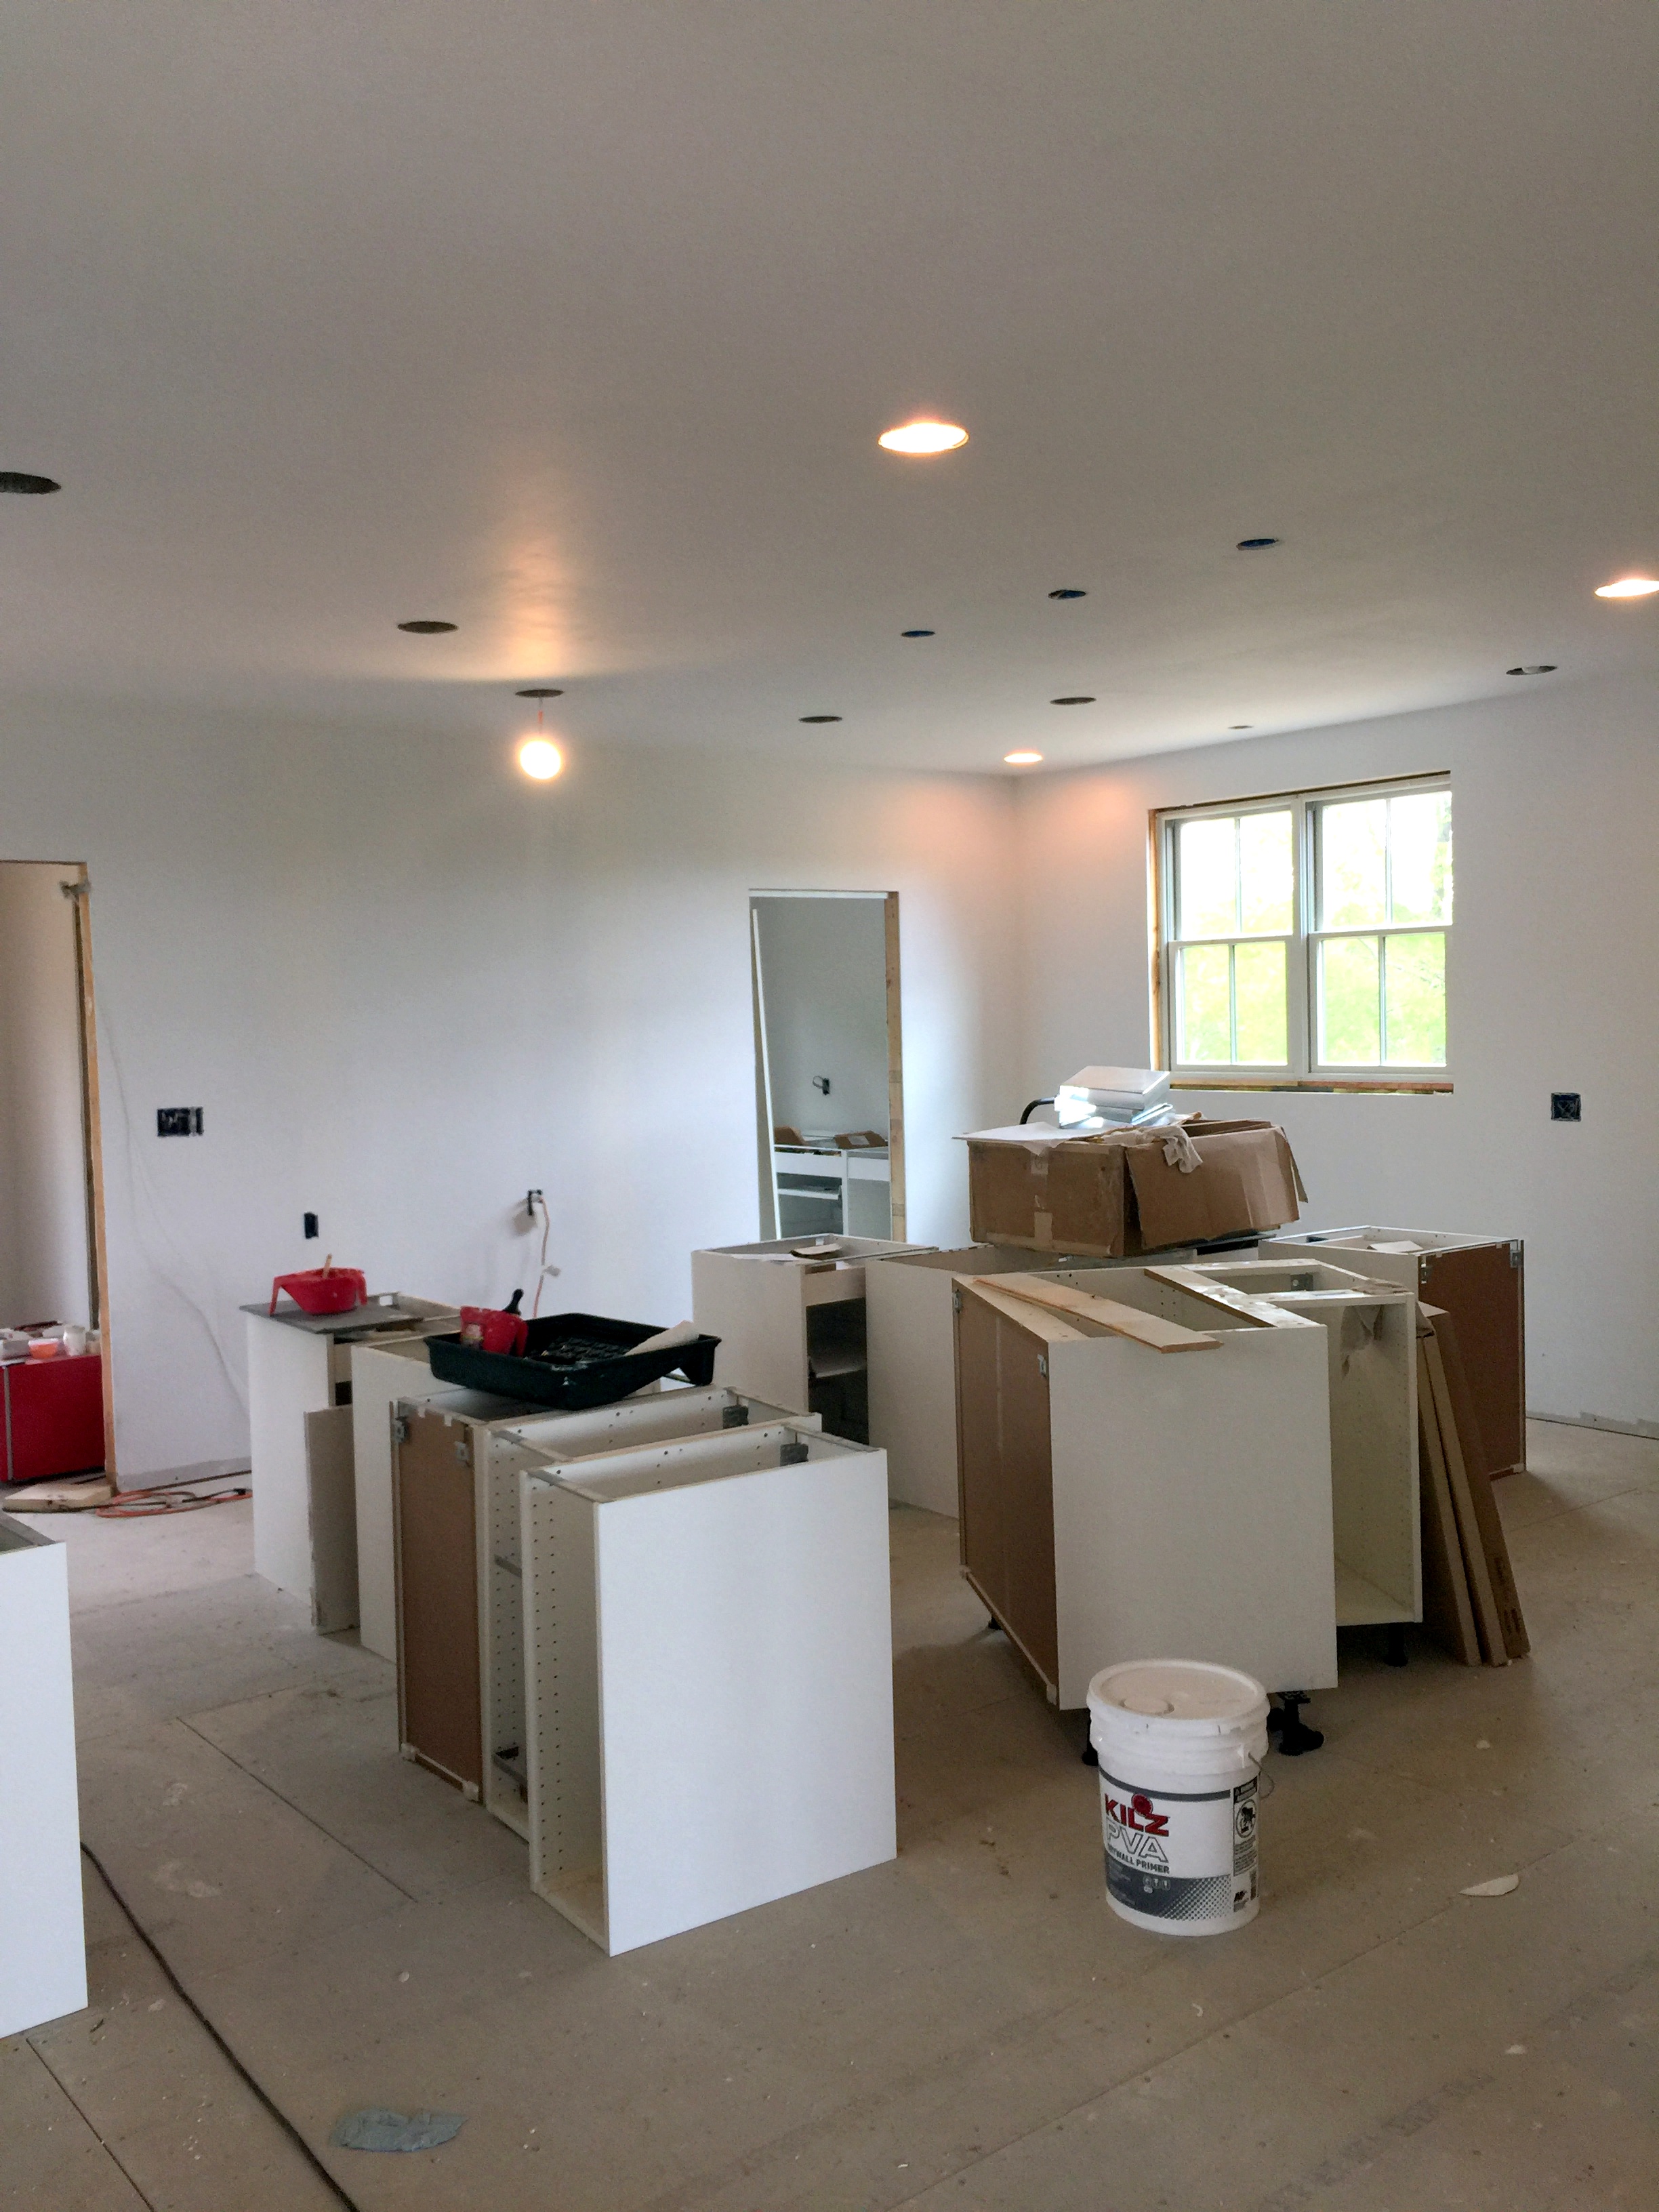
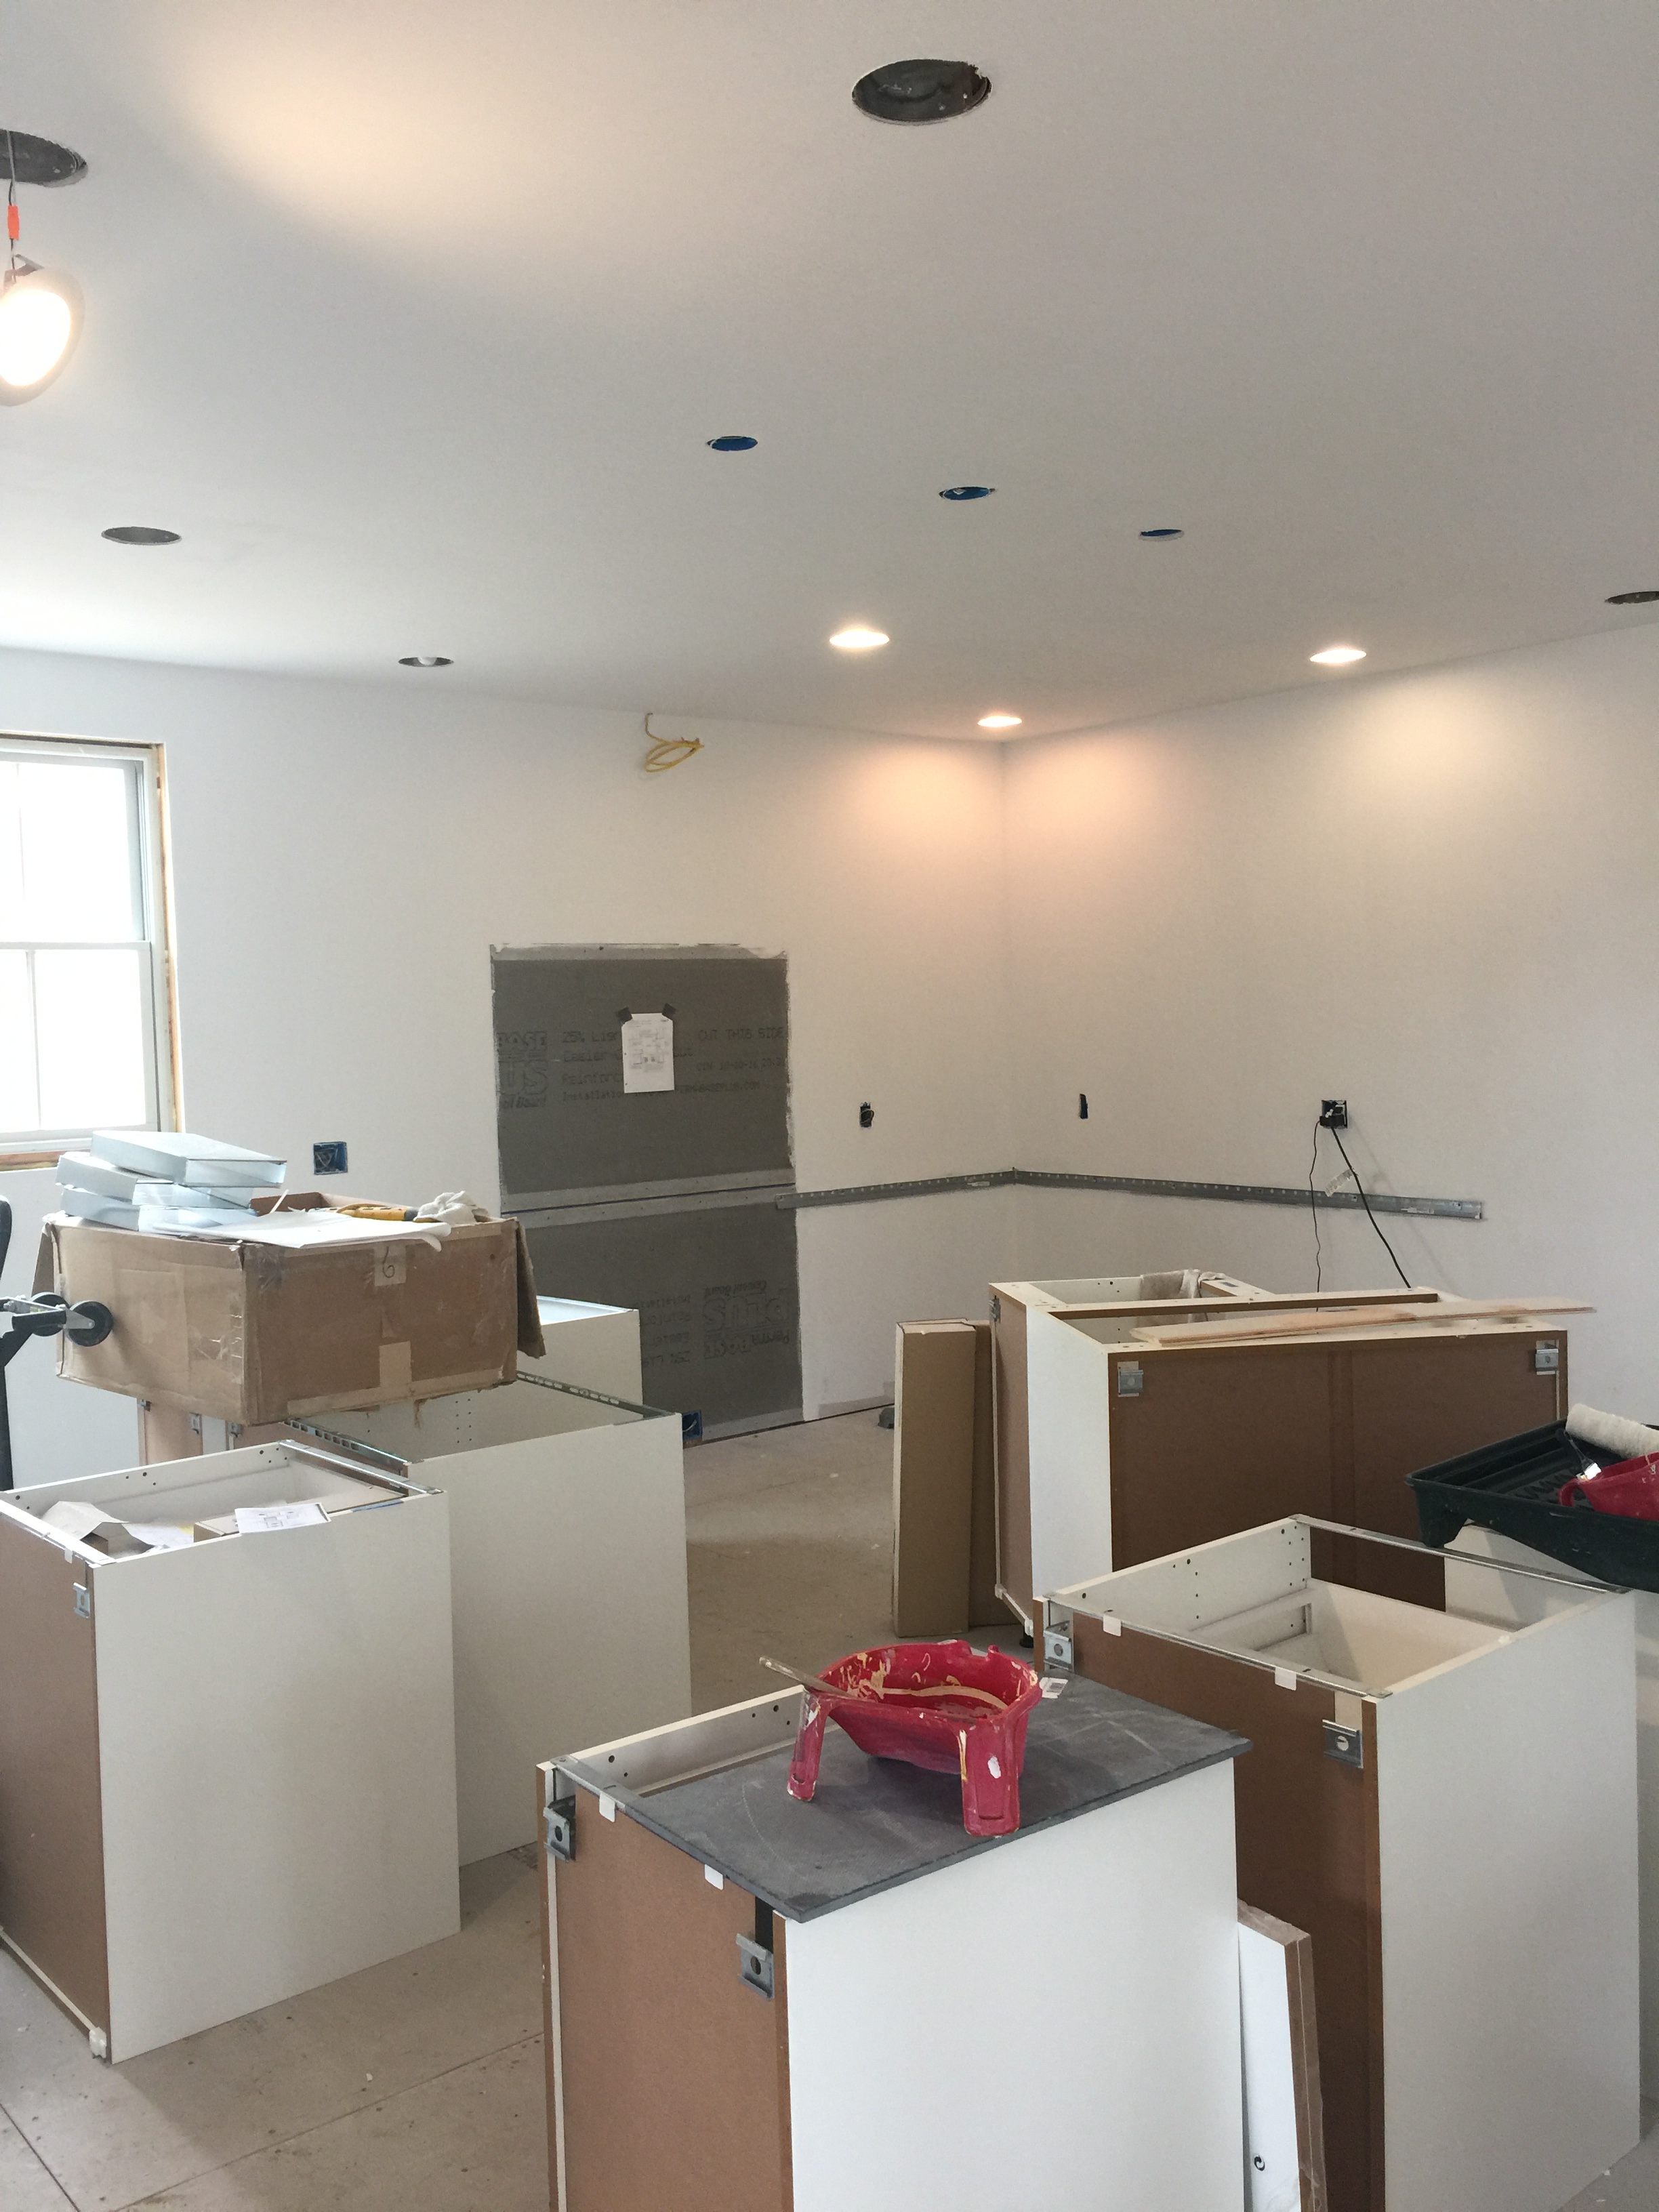
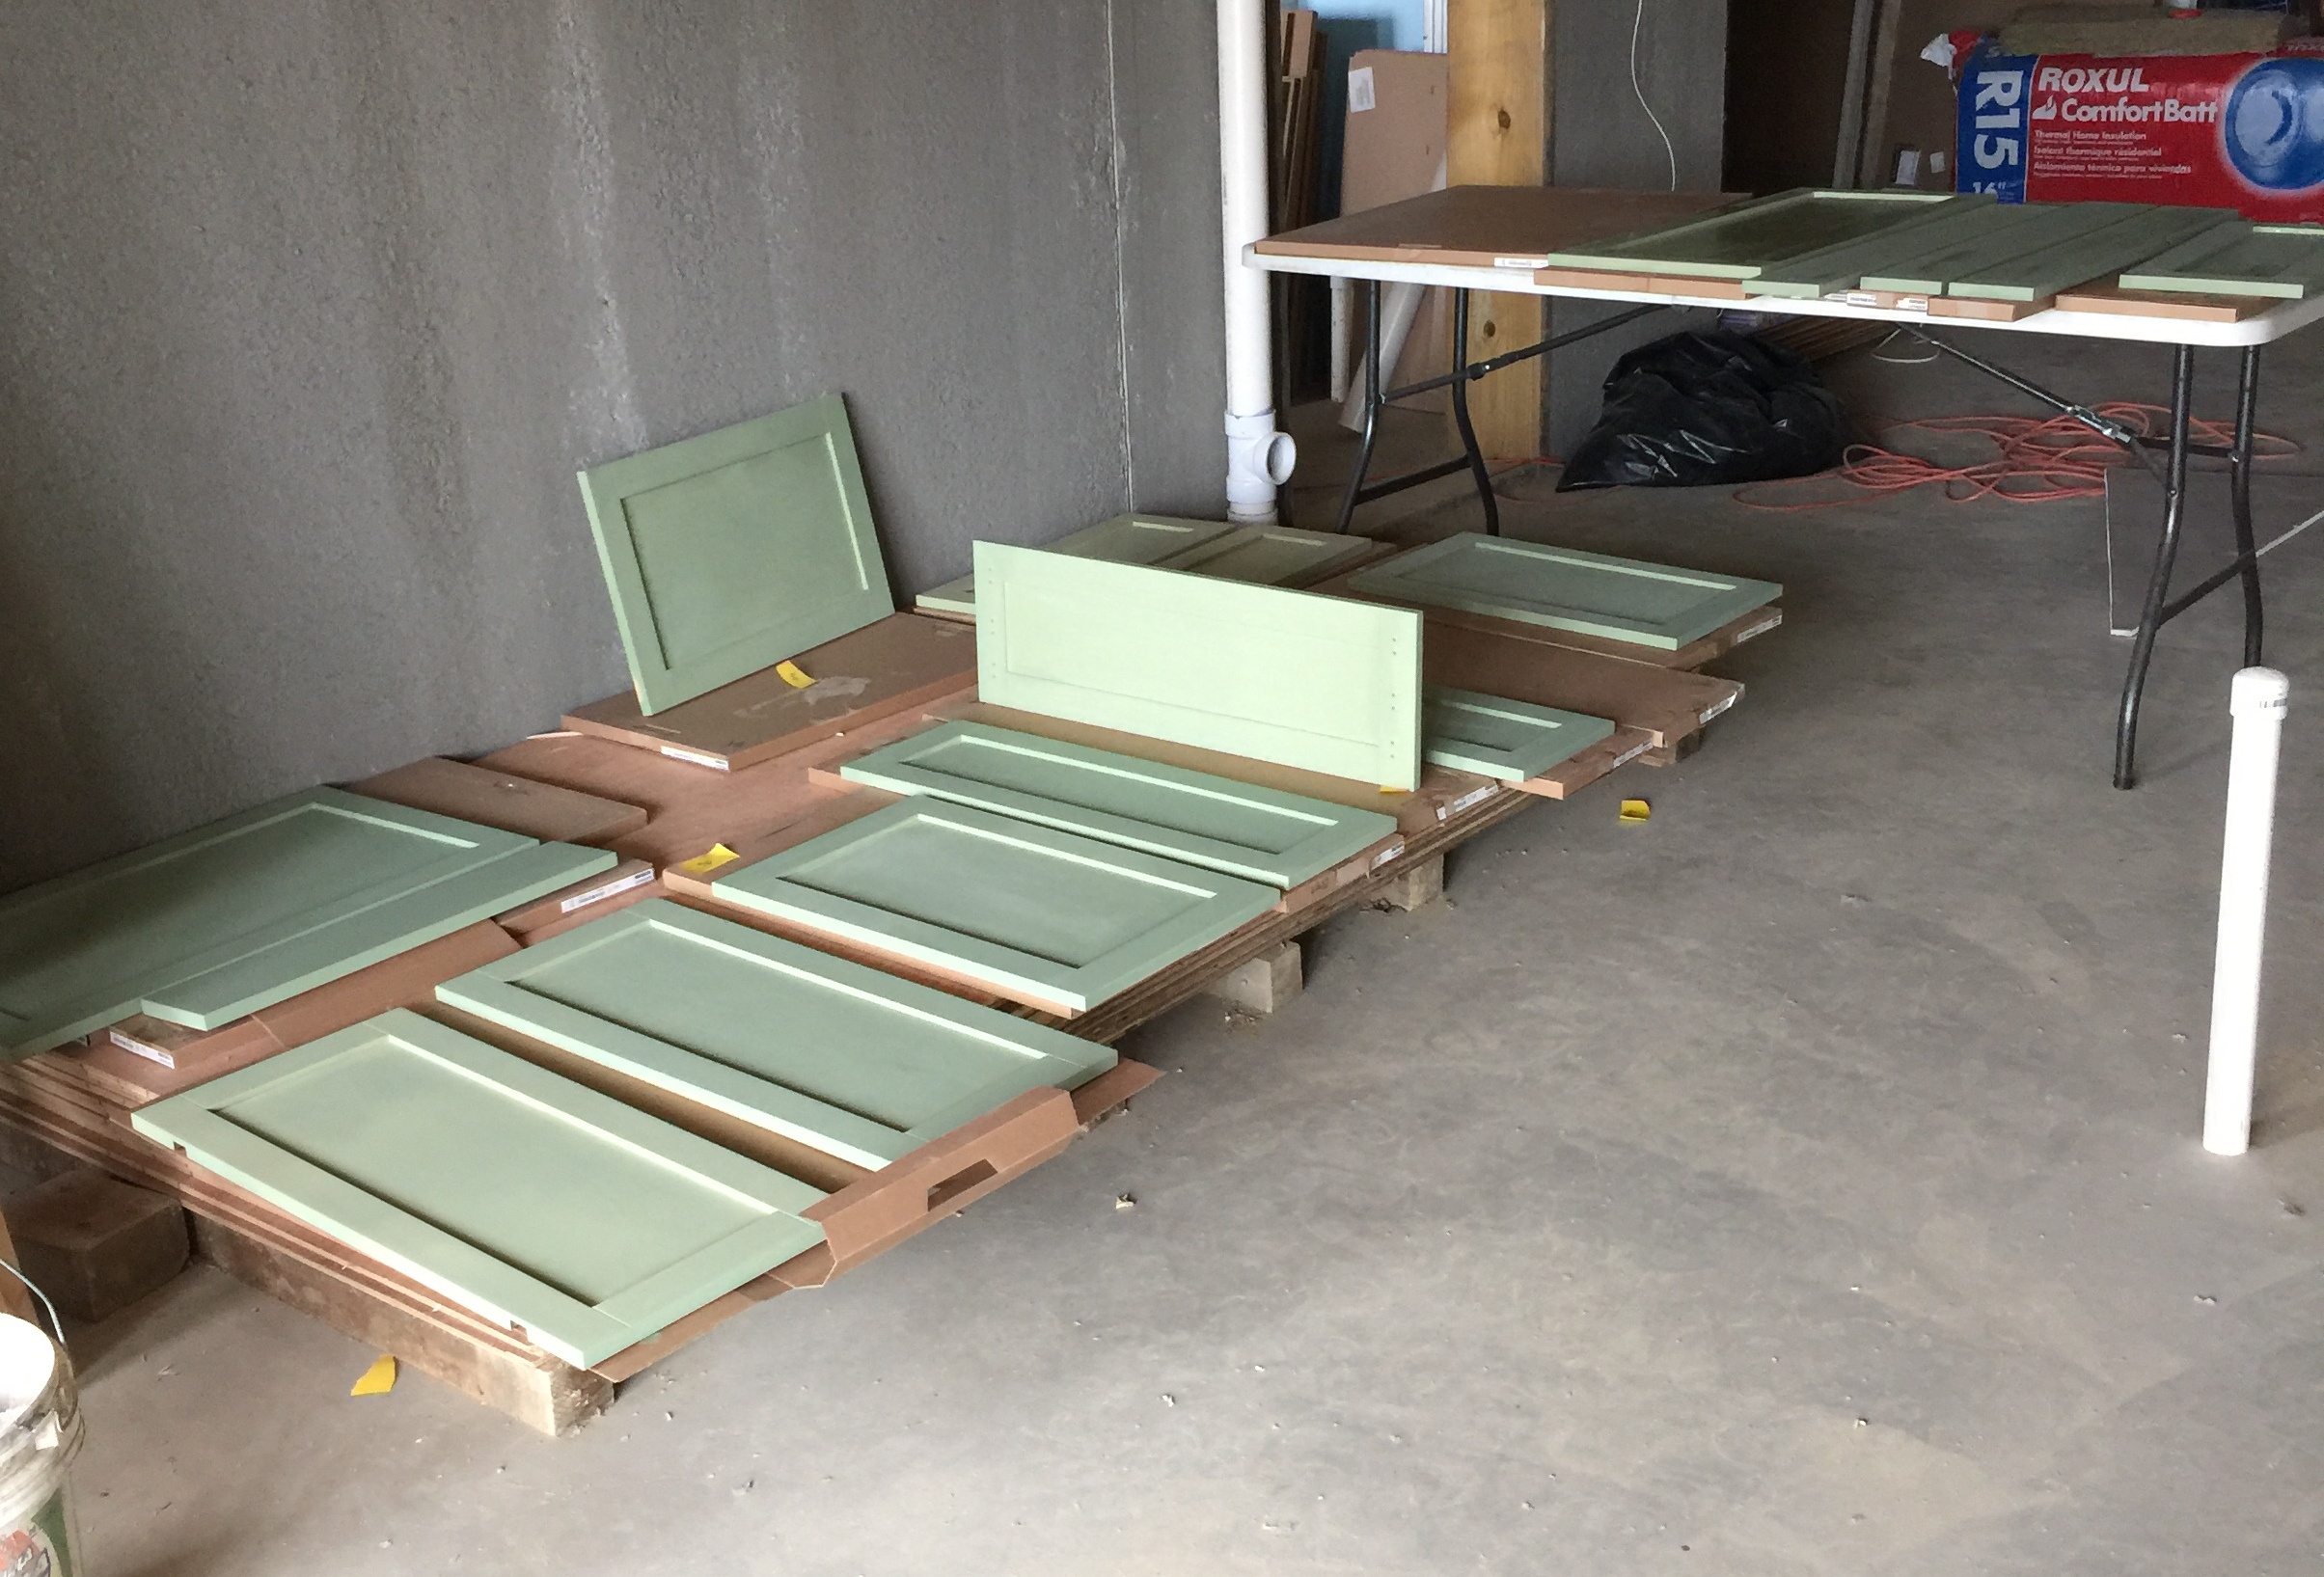
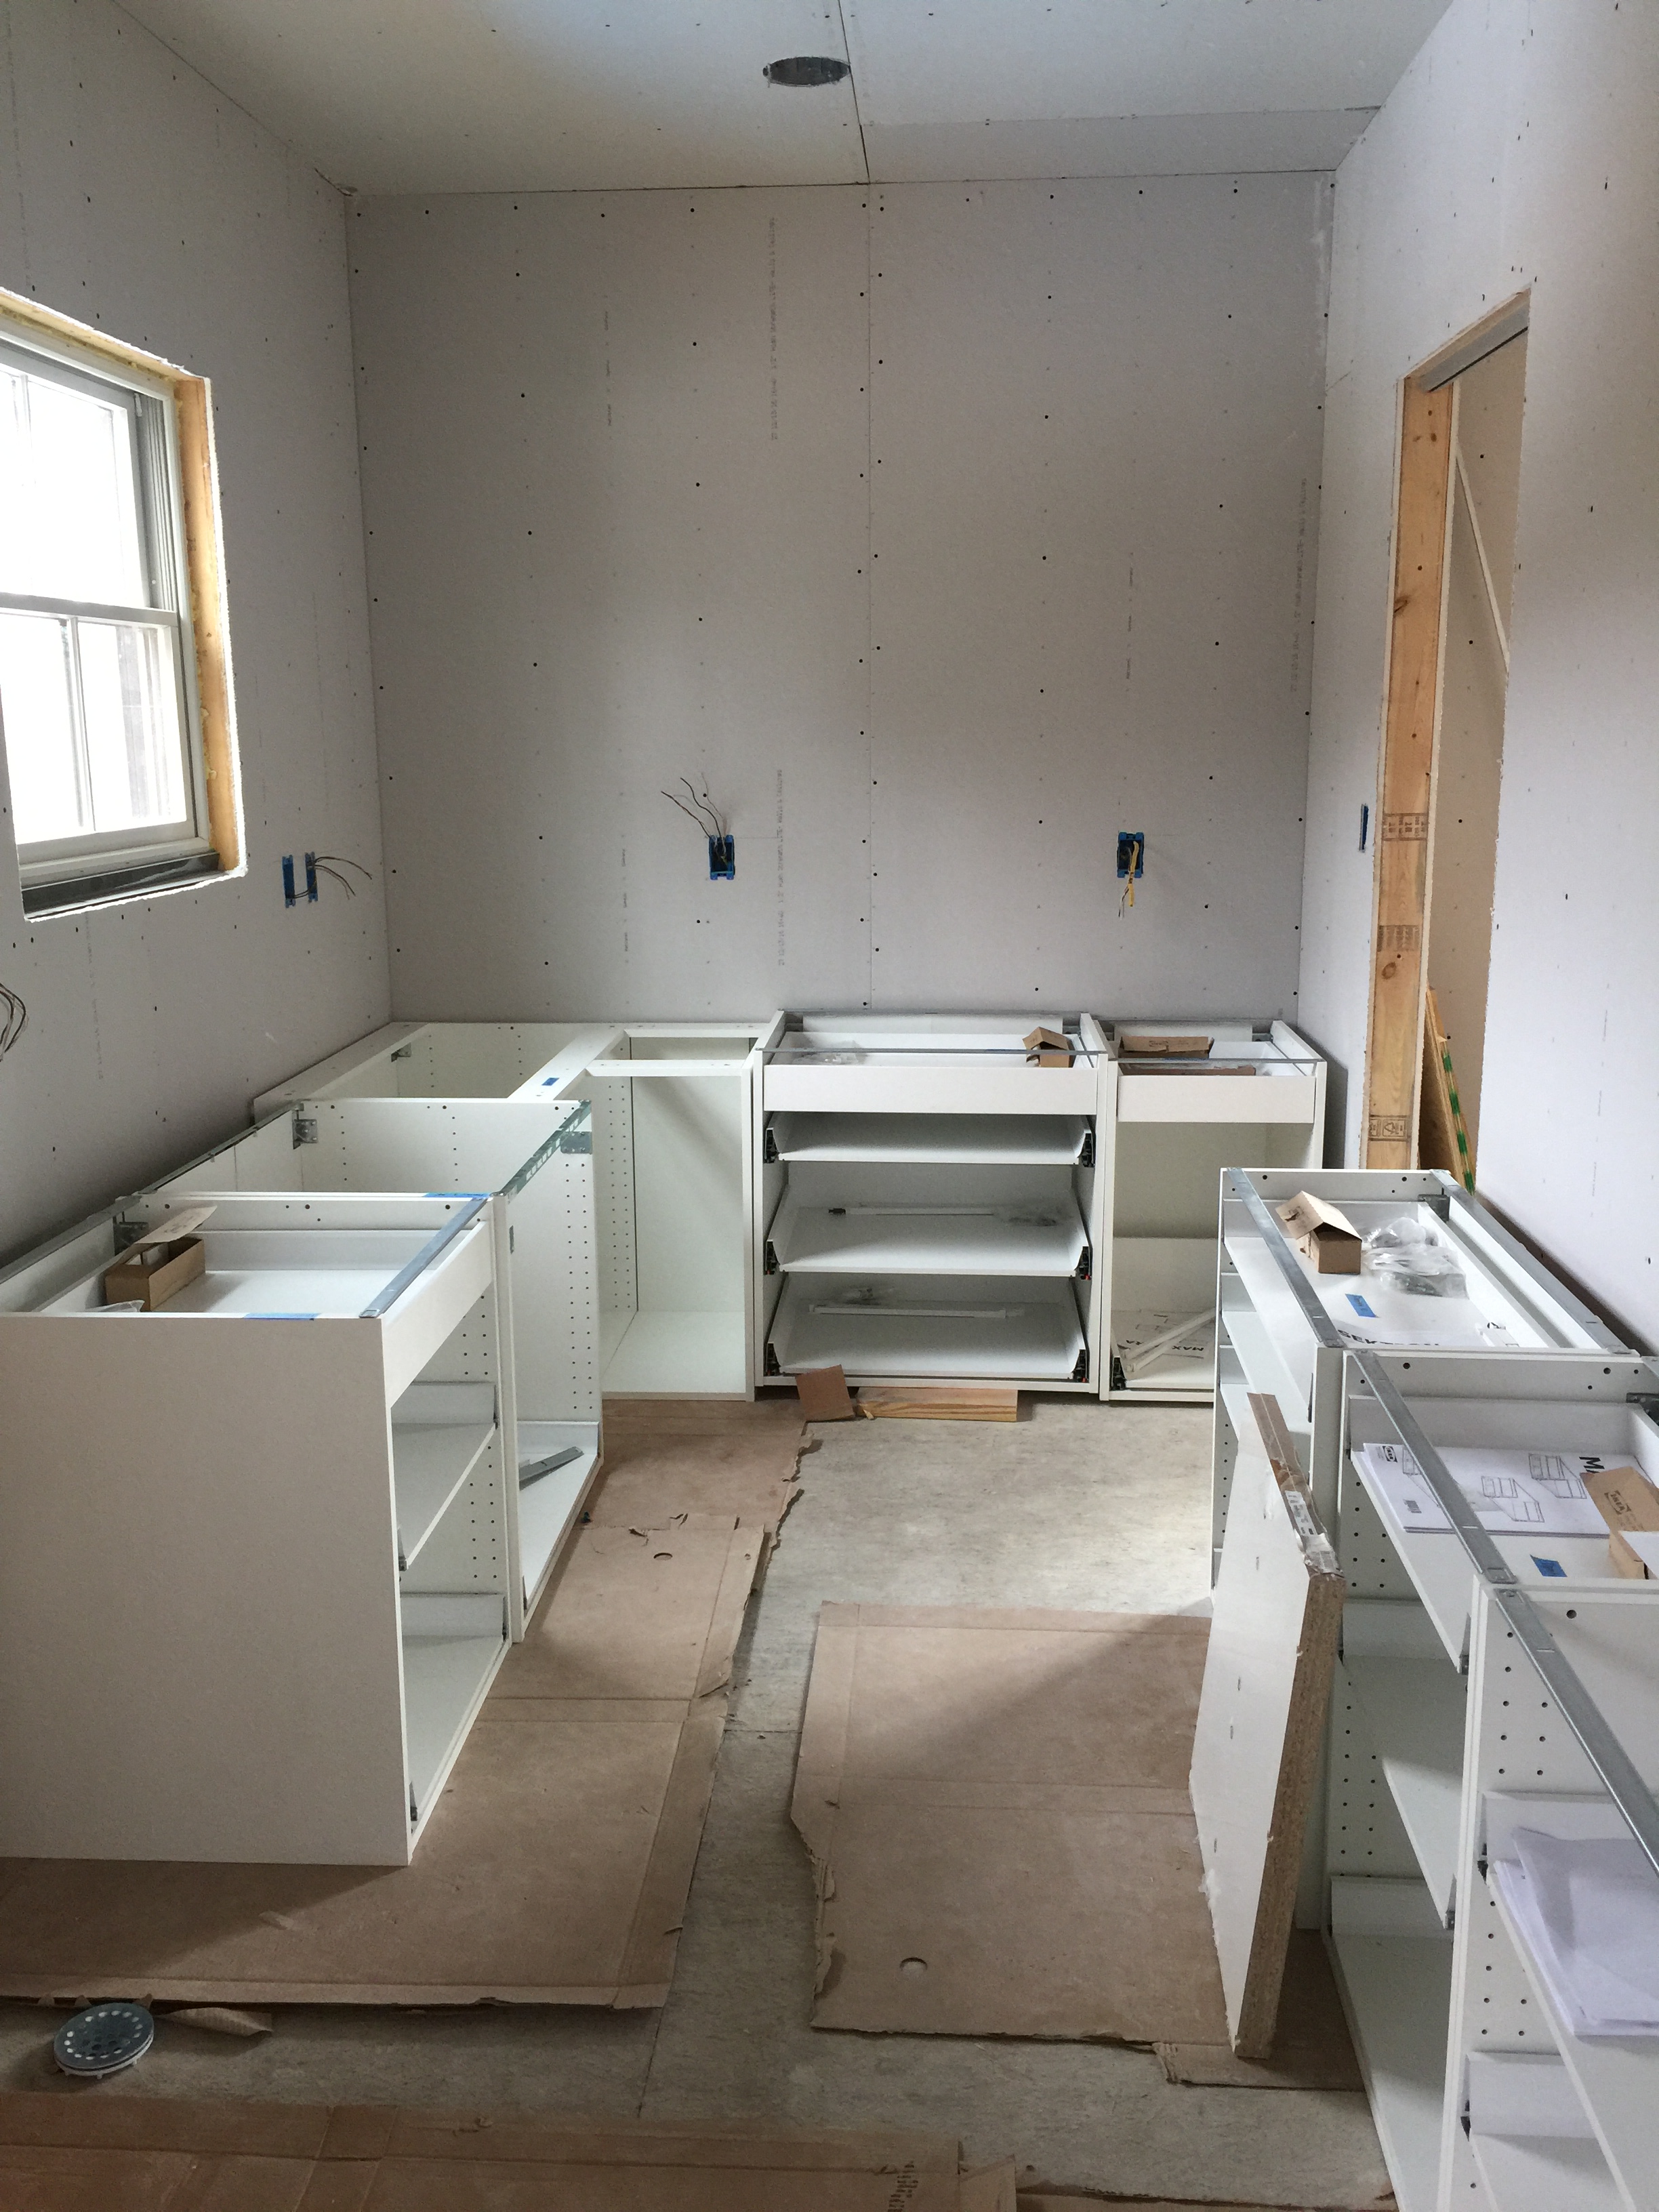
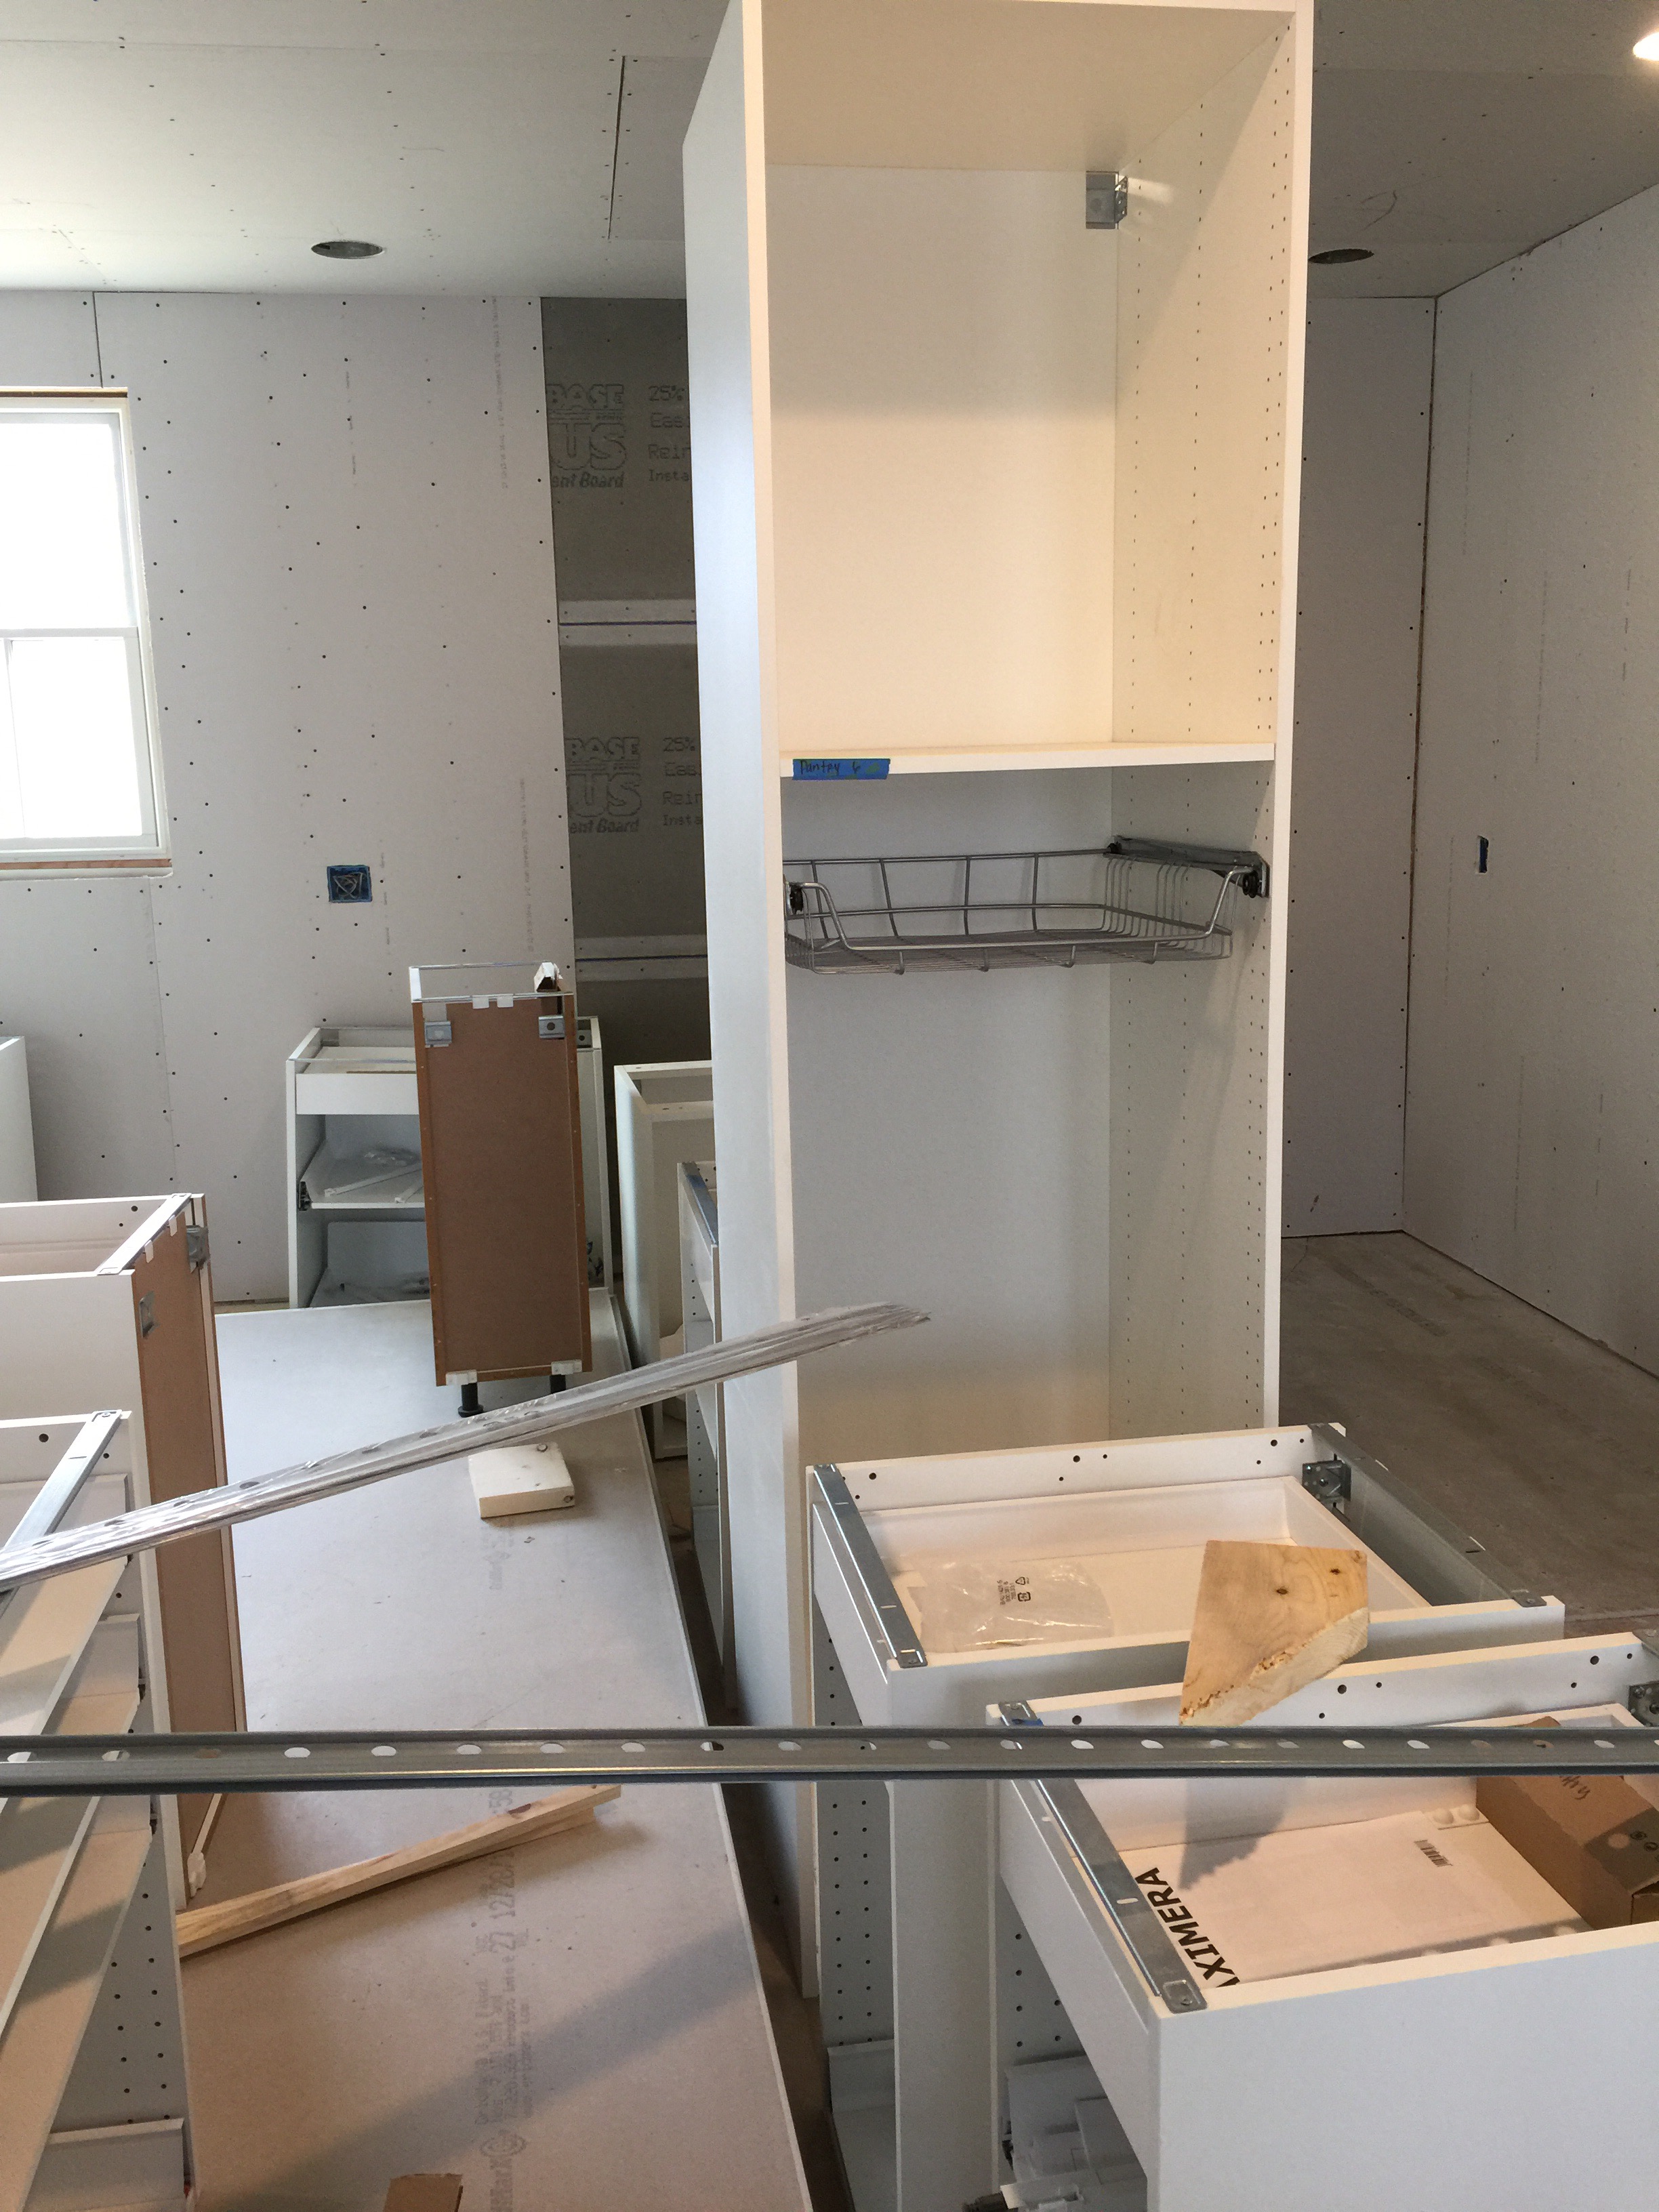
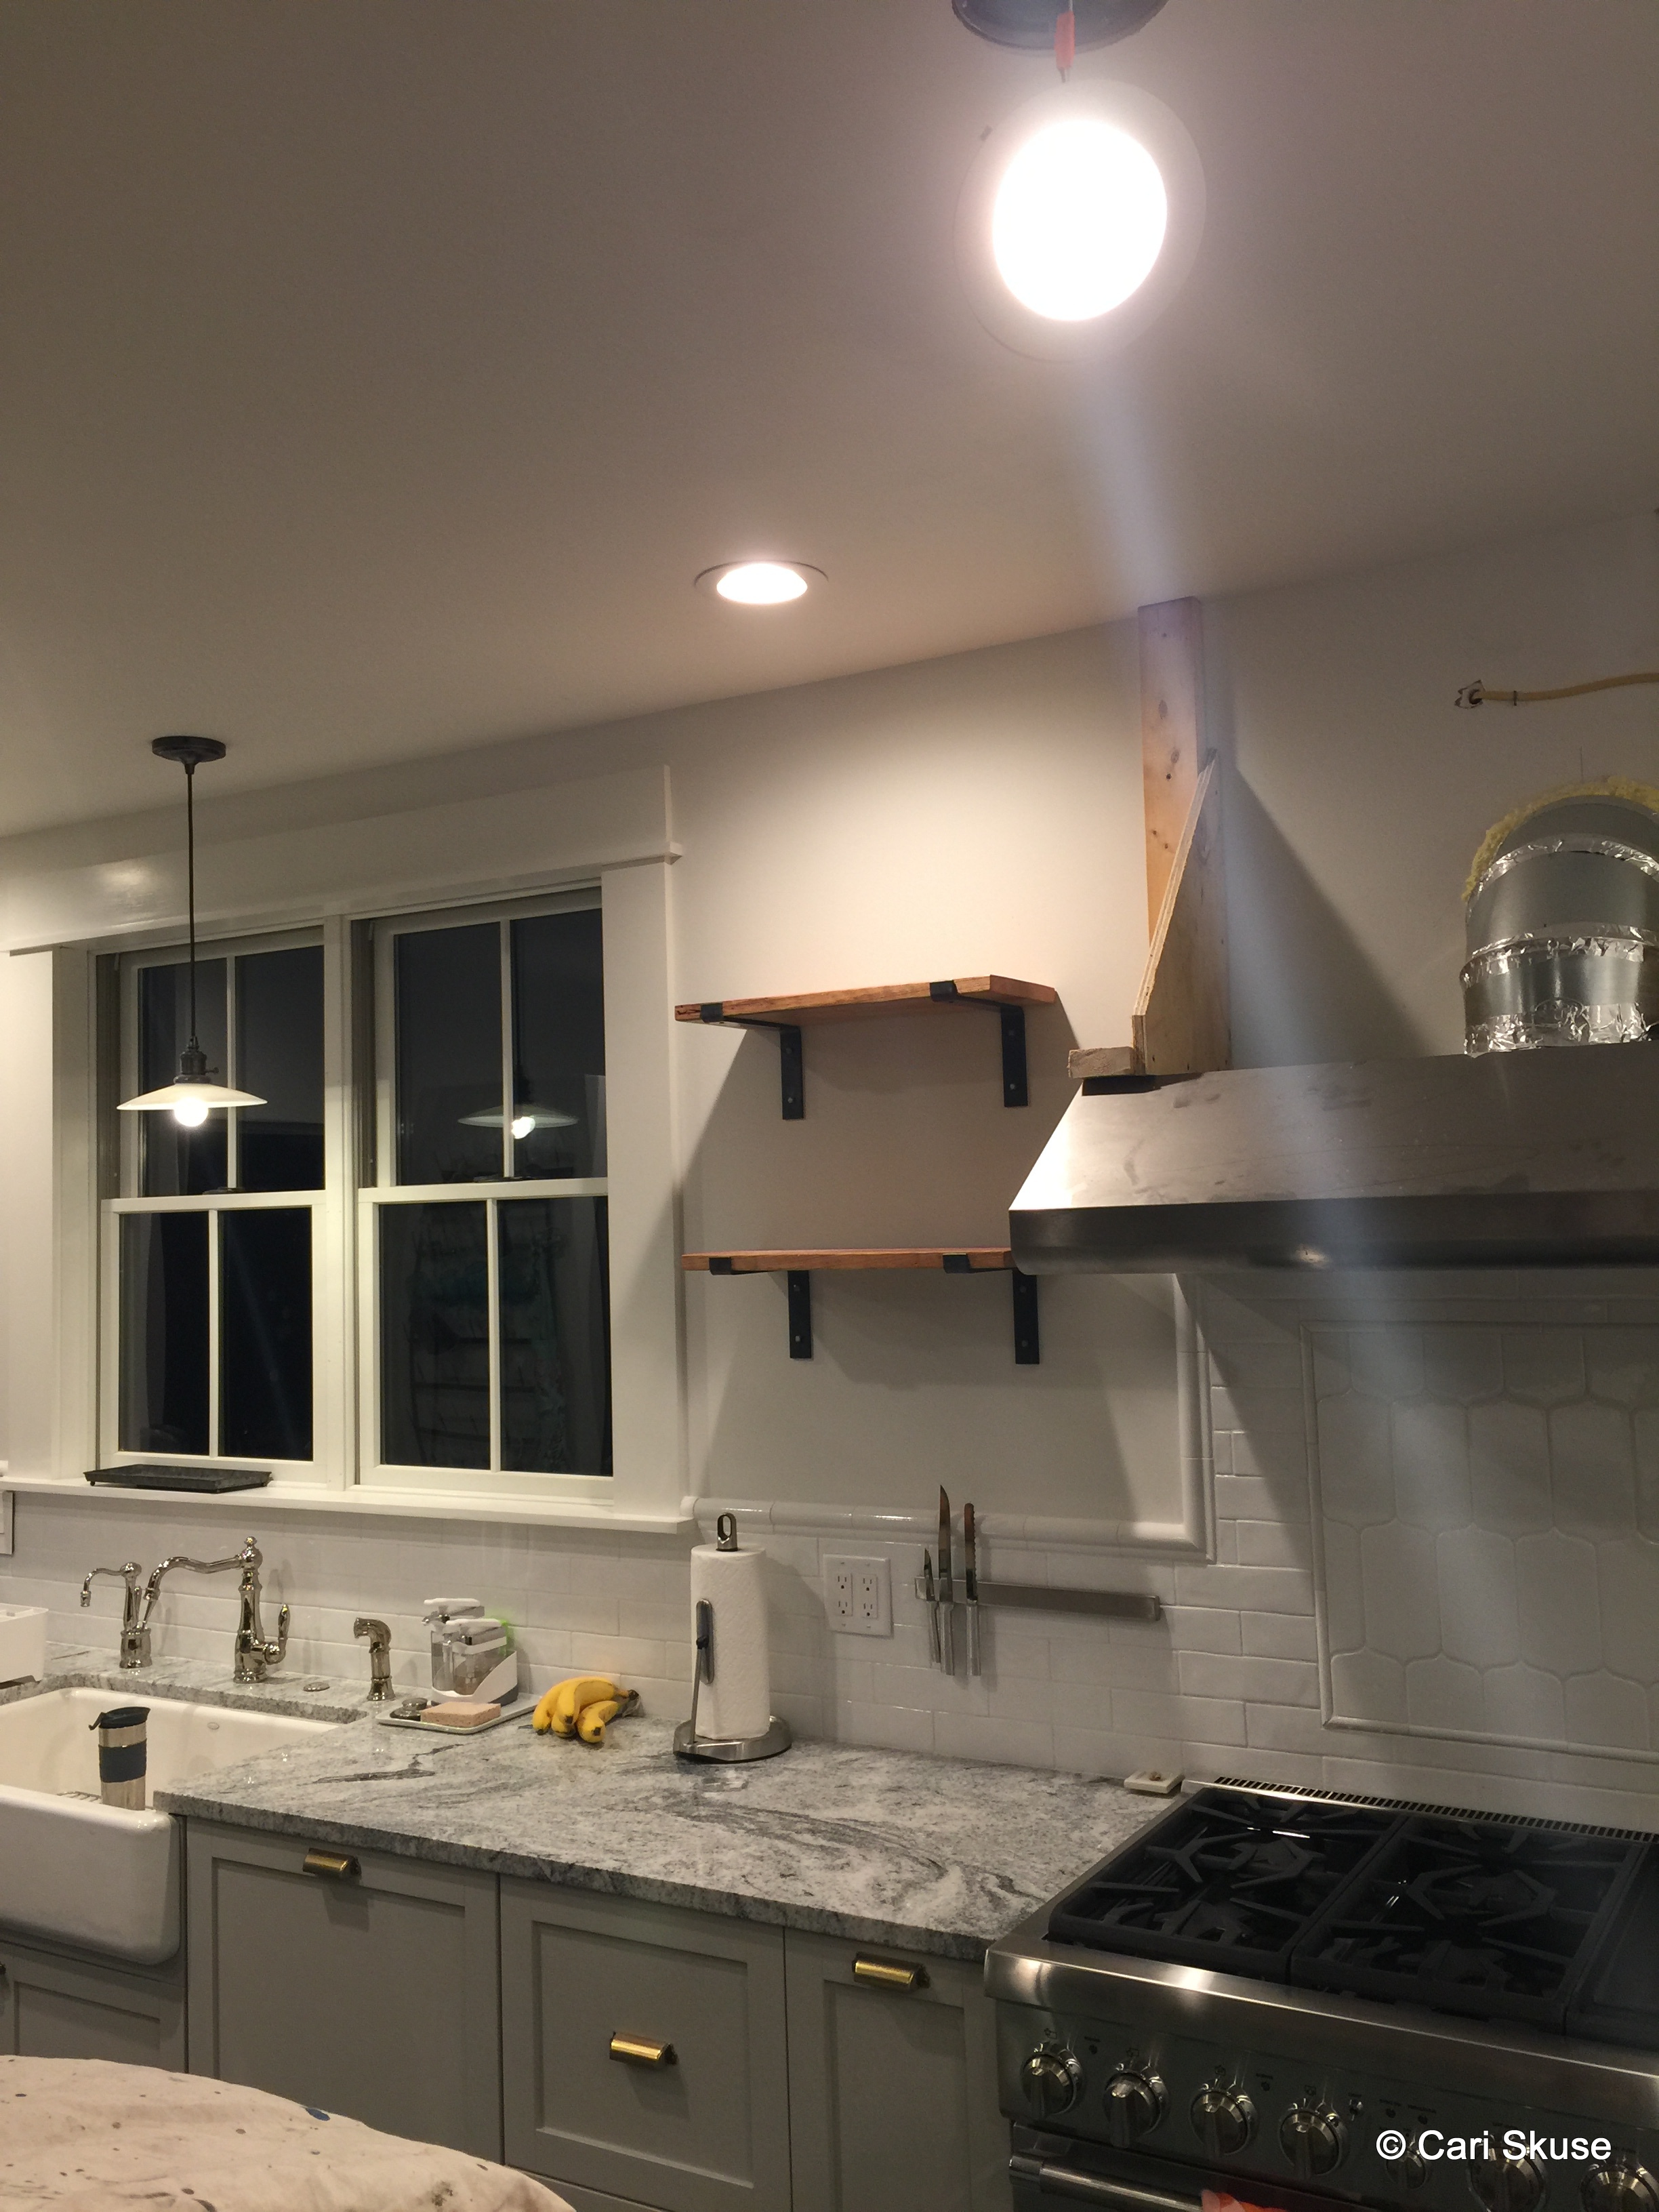

Kitchen

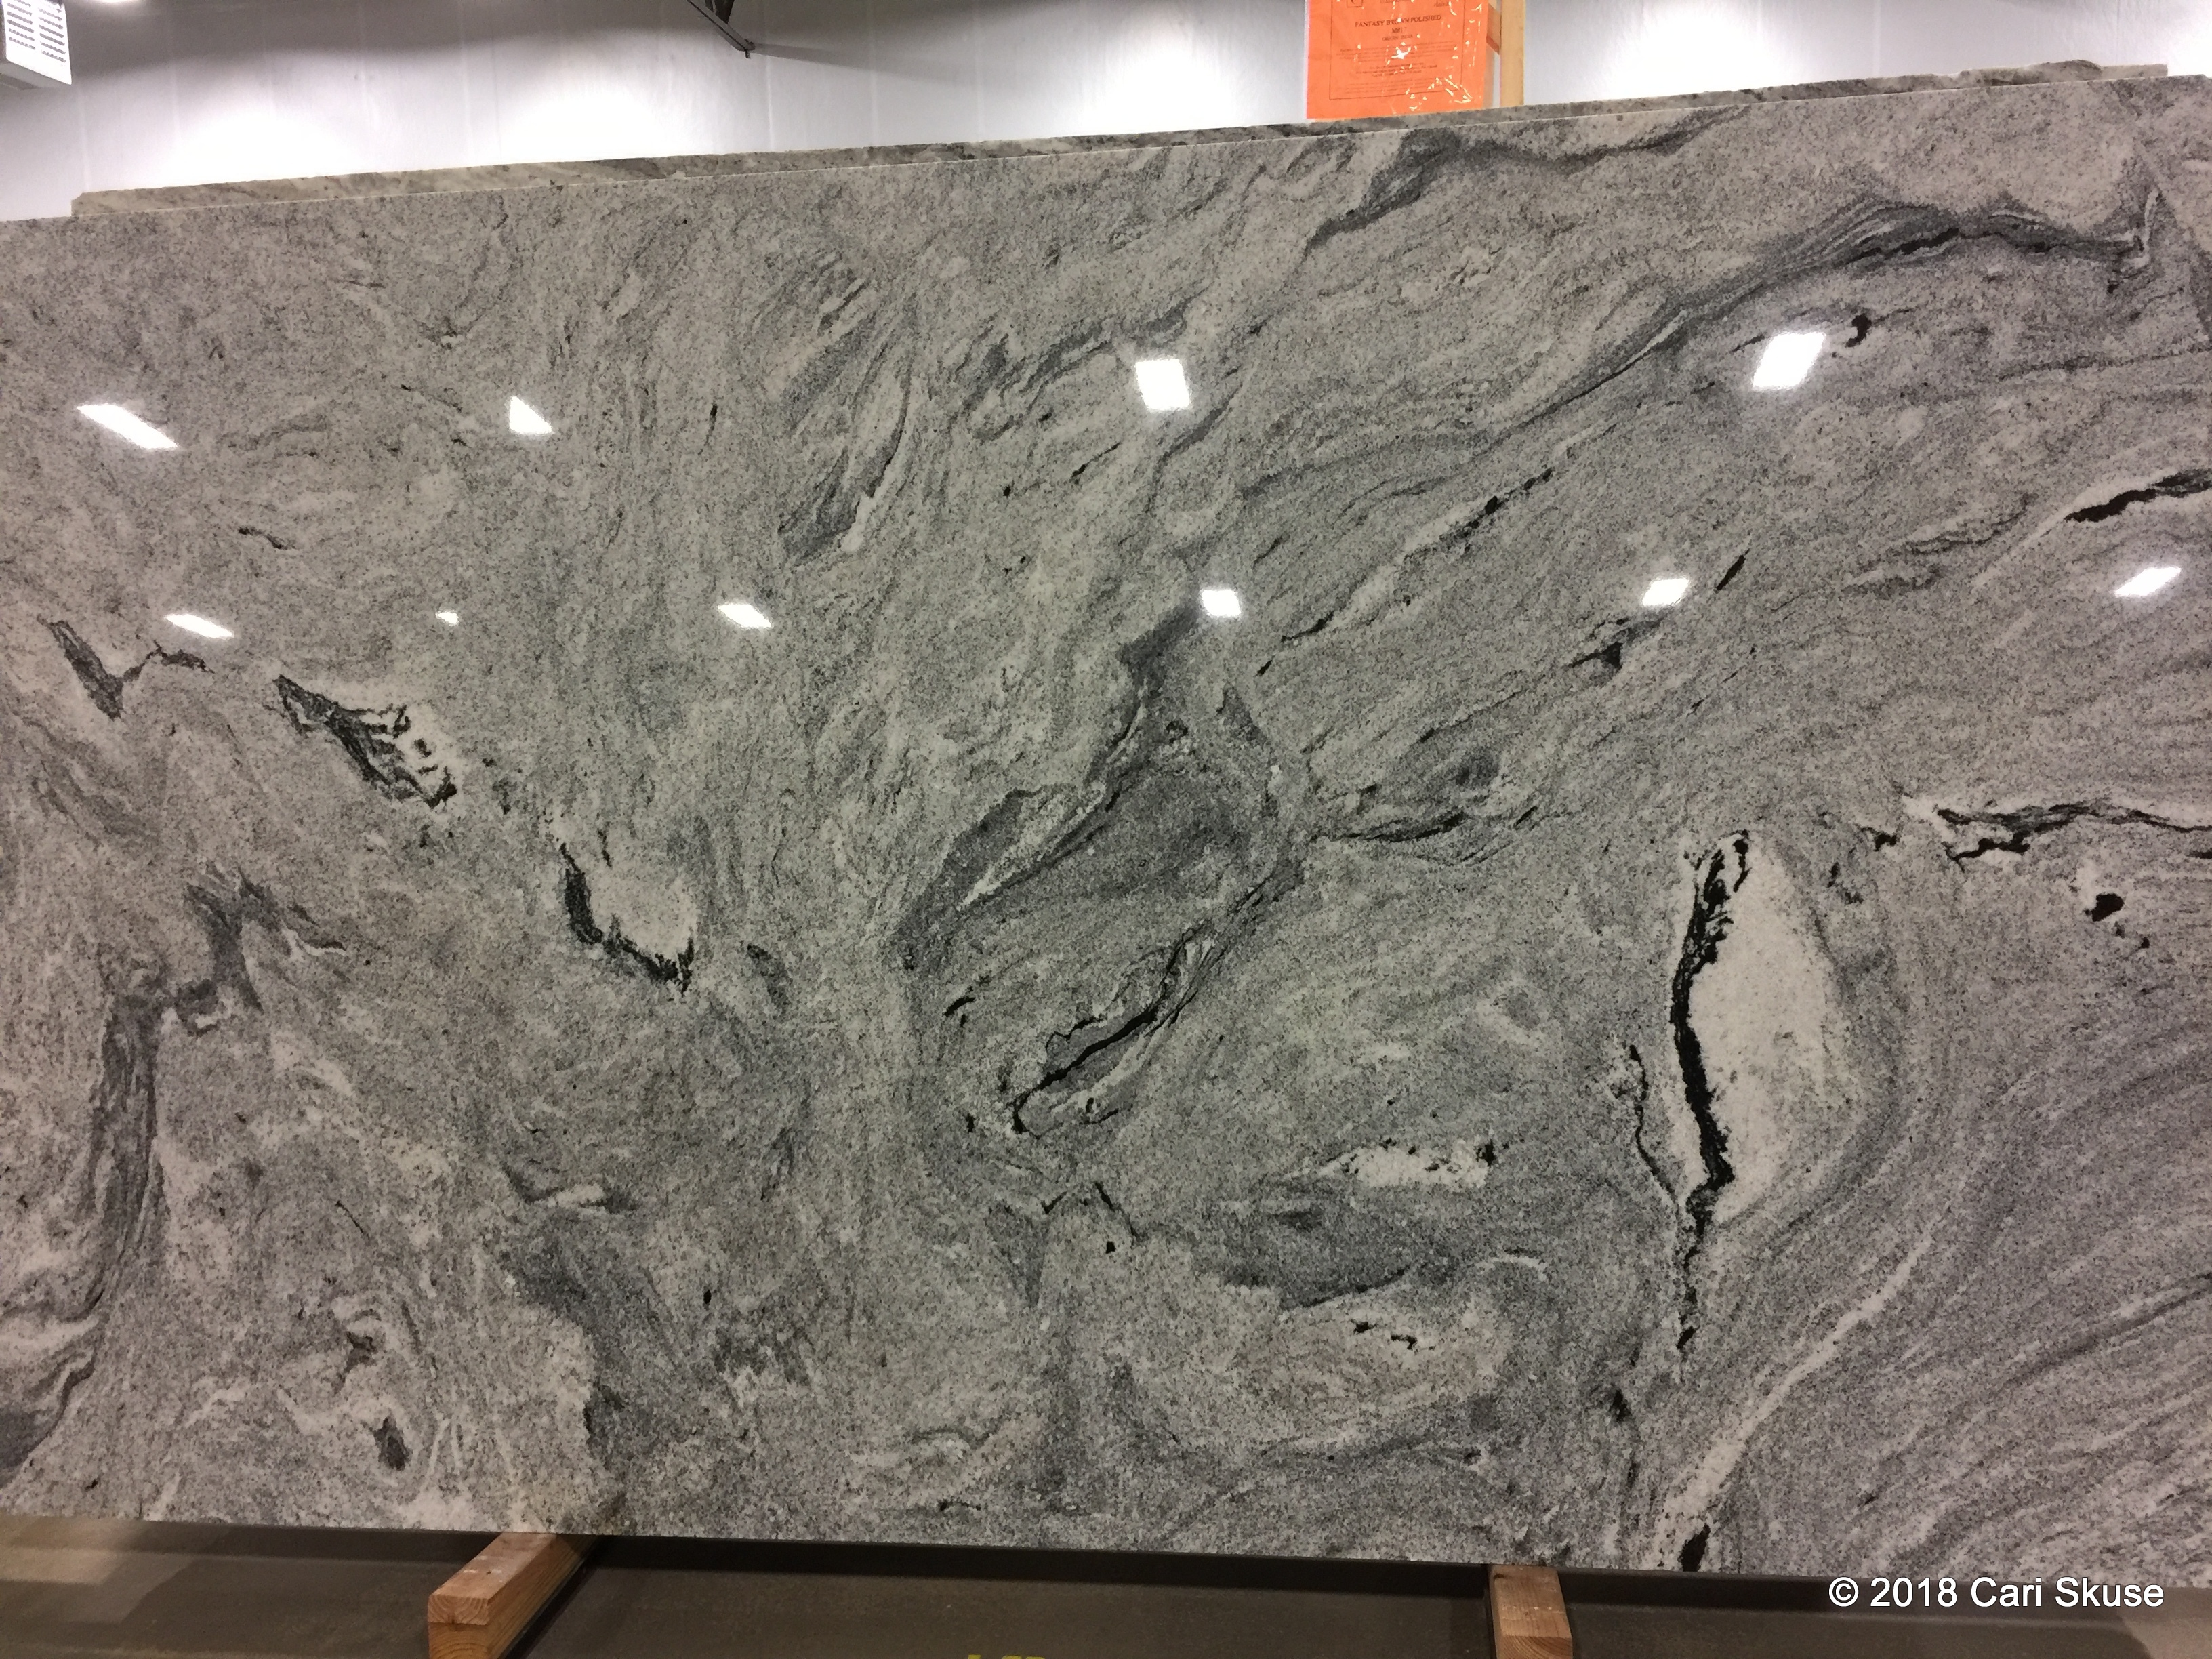
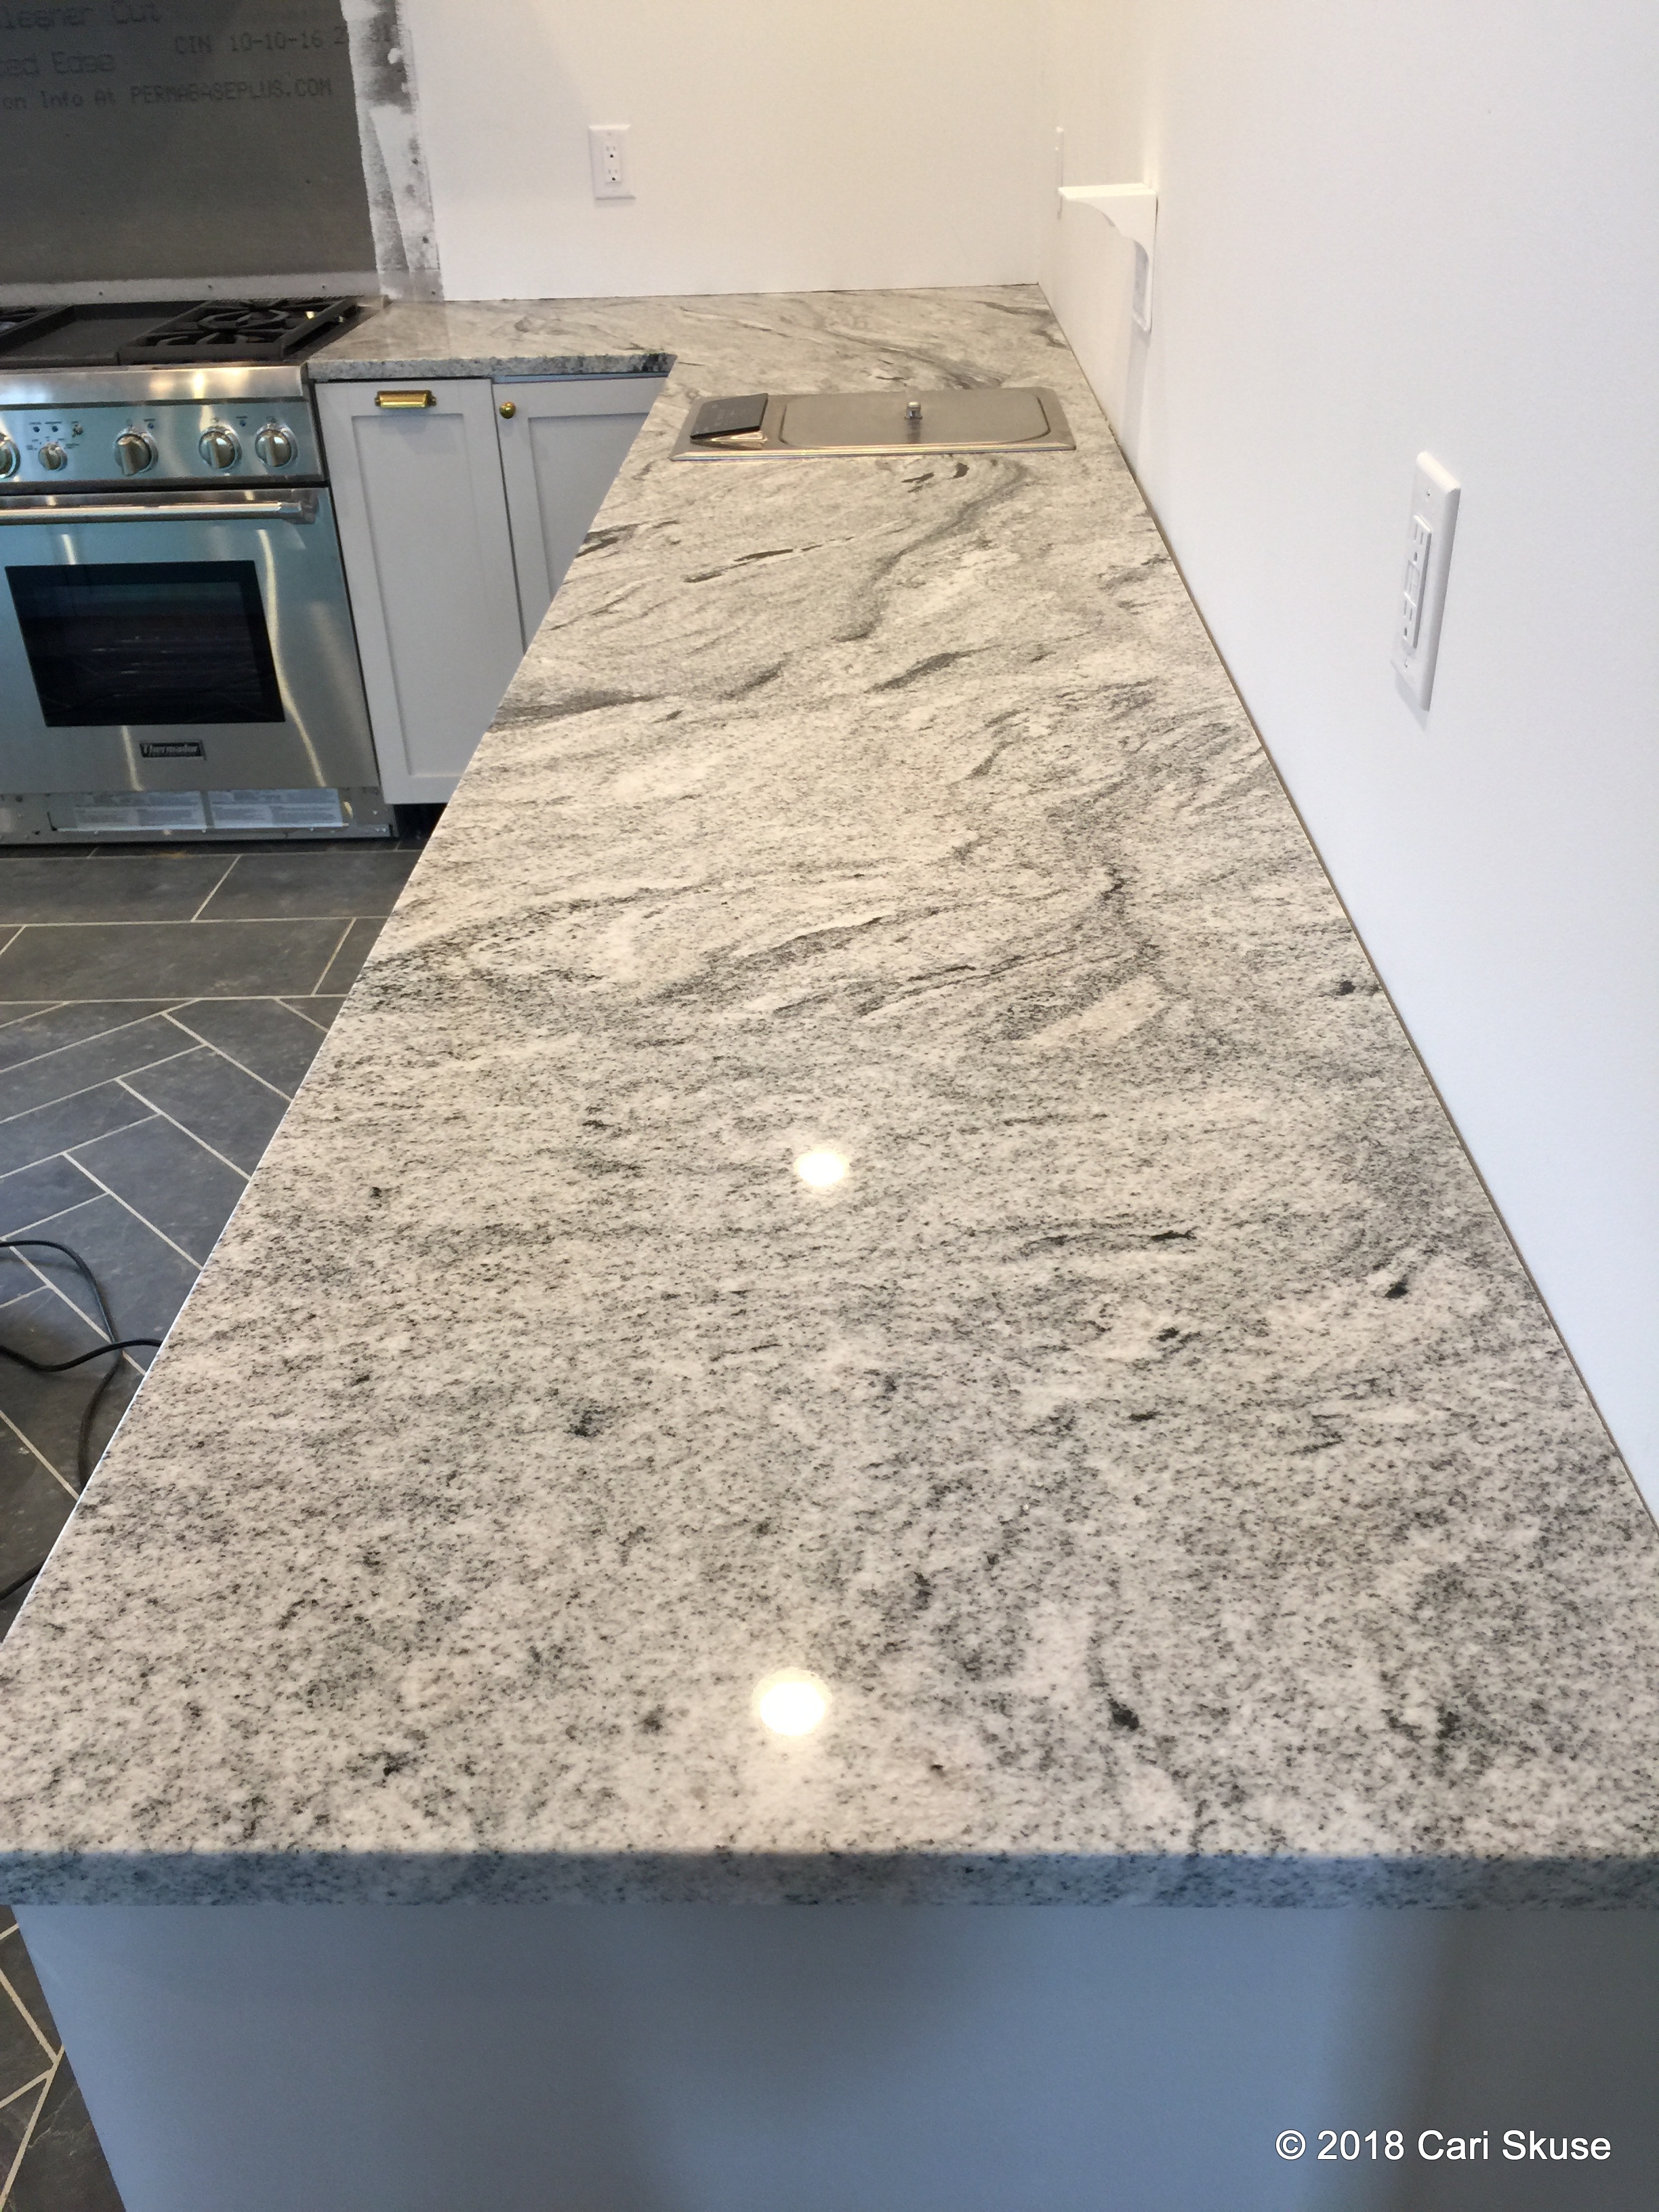
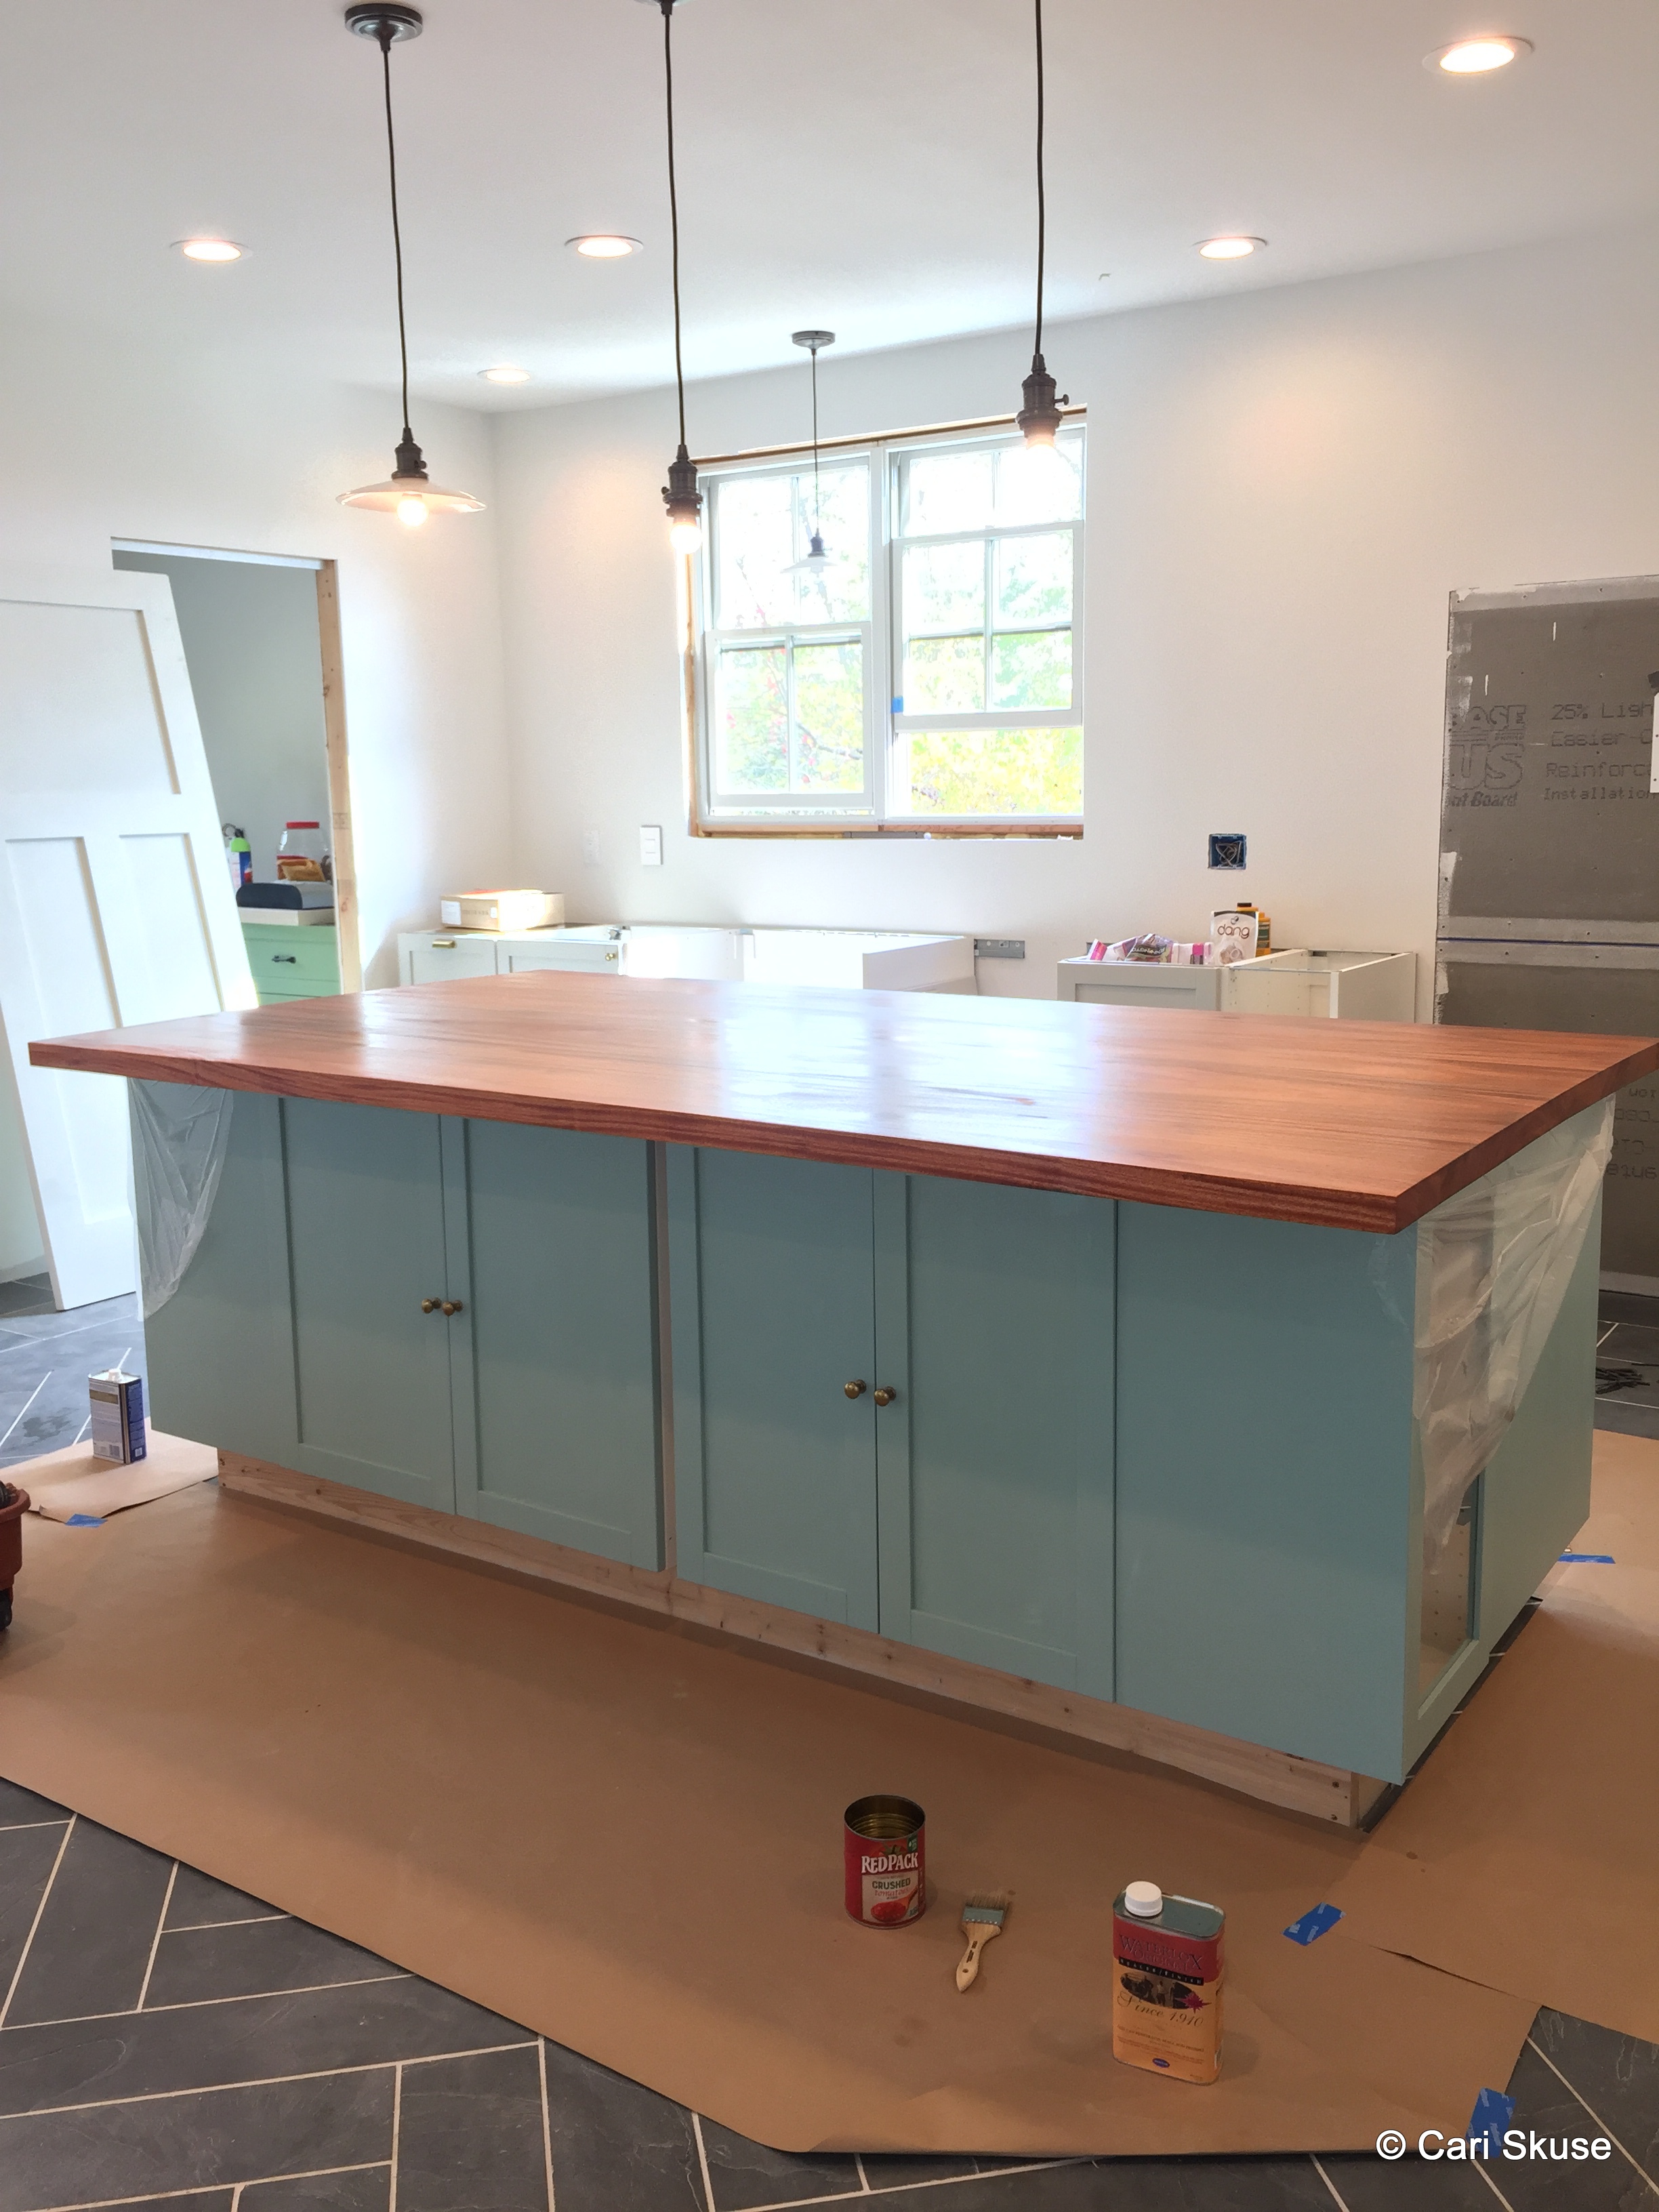
Lots of work has been completed here. I ordered a mahogany countertop for the island and it came out beautiful. I ordered it online and then, because we are close and my husband makes trips to Cleveland often, he picked it up at the plant to save on shipping charges.

I bought the unfinished countertop and finished it myself with Waterlox. It was easy, just time-consuming and smelly. Each side has at least 4 coats applied.

IMG_3346

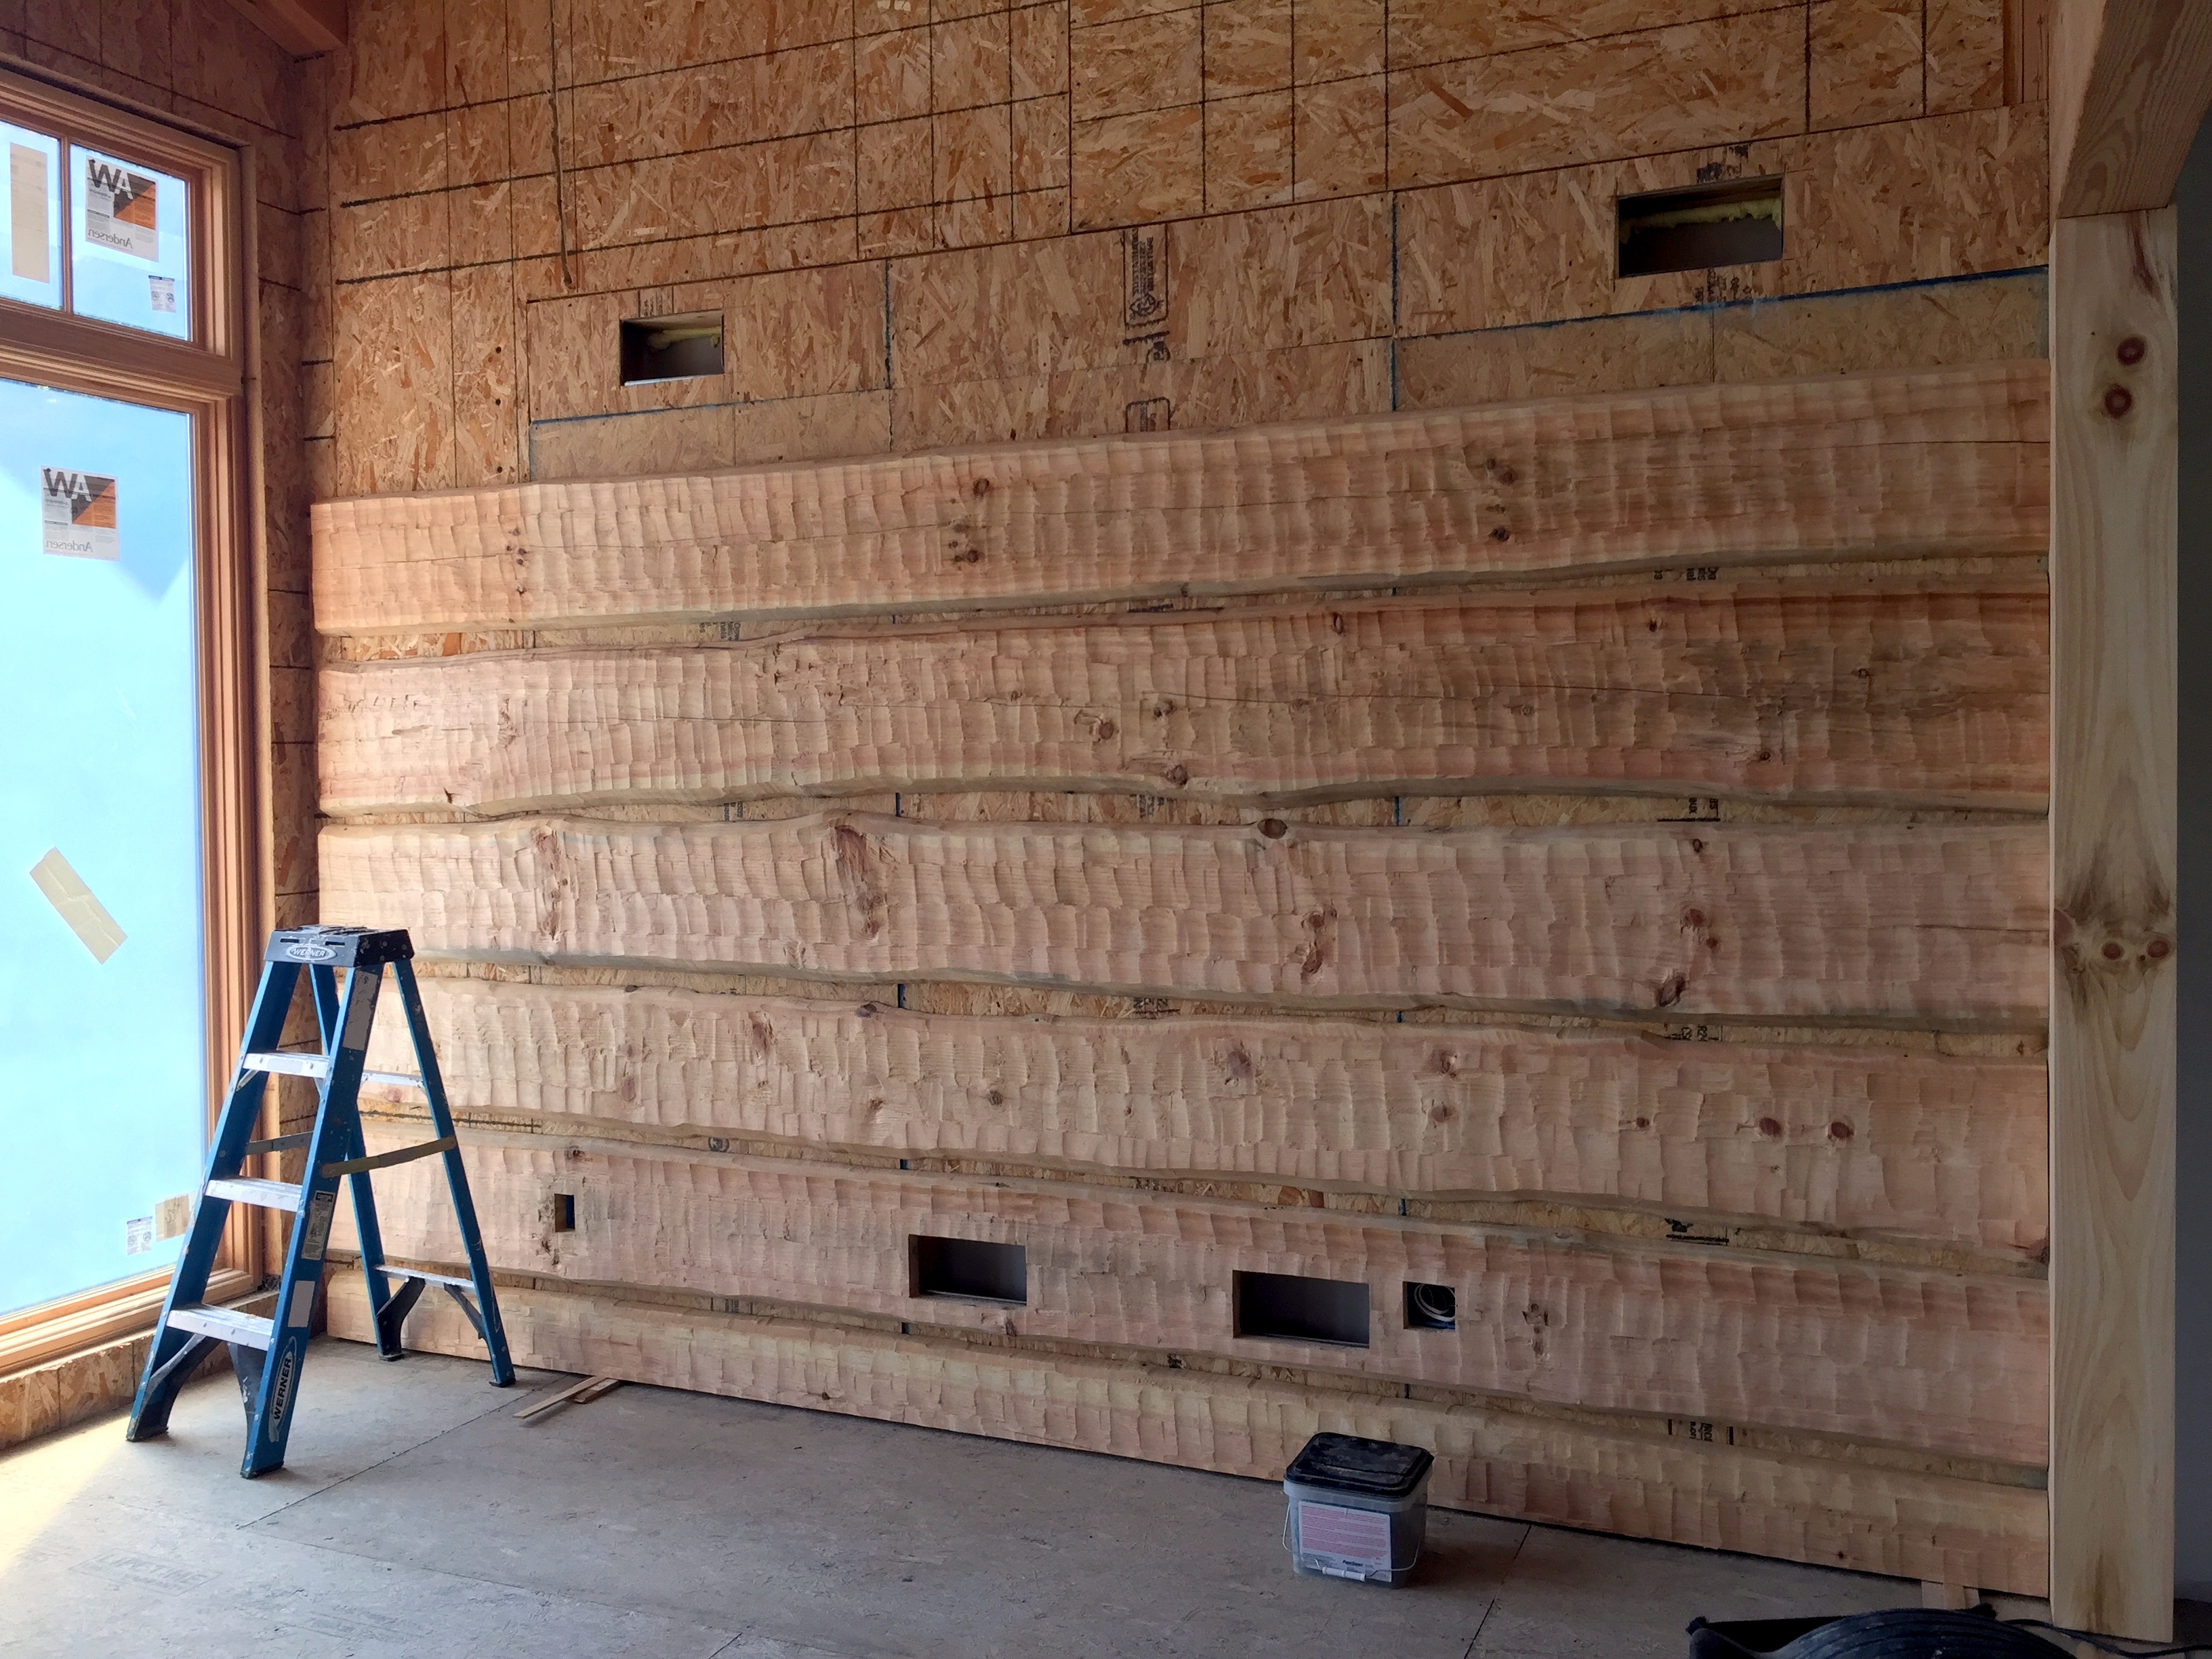
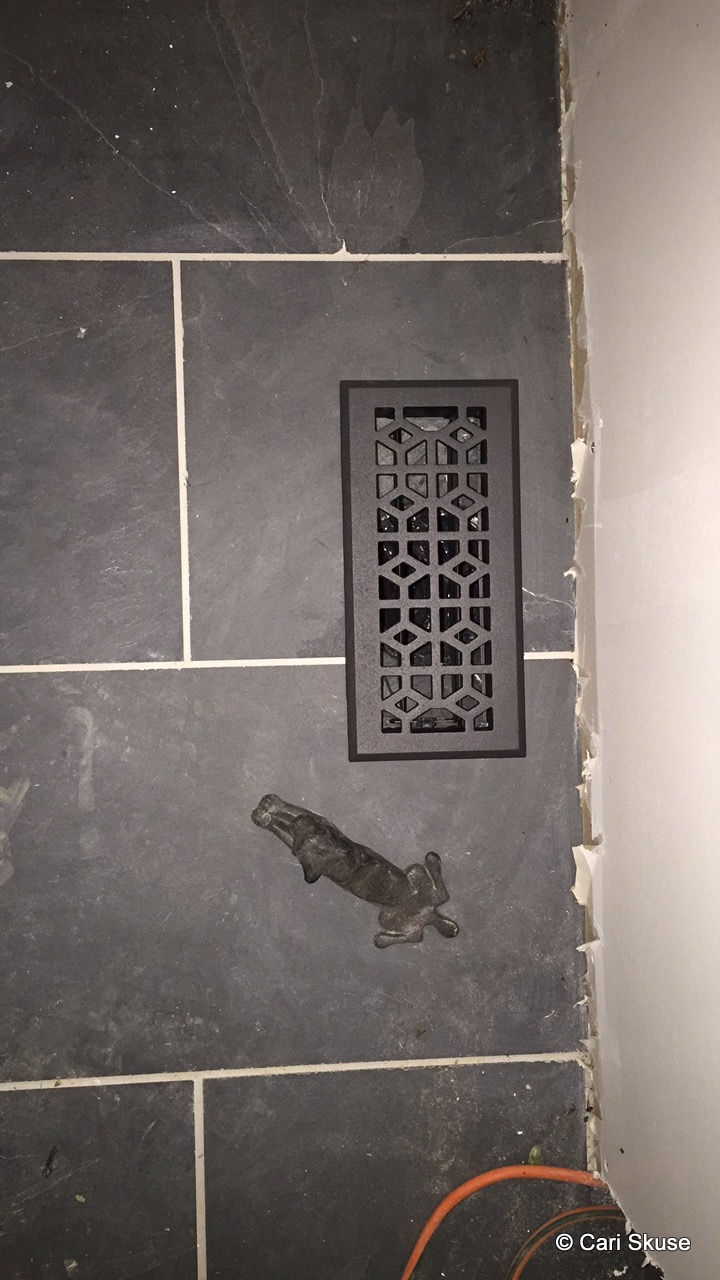
I also found all my registers. These were a surprise find at Lowe’s. I hate the cheap metal ones that bend and rust. These are cast-iron! There is also a matching version that I adapted to use for my lower wall vents.

IMG_3375

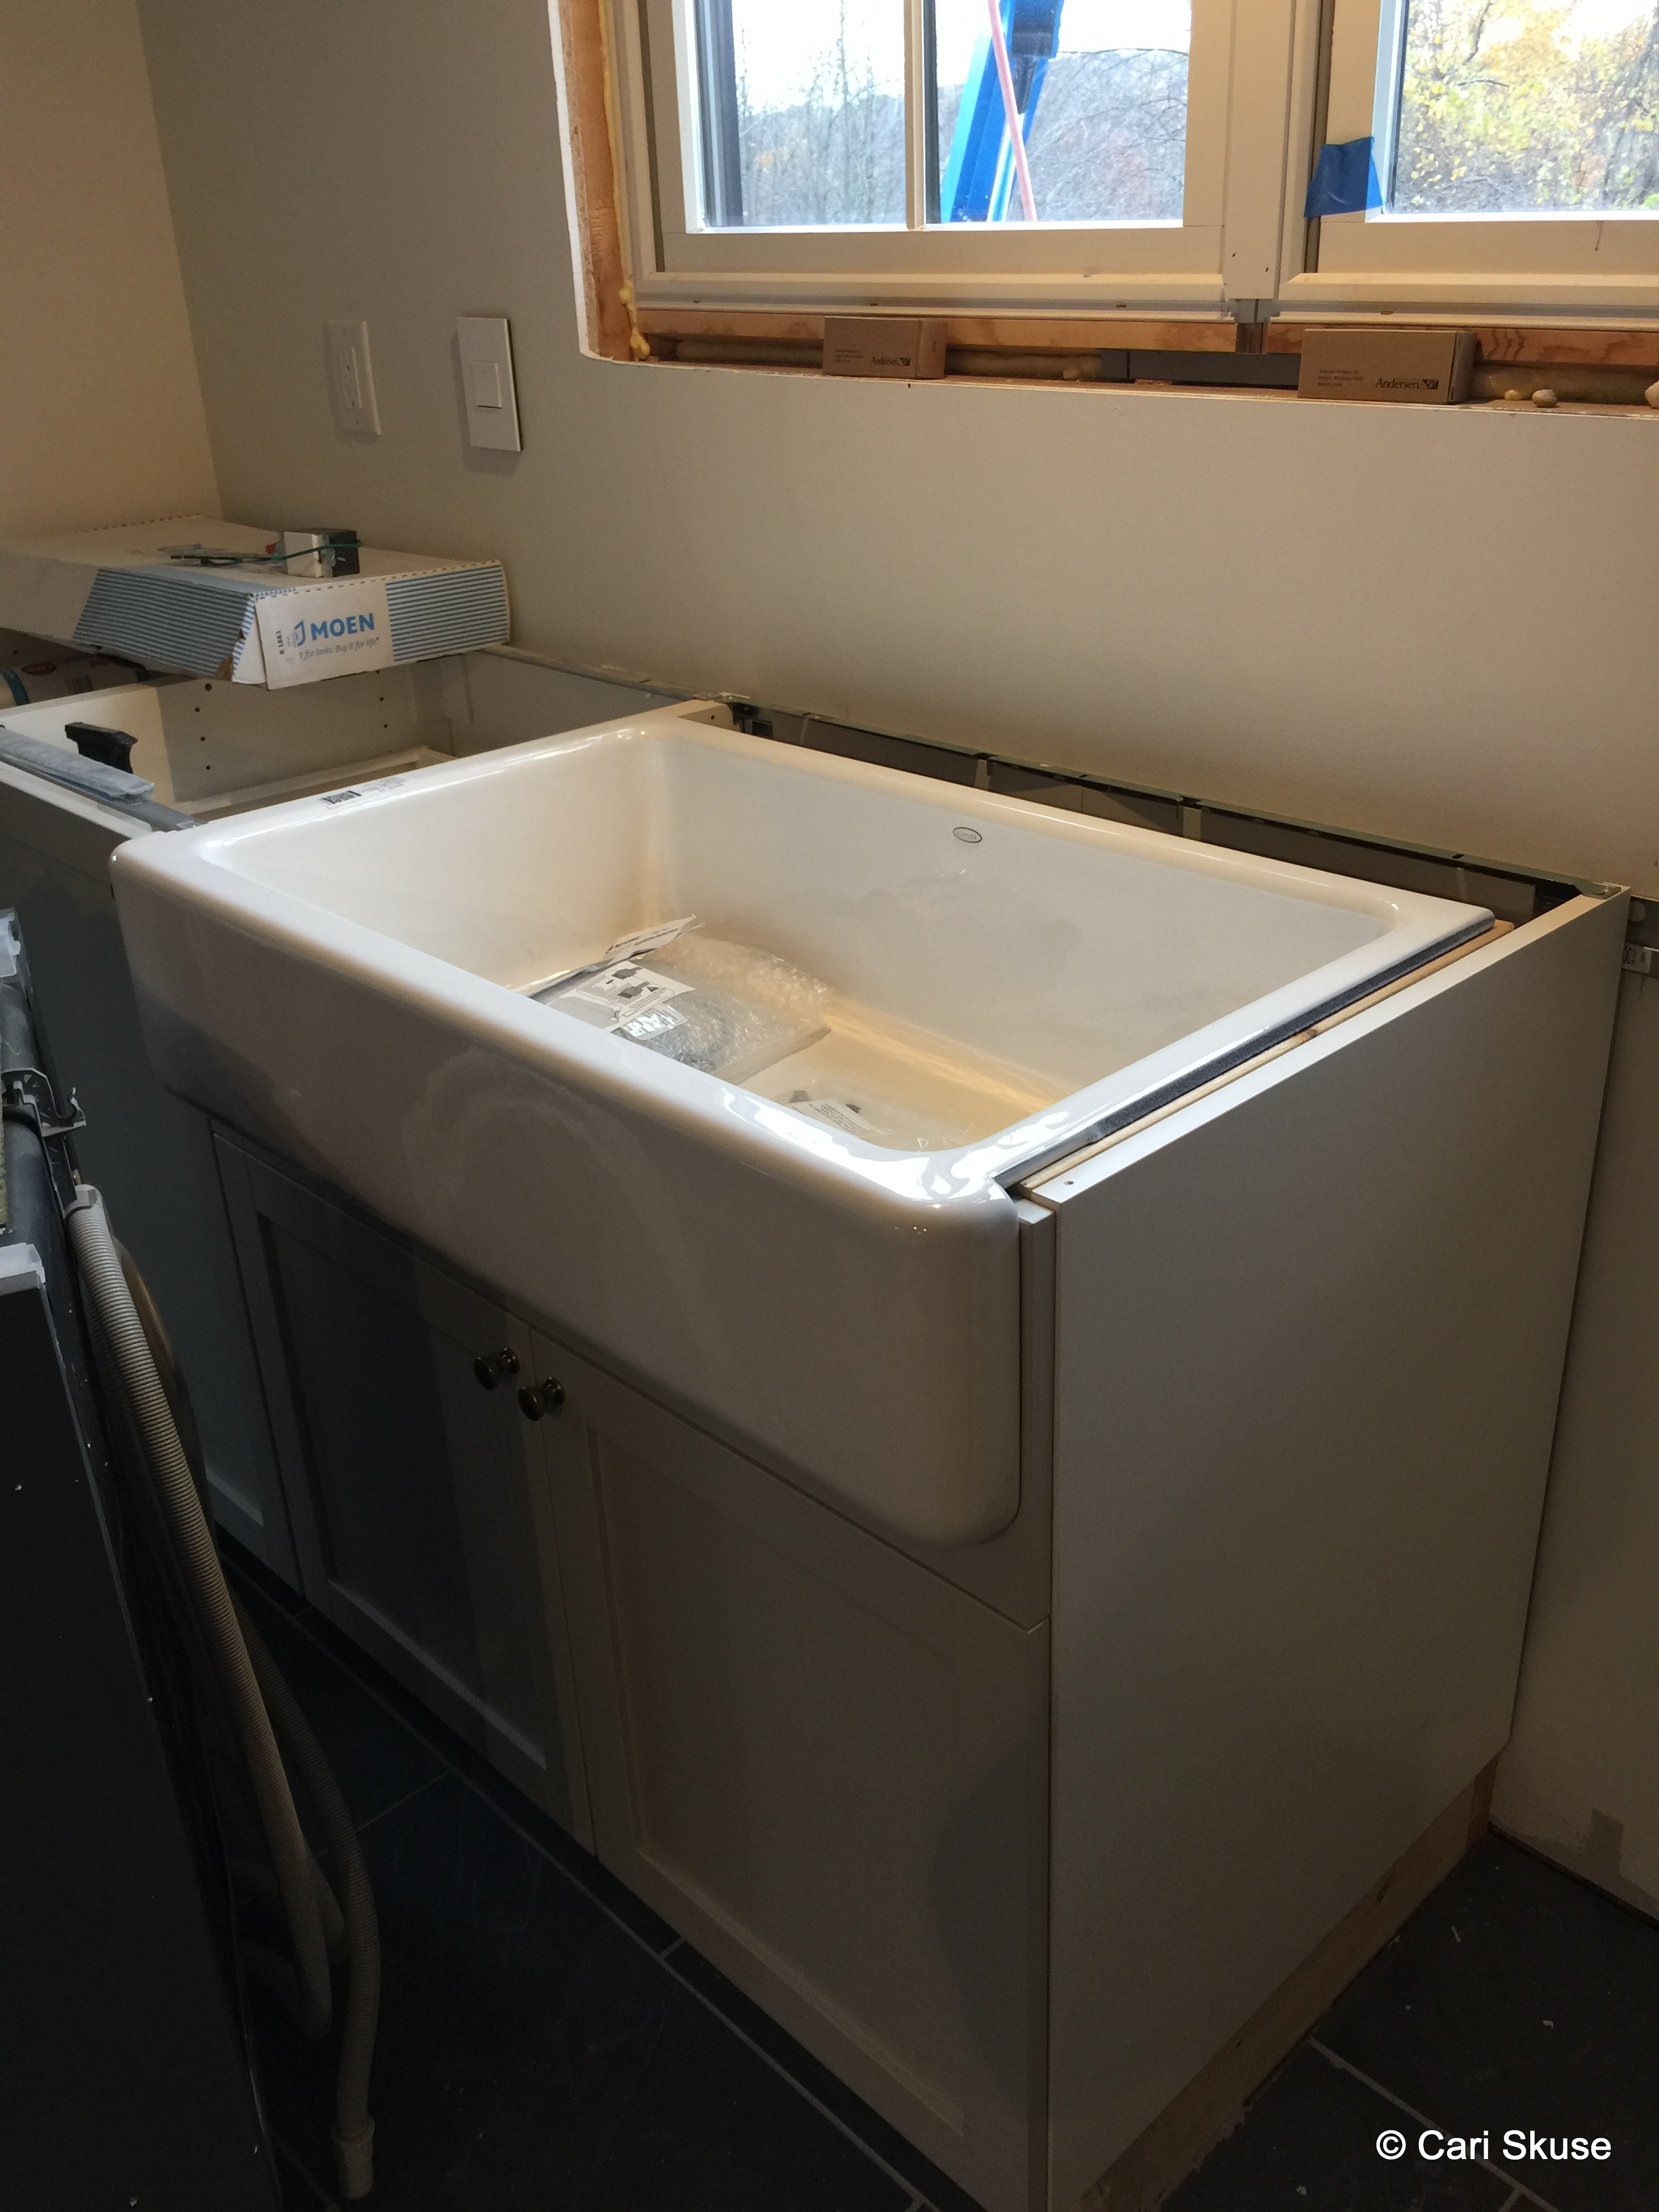
The kitchen sink was installed after the bottom bracing was built and we cut the apron for it to fit. This weighs a ton and was a long-ago eBay purchase.

IMG_3430

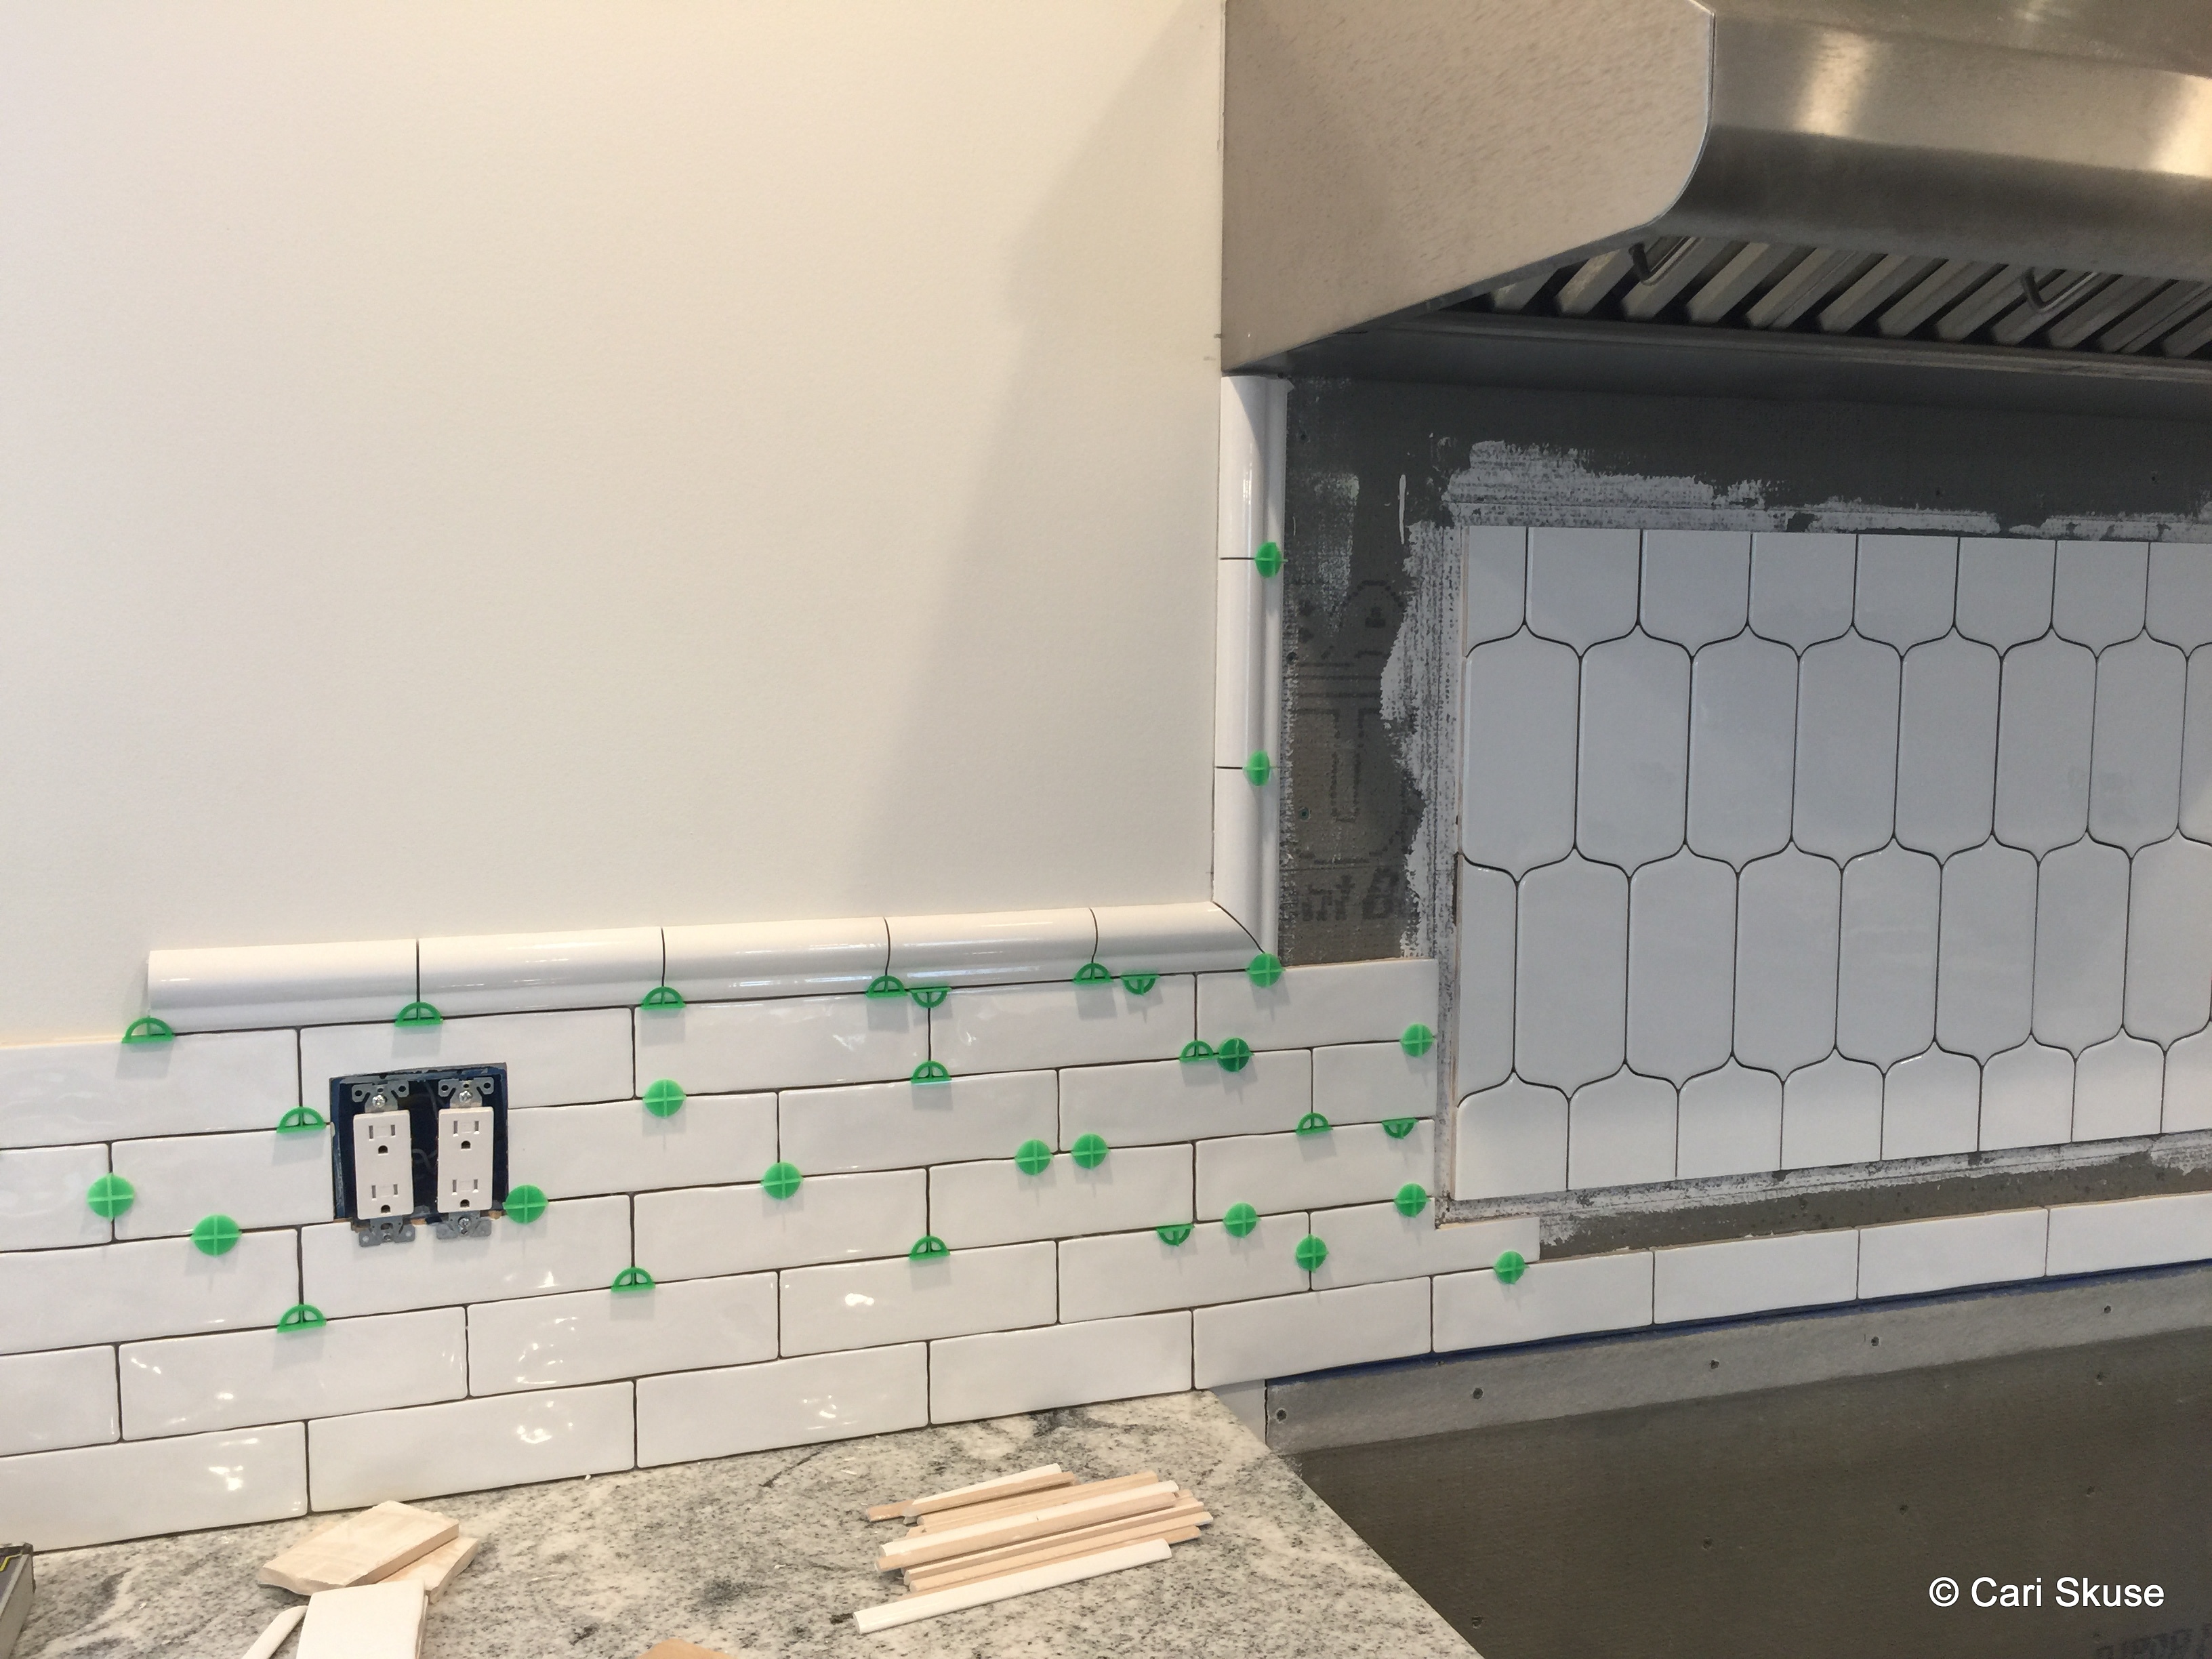
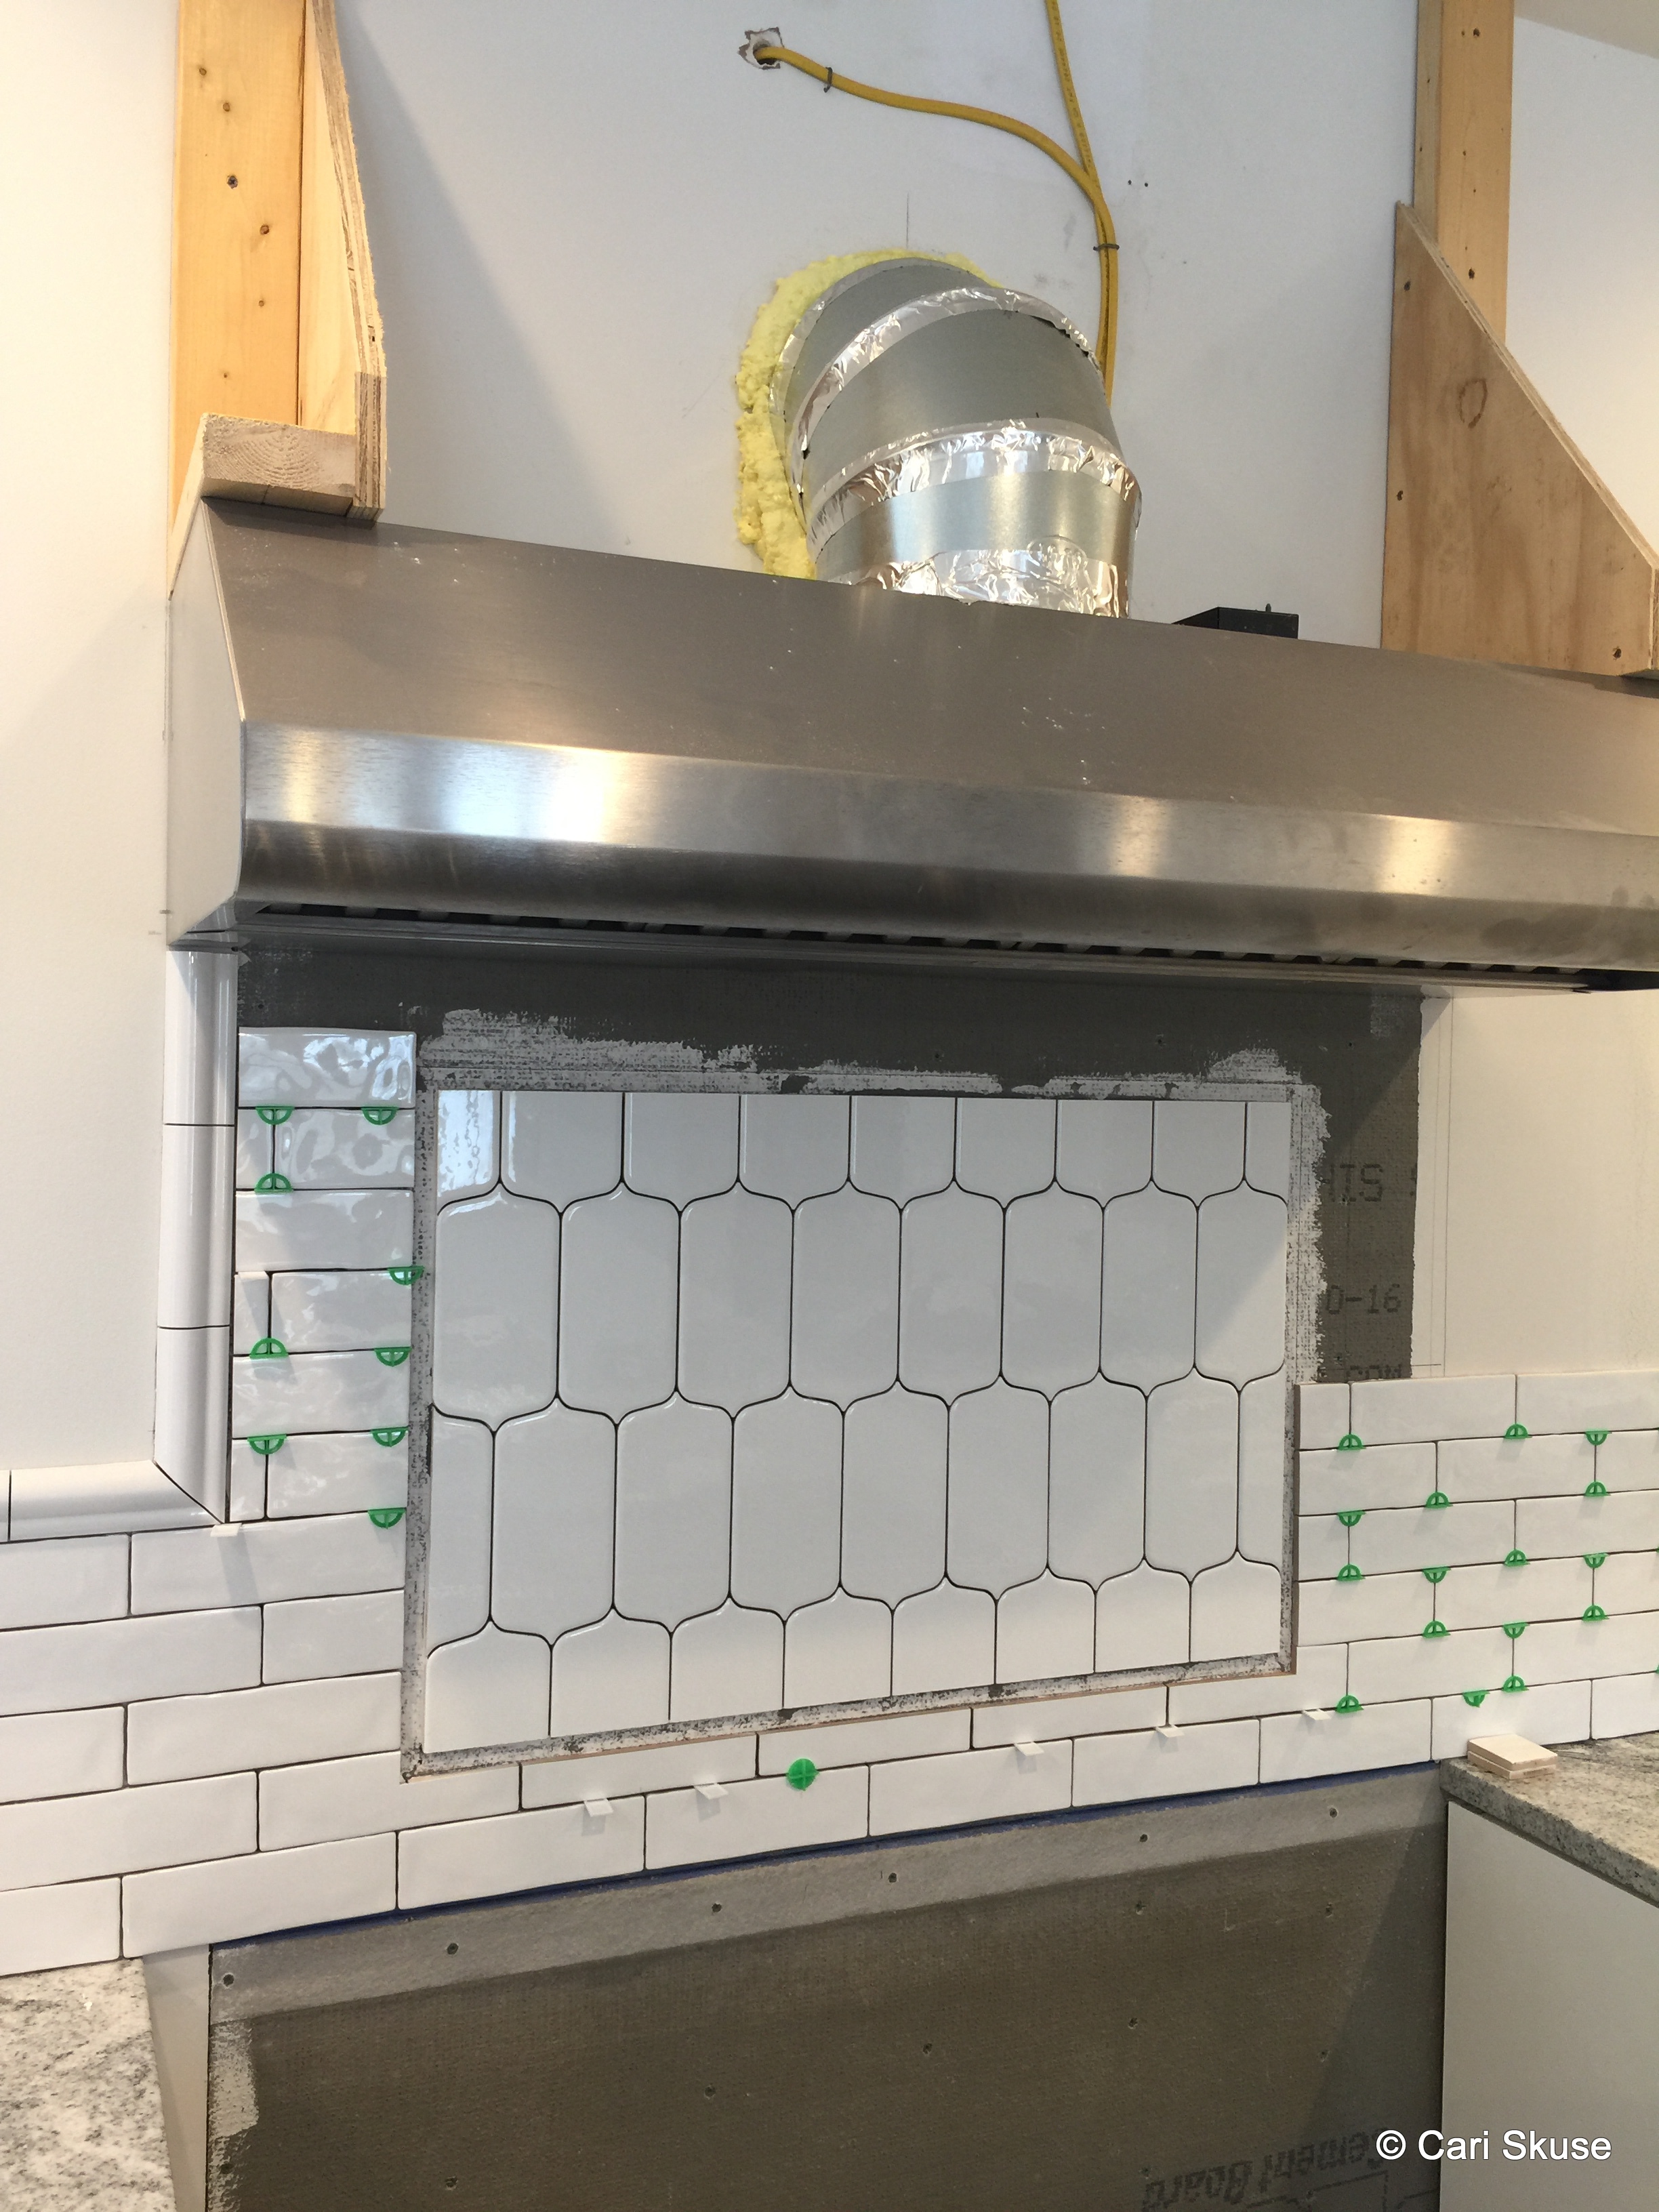
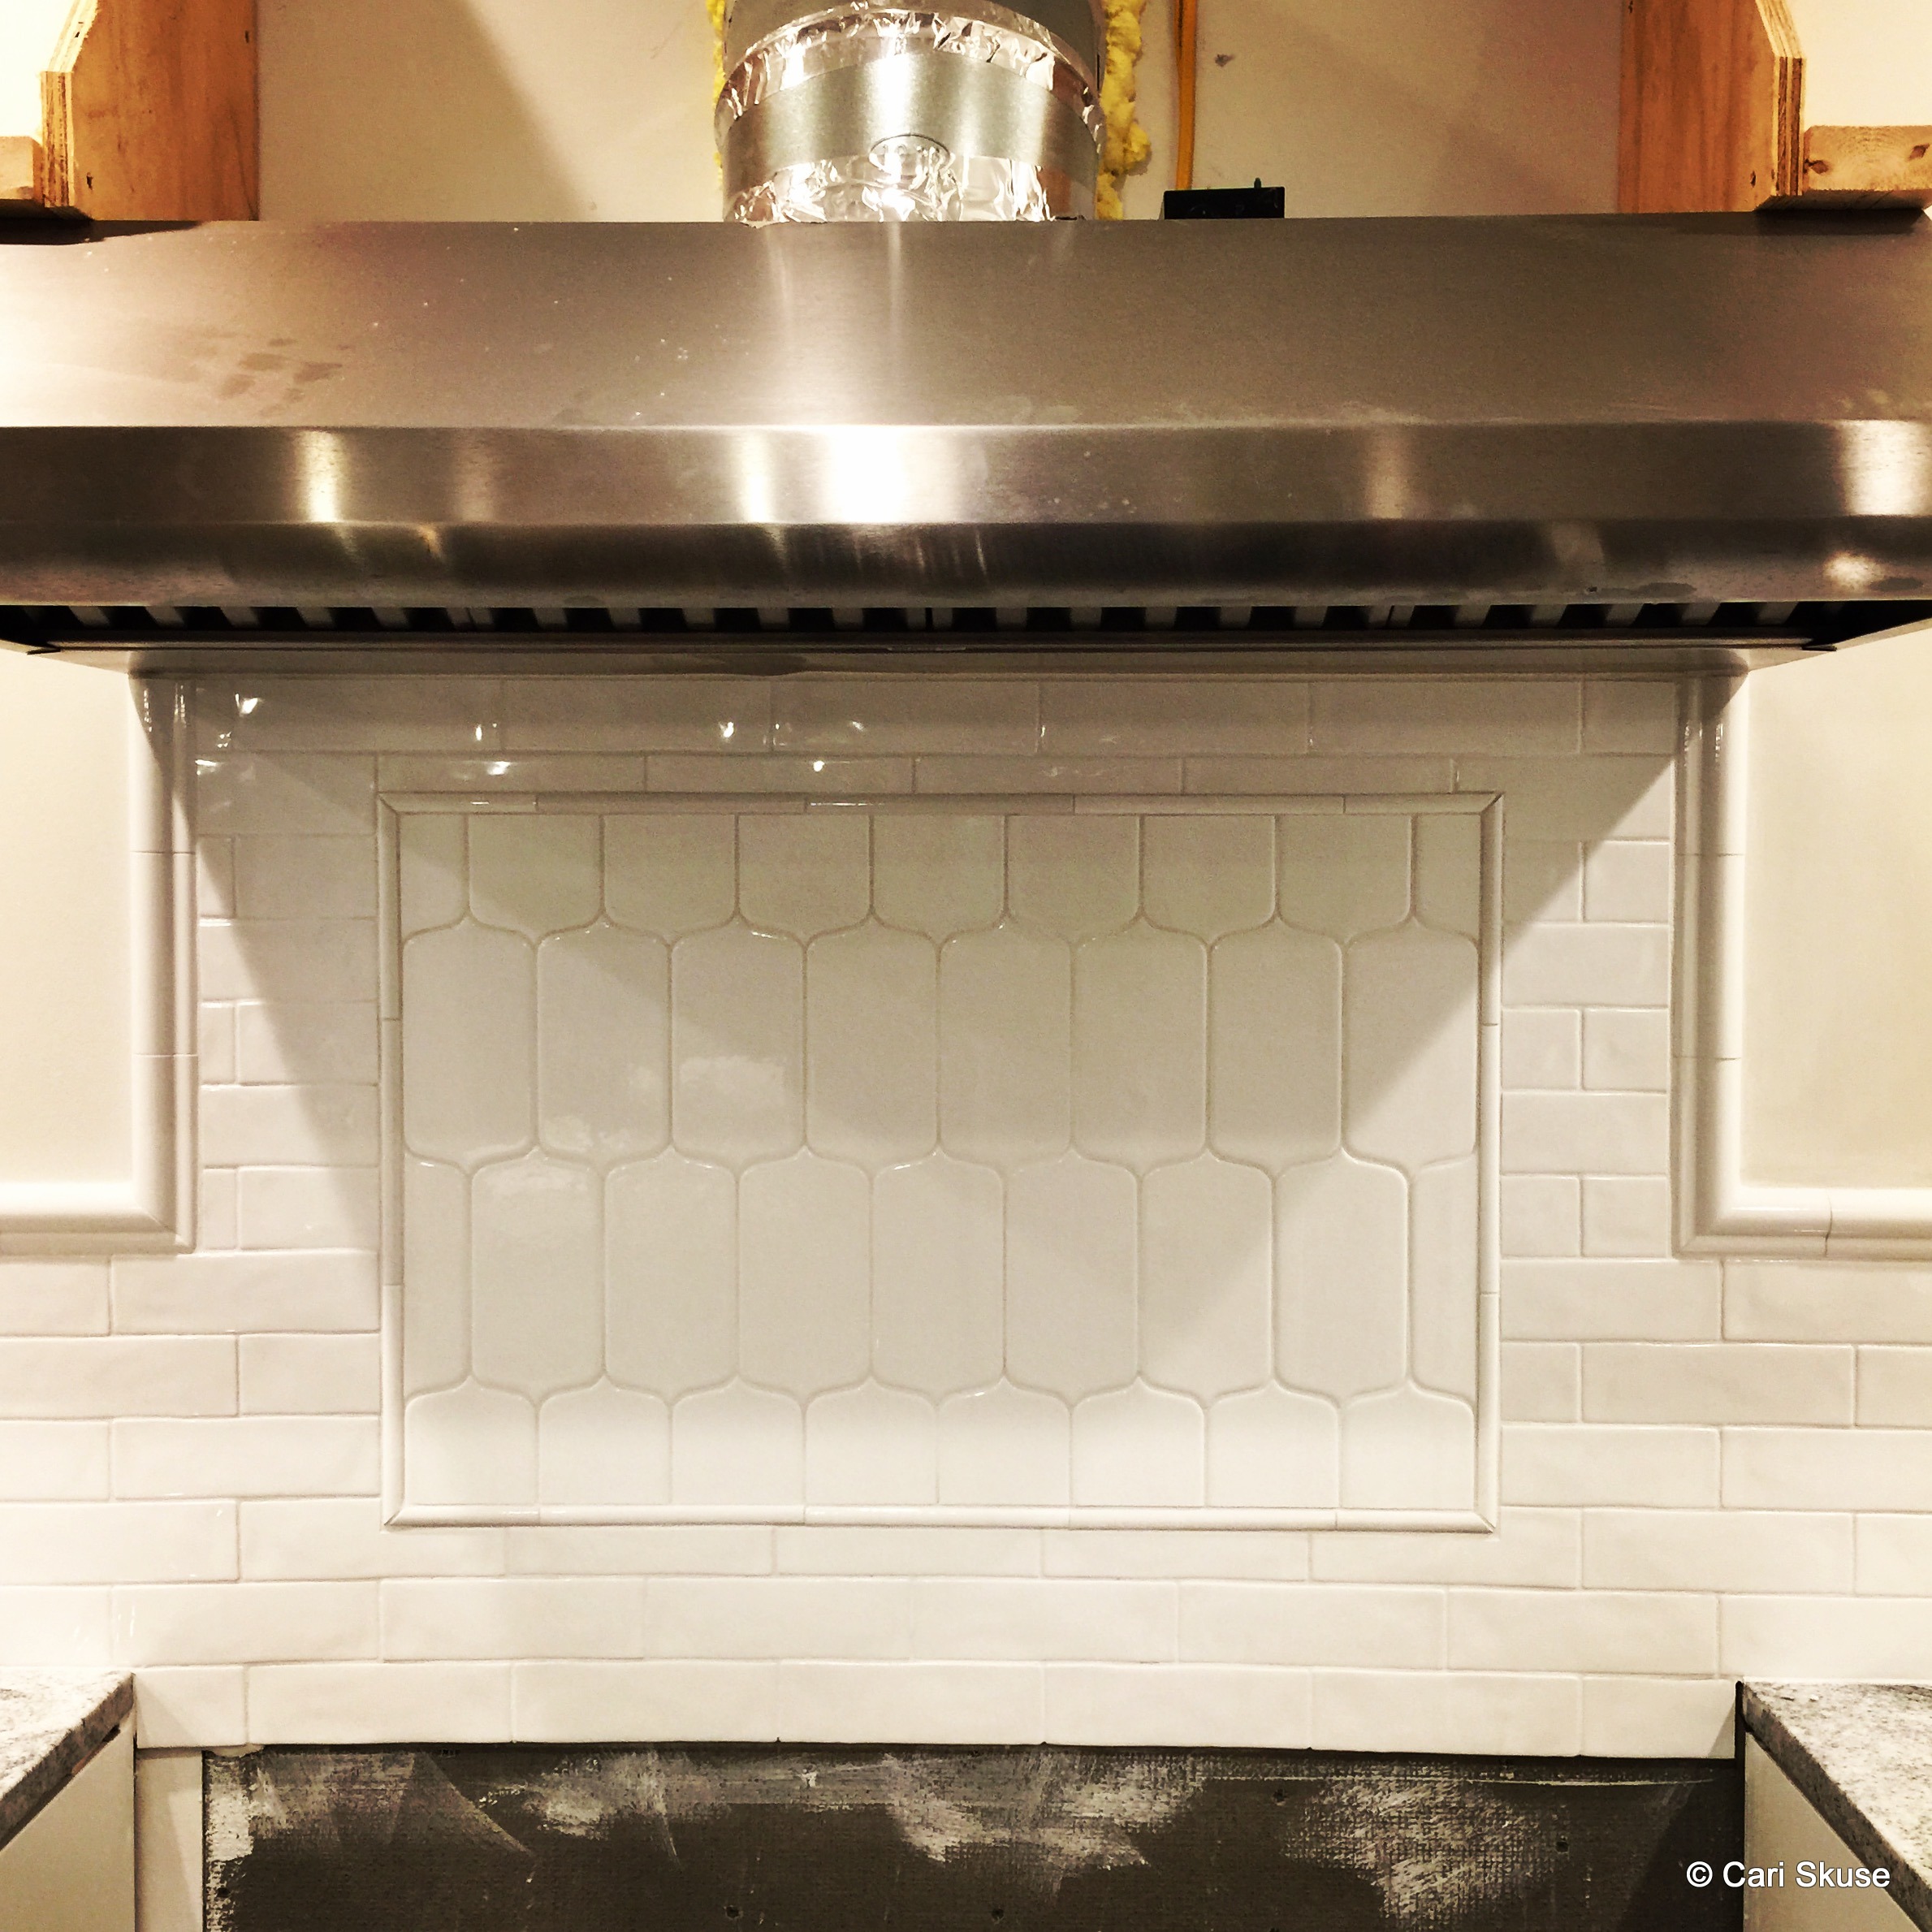
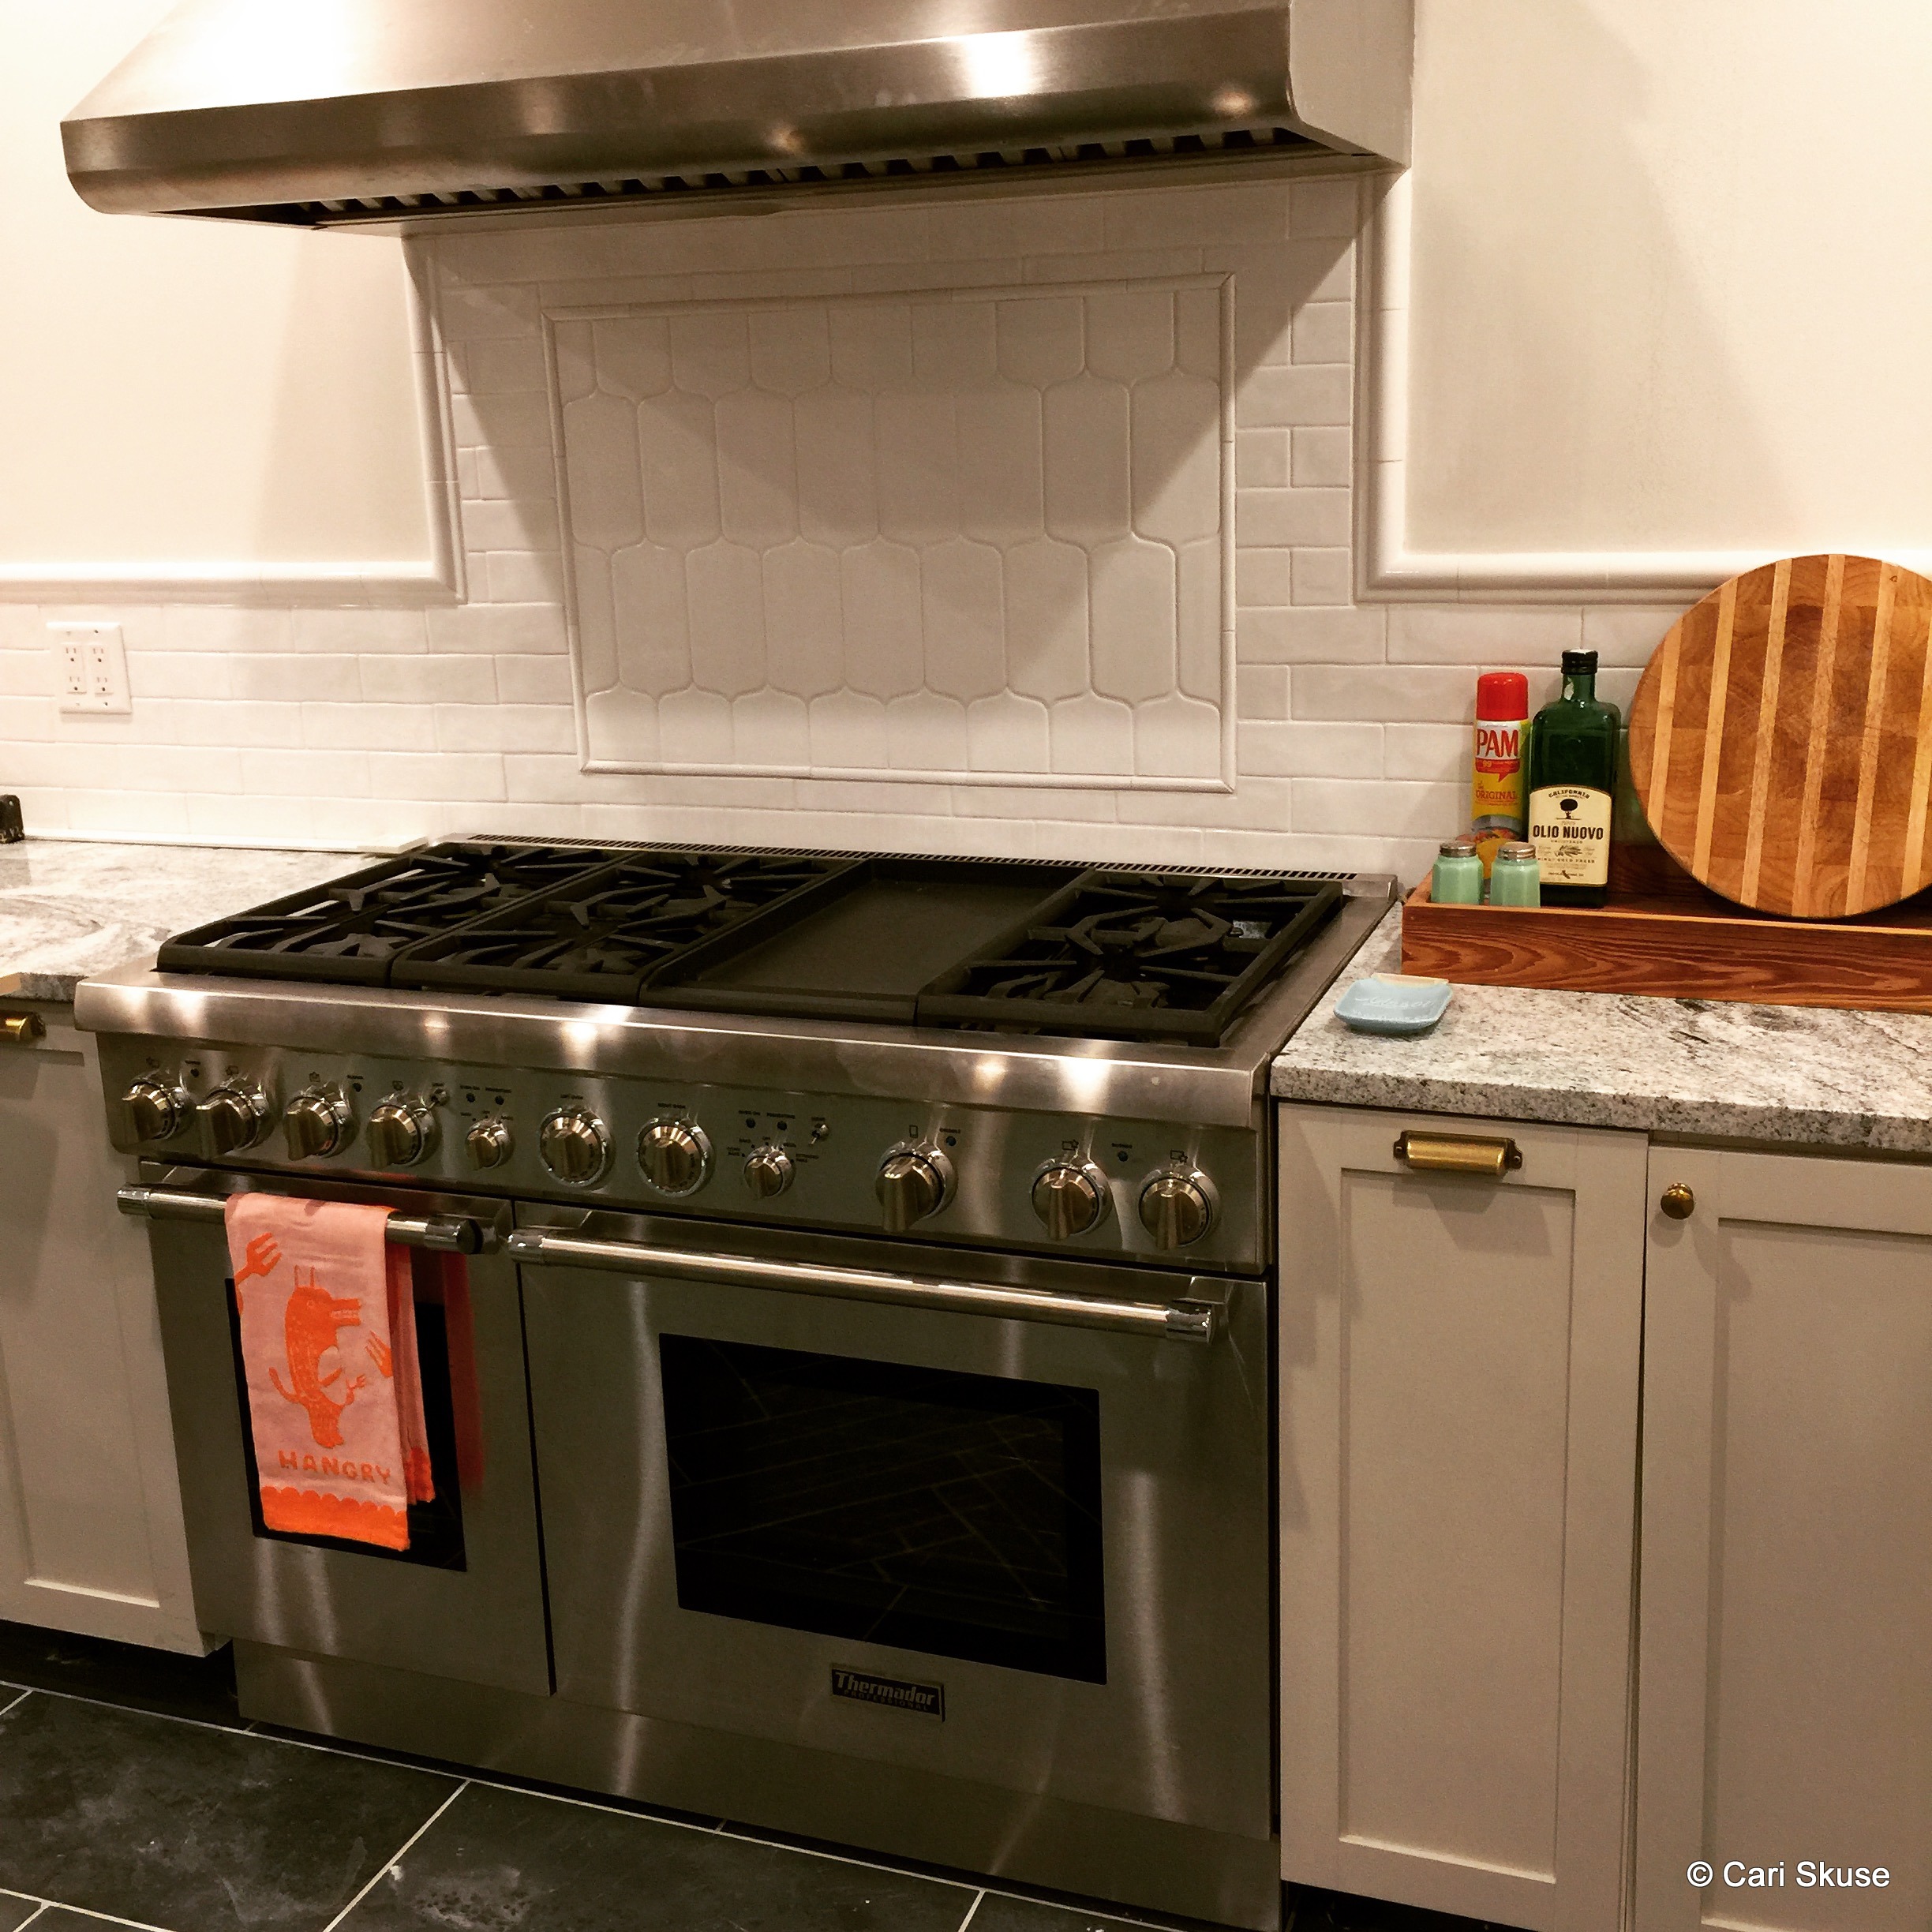
Additional items checked off the list in here are installation of the stove hood, outlets, lights, switches, and drawer microwave (in the island). Next up are countertops and appliances (which have all be waiting in our garage forever!).
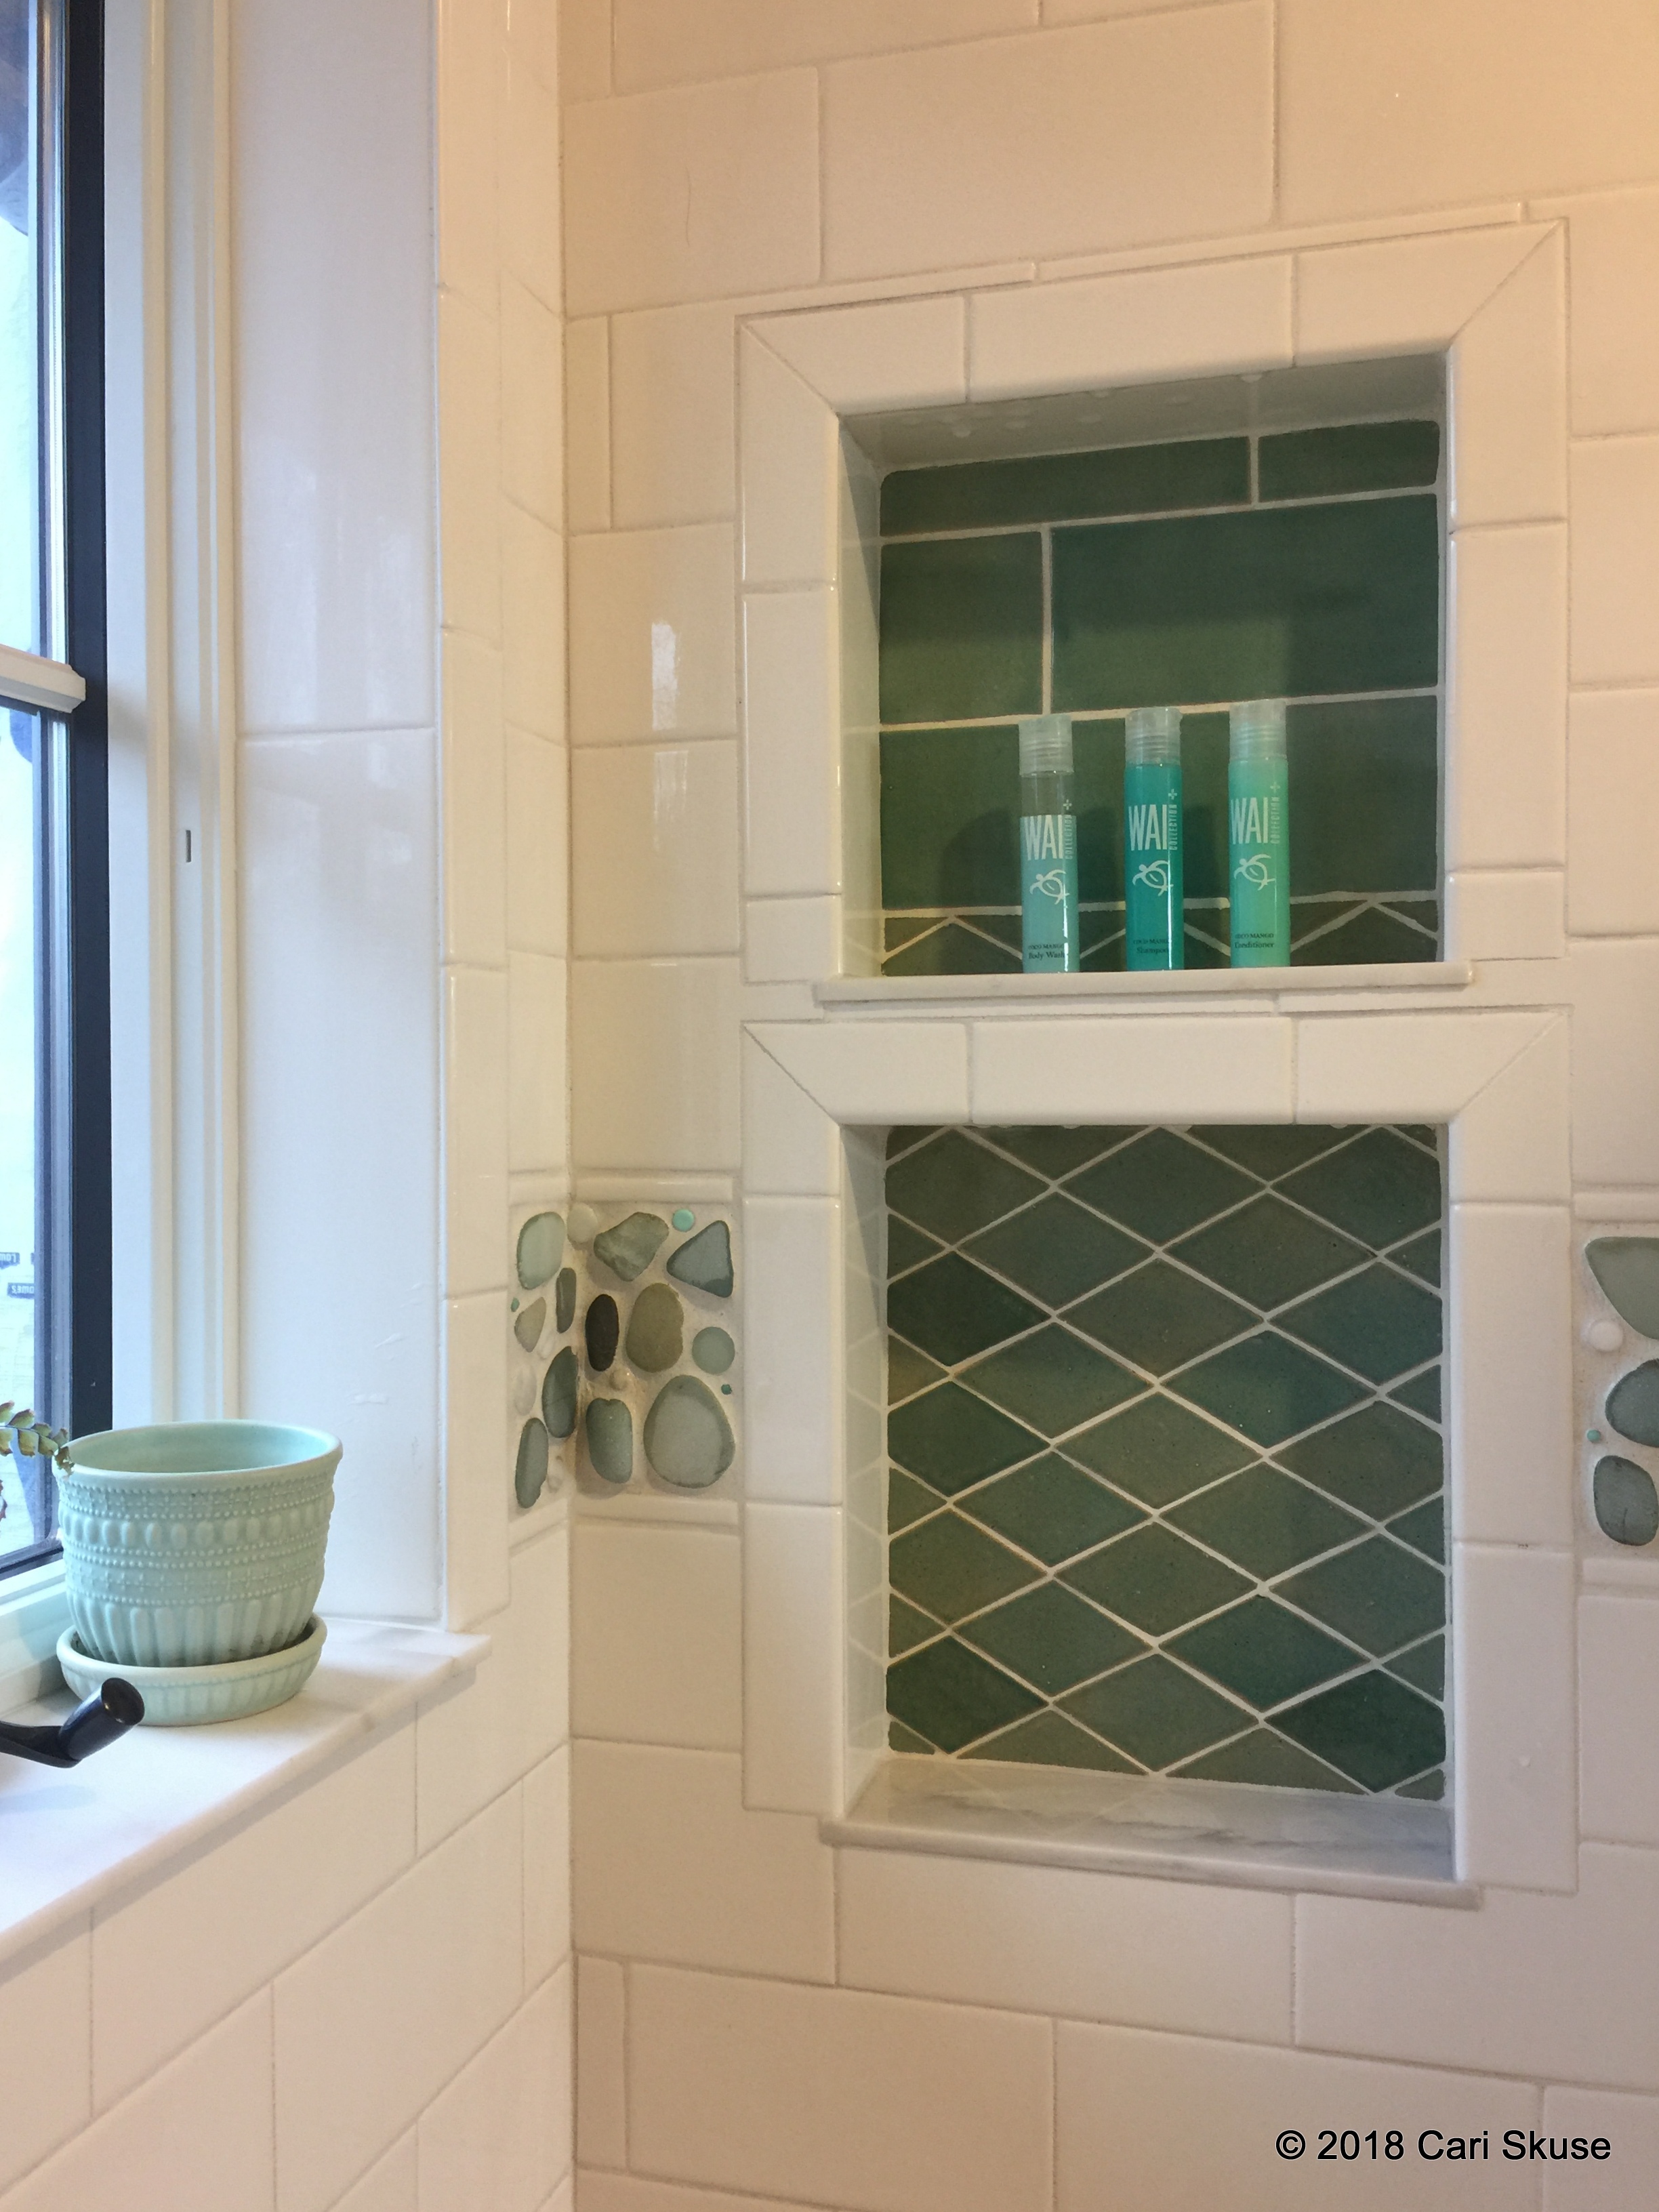
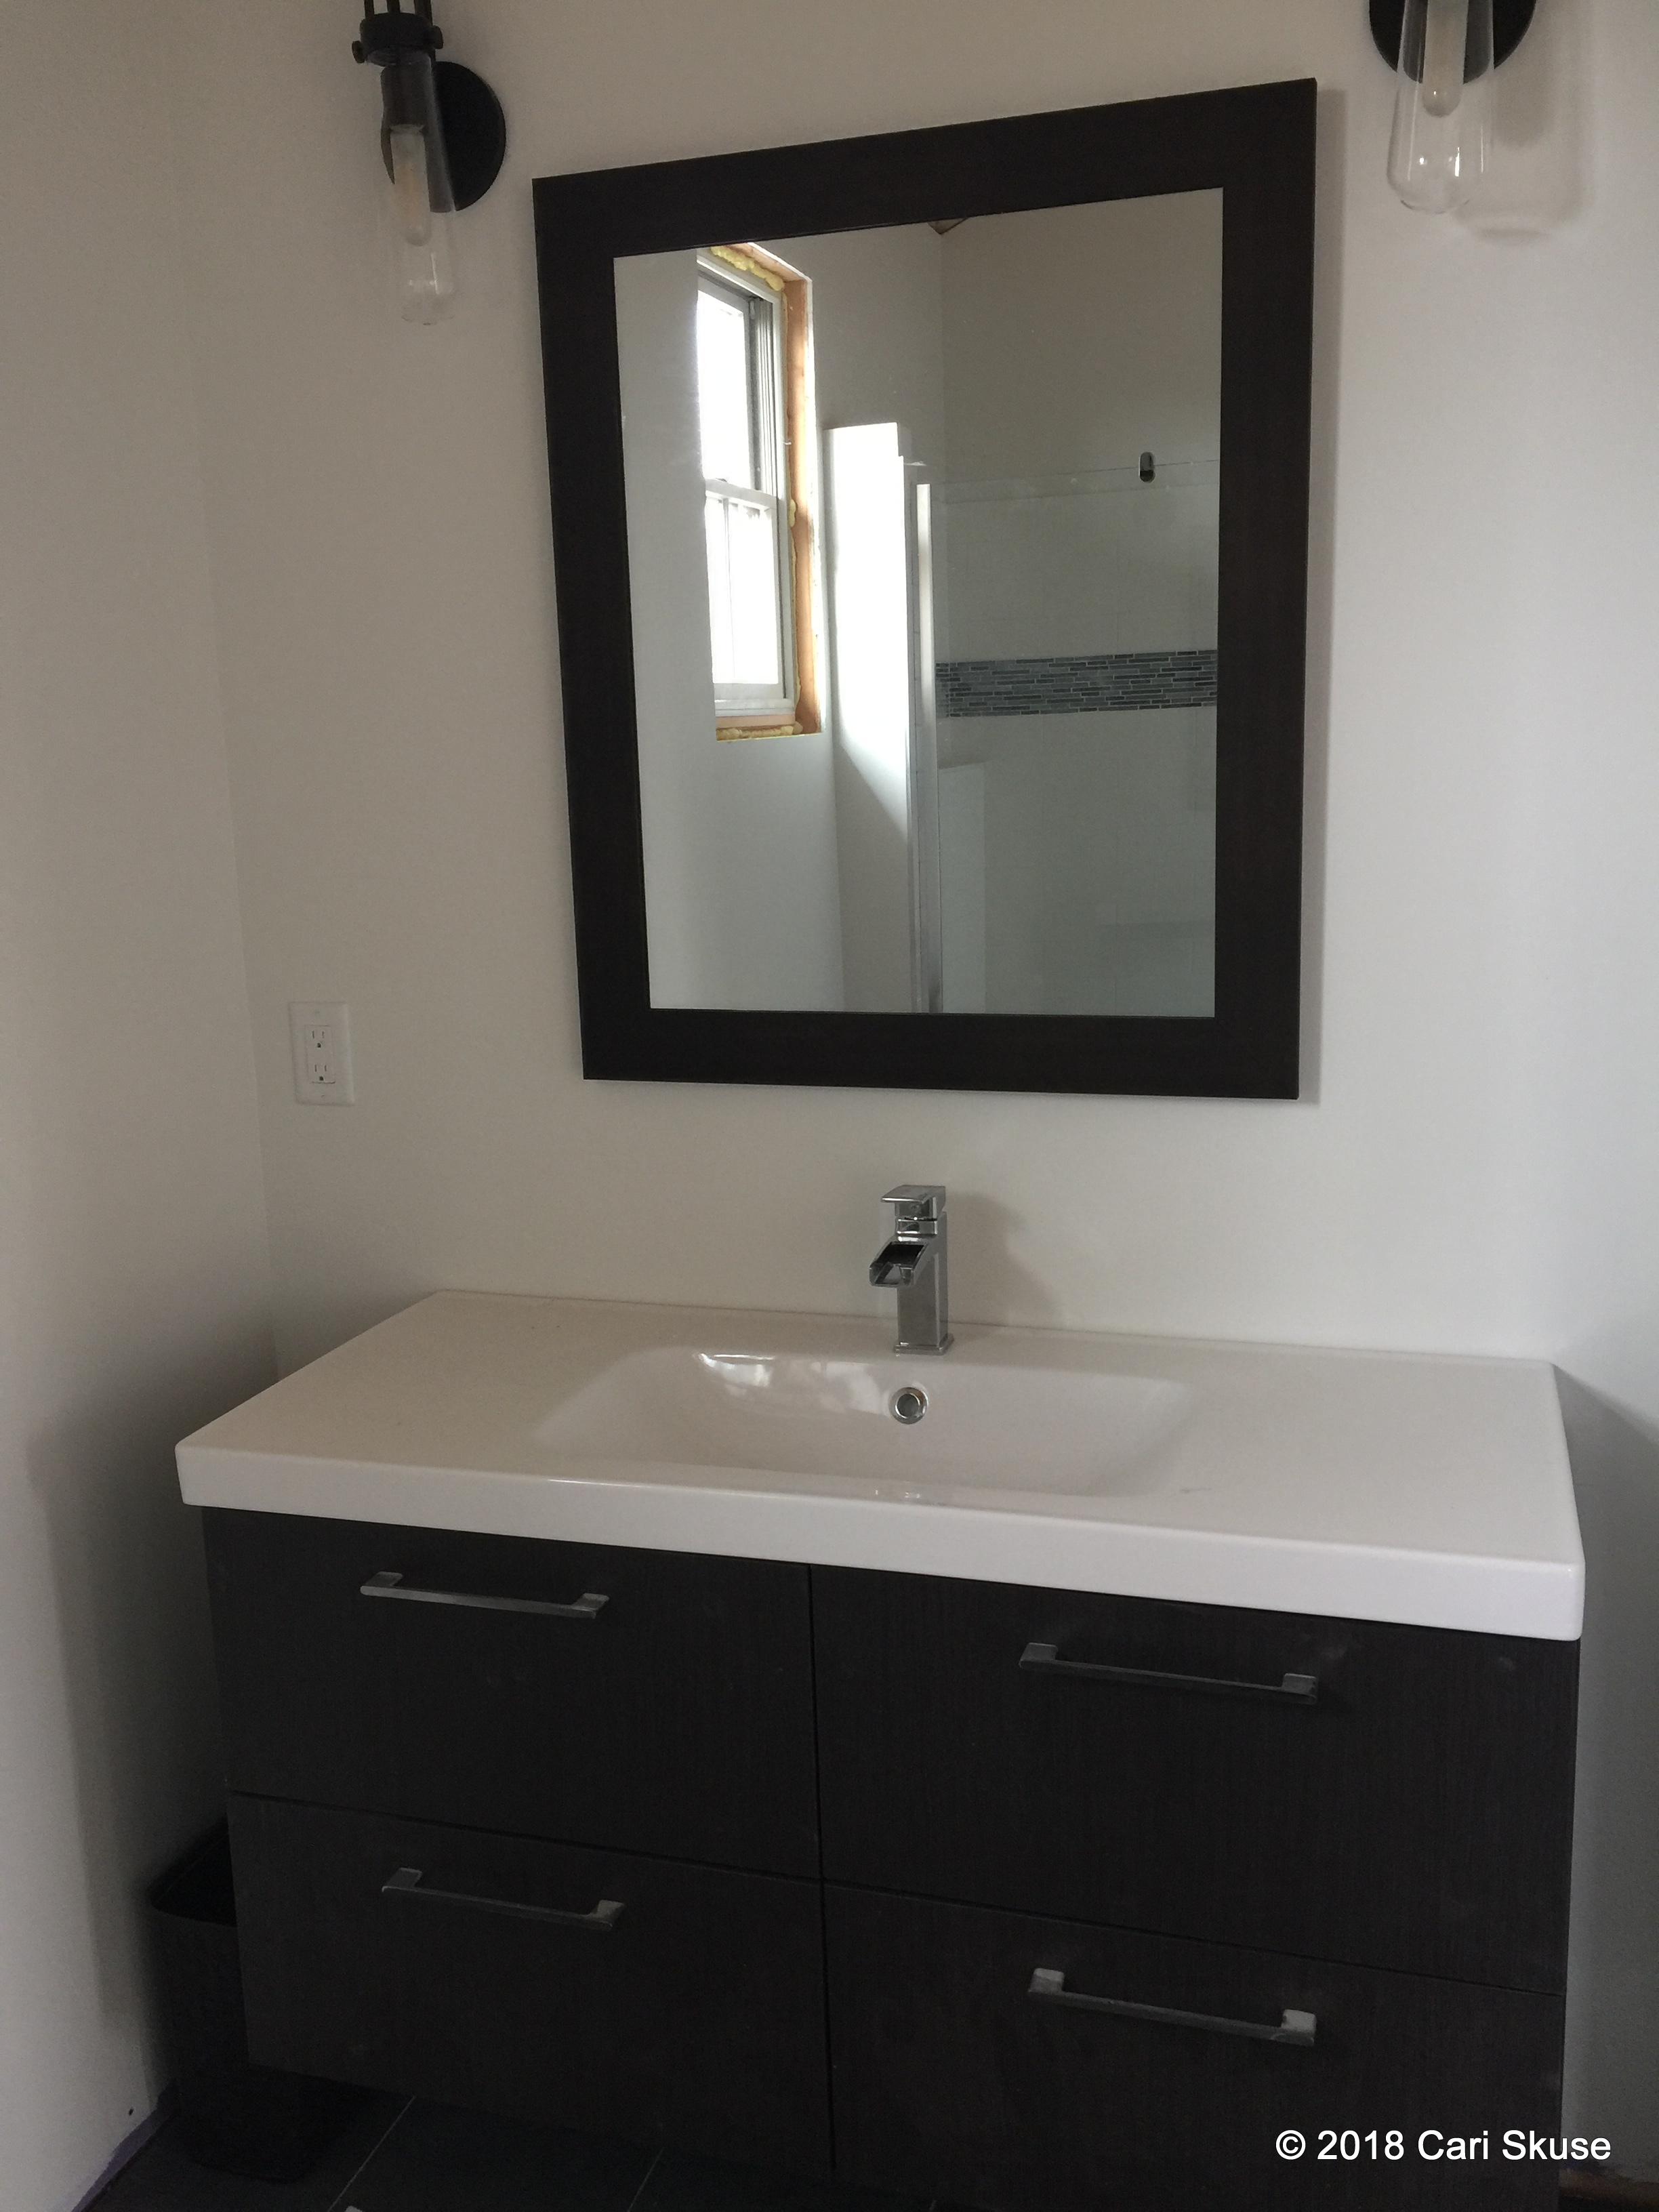
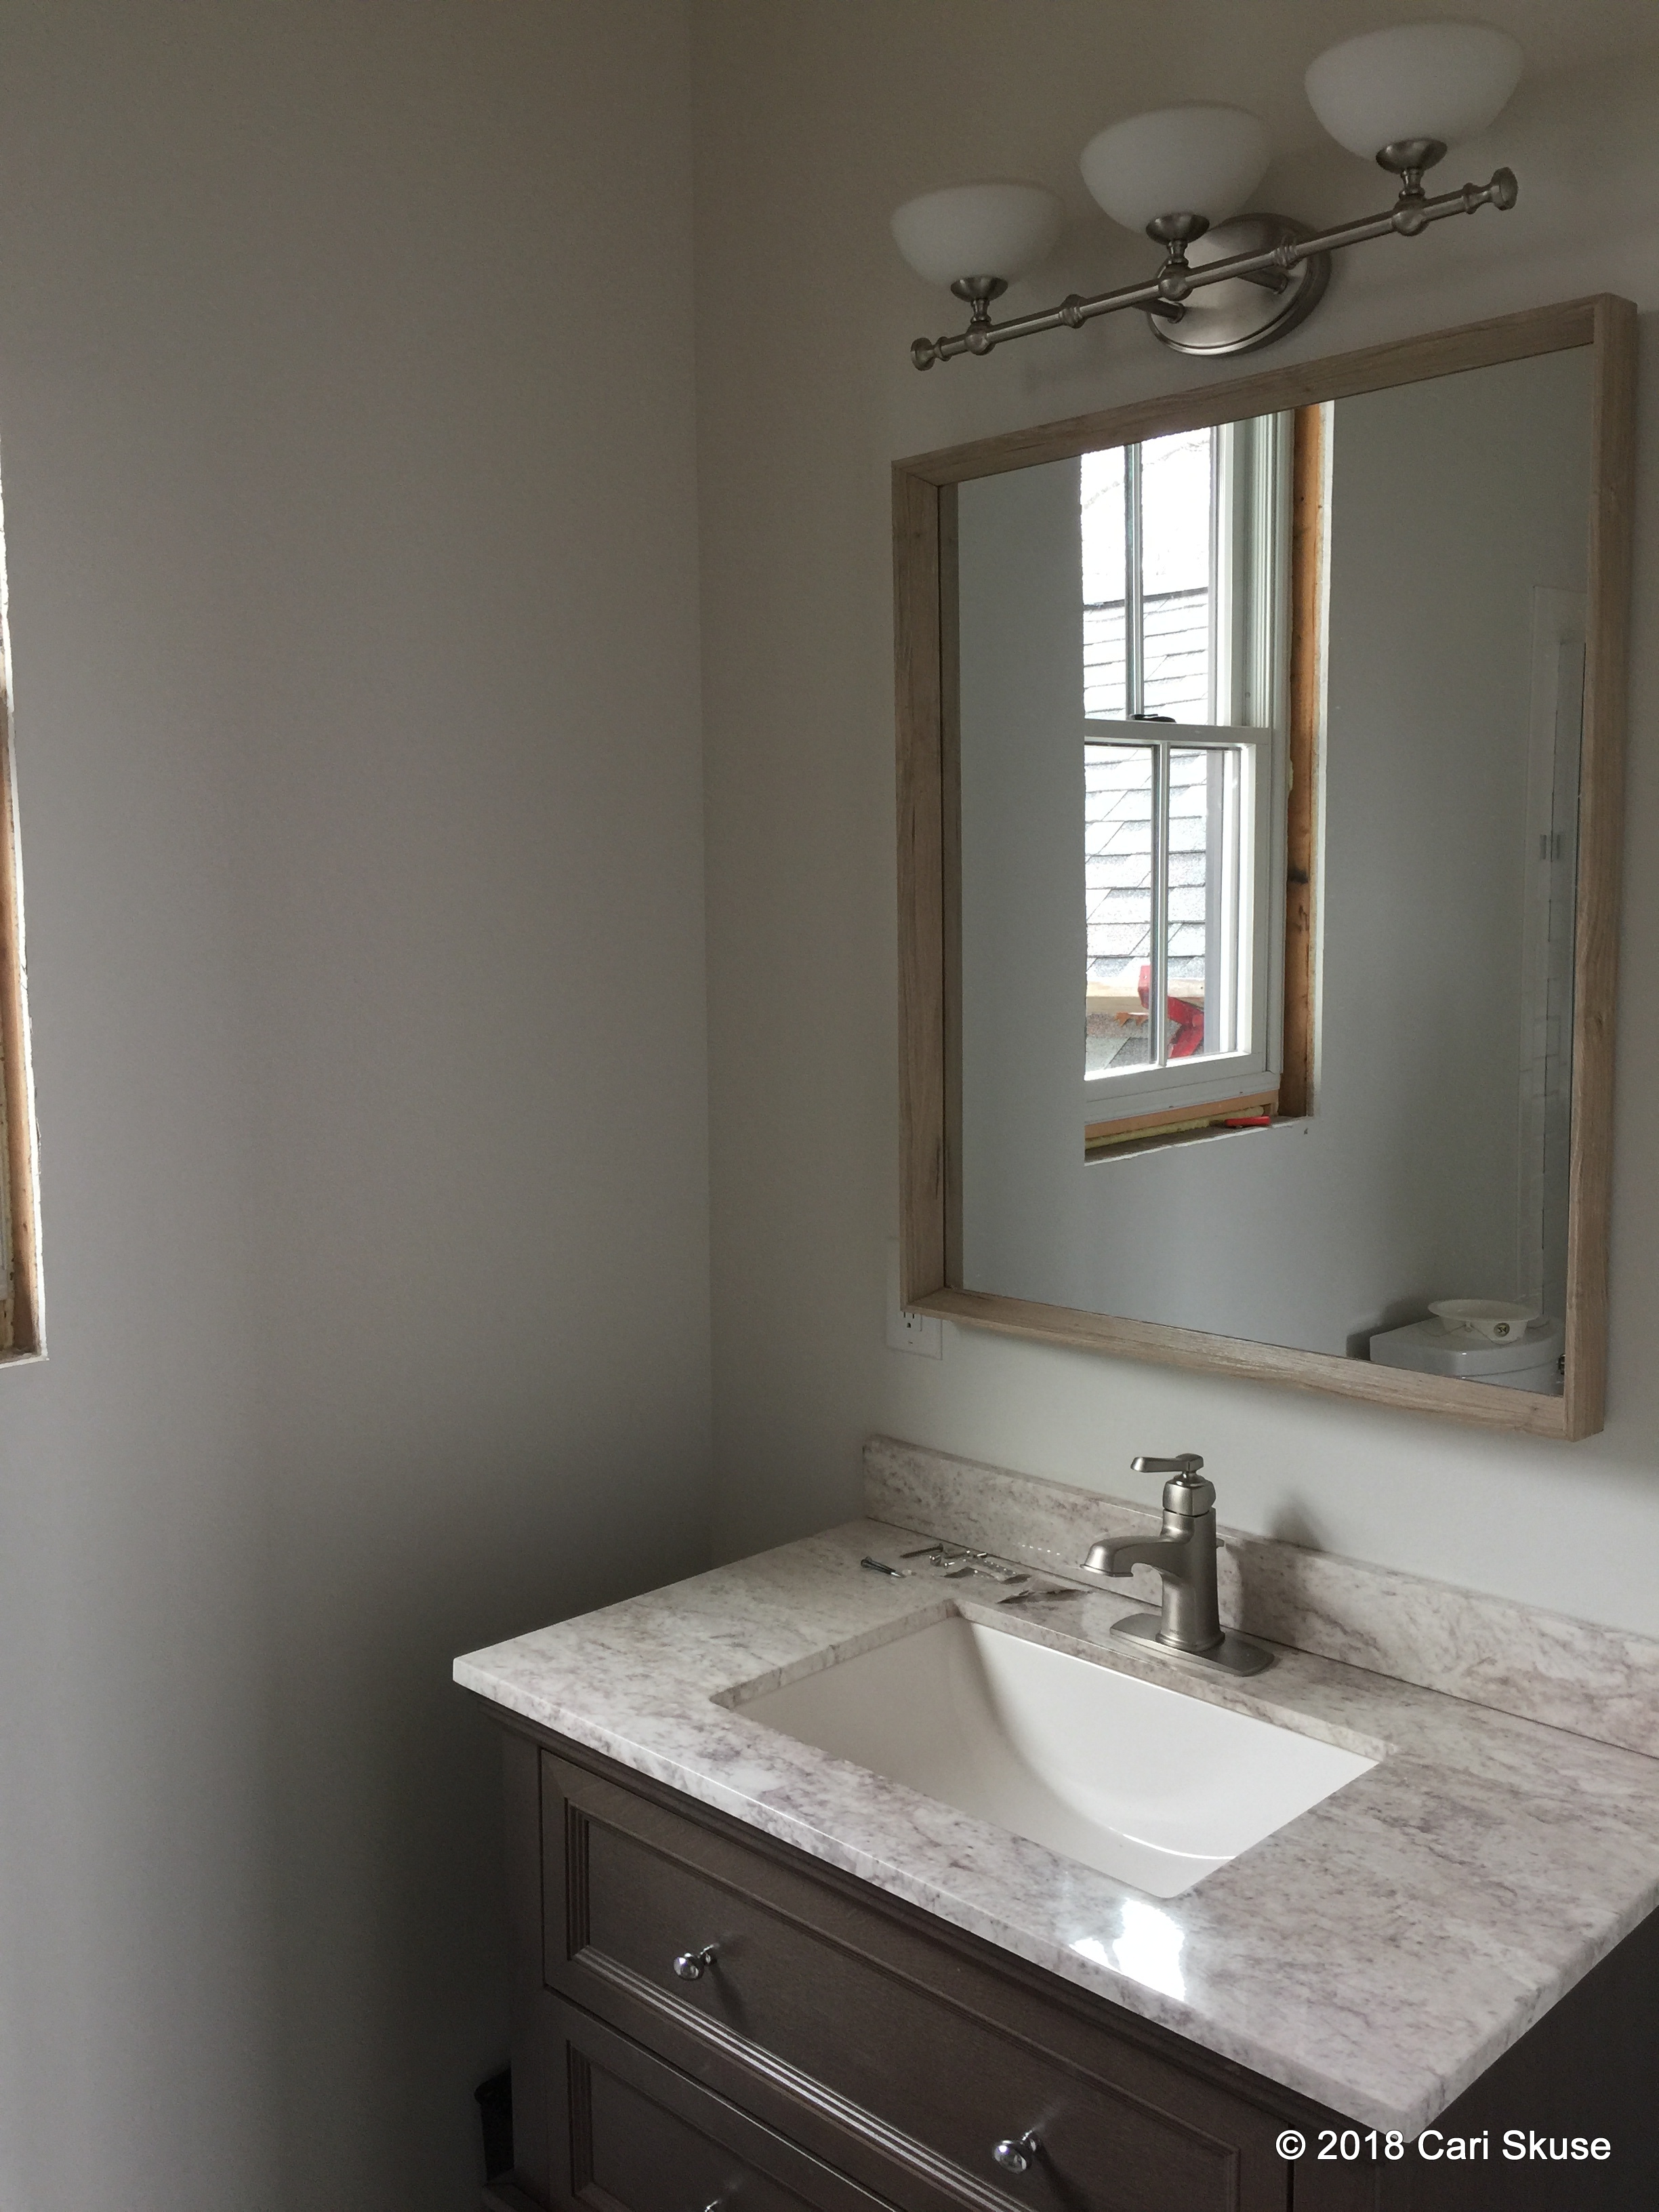
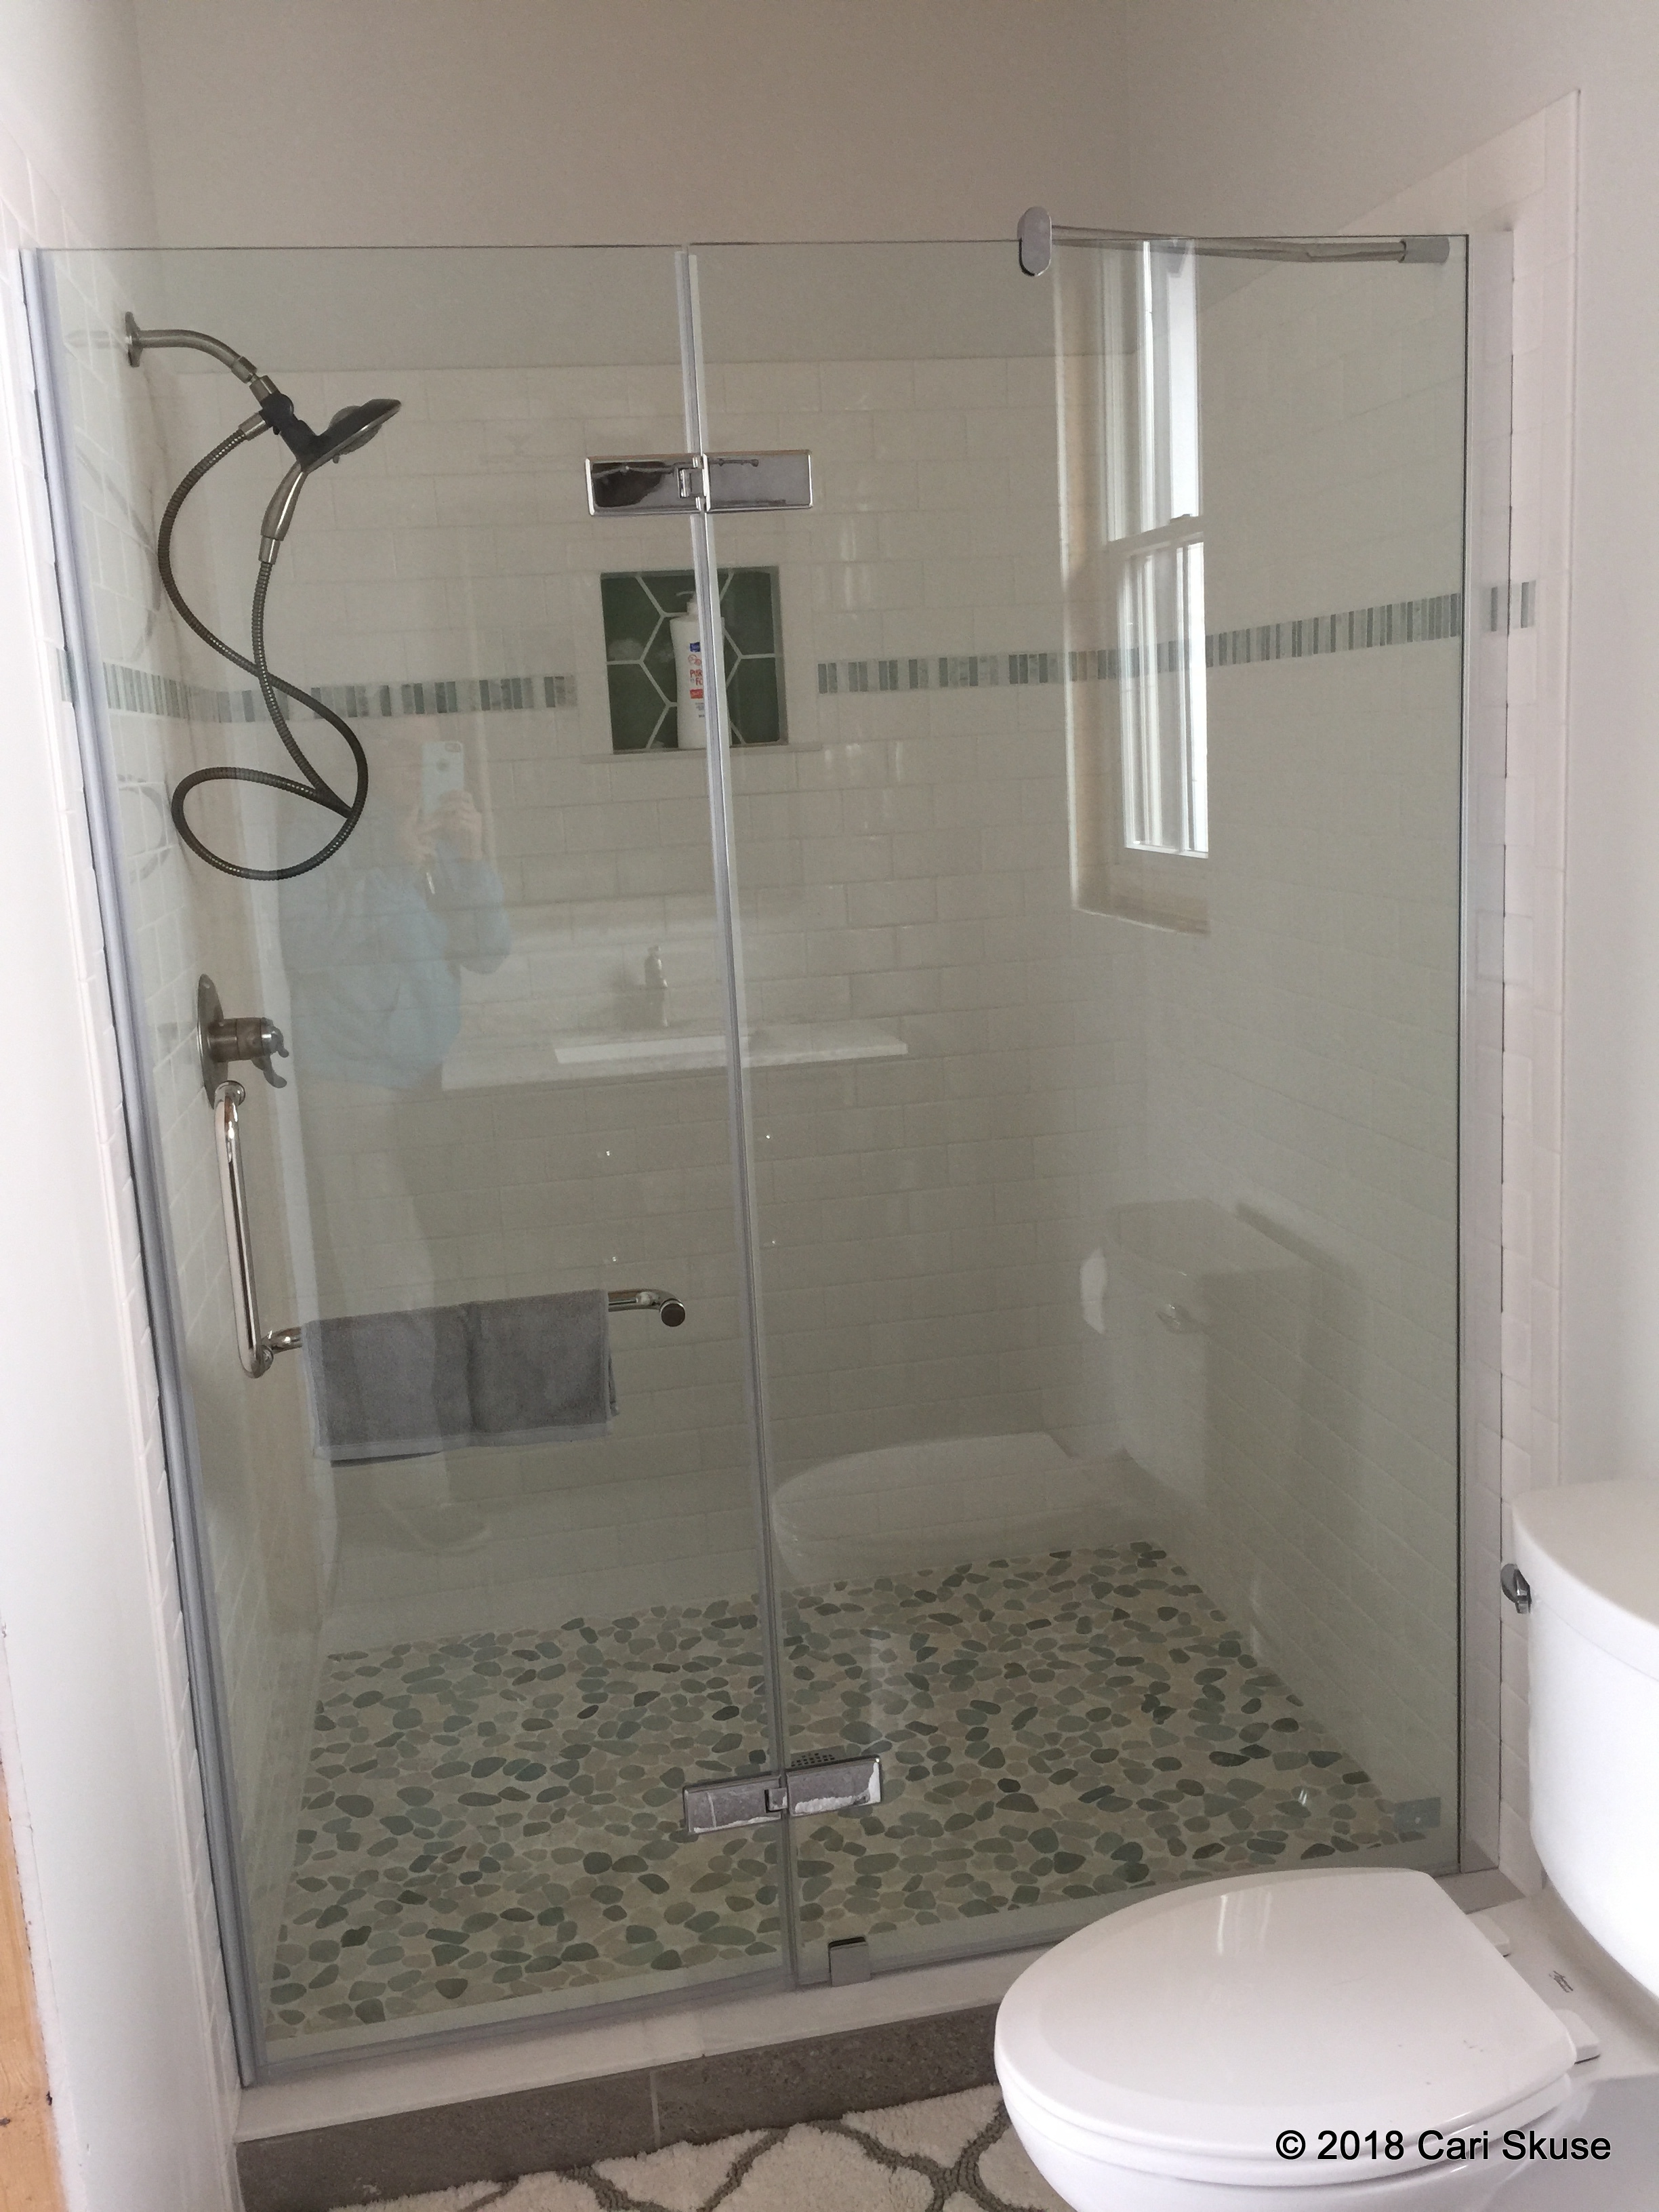
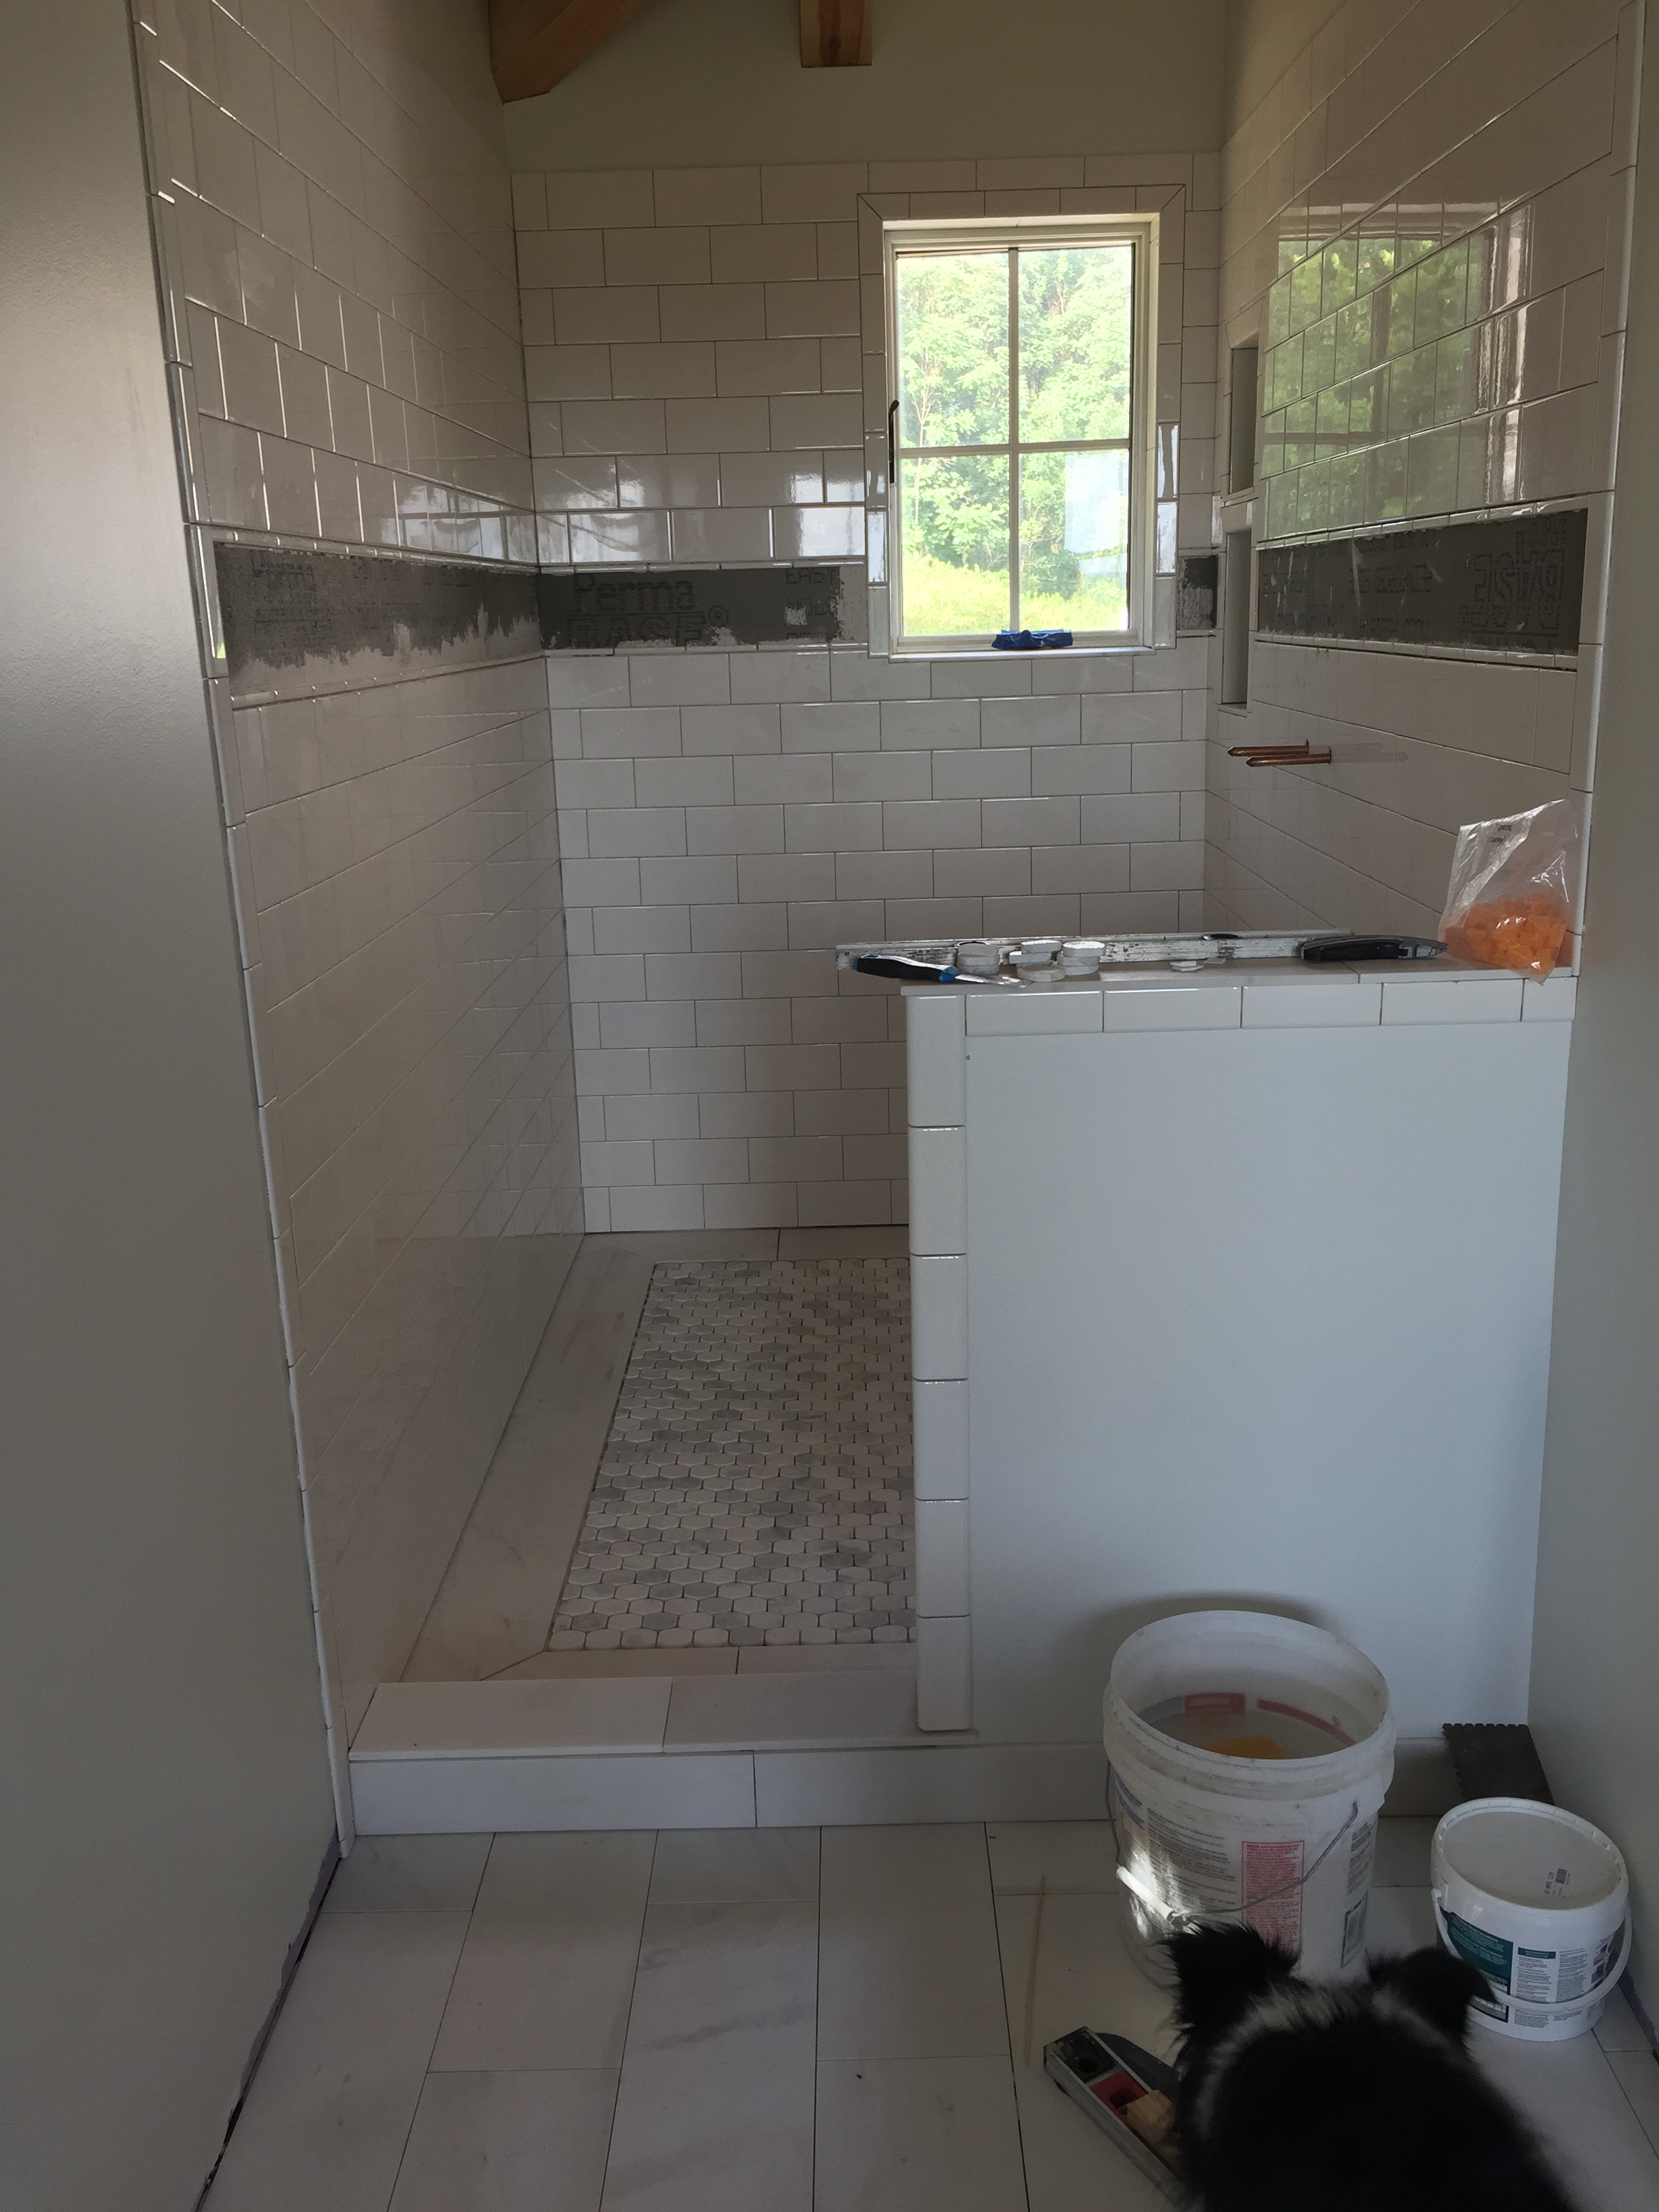
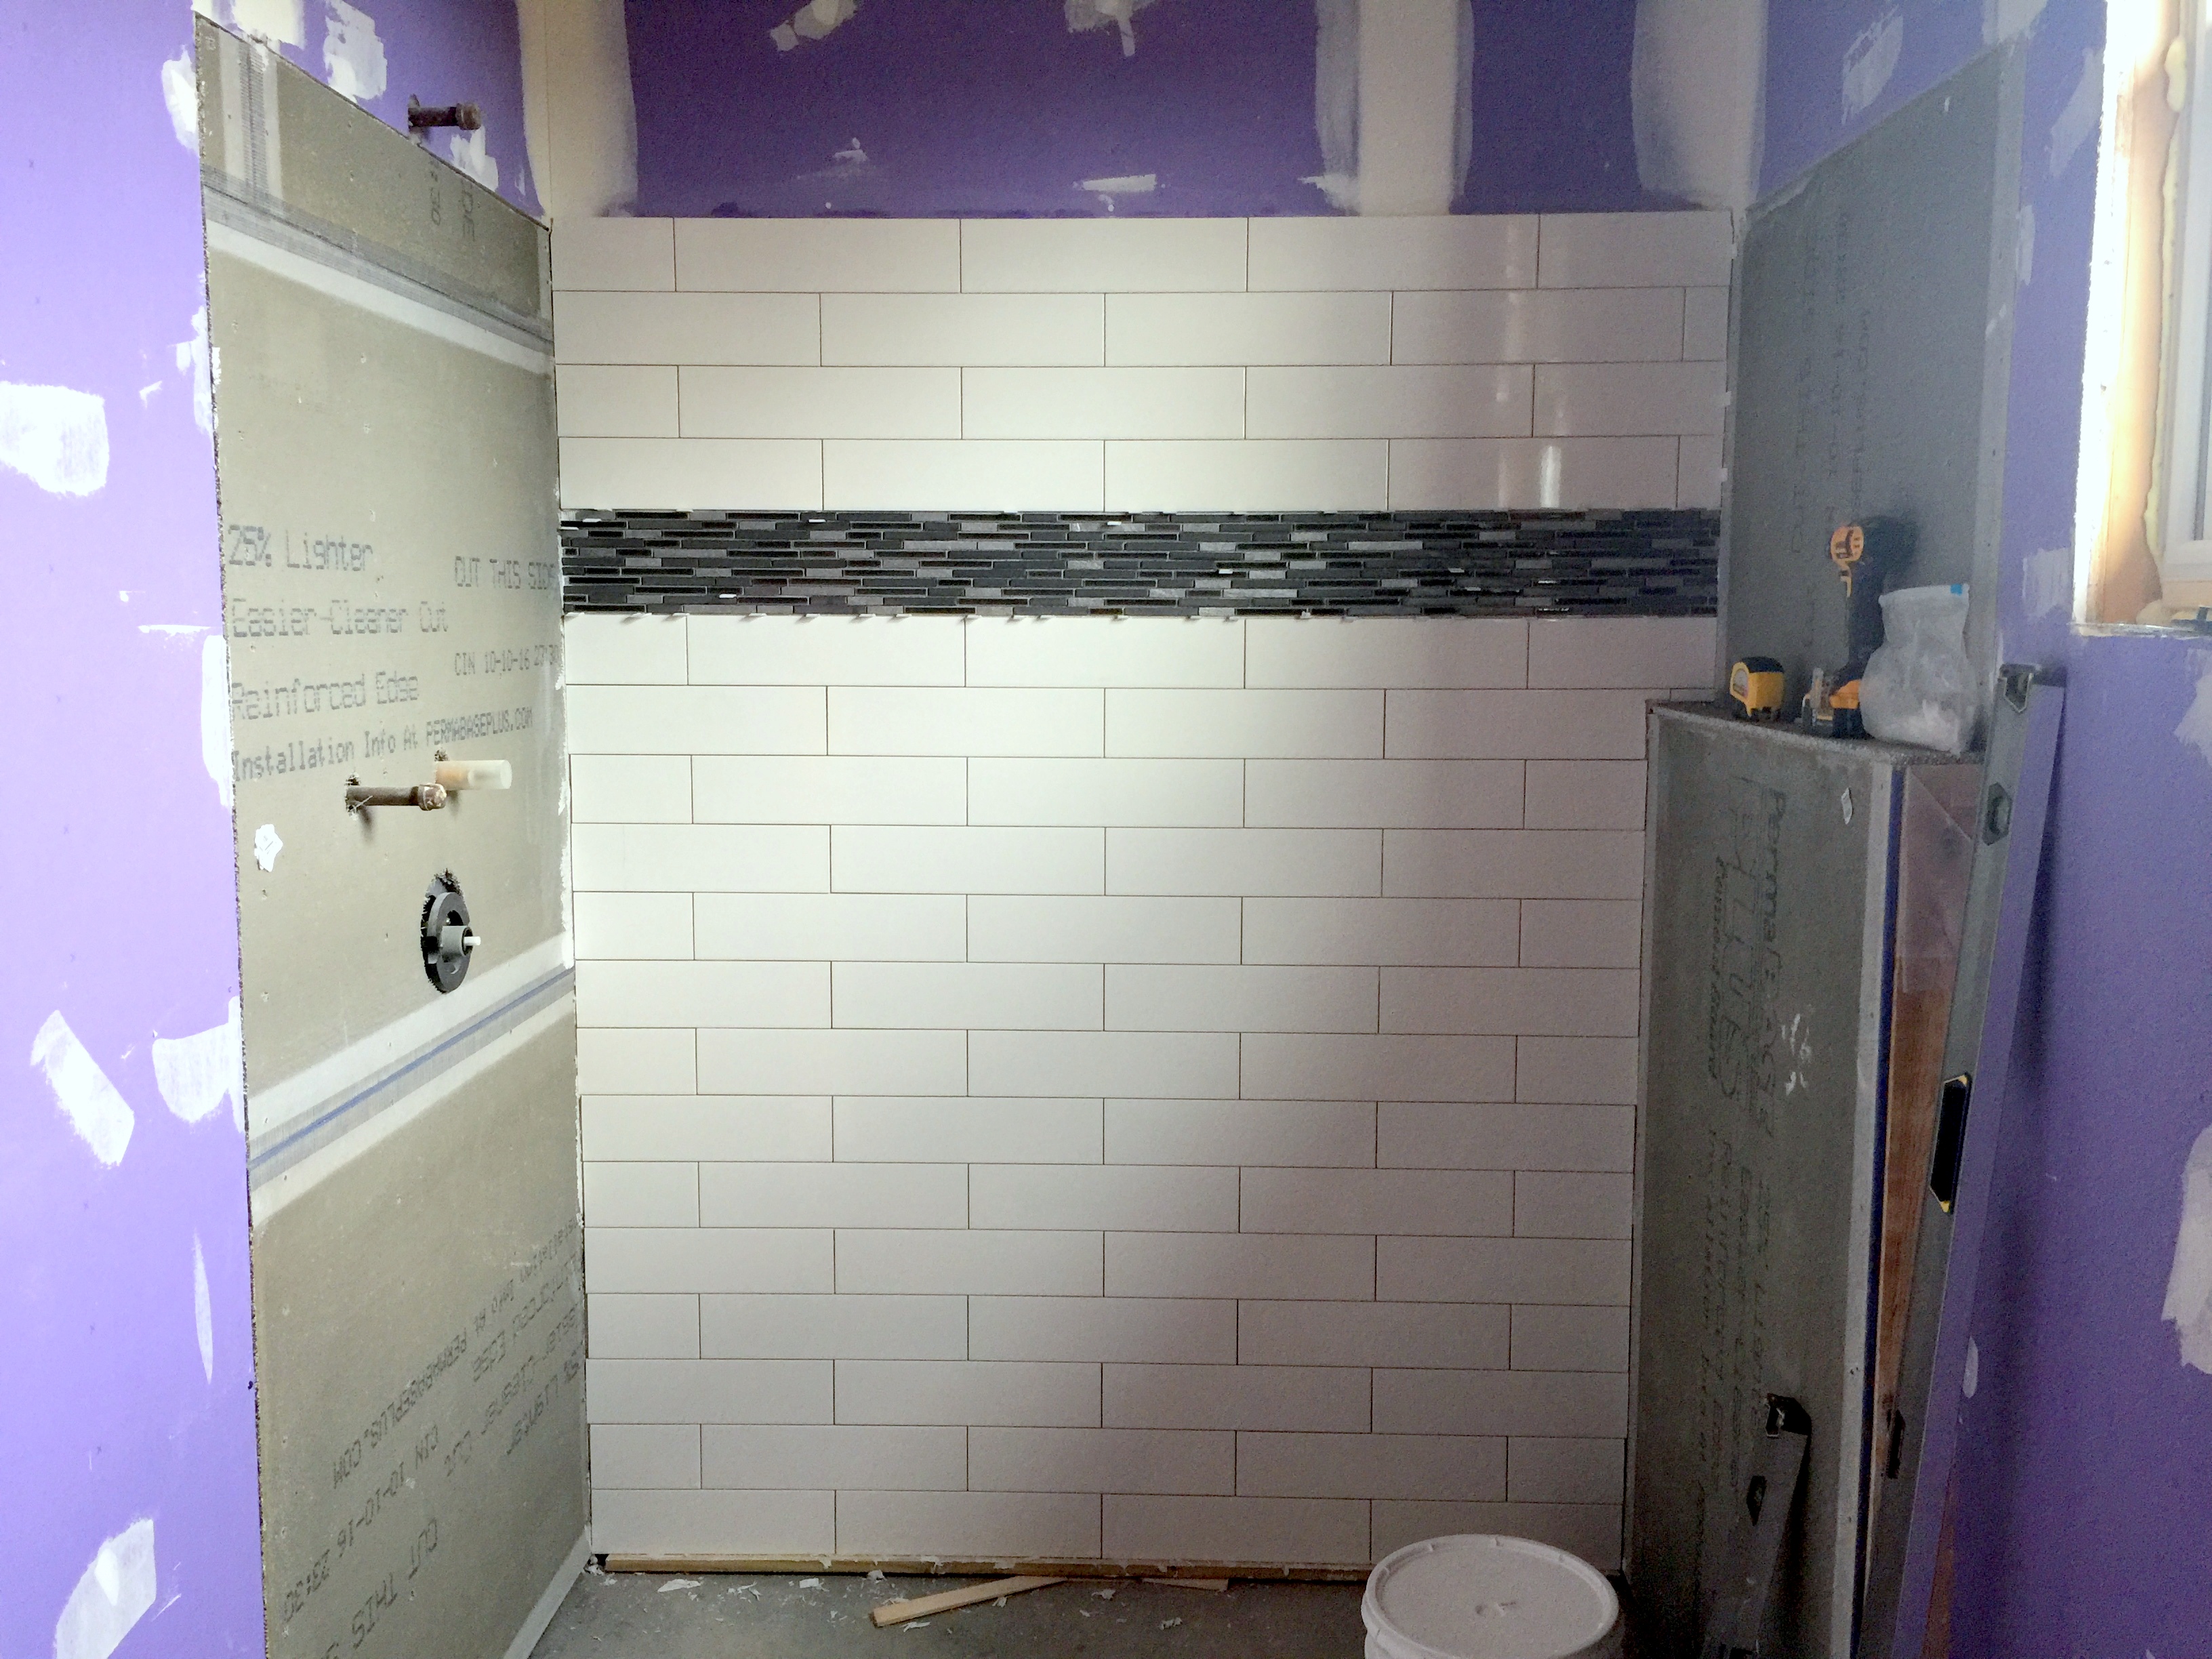
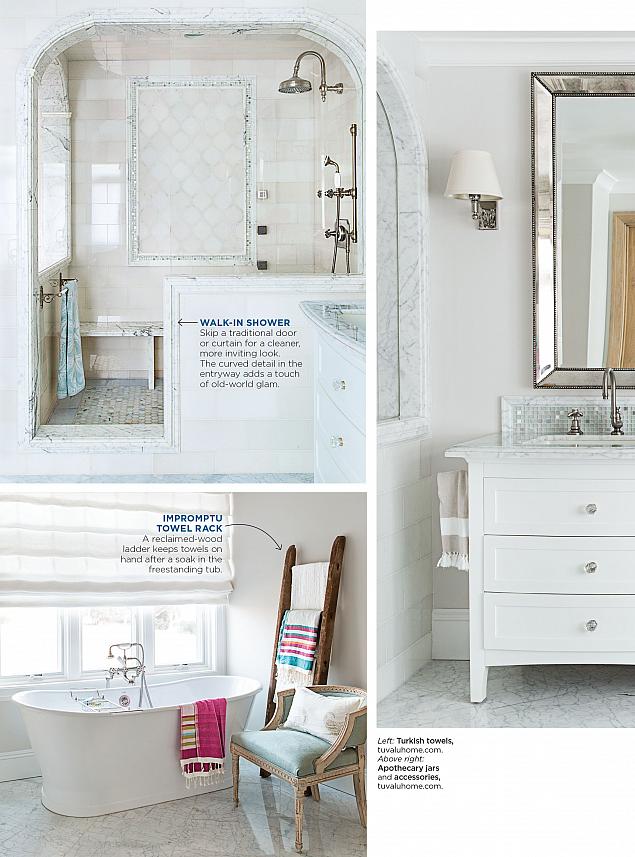
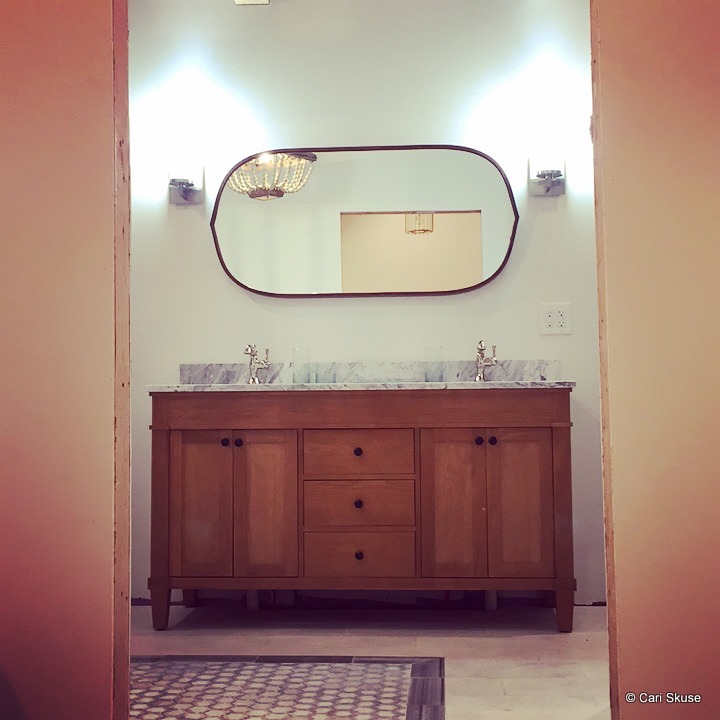


Master Bath

As you can see, the vanity and the mirror have been installed! This made me so happy to see it as I envisioned it. The vanity is from Signature Hardware, mirror from Crate & Barrel, and faucets from Amazon Warehouse Deals. Don’t be afraid of buying items from them as a warehouse deal! I have gotten a bunch of stuff that way at deep discount just because they cannot sell it as new. If there is something wrong with the item, I have had them discount it, give it to me for free, or take it back with no return shipping!

IMG_3365

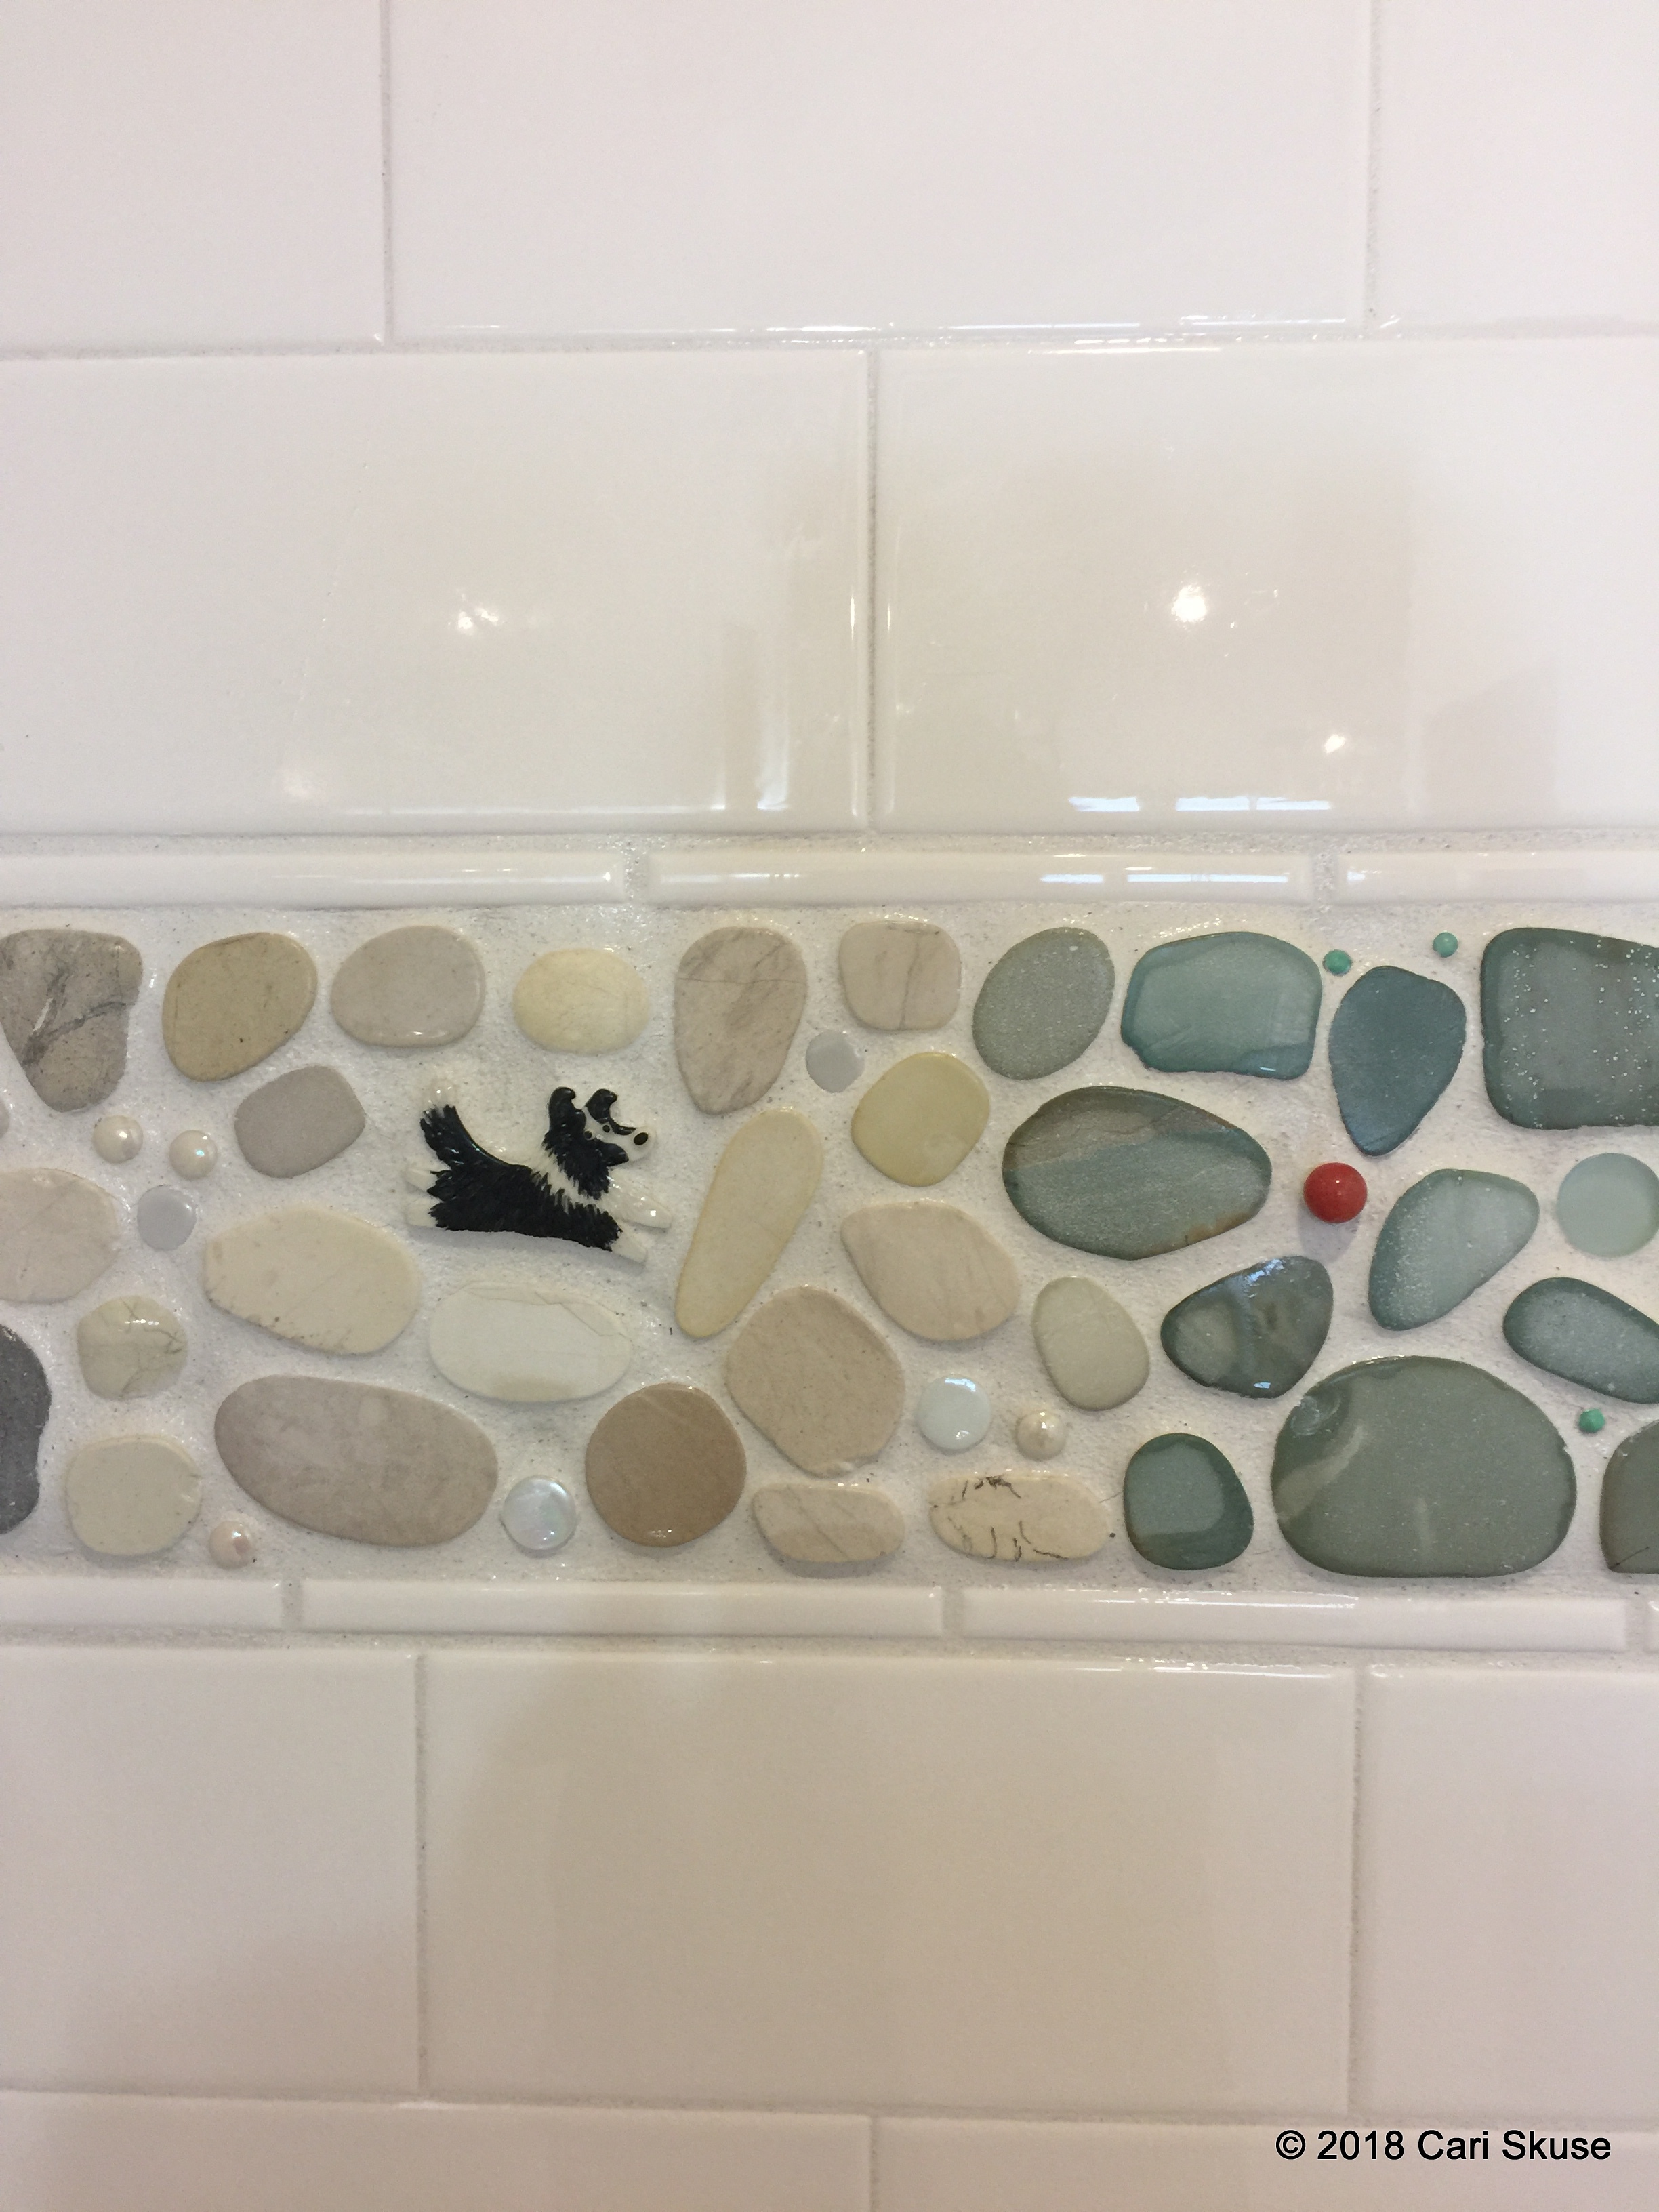
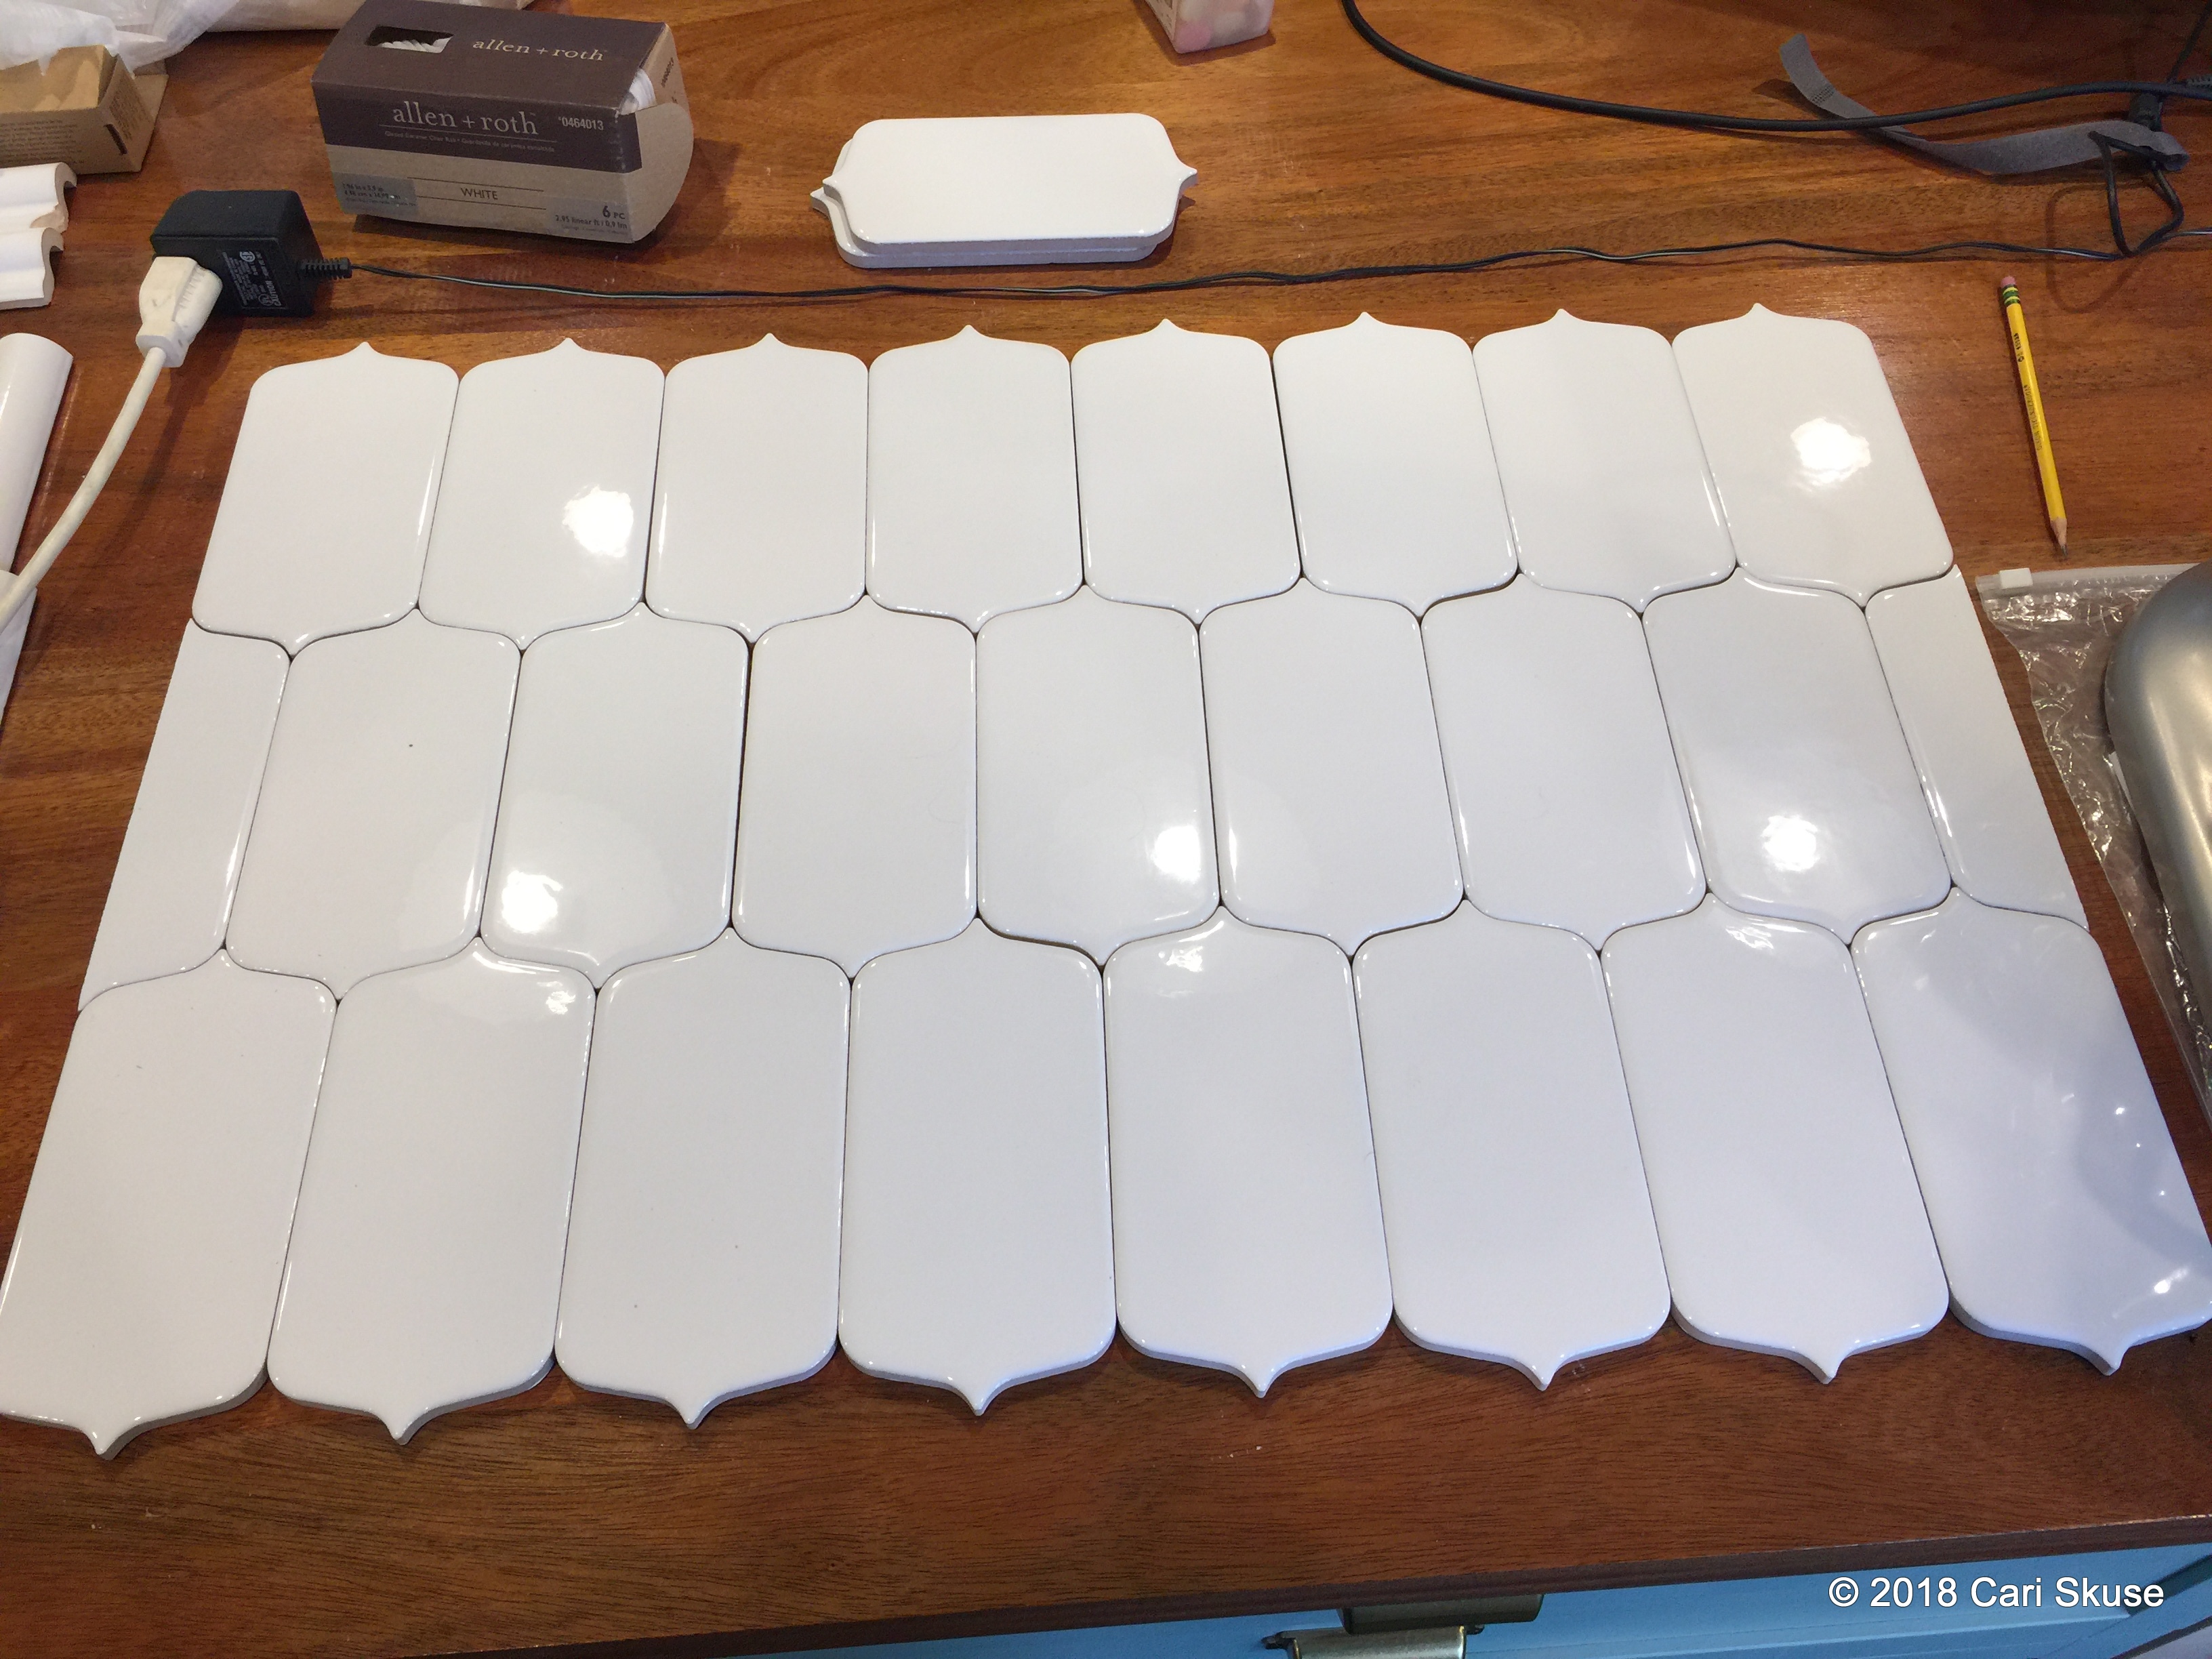
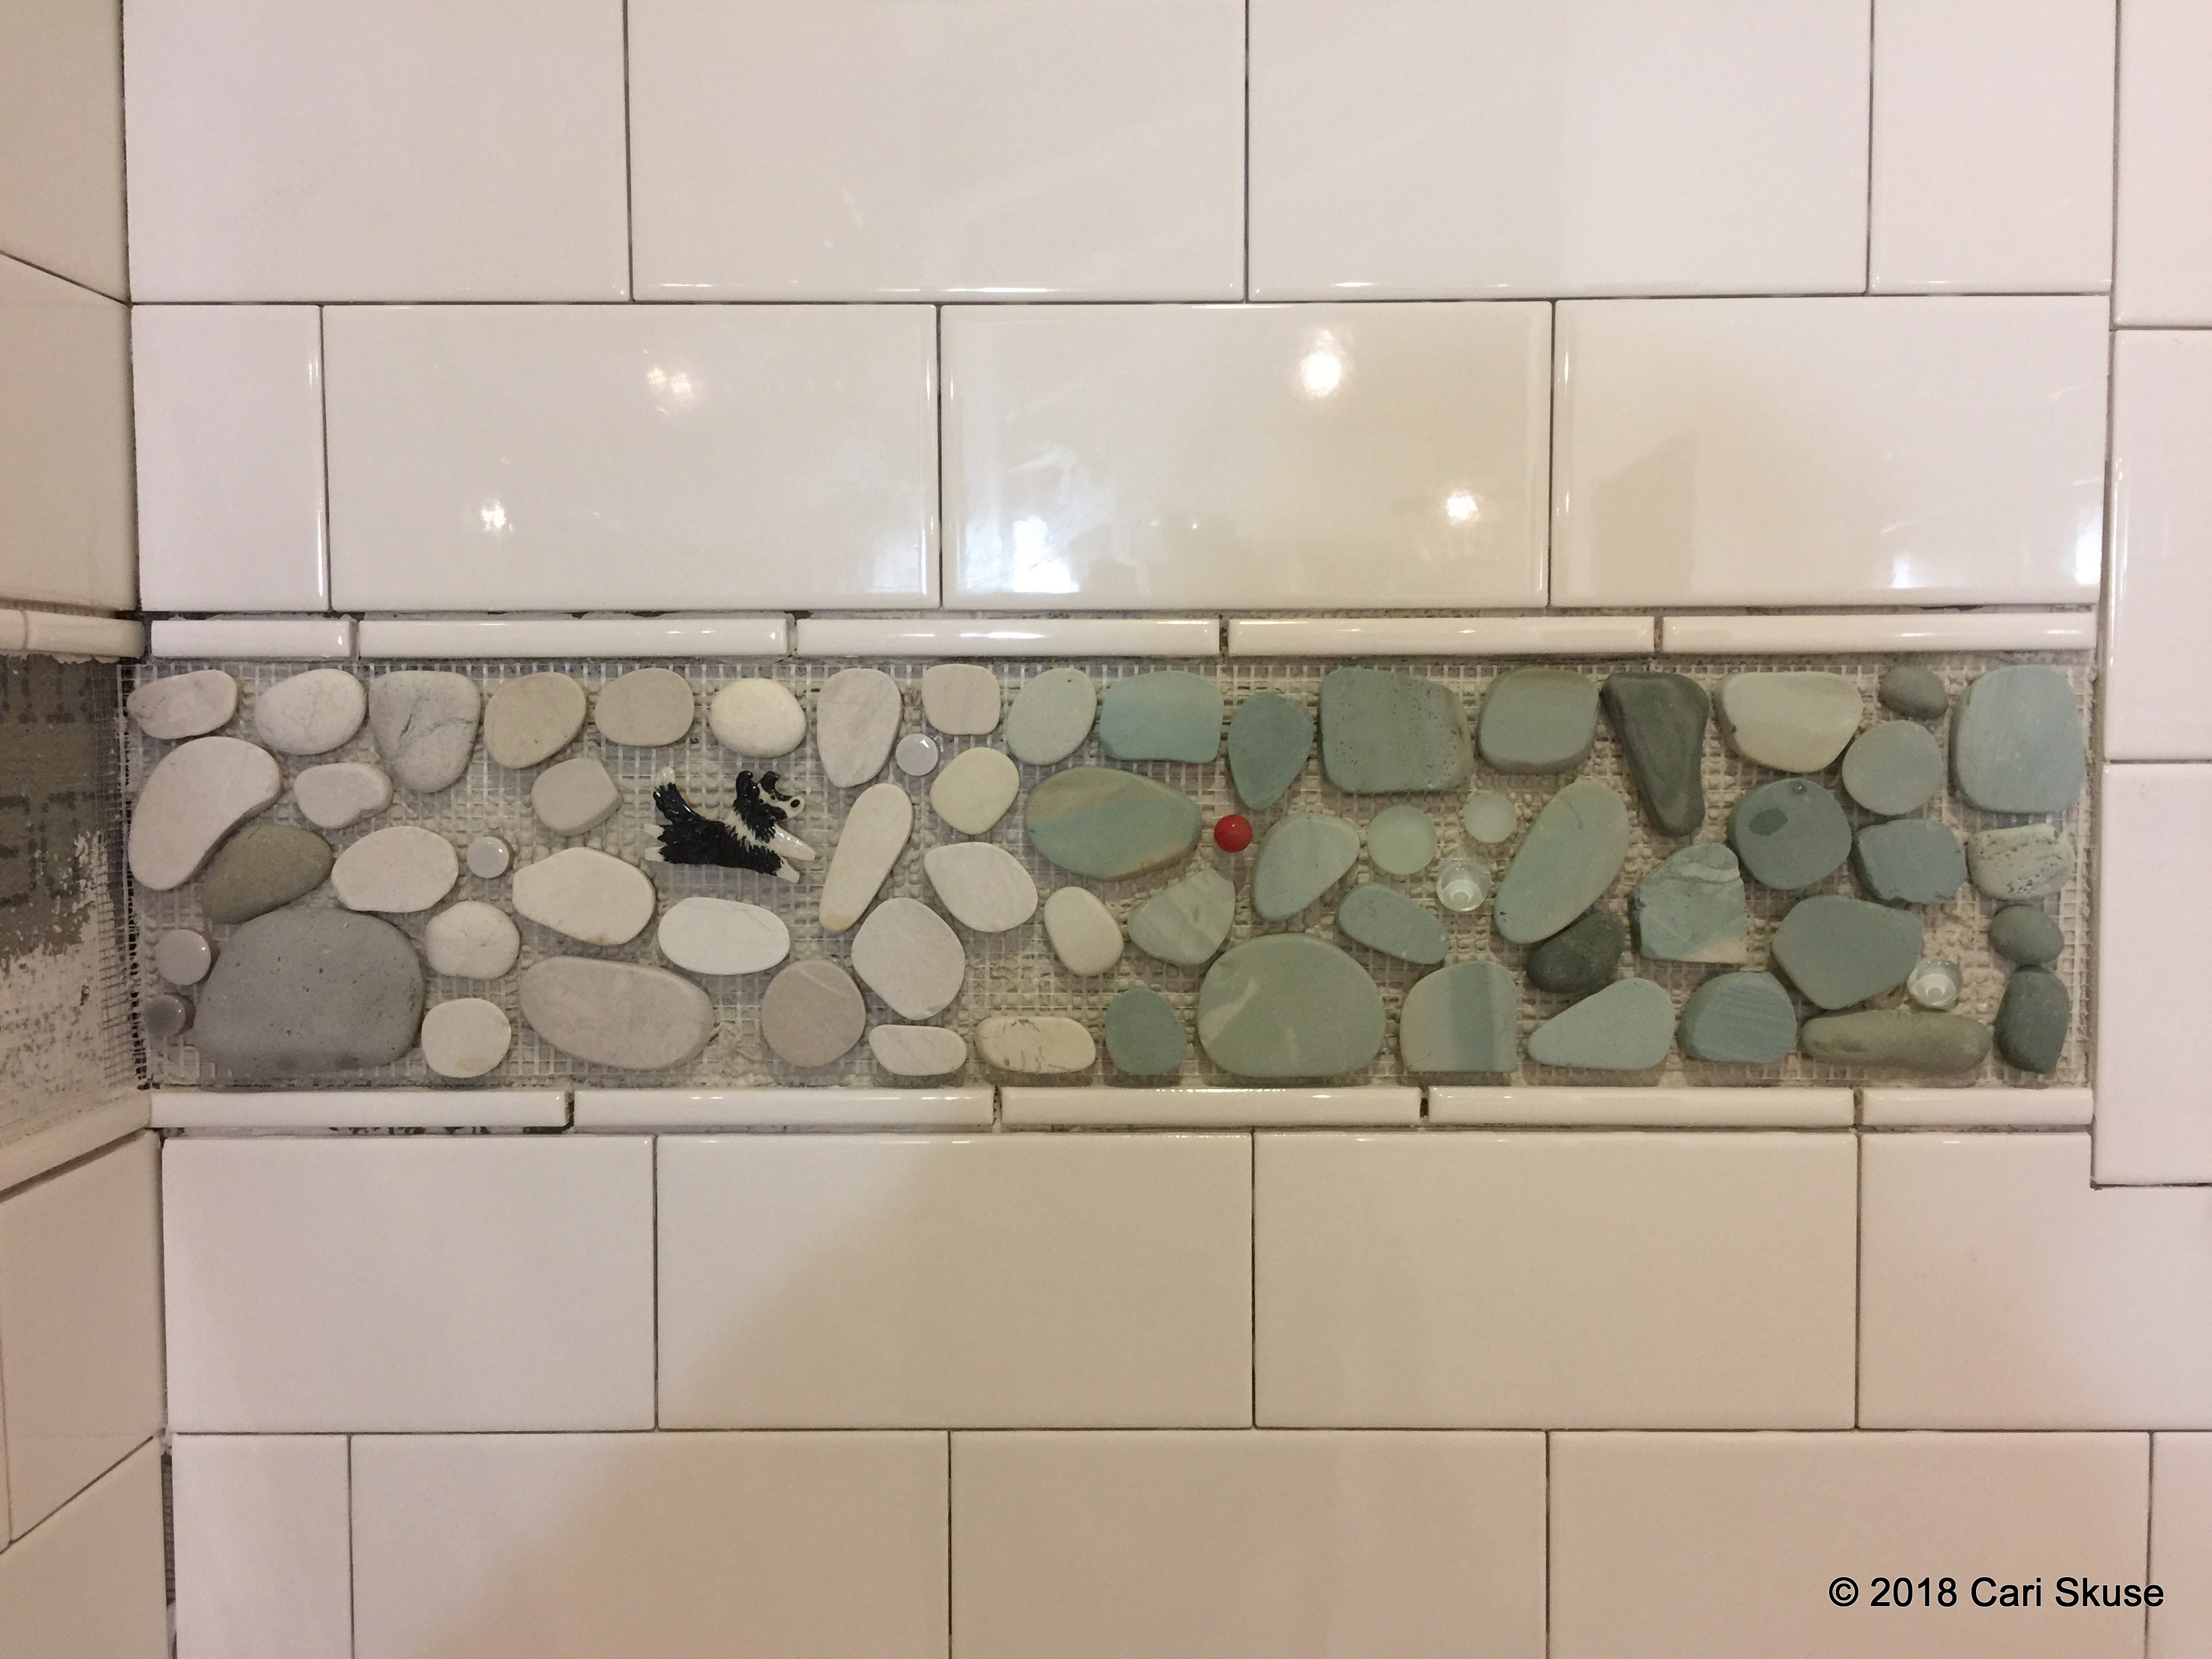
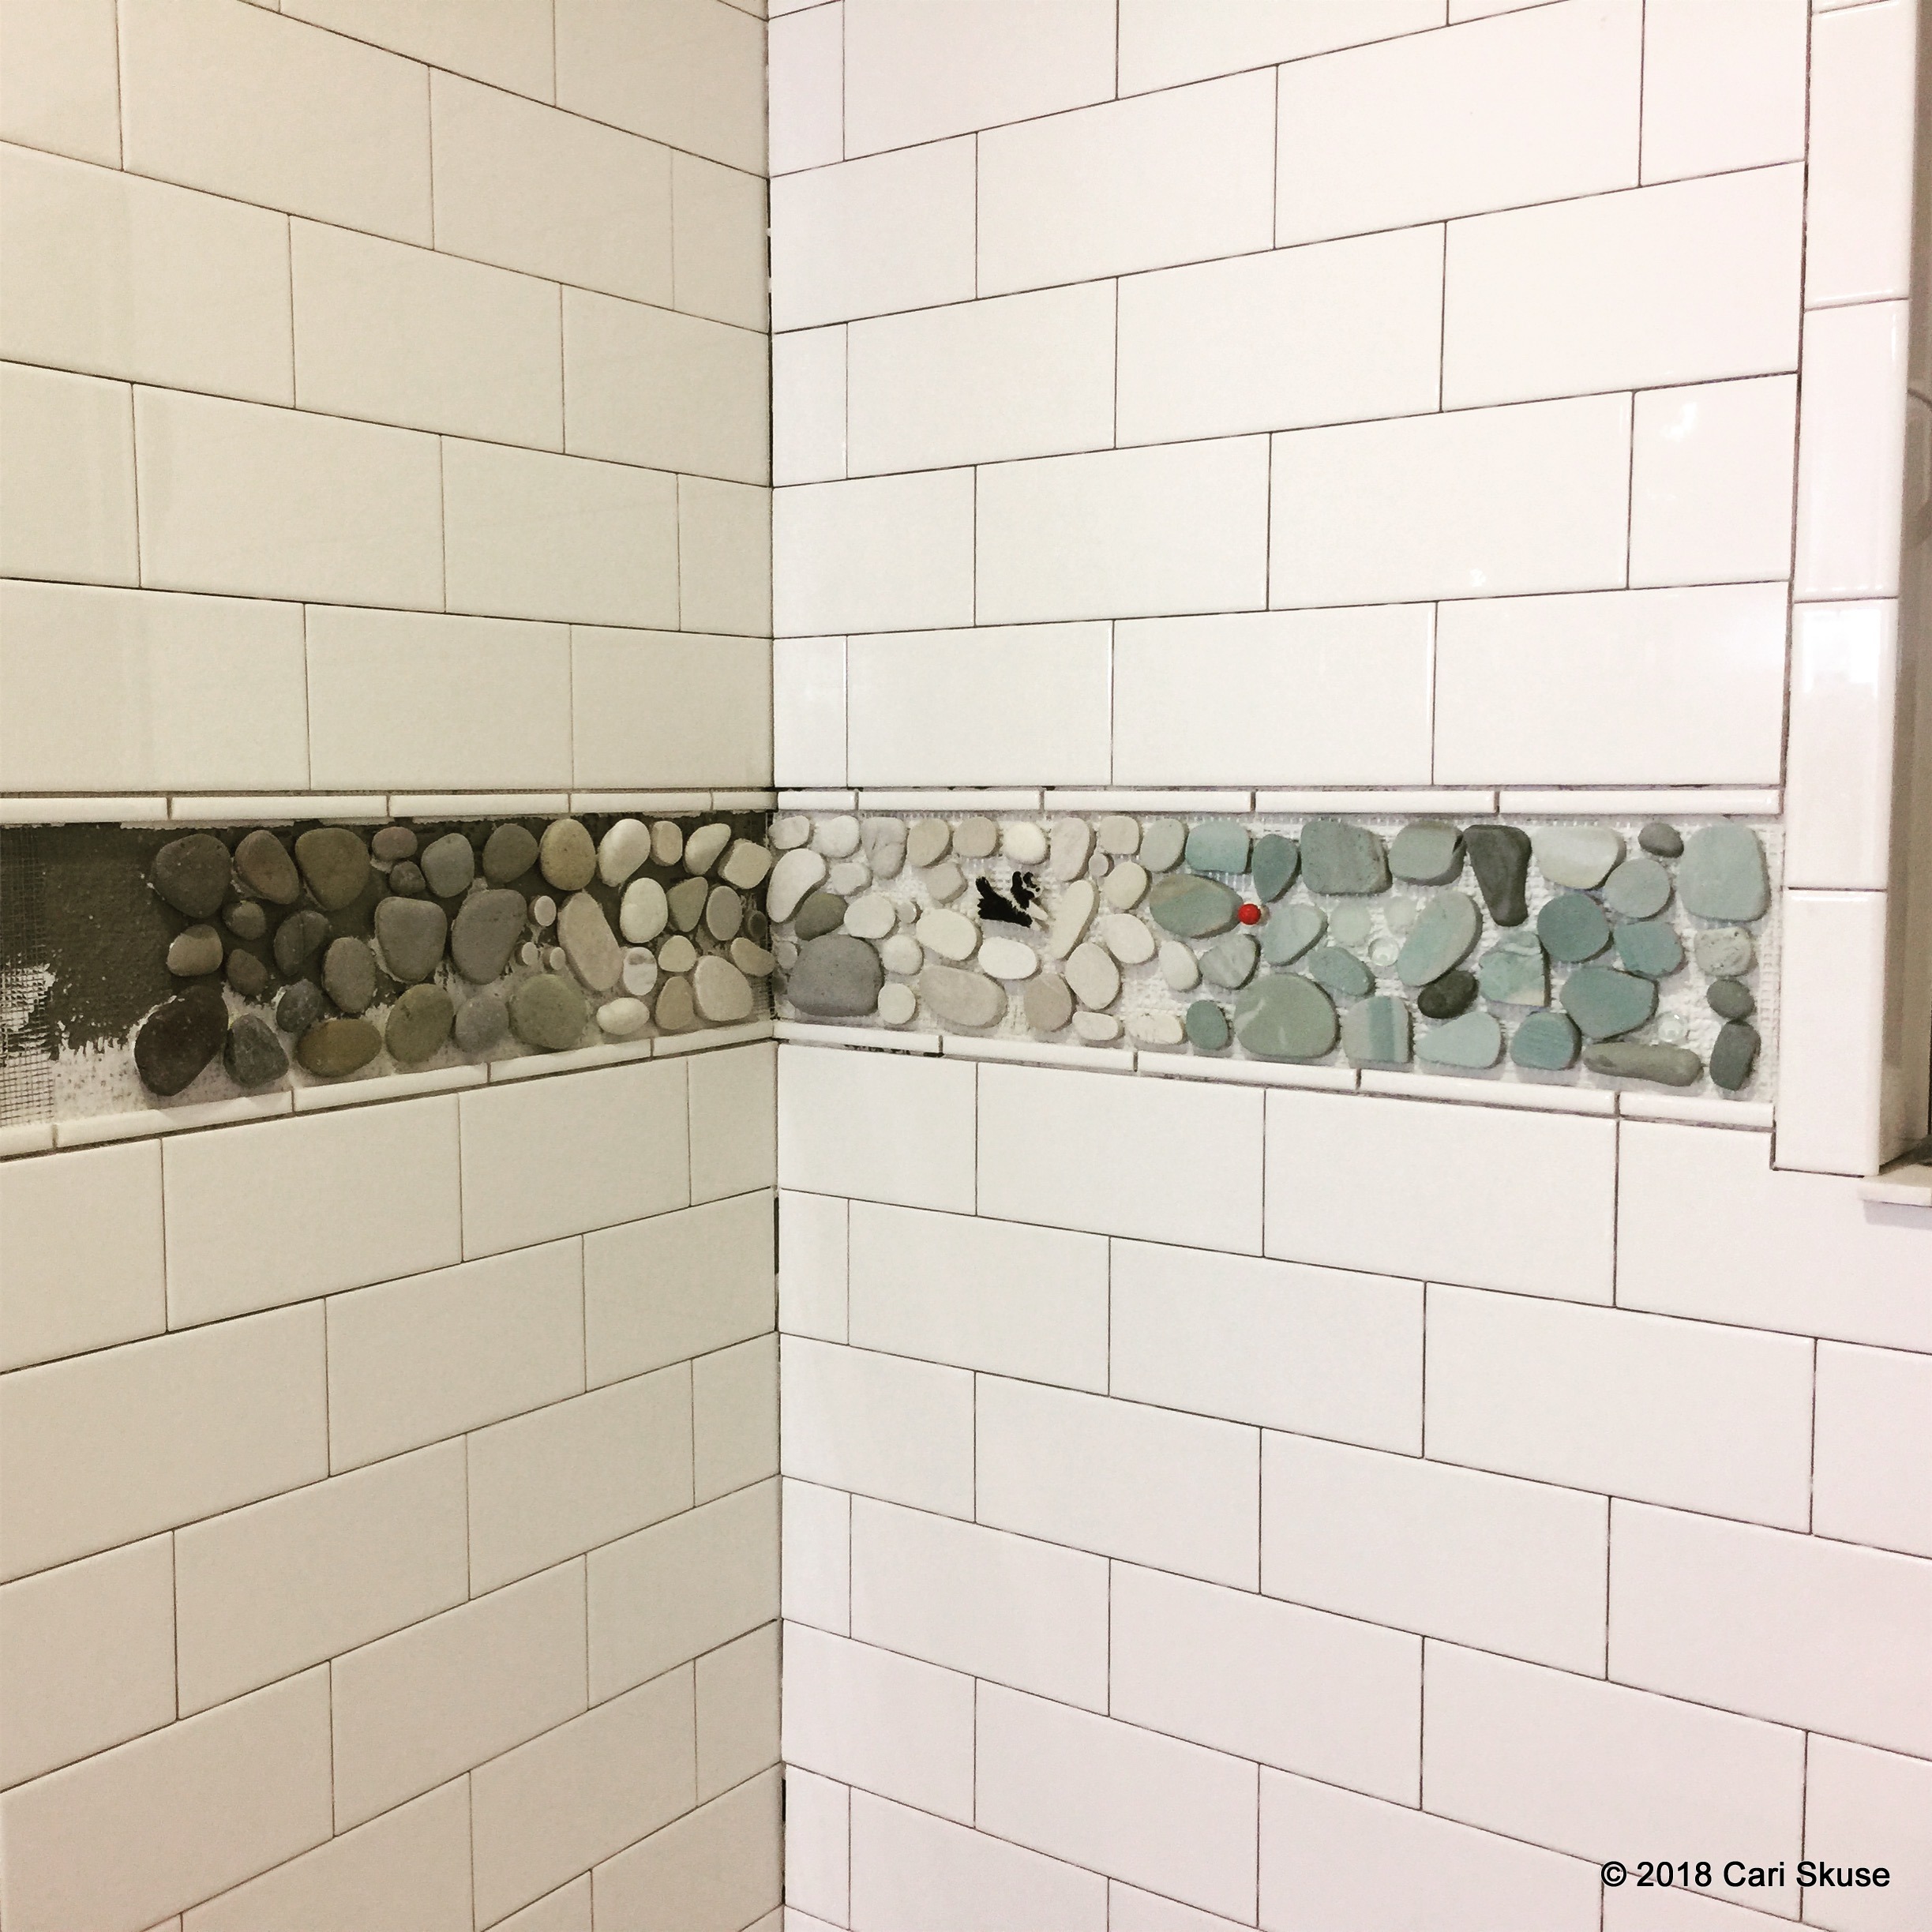
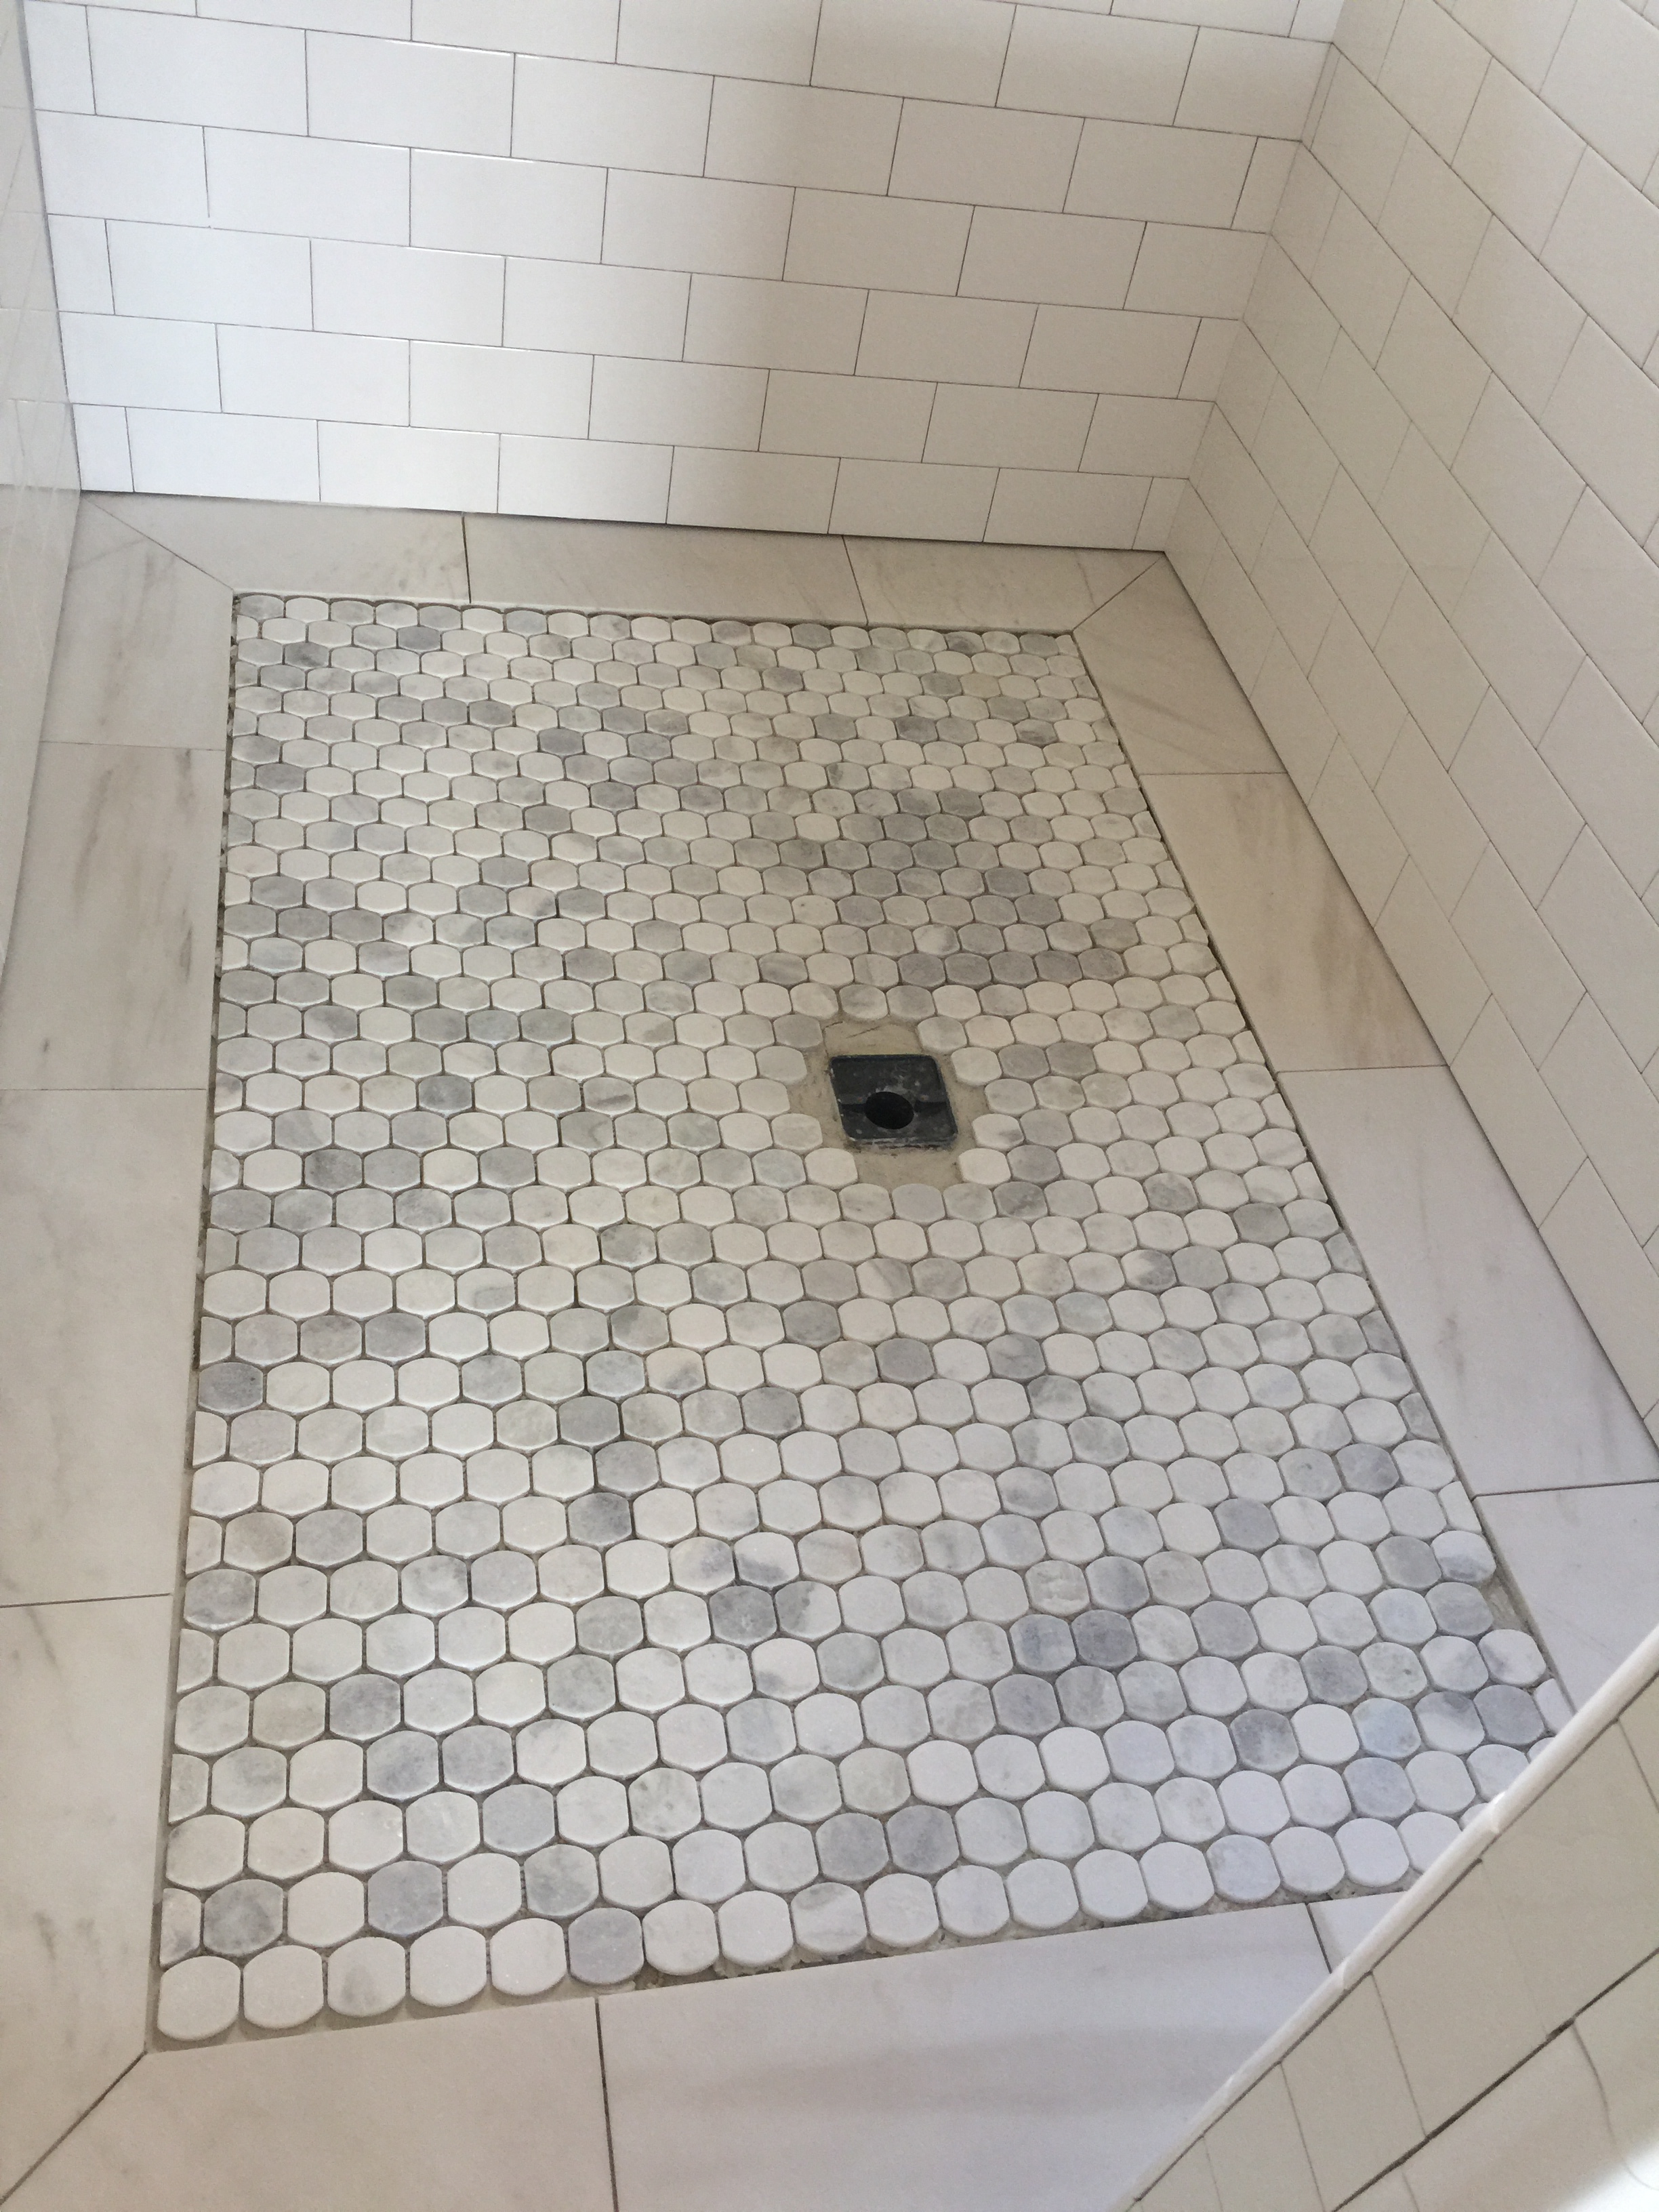
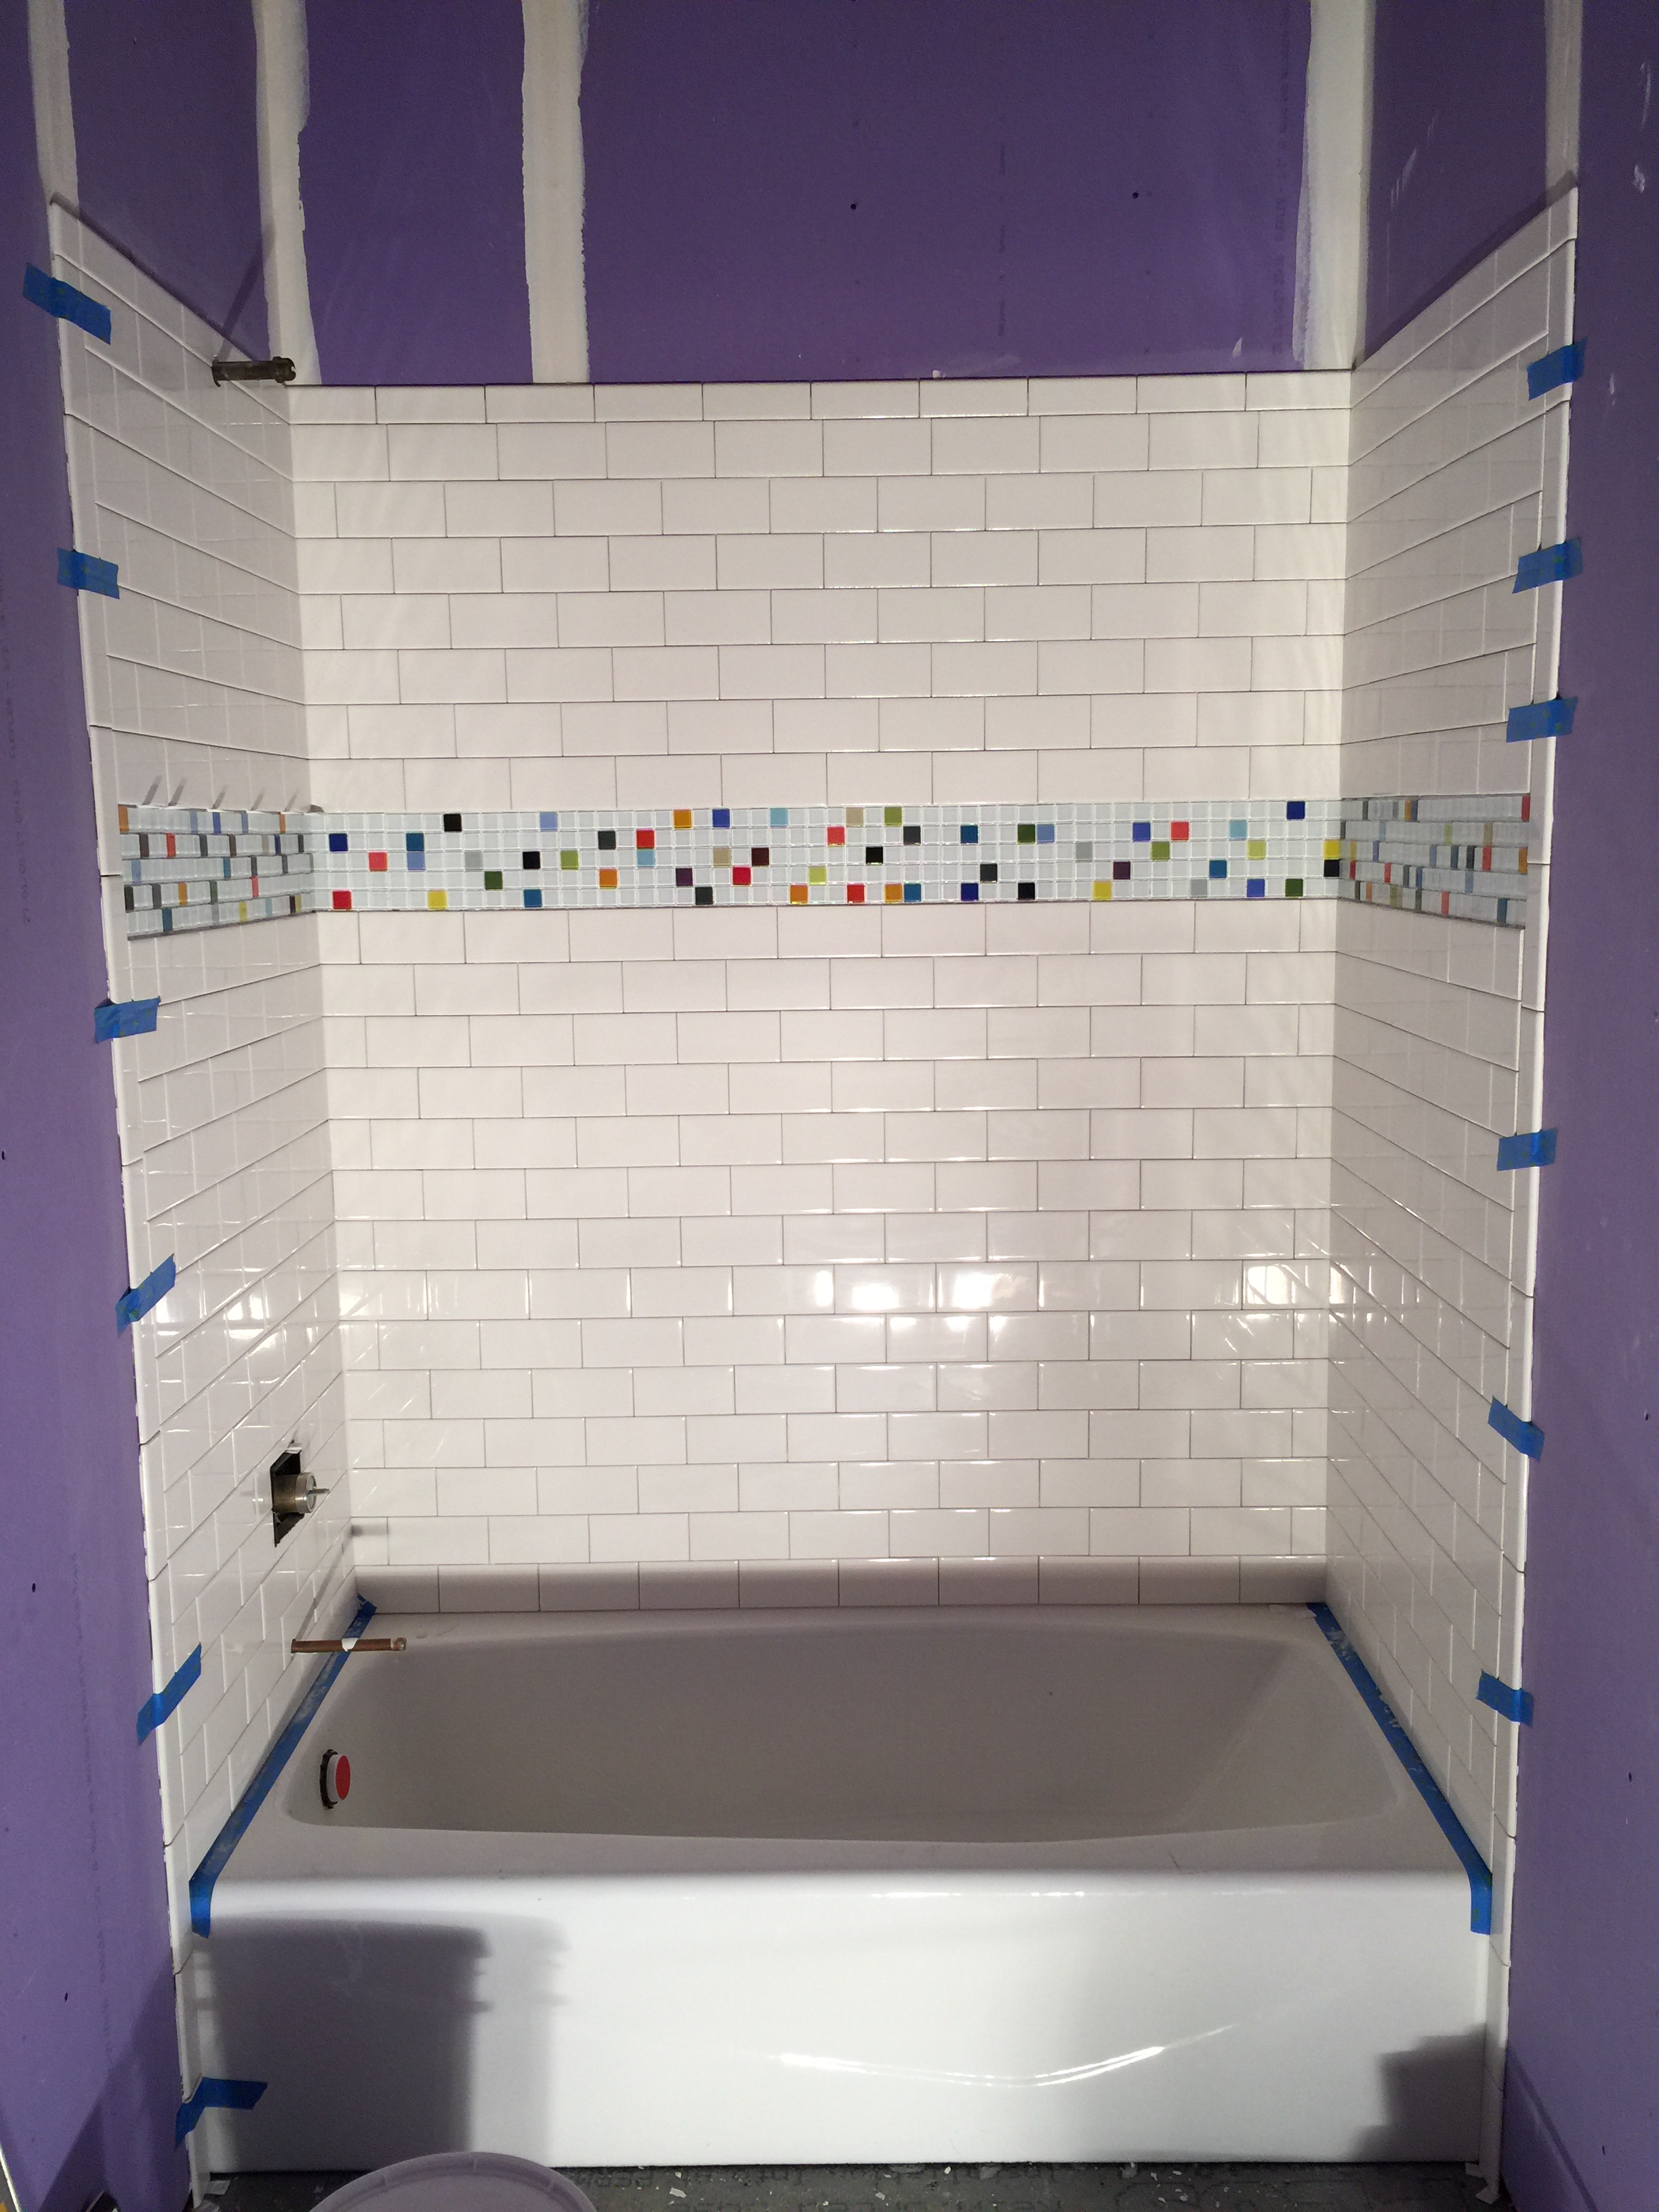
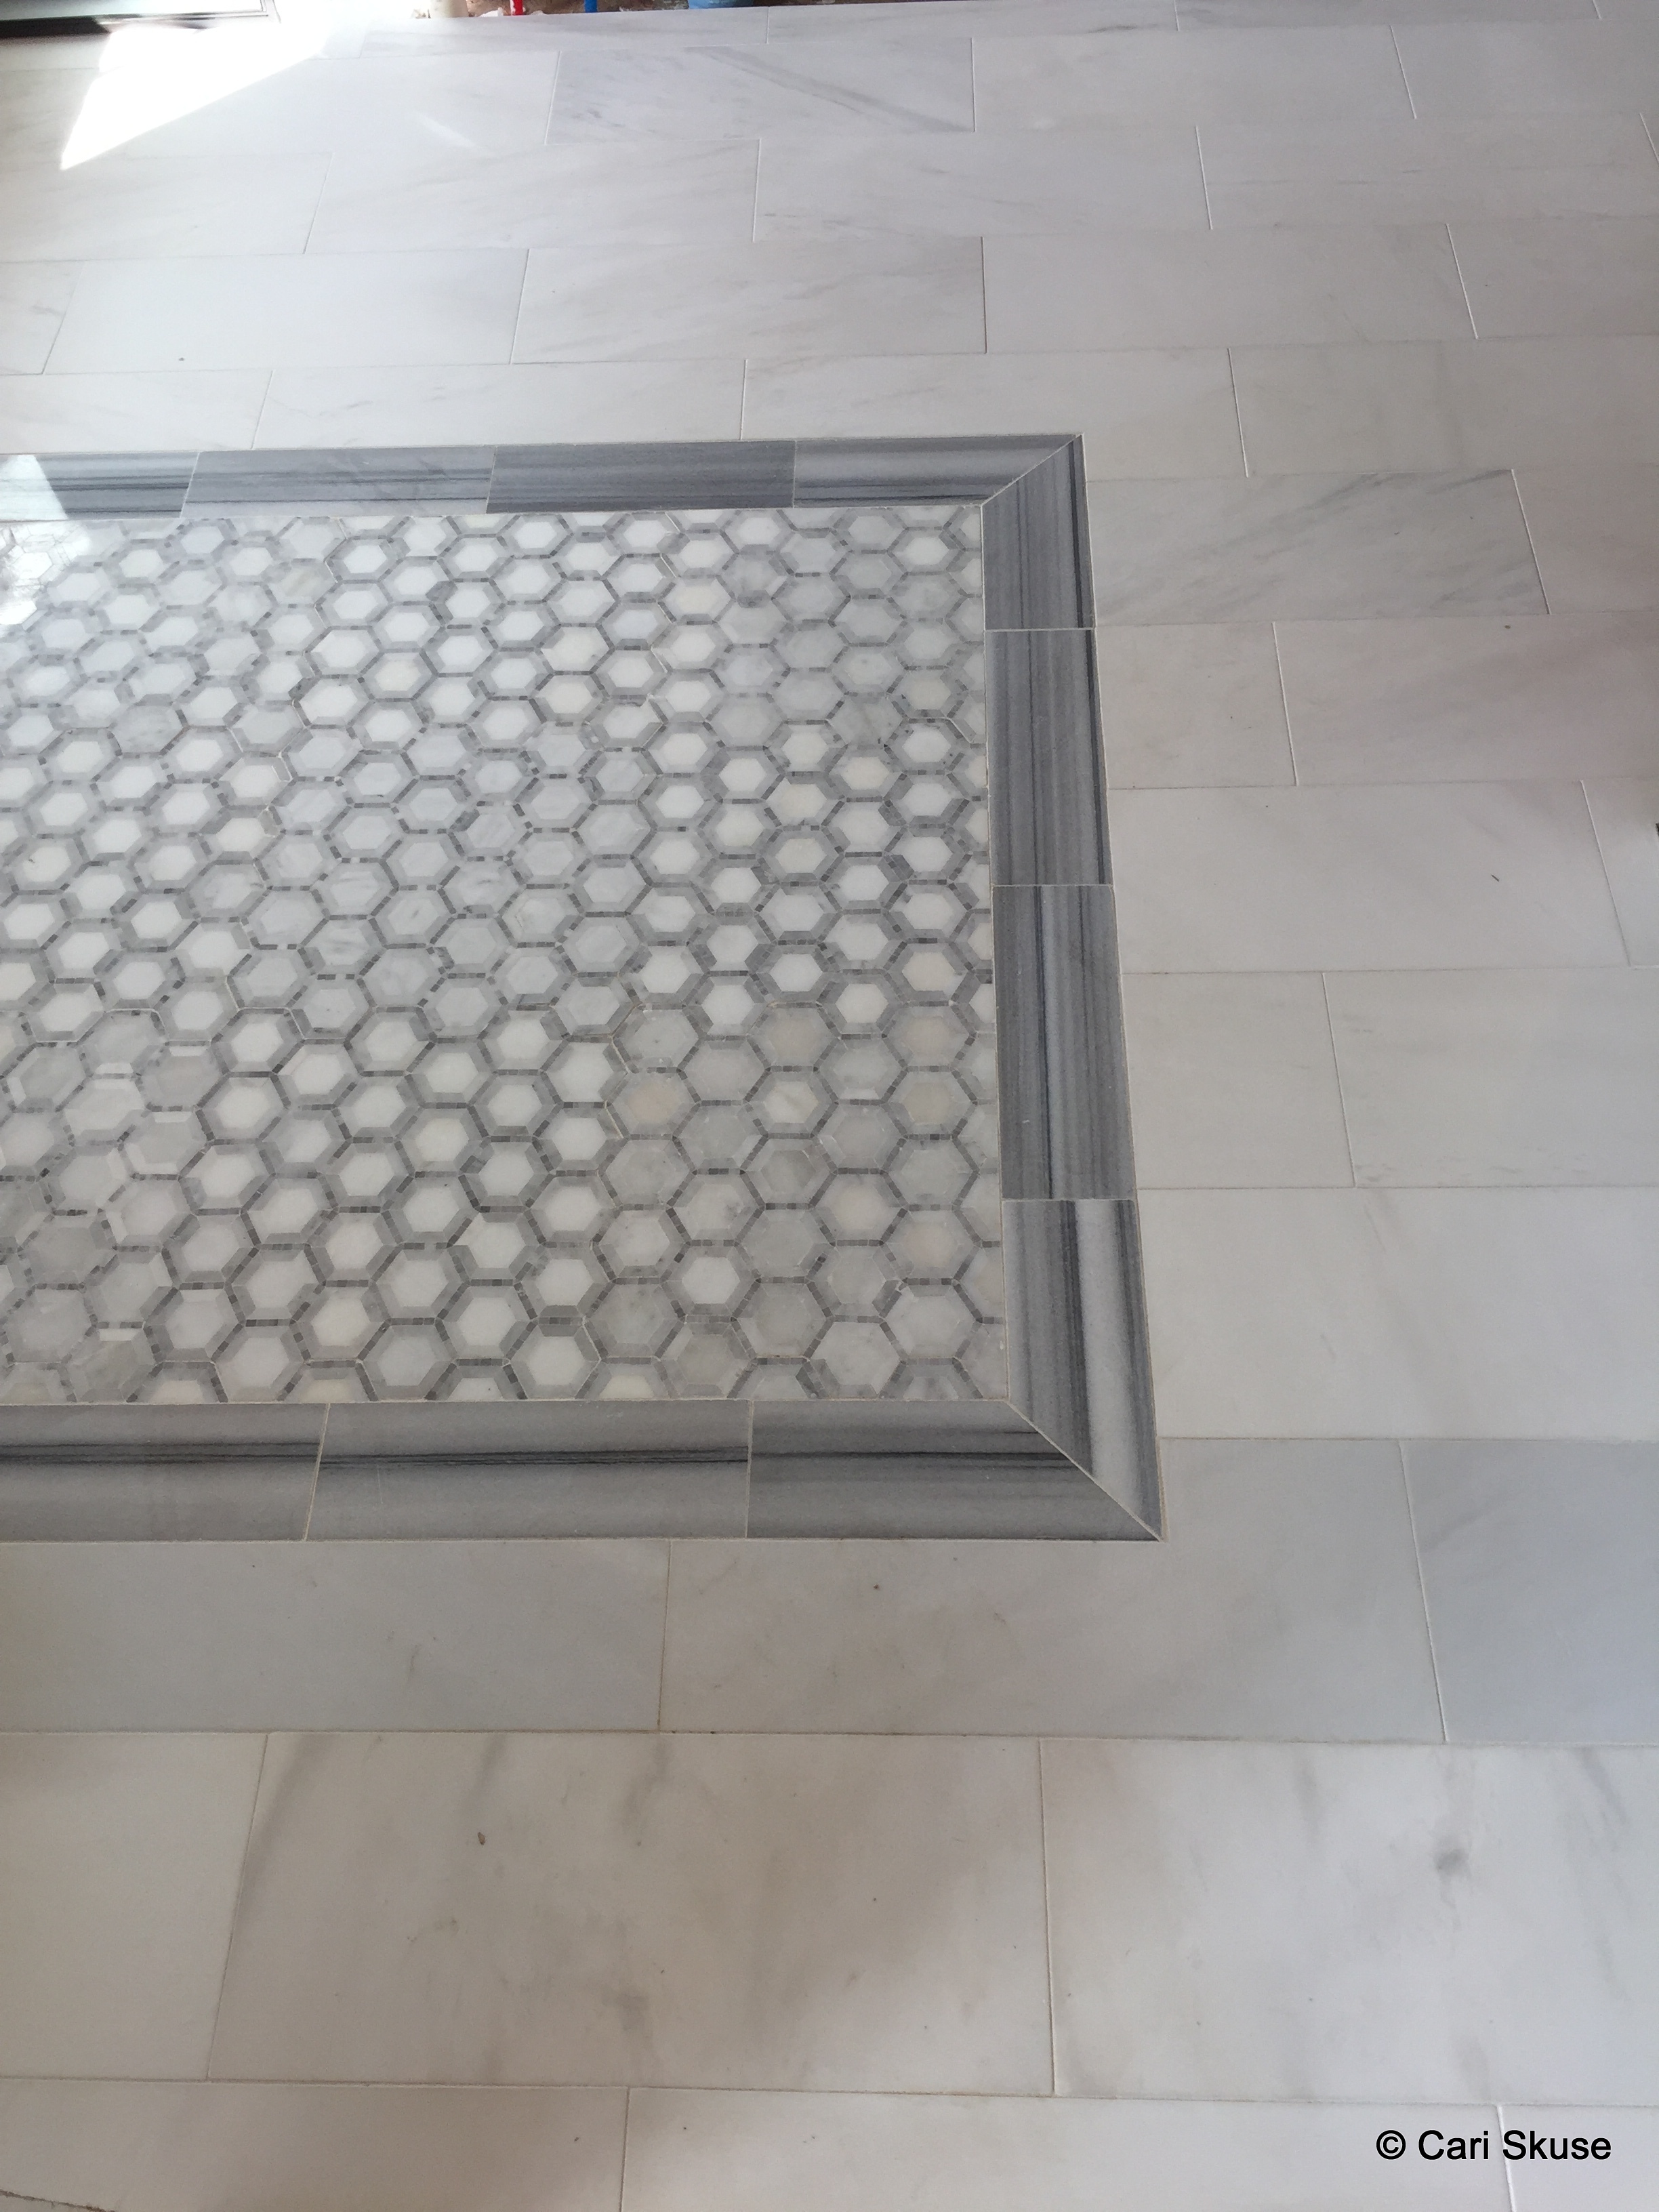
Close up of the tile inset in the bathroom floor. Mosaic tile from Home Depot and border and floor tile from Tile Shop. I purchased all the tile on sale and we installed it ourselves for a big savings.

IMG_3347IMG_3426

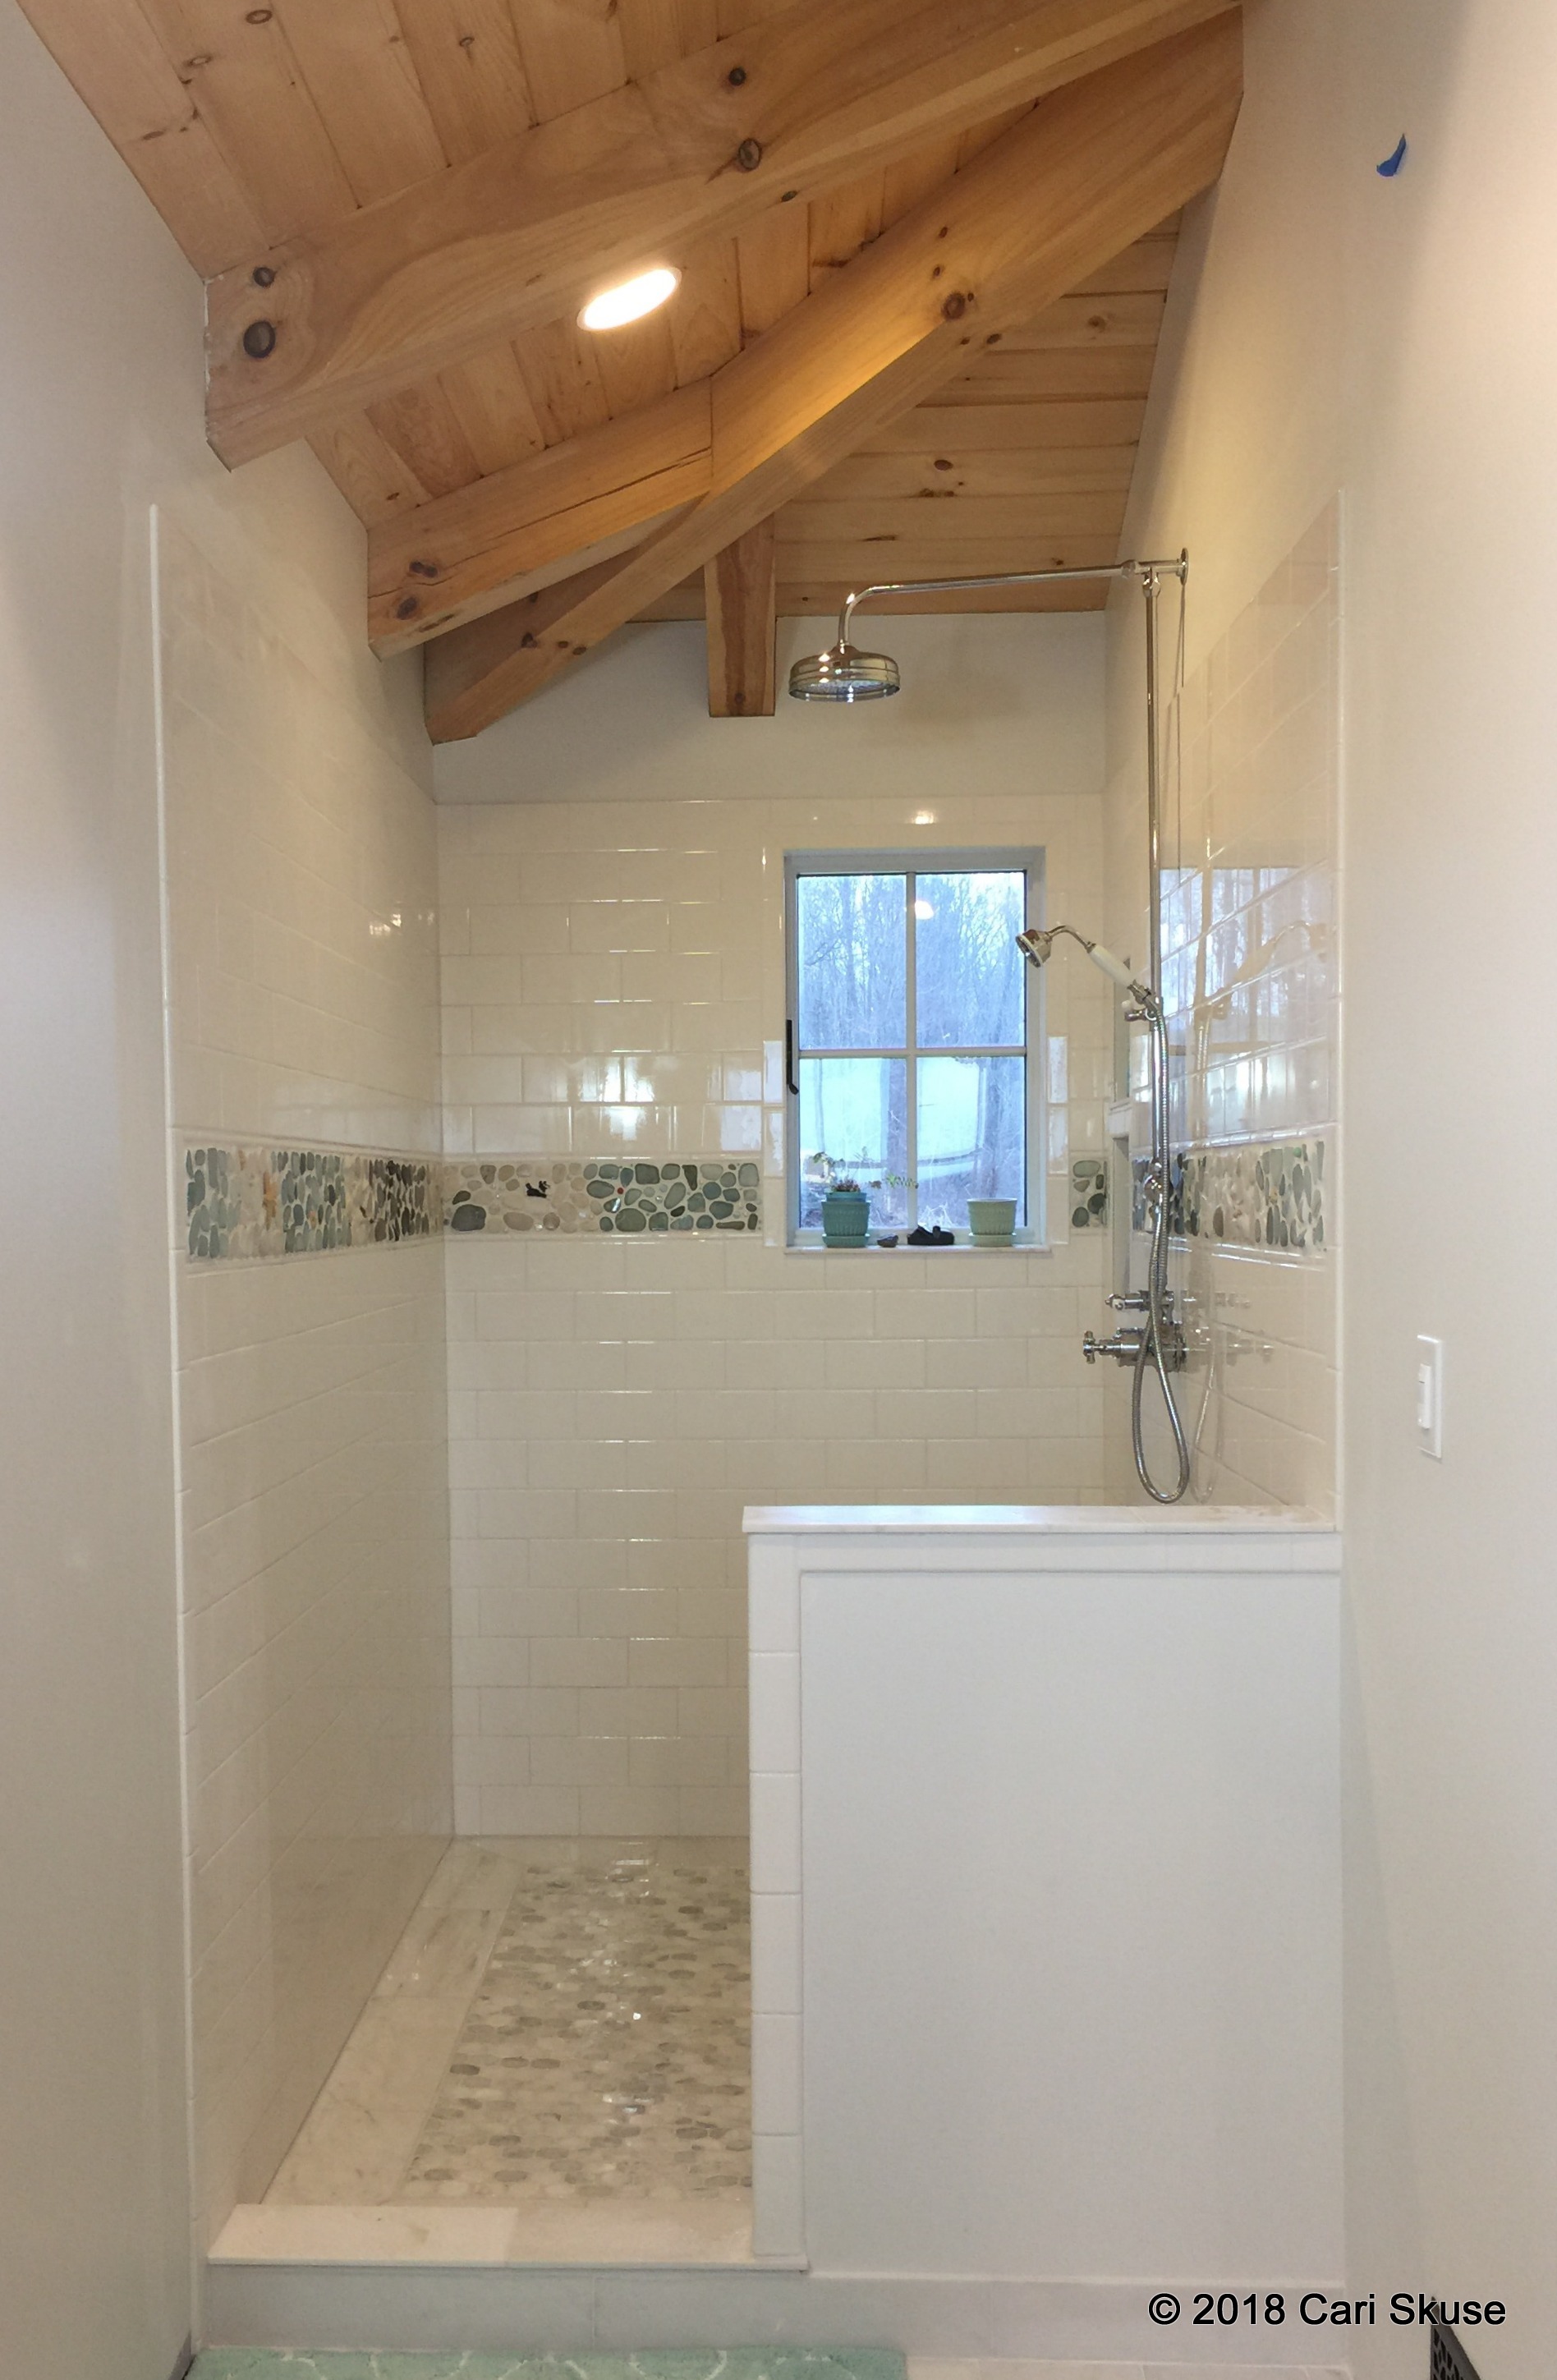
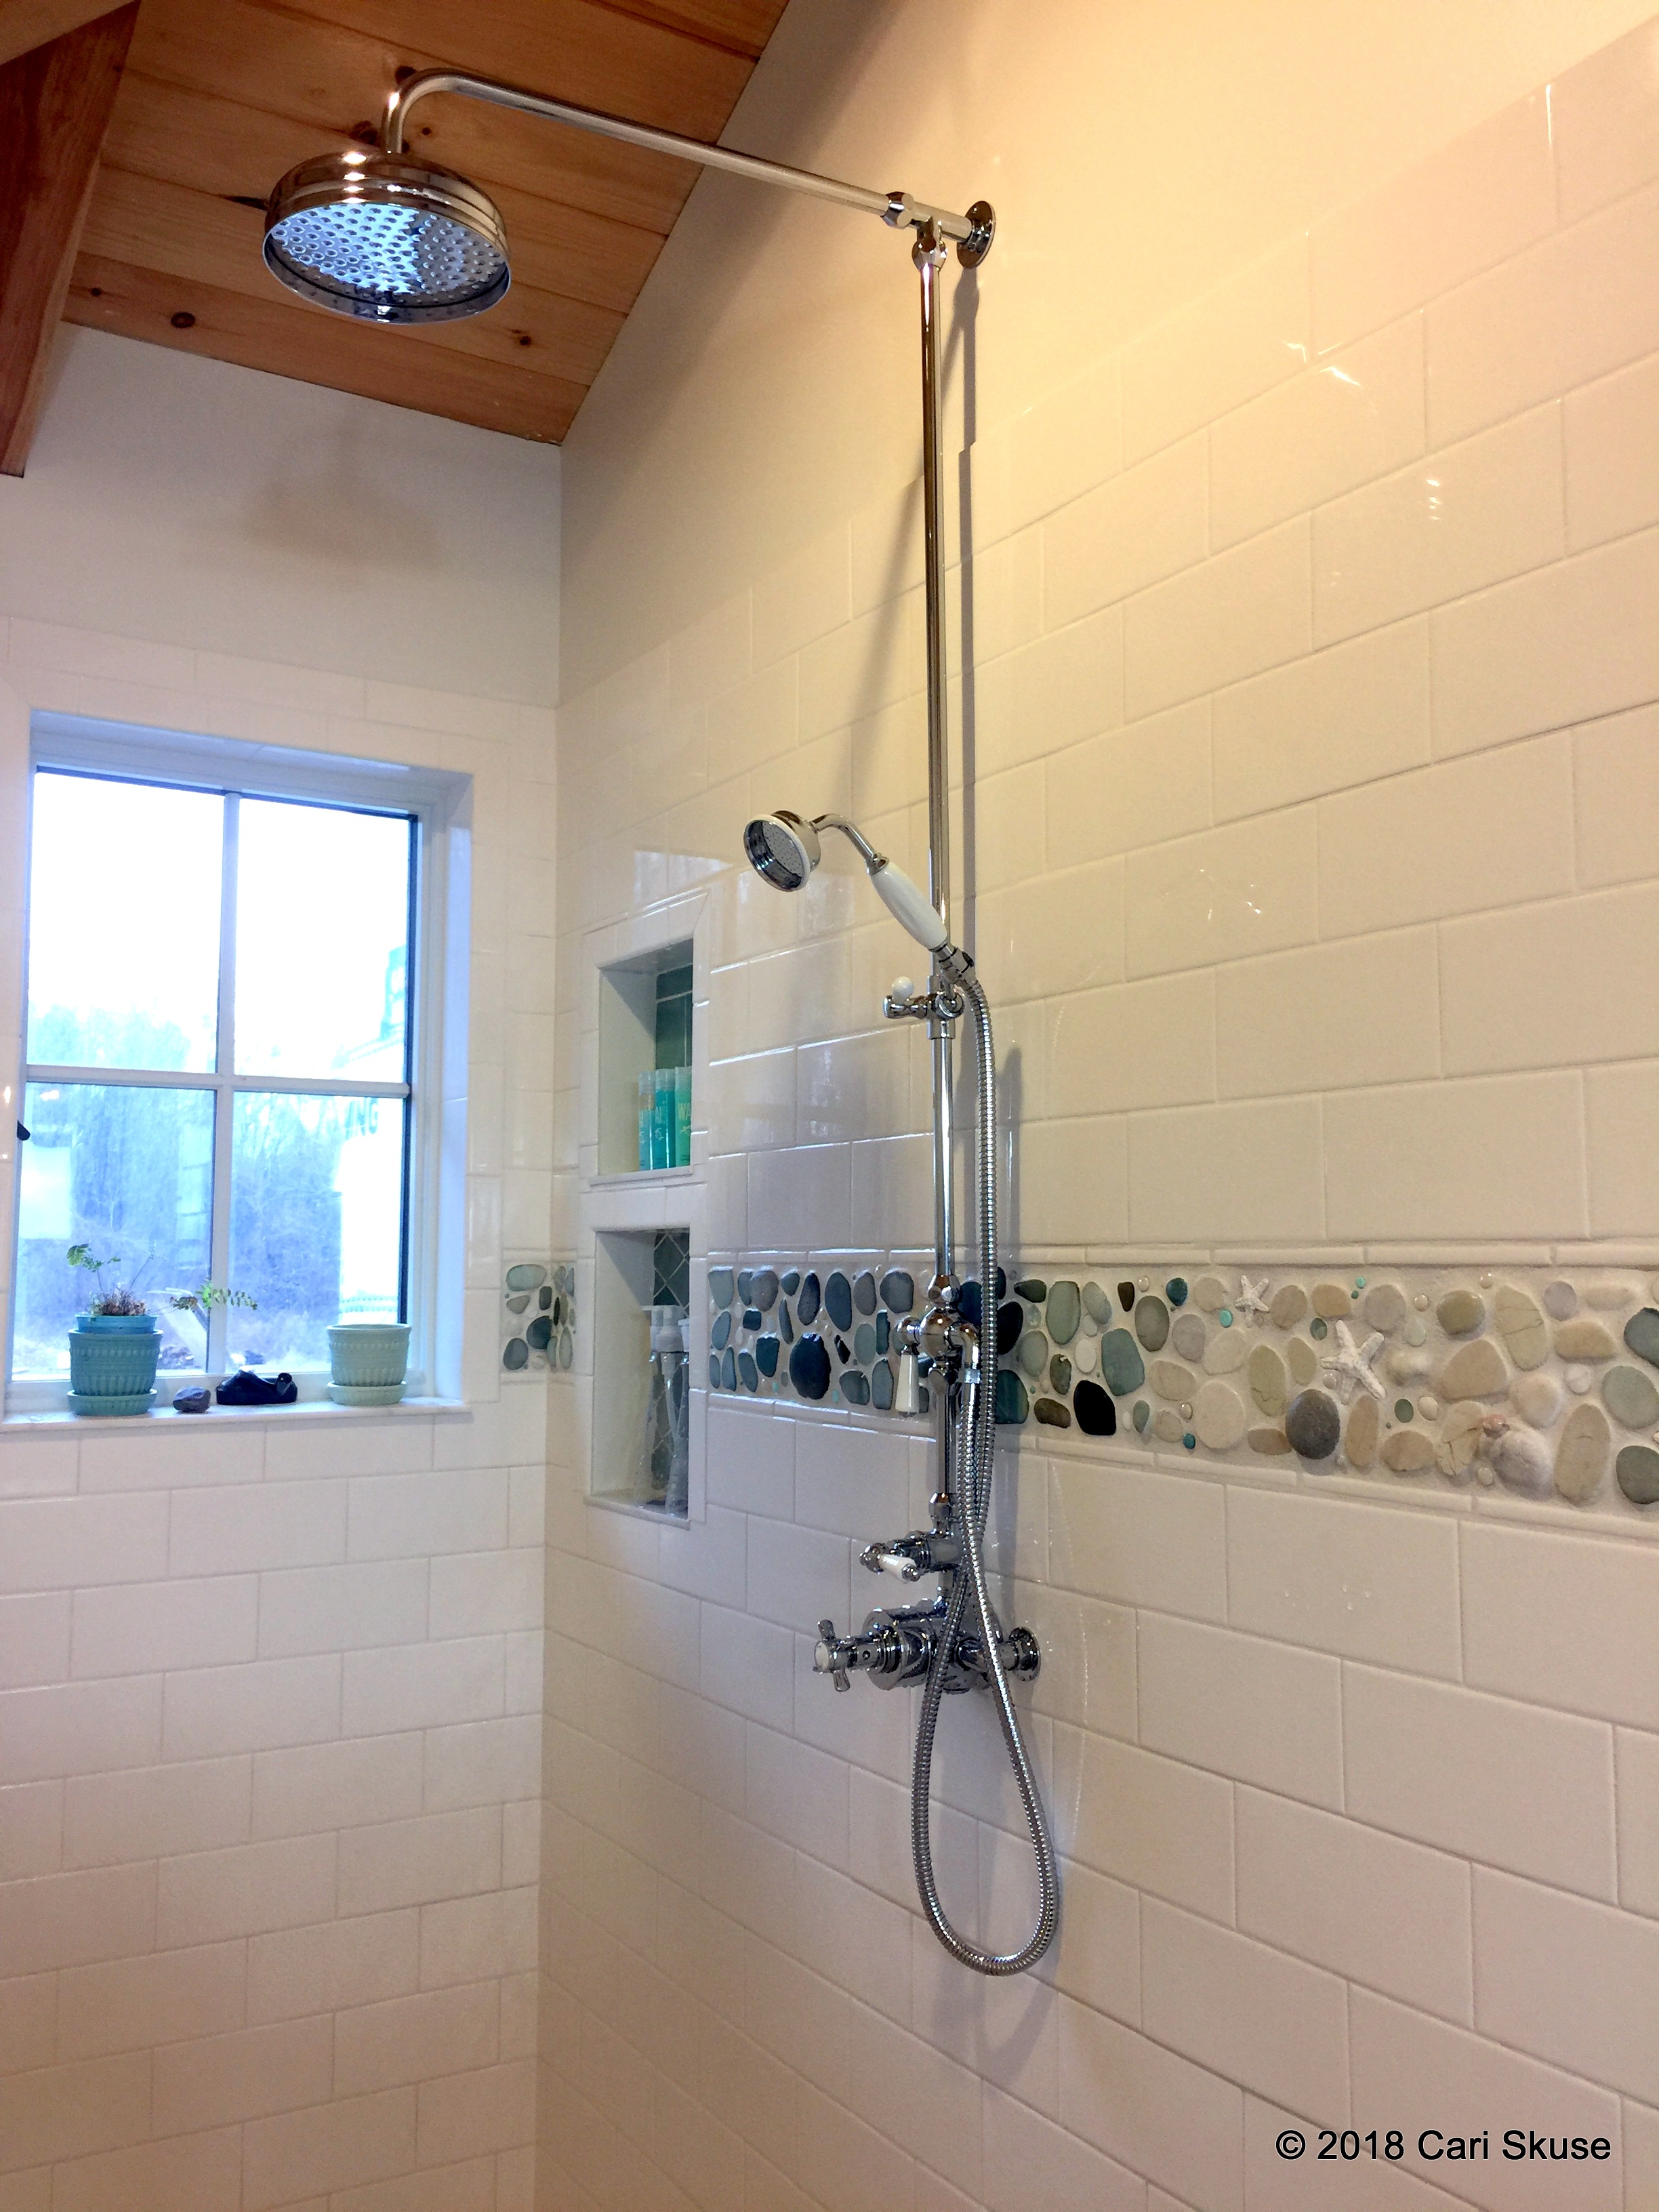
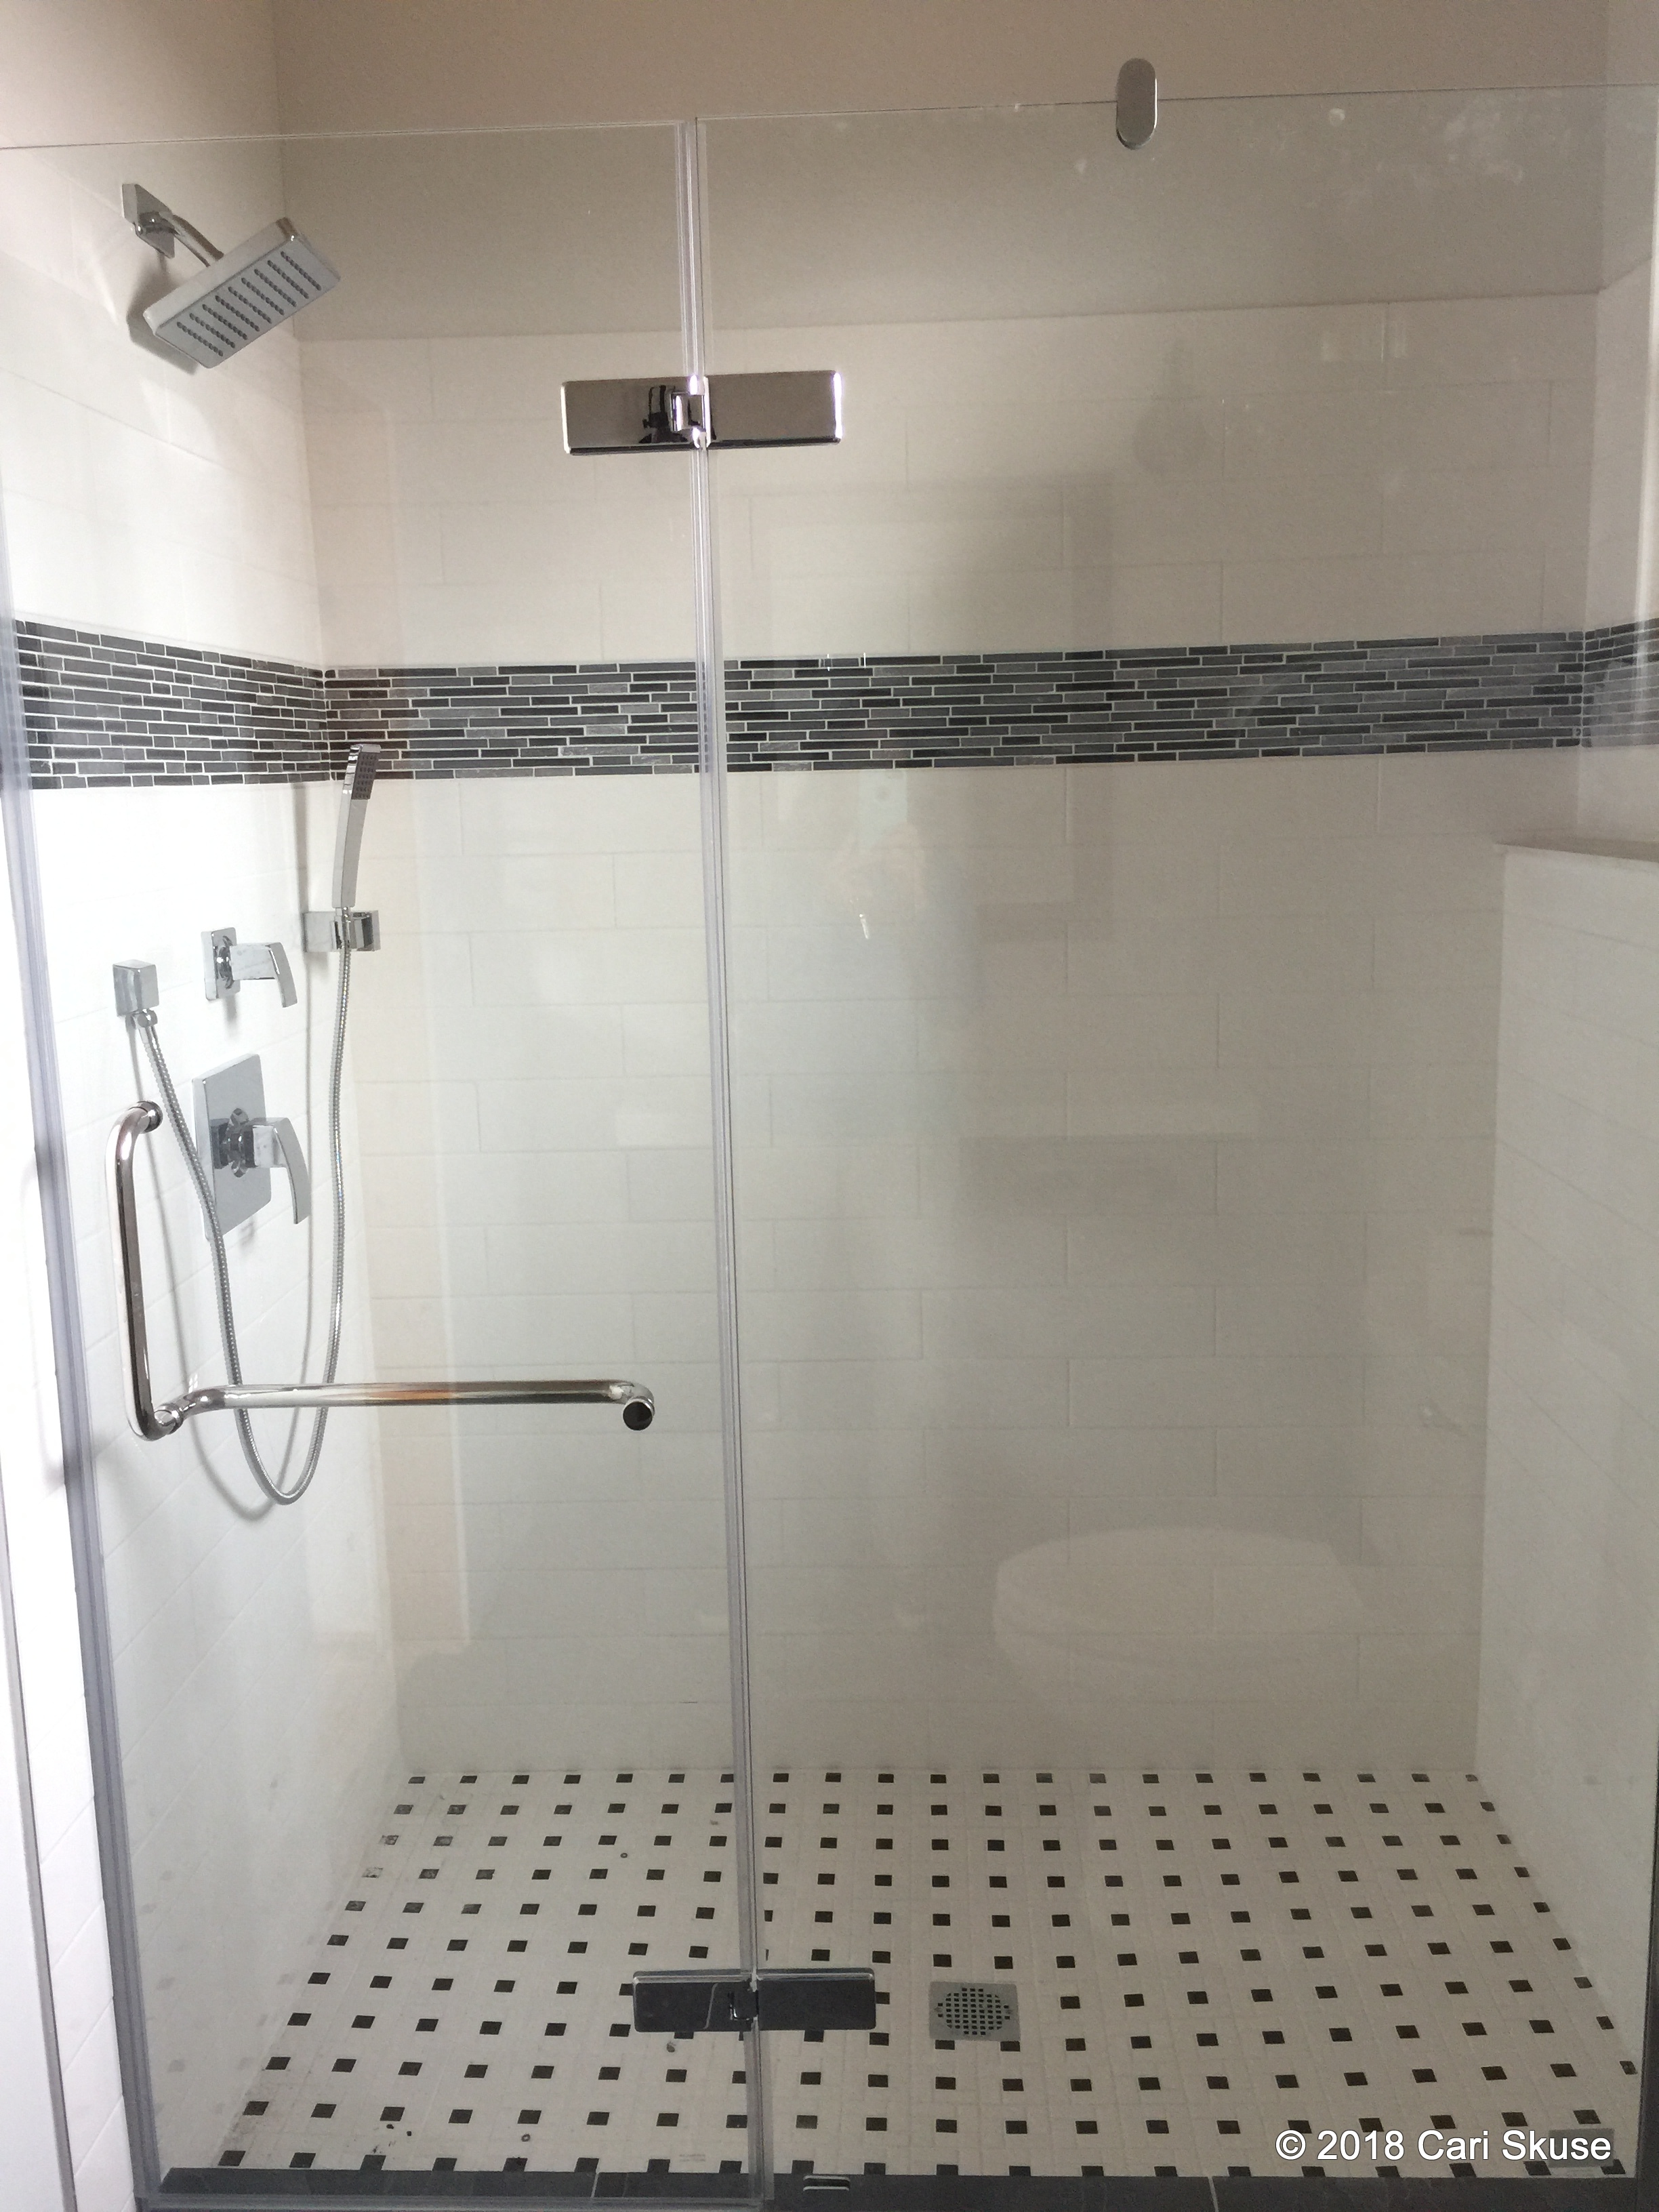
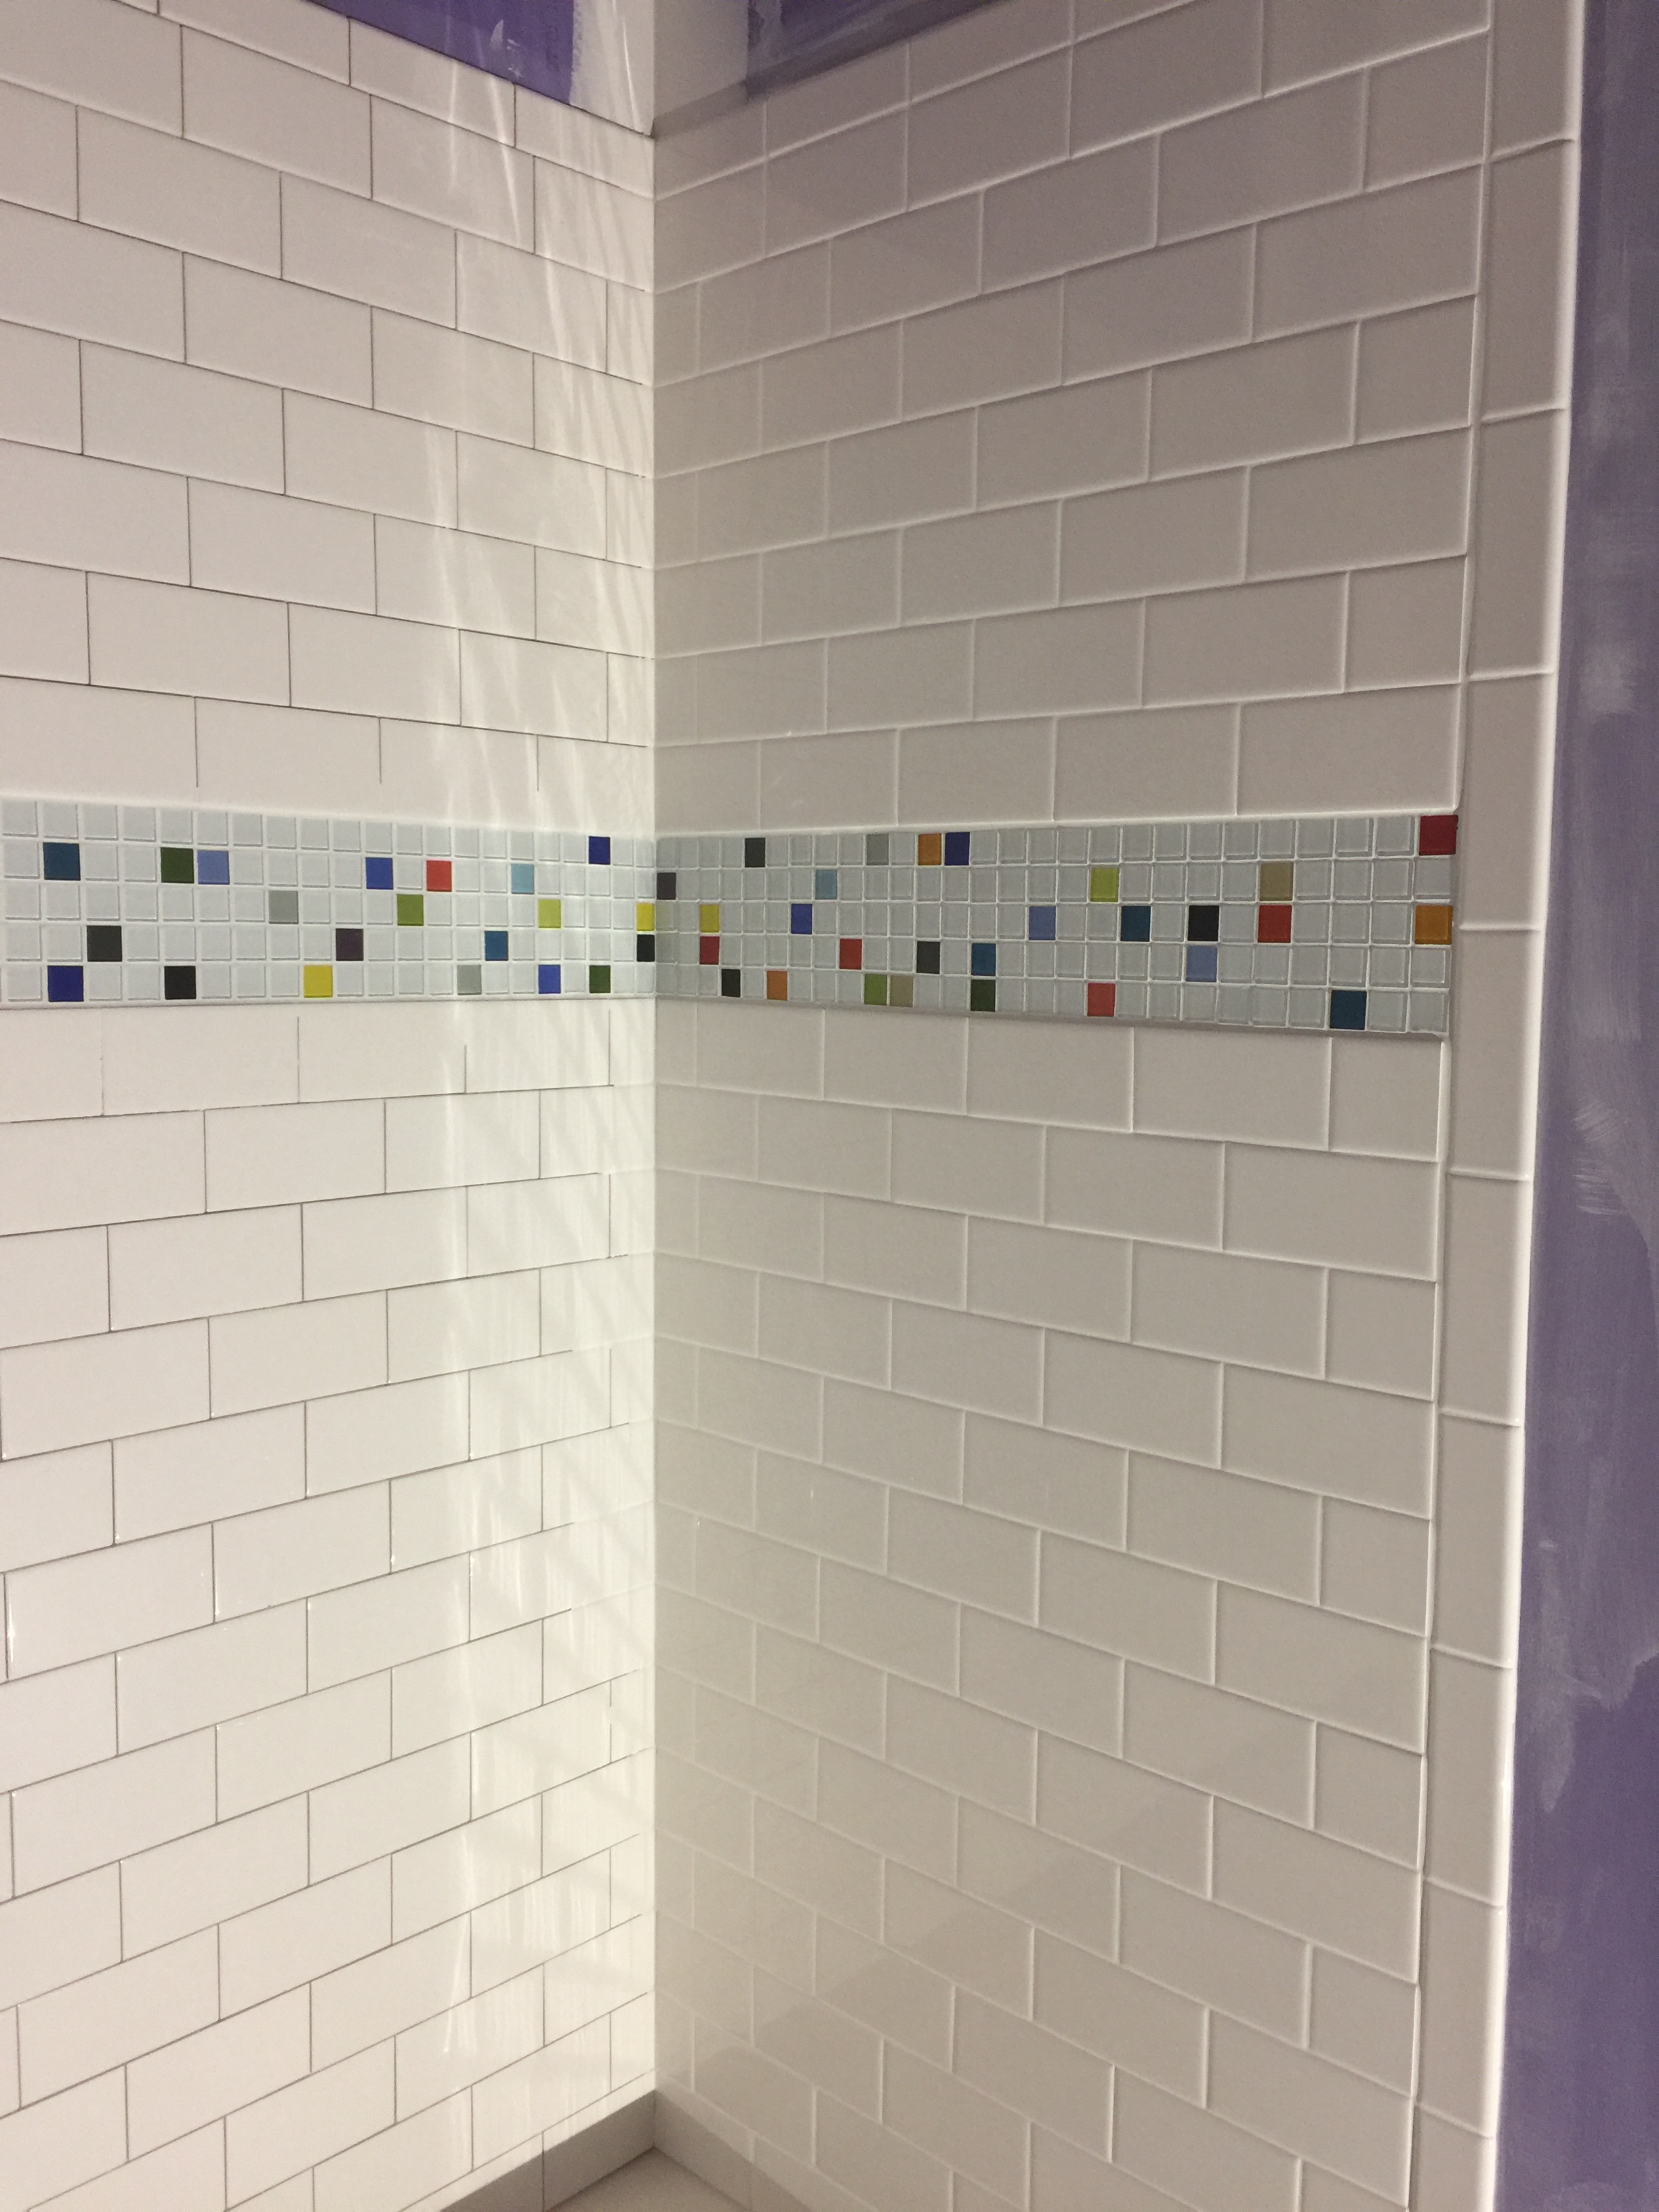
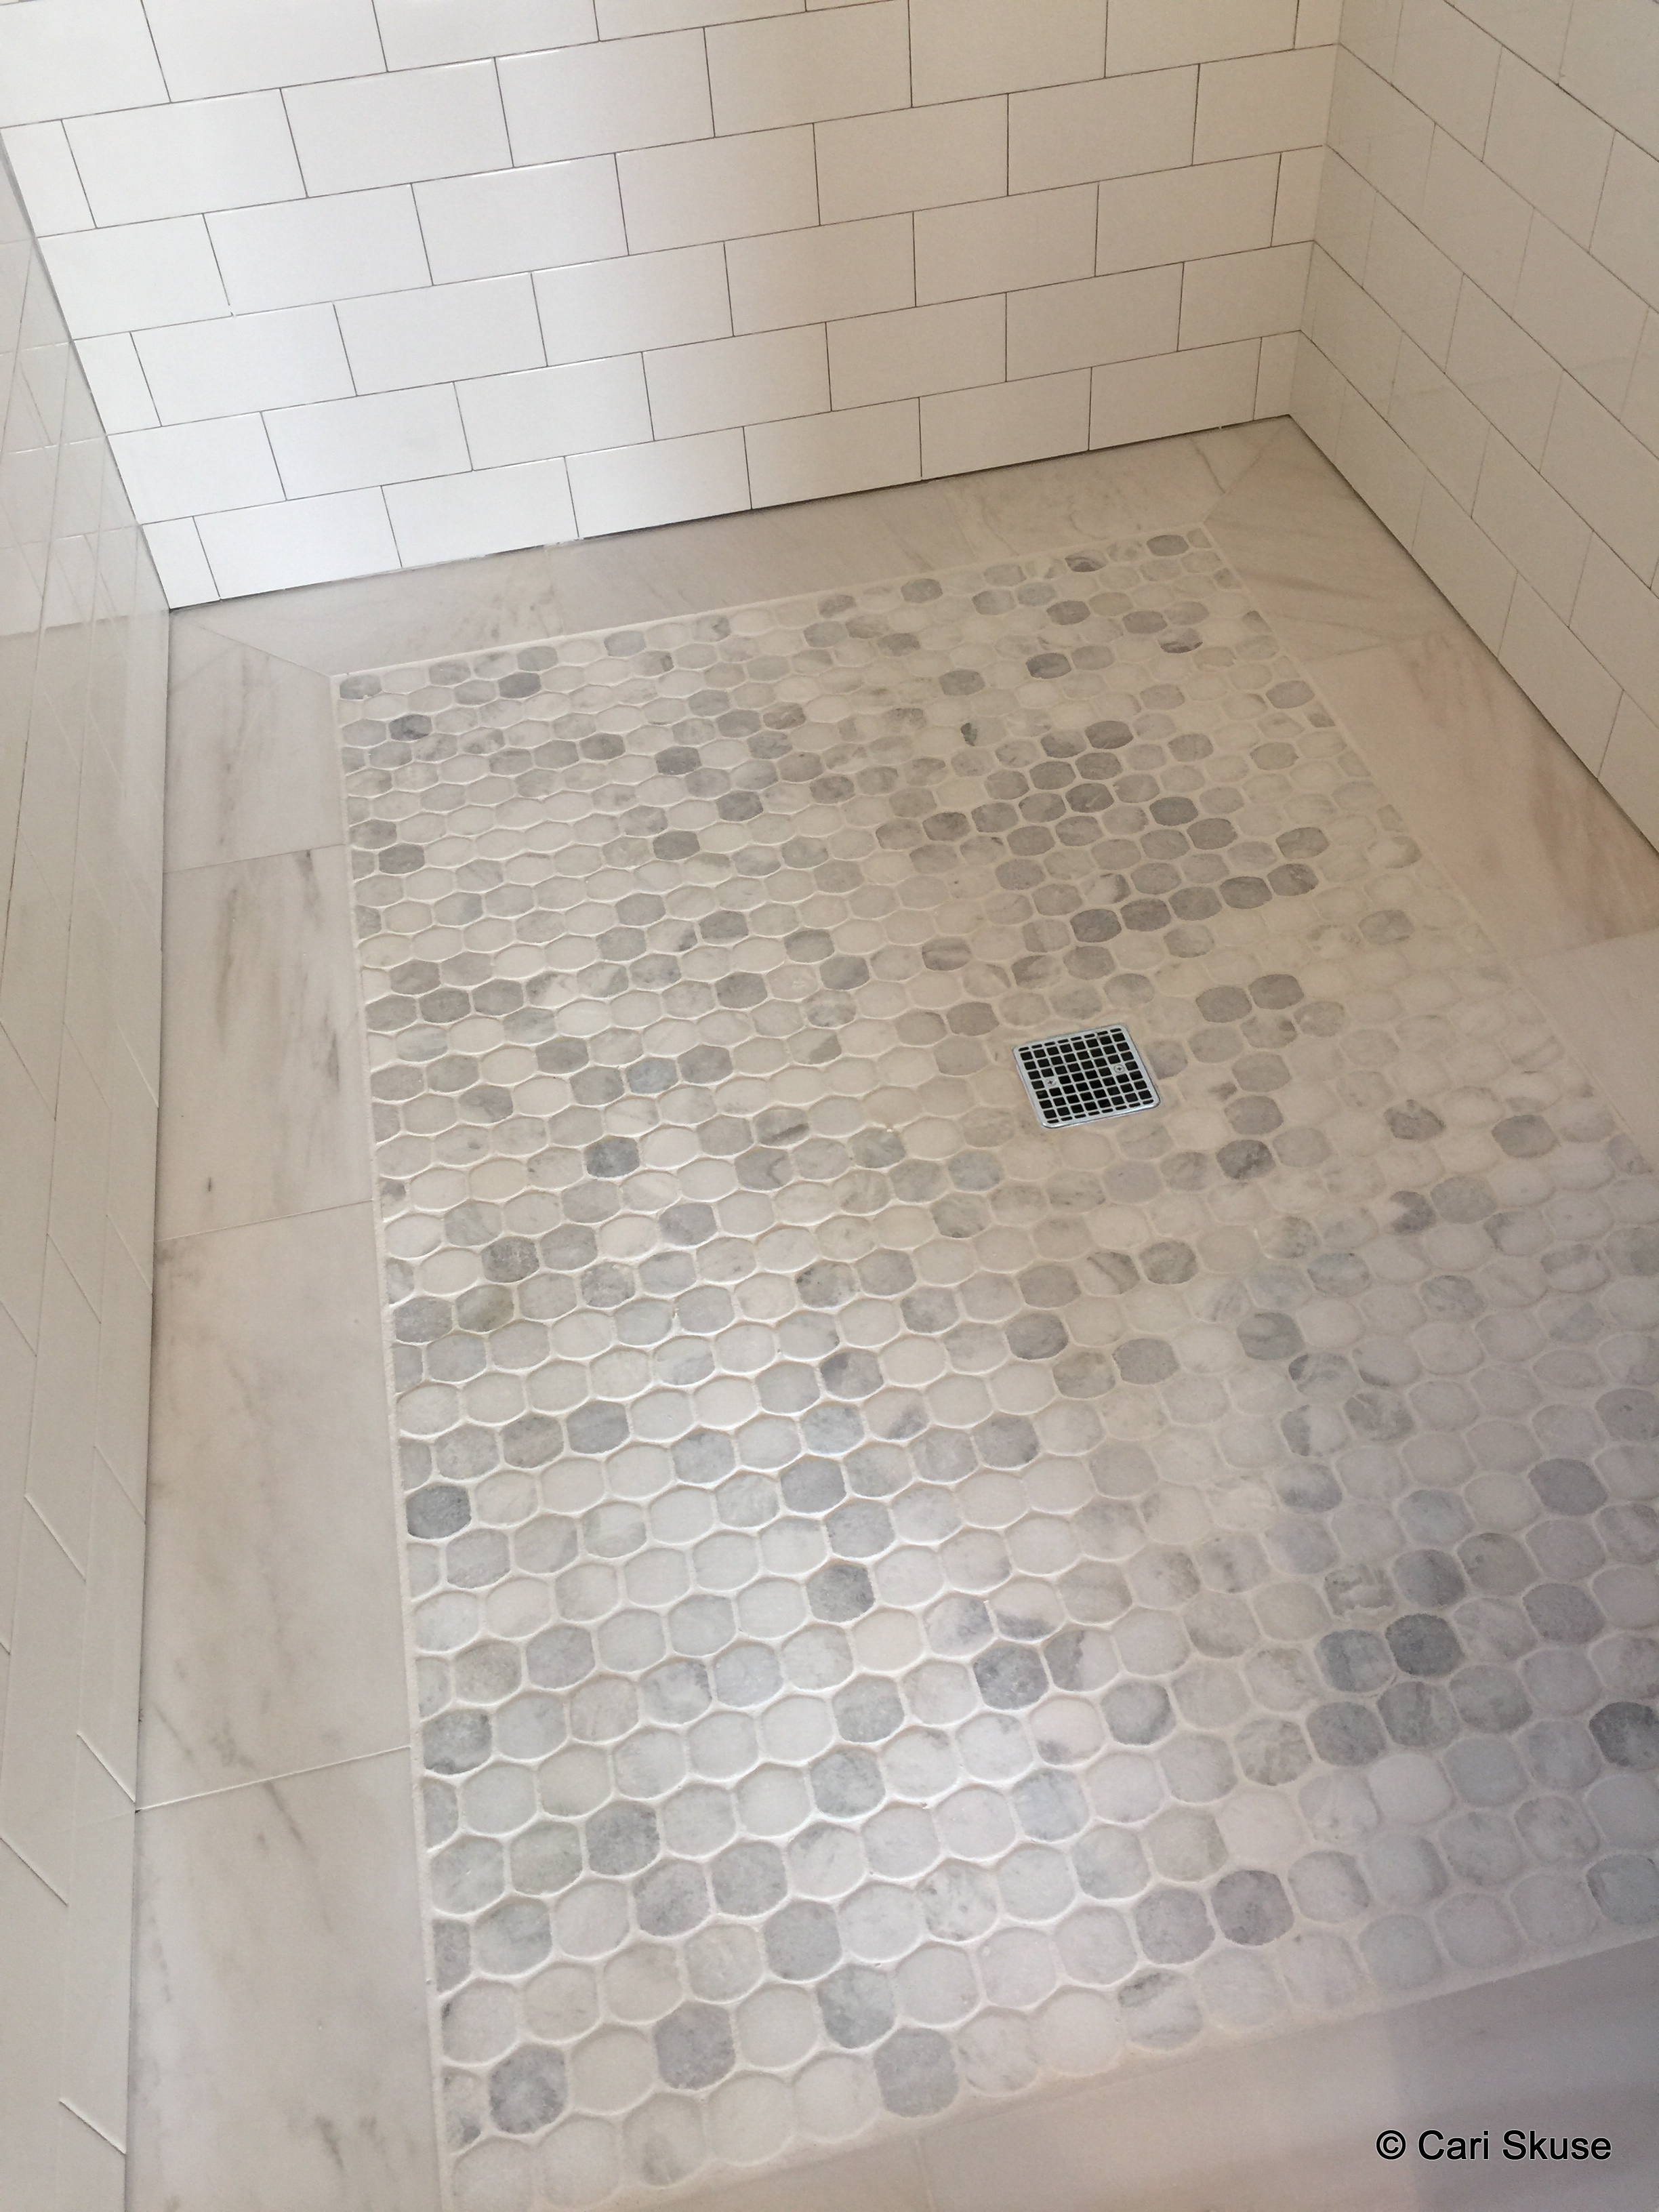
Tile has been sealed and grouted on the shower floor. The border tile is the same as the main floor and inset of oval tumbled marble tiles (mine are not polished), both from Tile Shop. I still have to grout the wall tiles, but before that can be completed I have to make my custom mosaic for the 6″ band going around the shower. I have all the parts, just not the time and energy to get it done!

IMG_3348

Remaining here is hooking up sinks and faucets, installing the shower hardware, deciding on the deck material for the bathtub and installing the tub faucets.


Outside

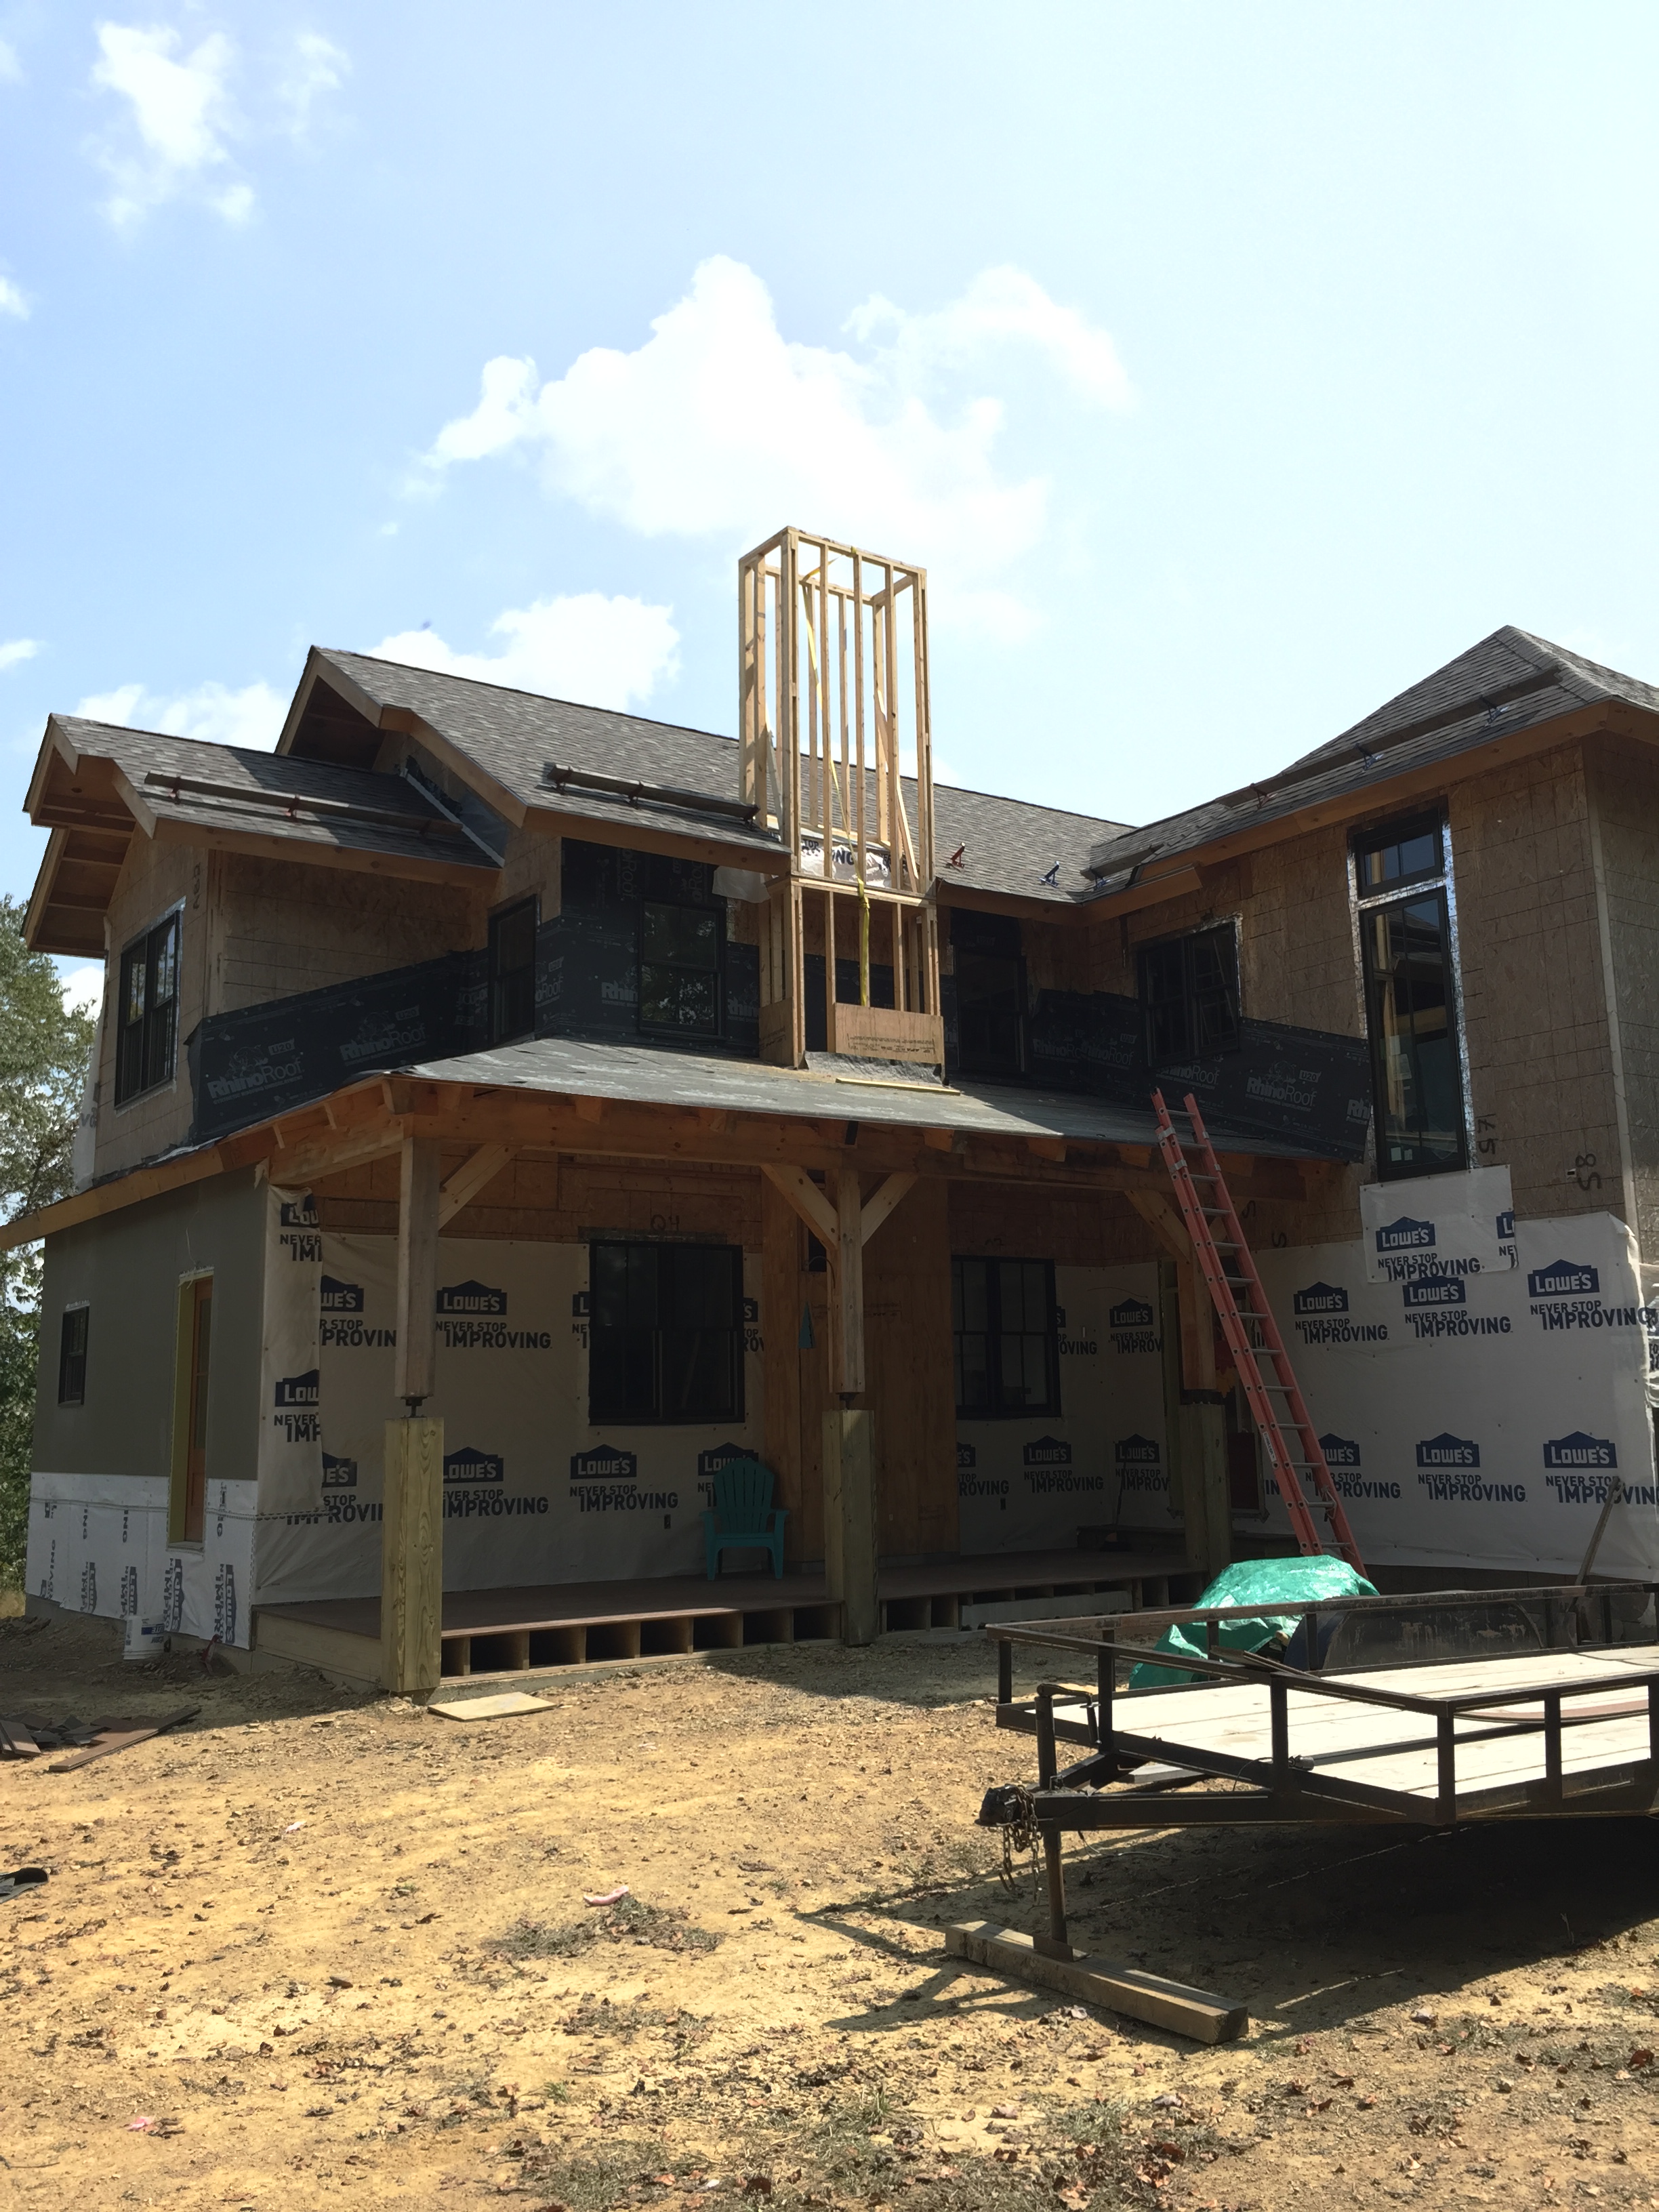
We decided to do the siding ourselves since quotes were outrageous and/or we couldn’t get anyone to do it. The majority of the siding is James Hardie (that has been sitting on our jobsite for over a year!) in Timber Bark. The tower part of the house will be James Hardie panels that are painted by me in BM Caliente. I chose it last year before it was named color of the year this year. calinete

IMG_3457

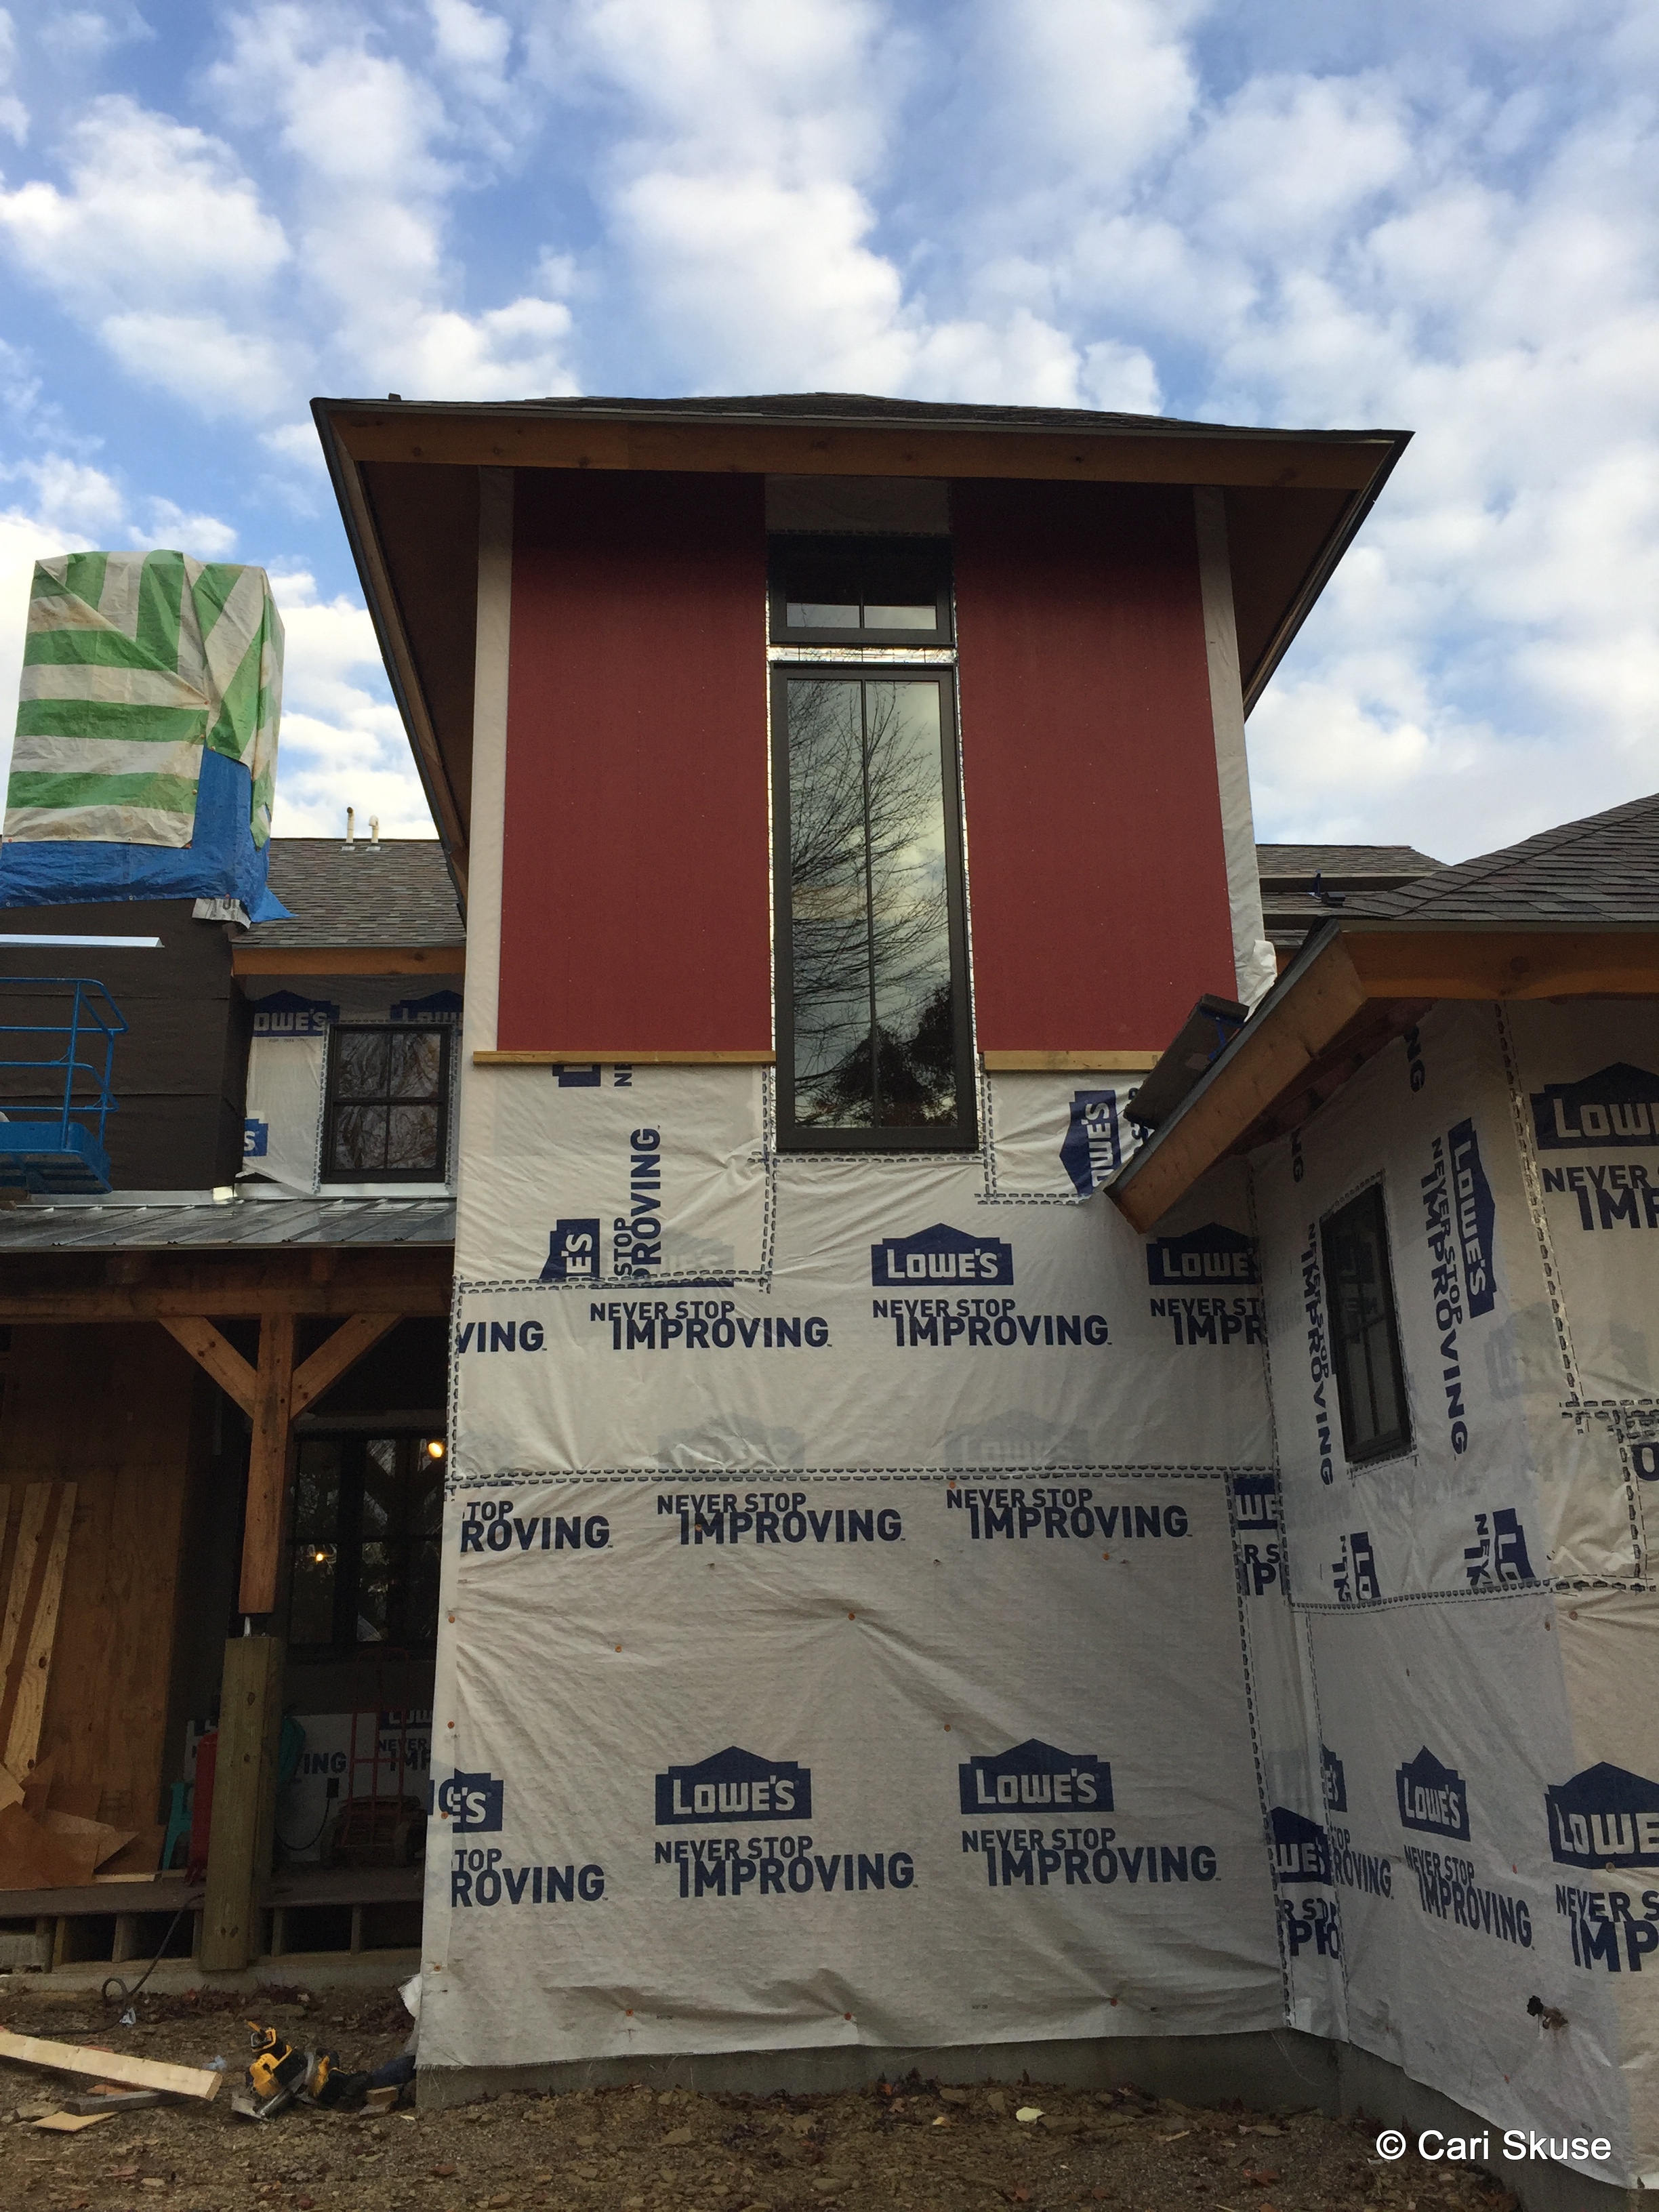
Stone veneer will go up to the bottom of the panel here on the side of the tower. Battens spaced 12″ apart will be applied after we get all the big pieces up.

IMG_3411

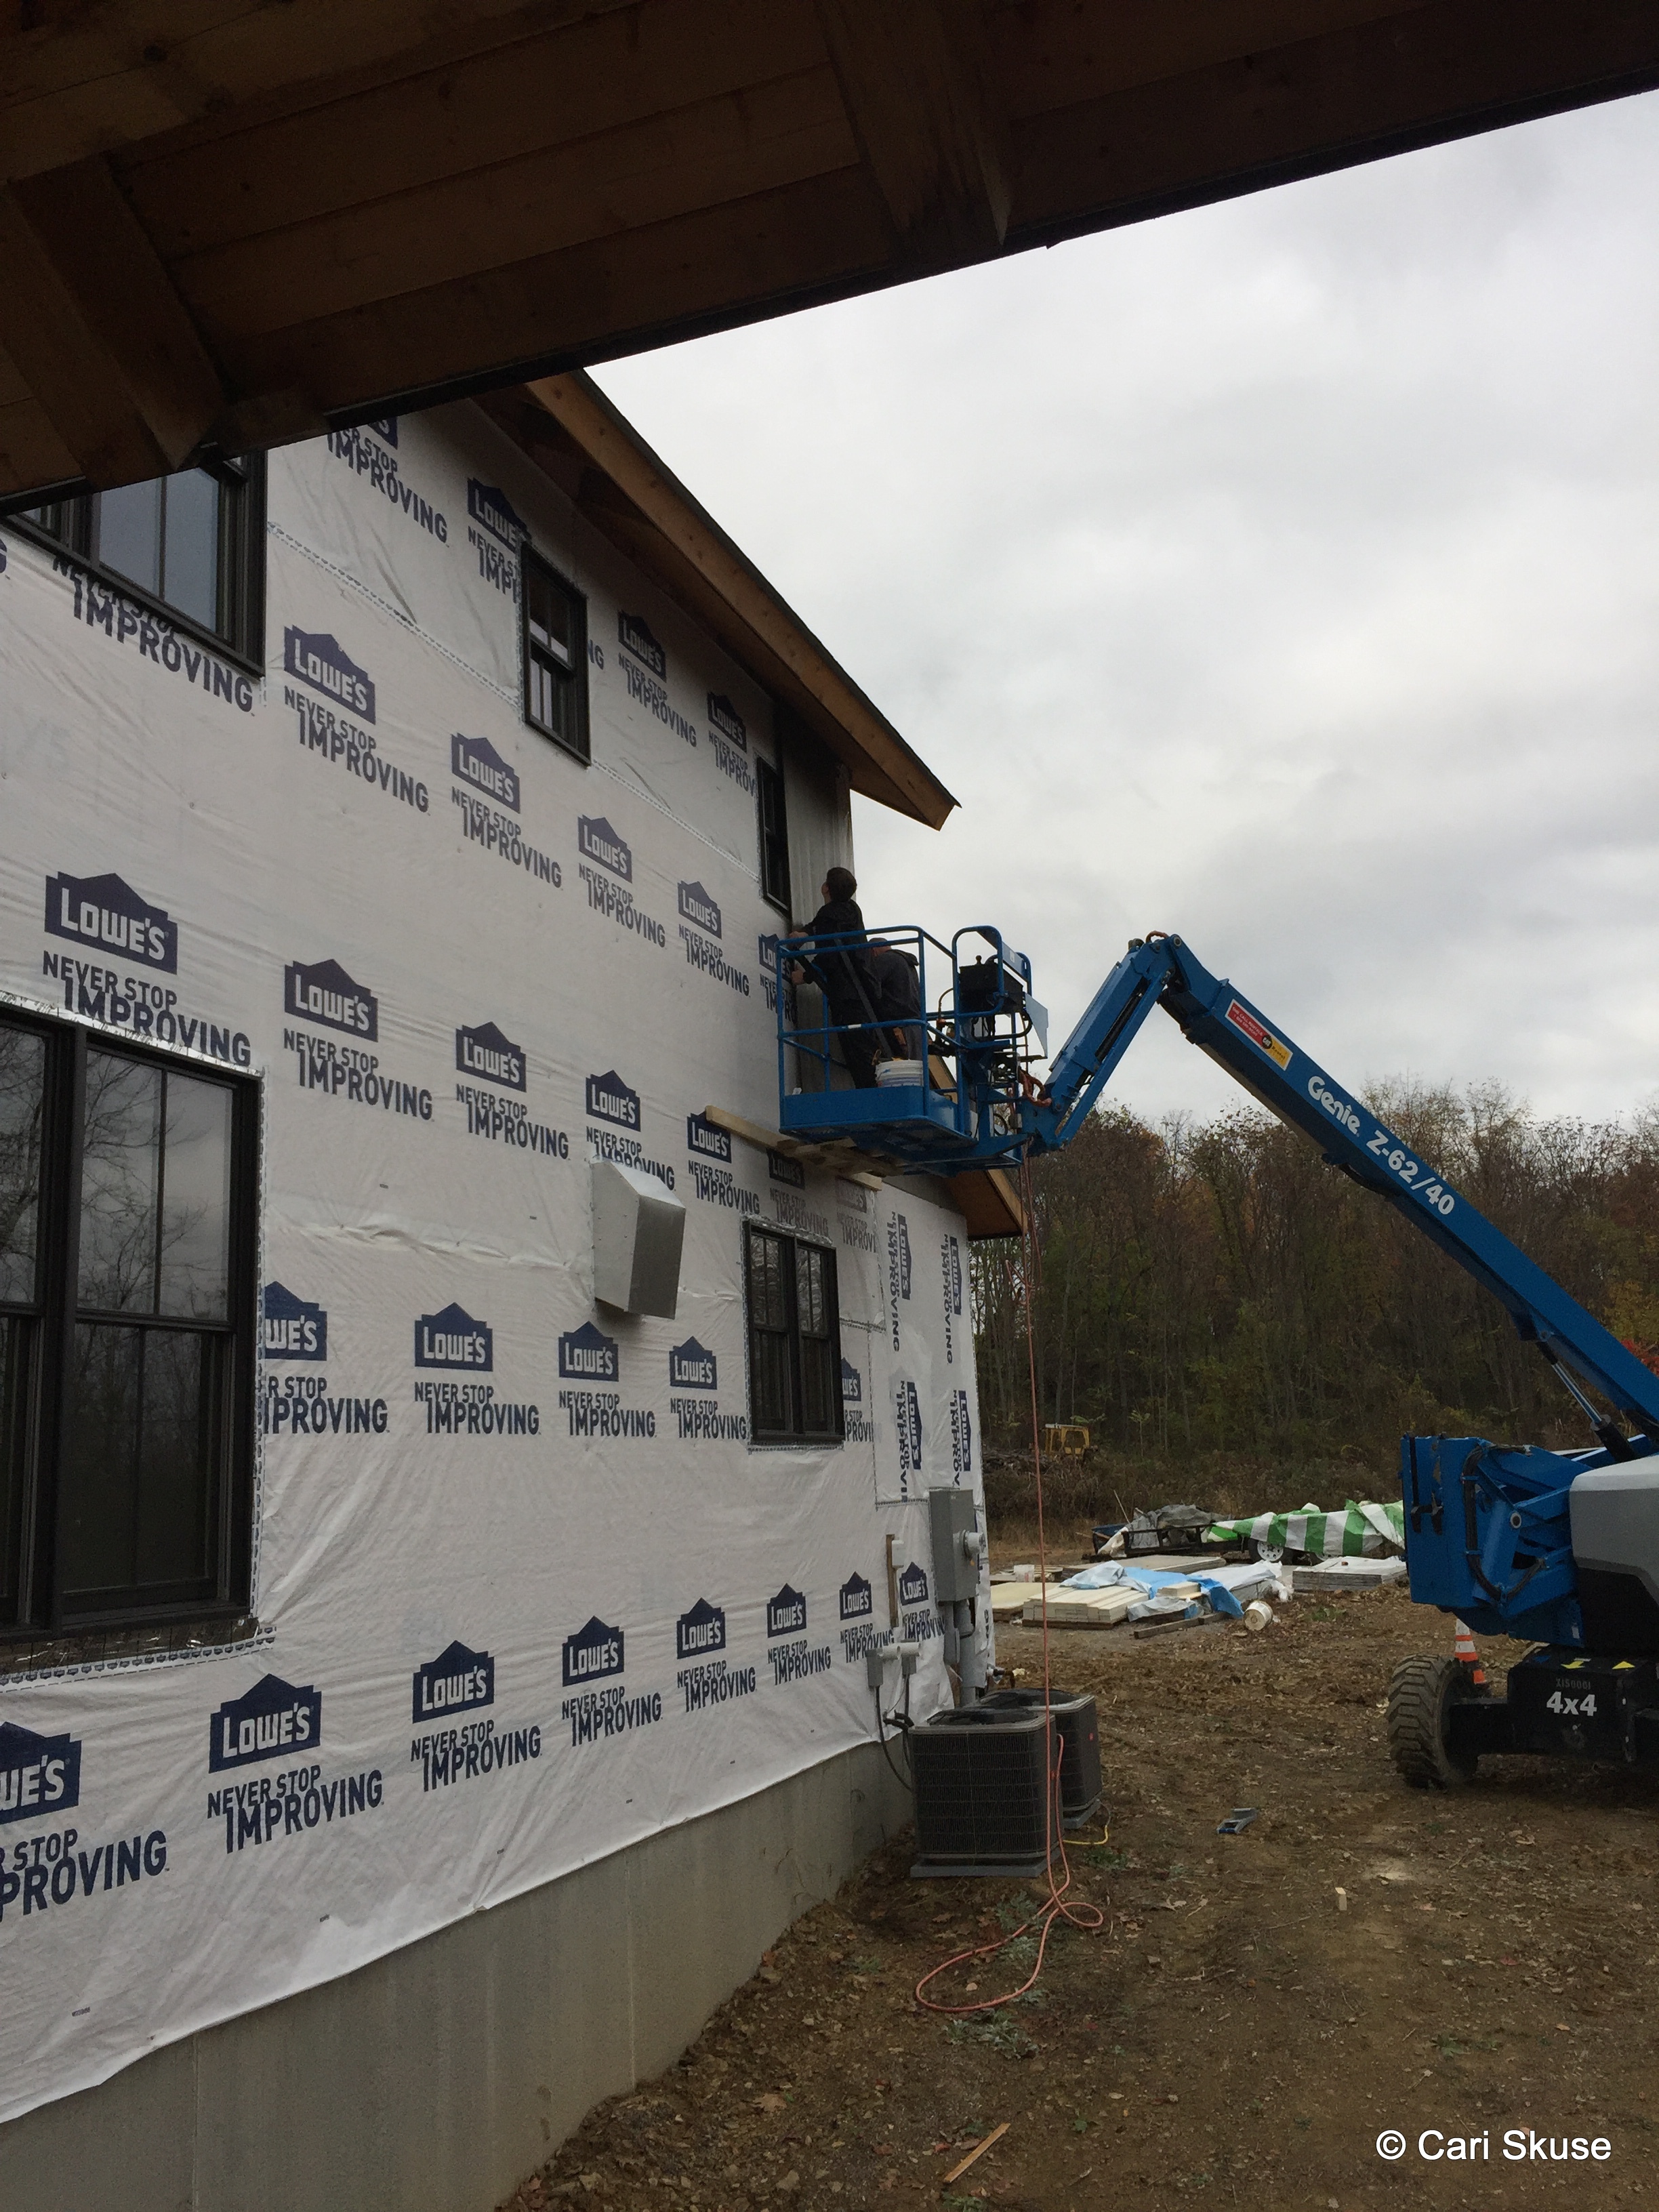
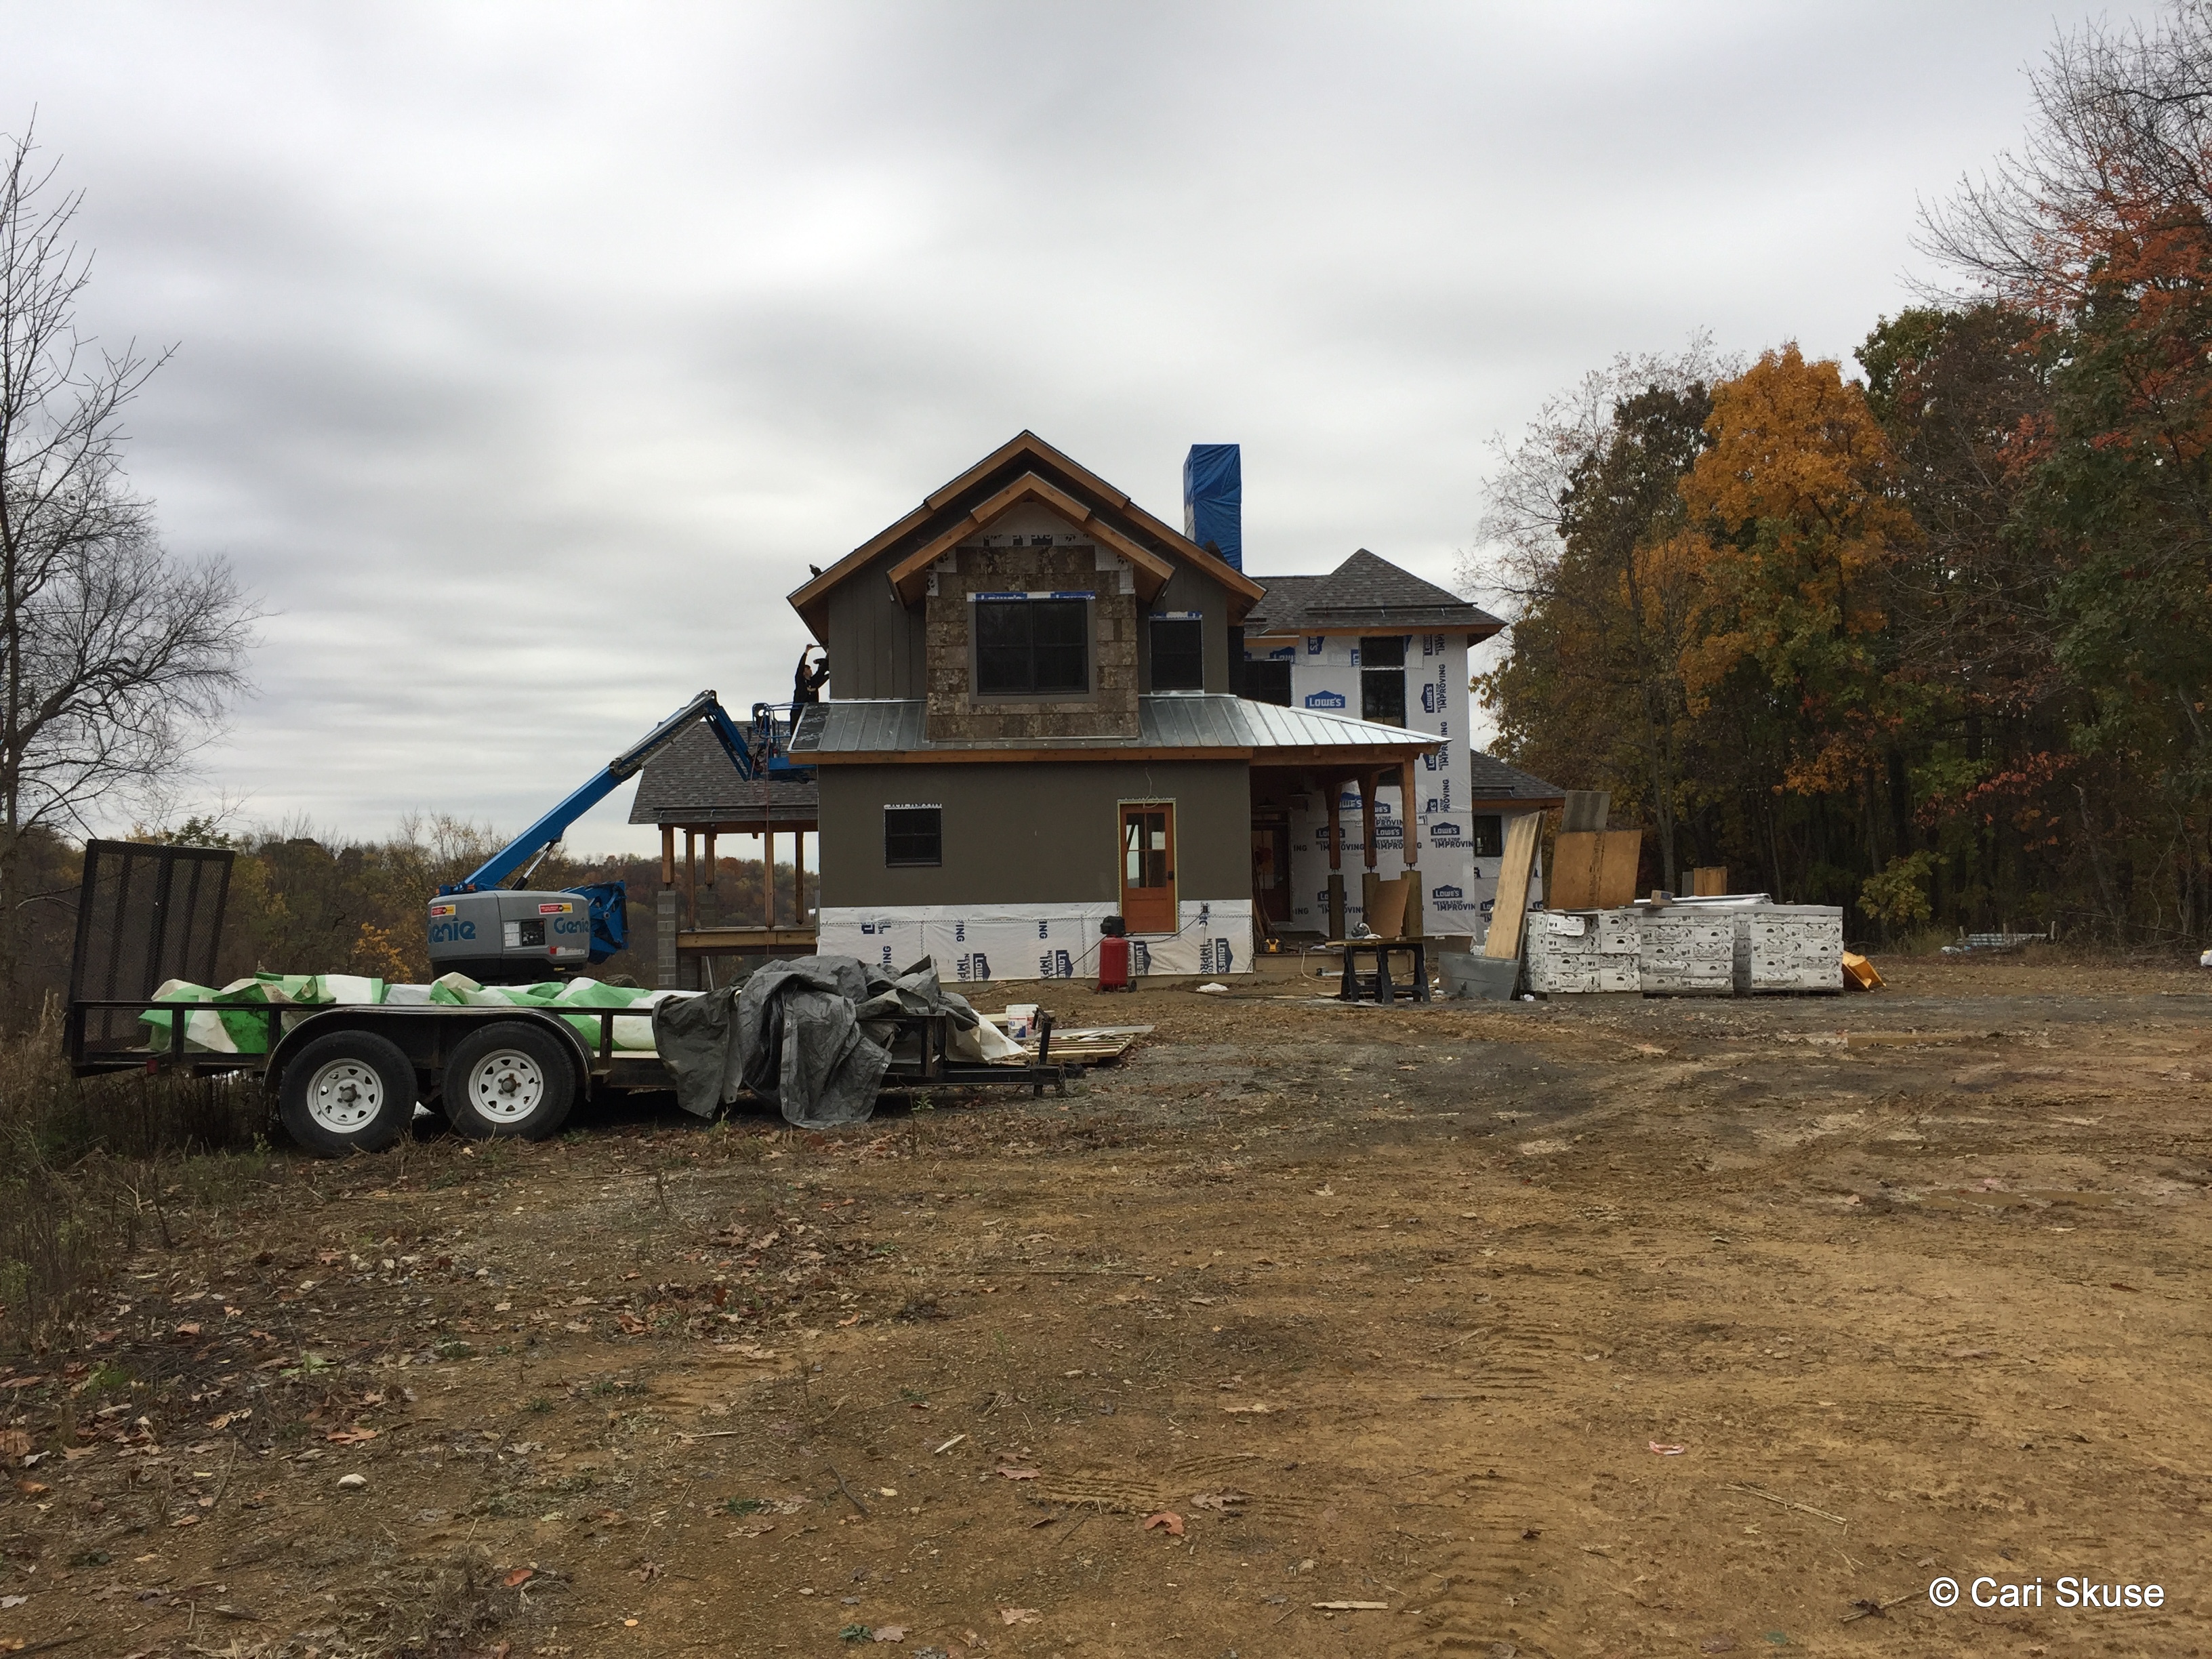
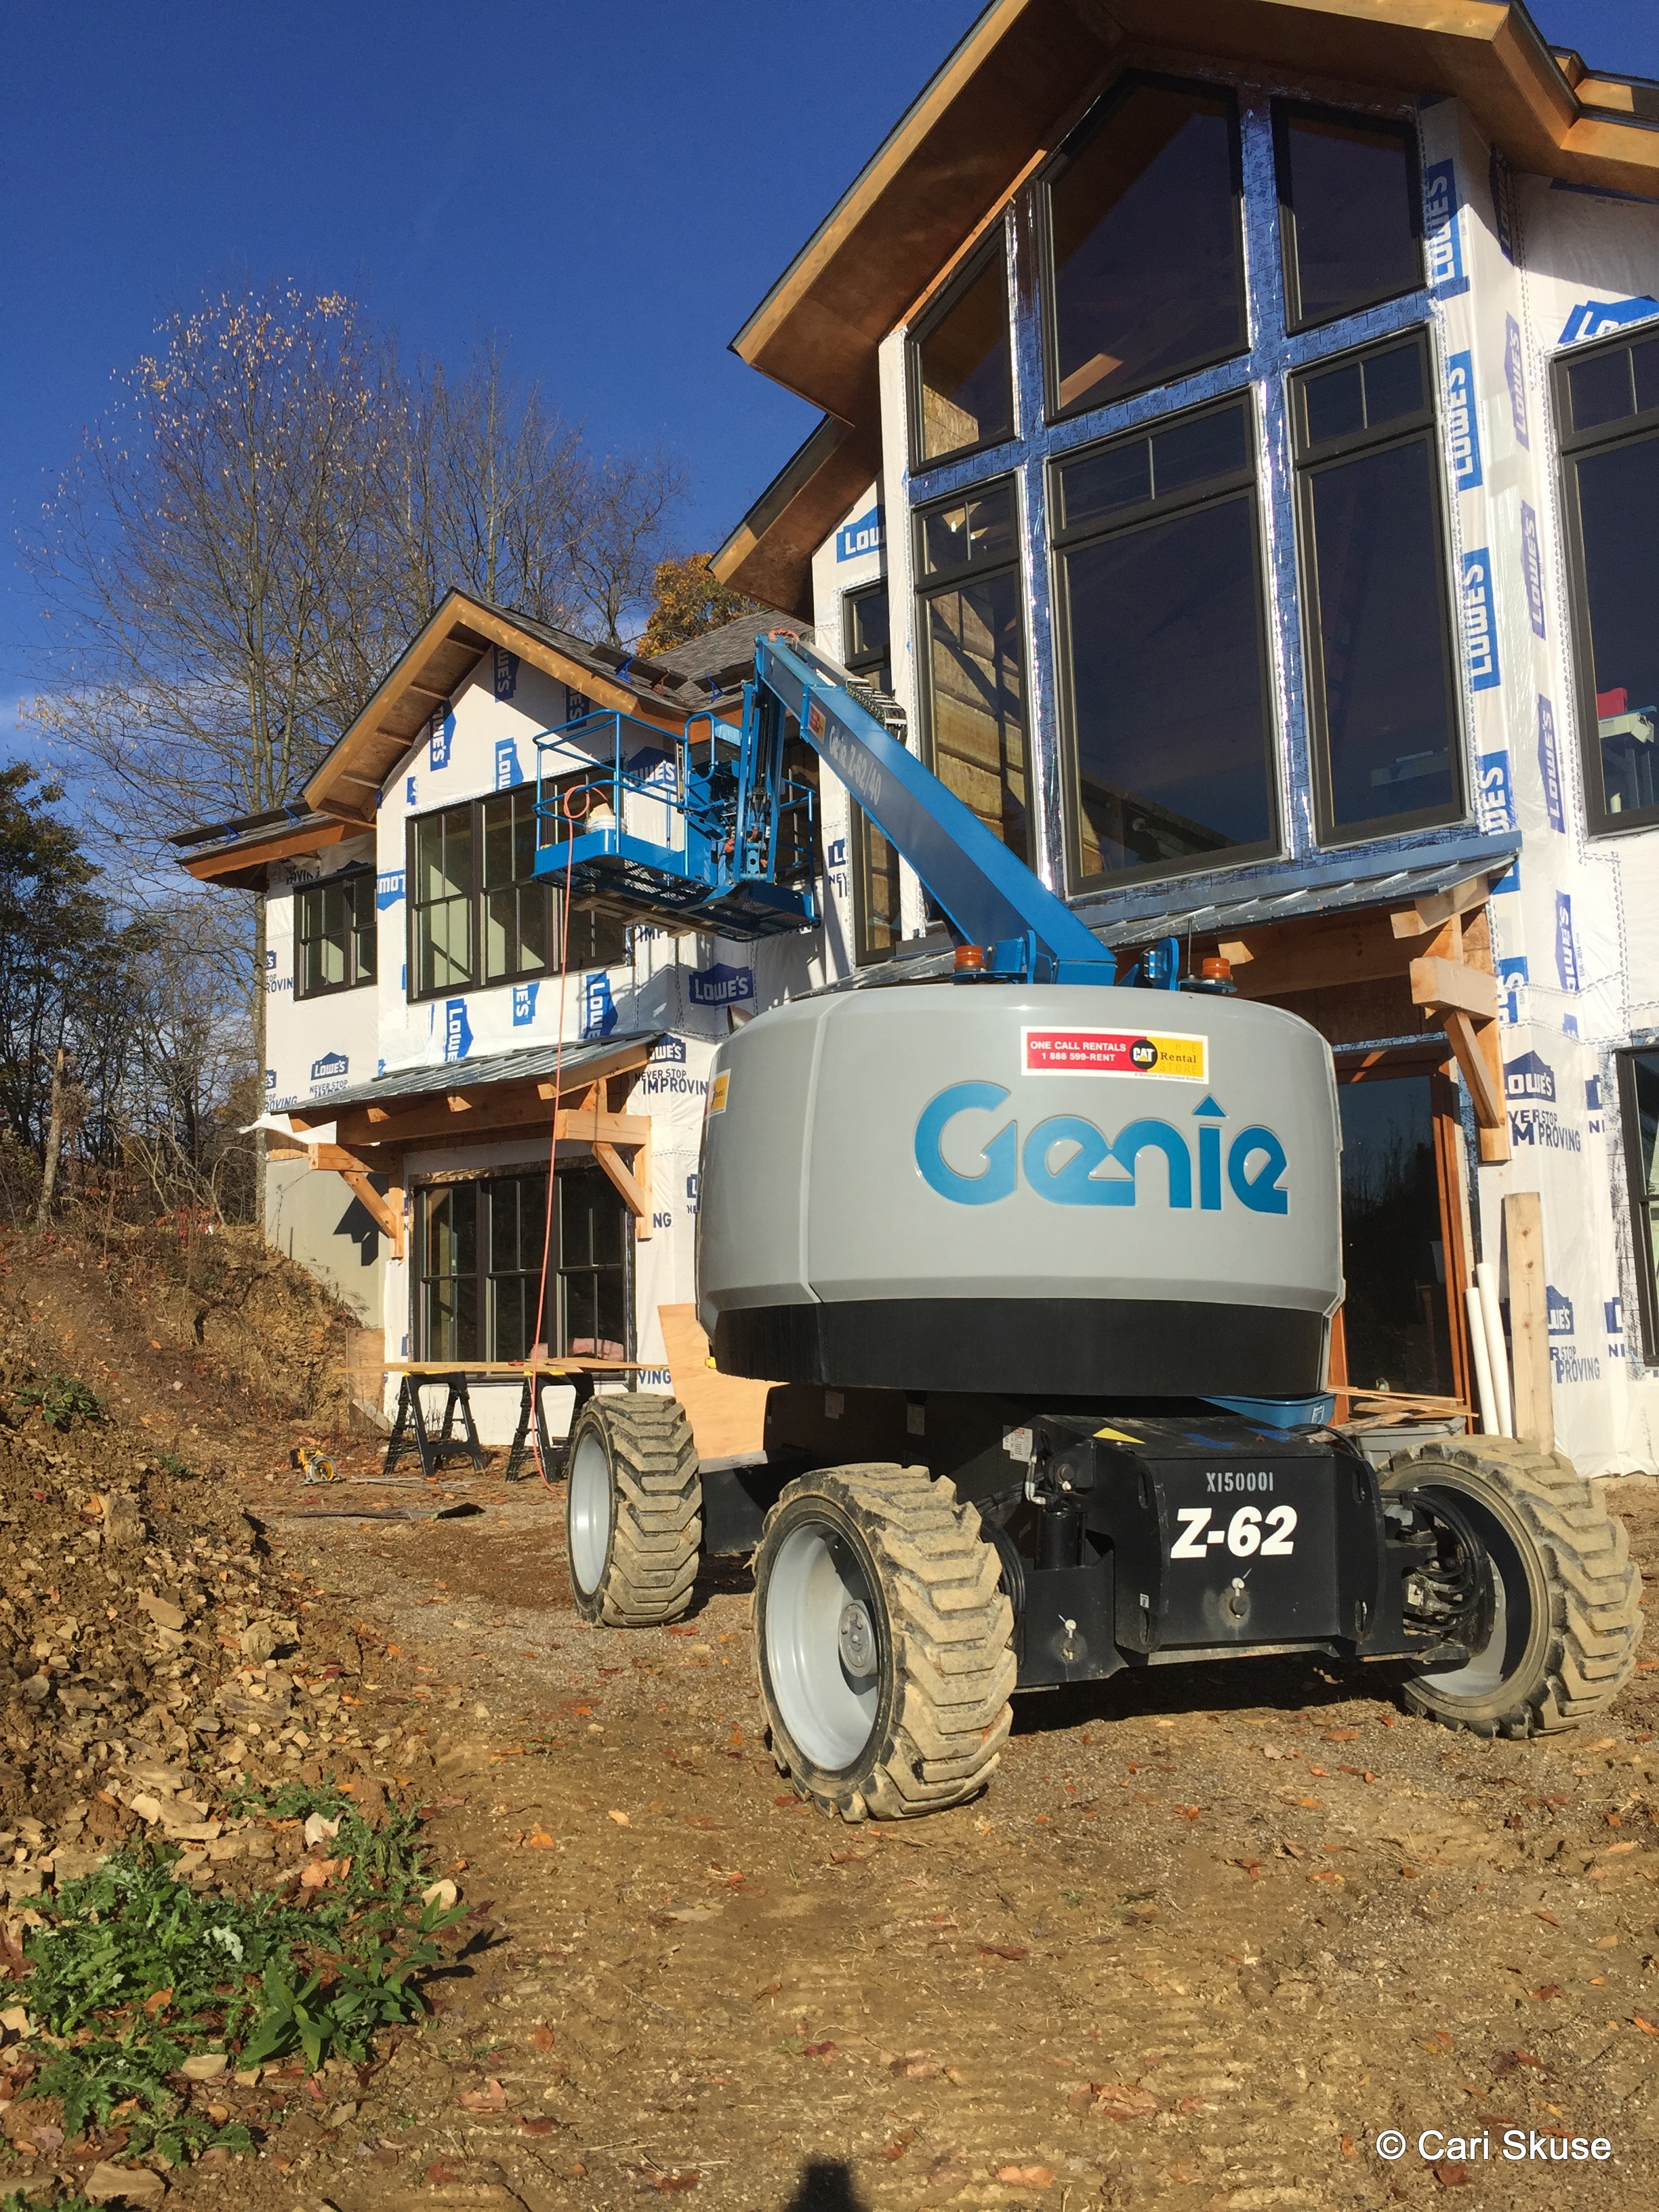
My husband and my son working on the front of the house. Thank goodness for the 60′ lift we have been renting. We wouldn’t be able to get much done without it.

IMG_3412

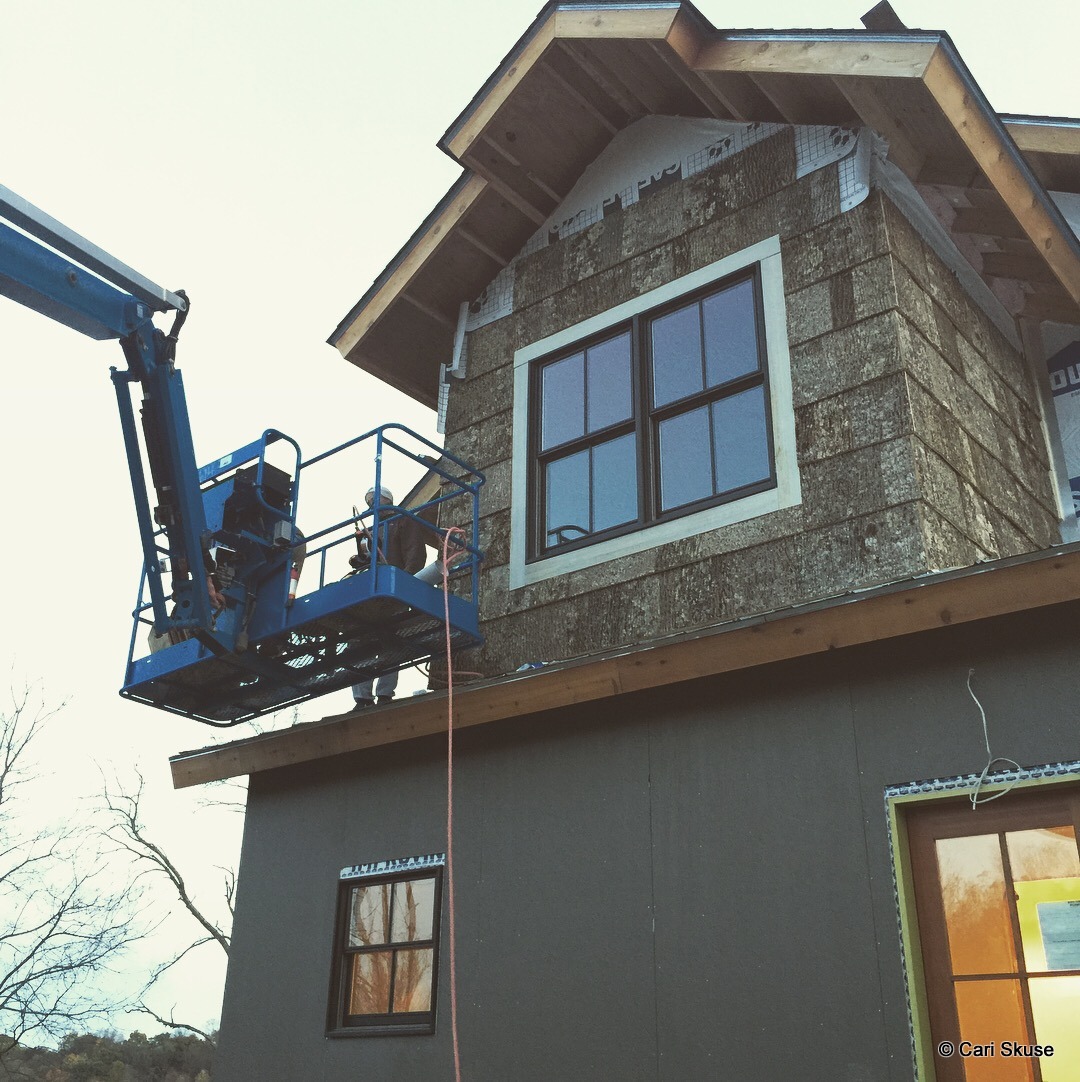
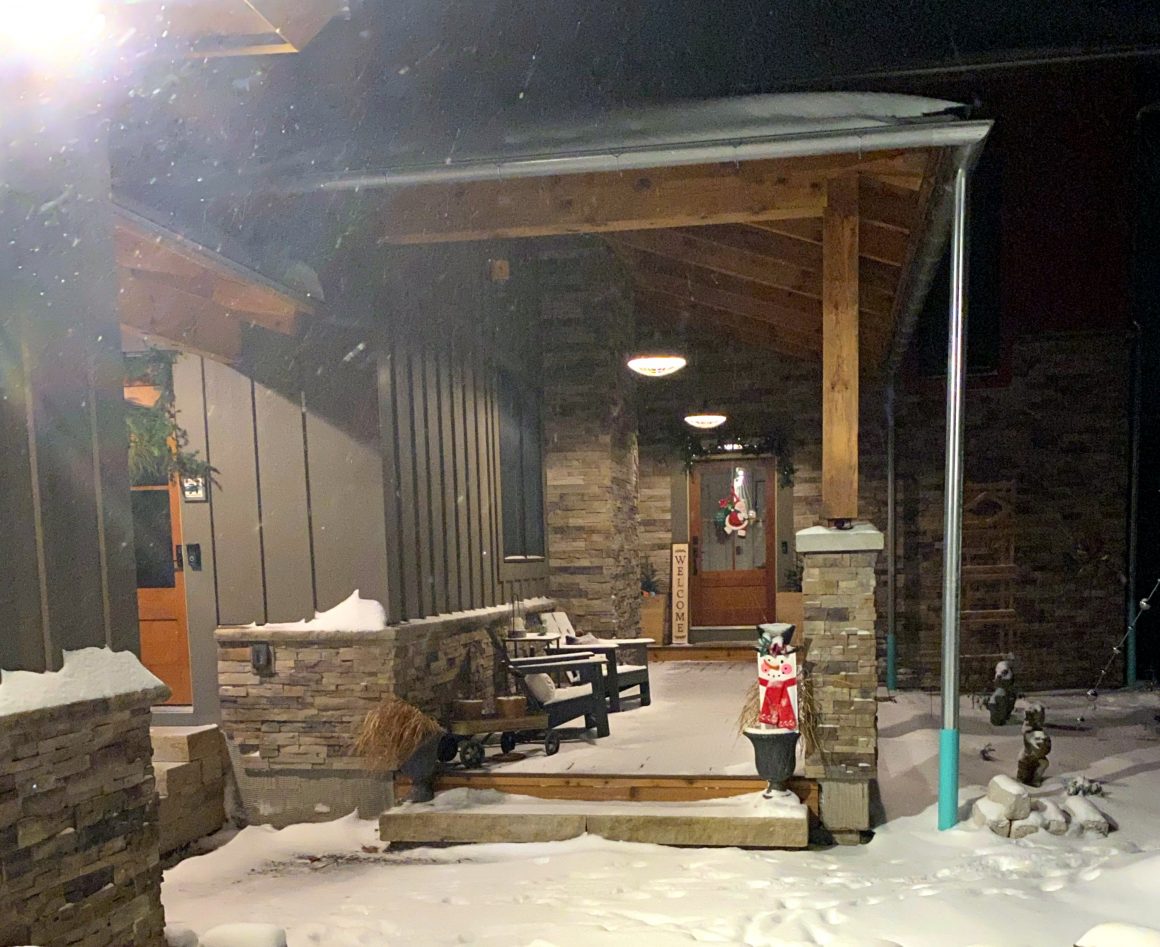
Shot of the front of the house. Veneer sitting there waiting to be installed. Galvanized metal roof installed on the porch roof and bark siding from BarkClad on the bump-out of Carrick’s room.

IMG_3420

Before photo of when they started on the long side.

IMG_3462

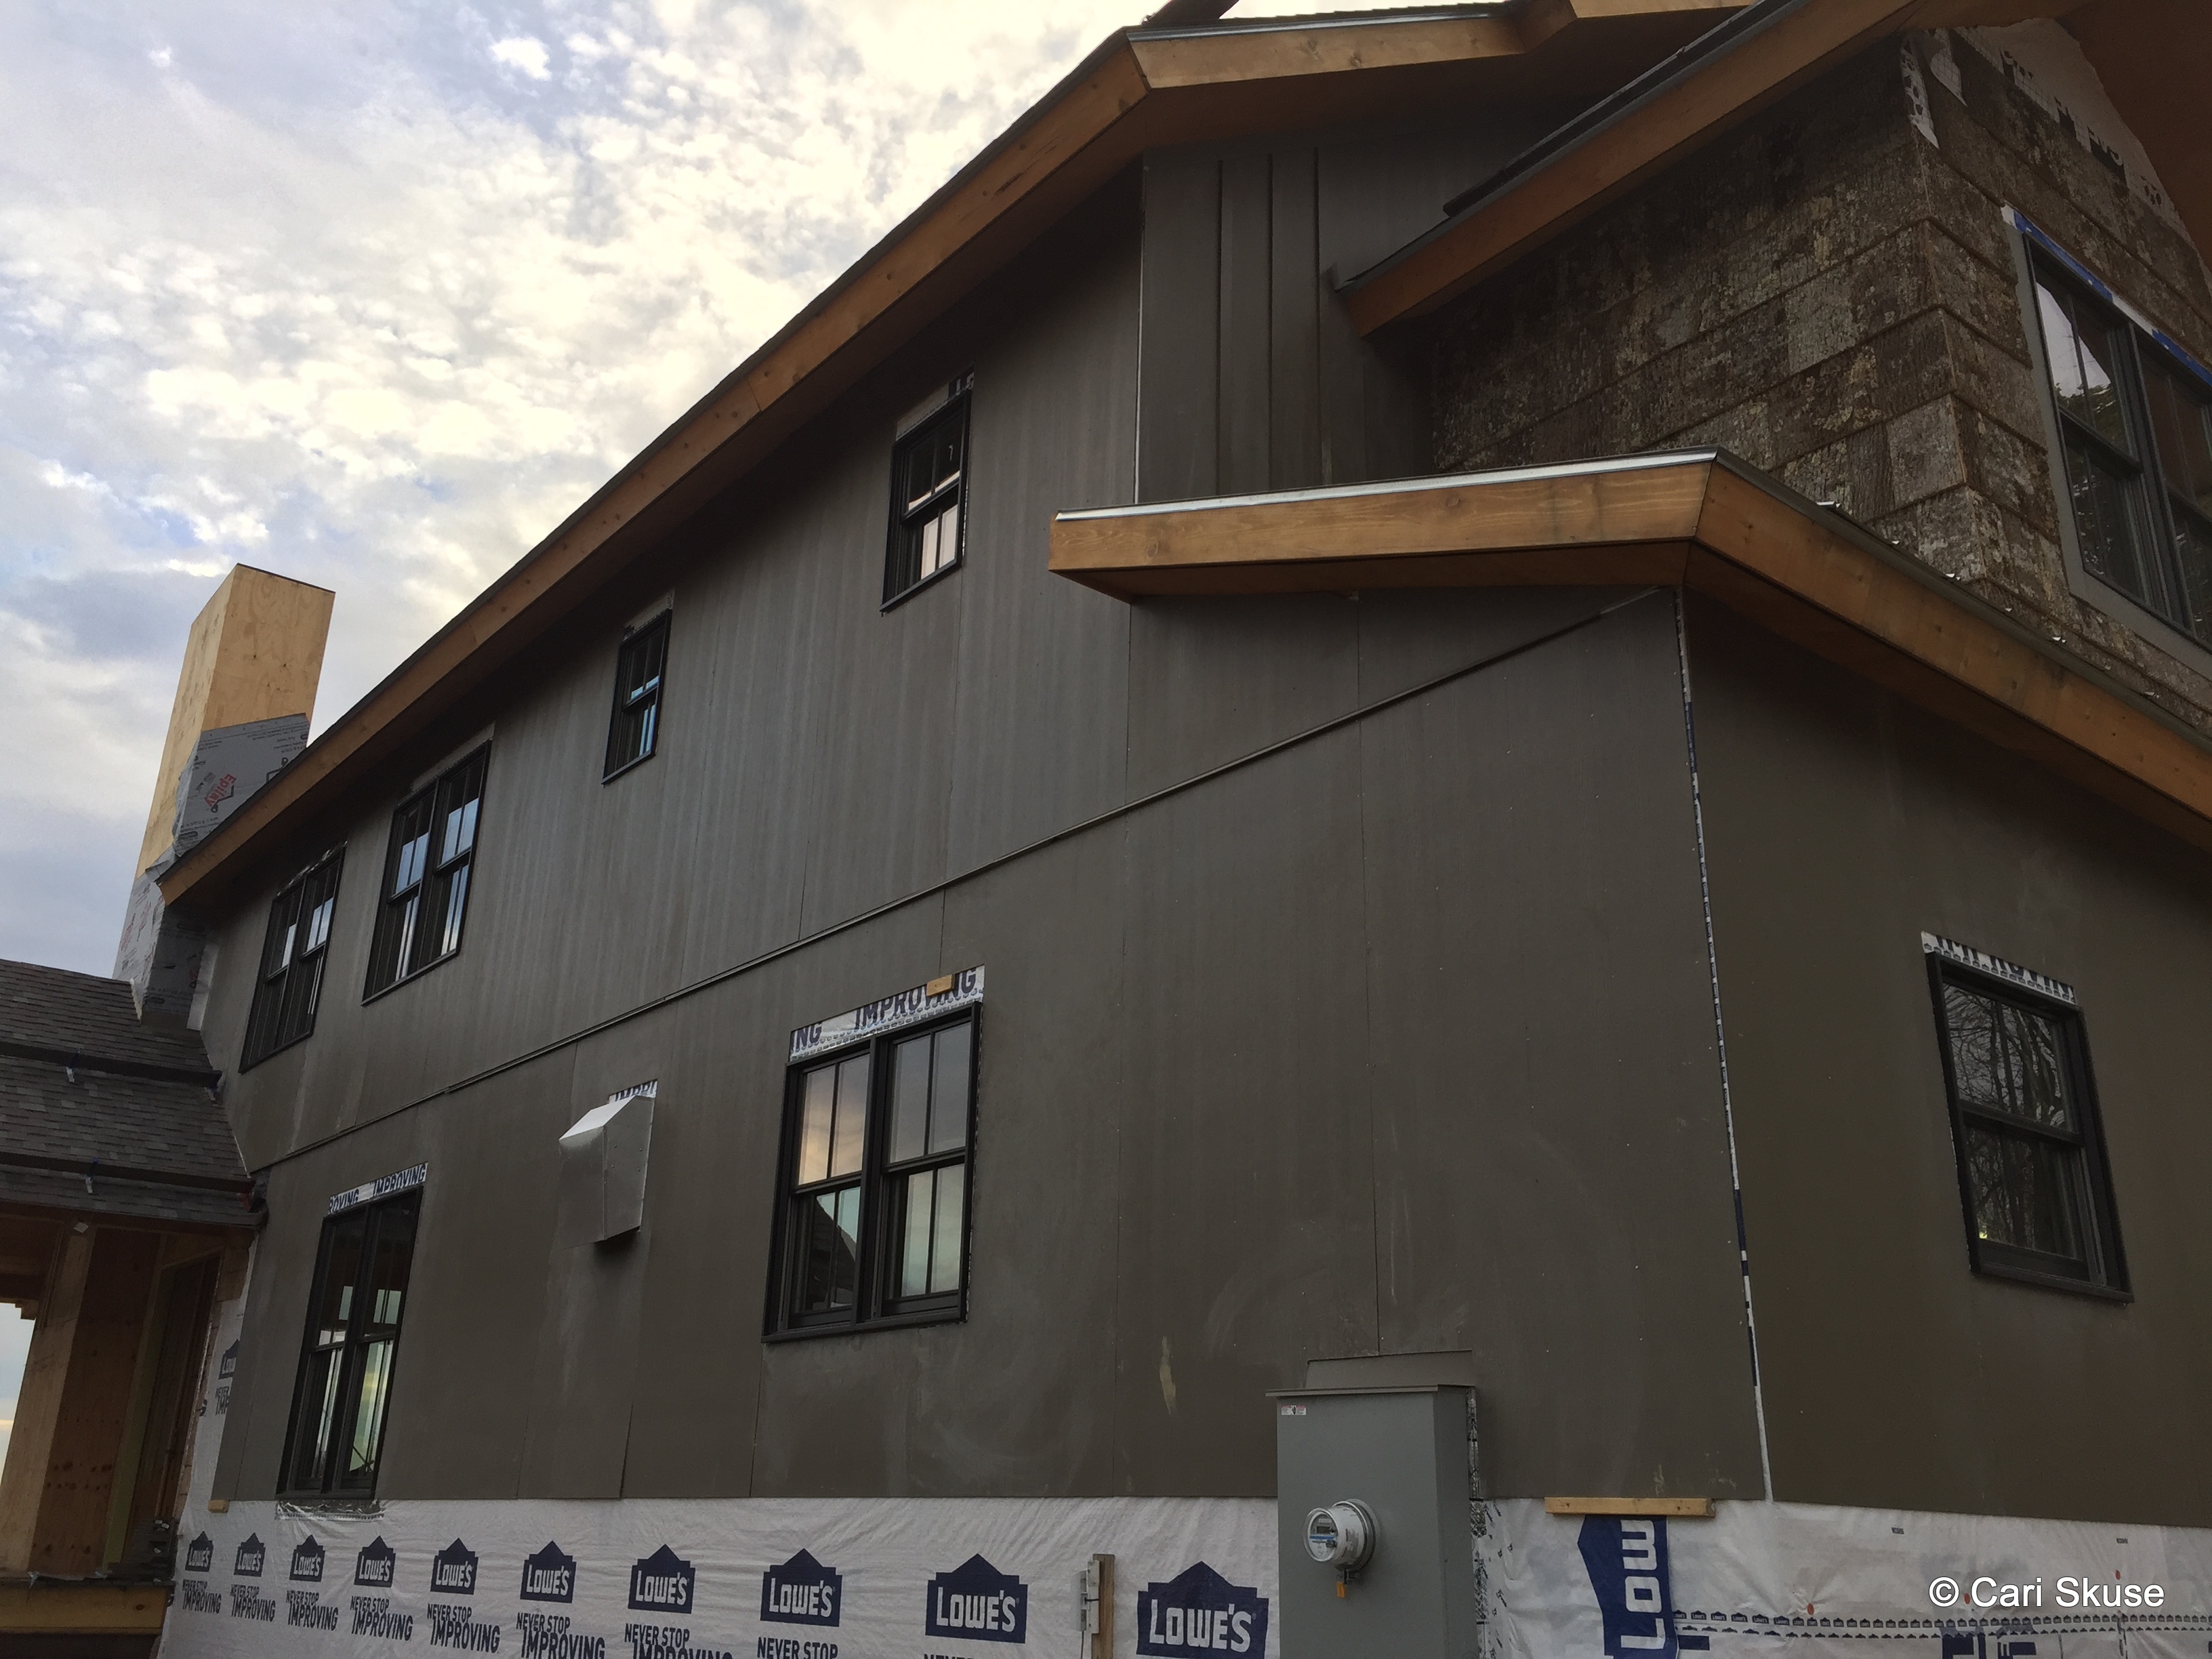
After photo of the 8 x 10 sheets installed. Still need battens and trim installed. Stone veneer goes below .

IMG_3431

View of the front of the house. Sometime in the future, the garage will be built and connected with a short walkway to the mudroom door.

IMG_3441

The back of the house. Trim boards will go between the windows (on order). Other sections will be the panel Hardie and other parts will be beaded lap siding, all in Timber Bark.

IMG_3448

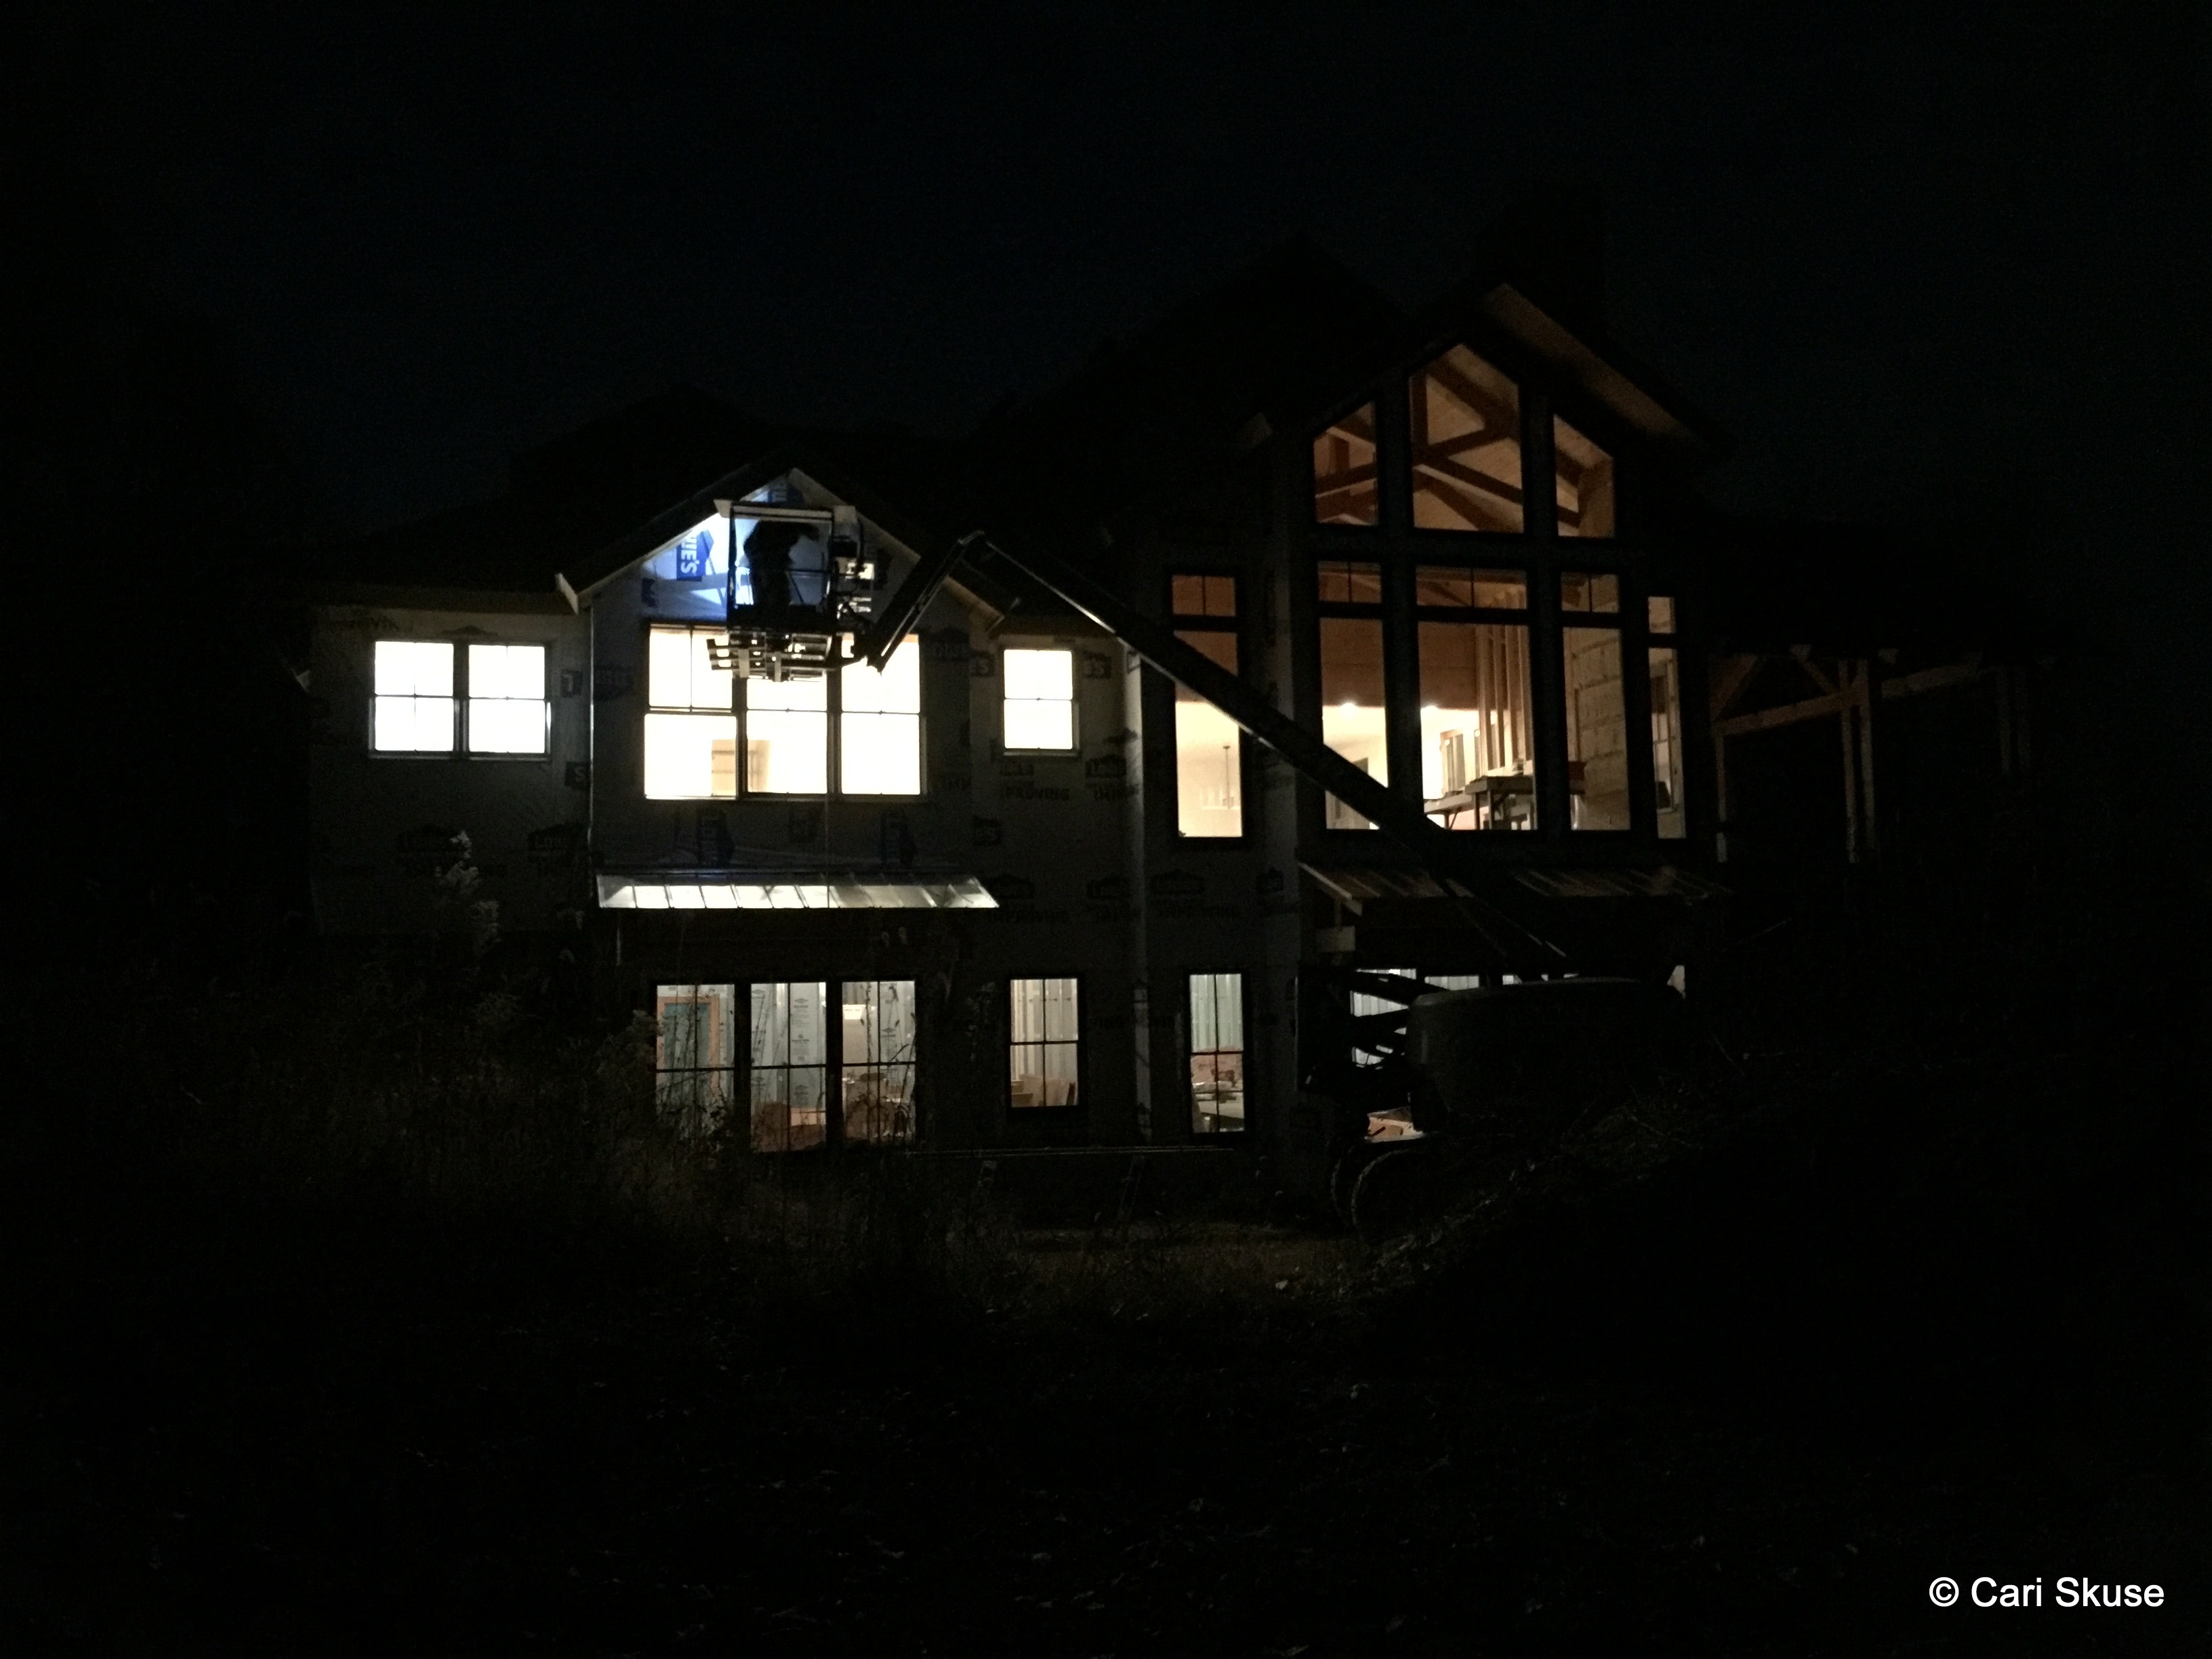
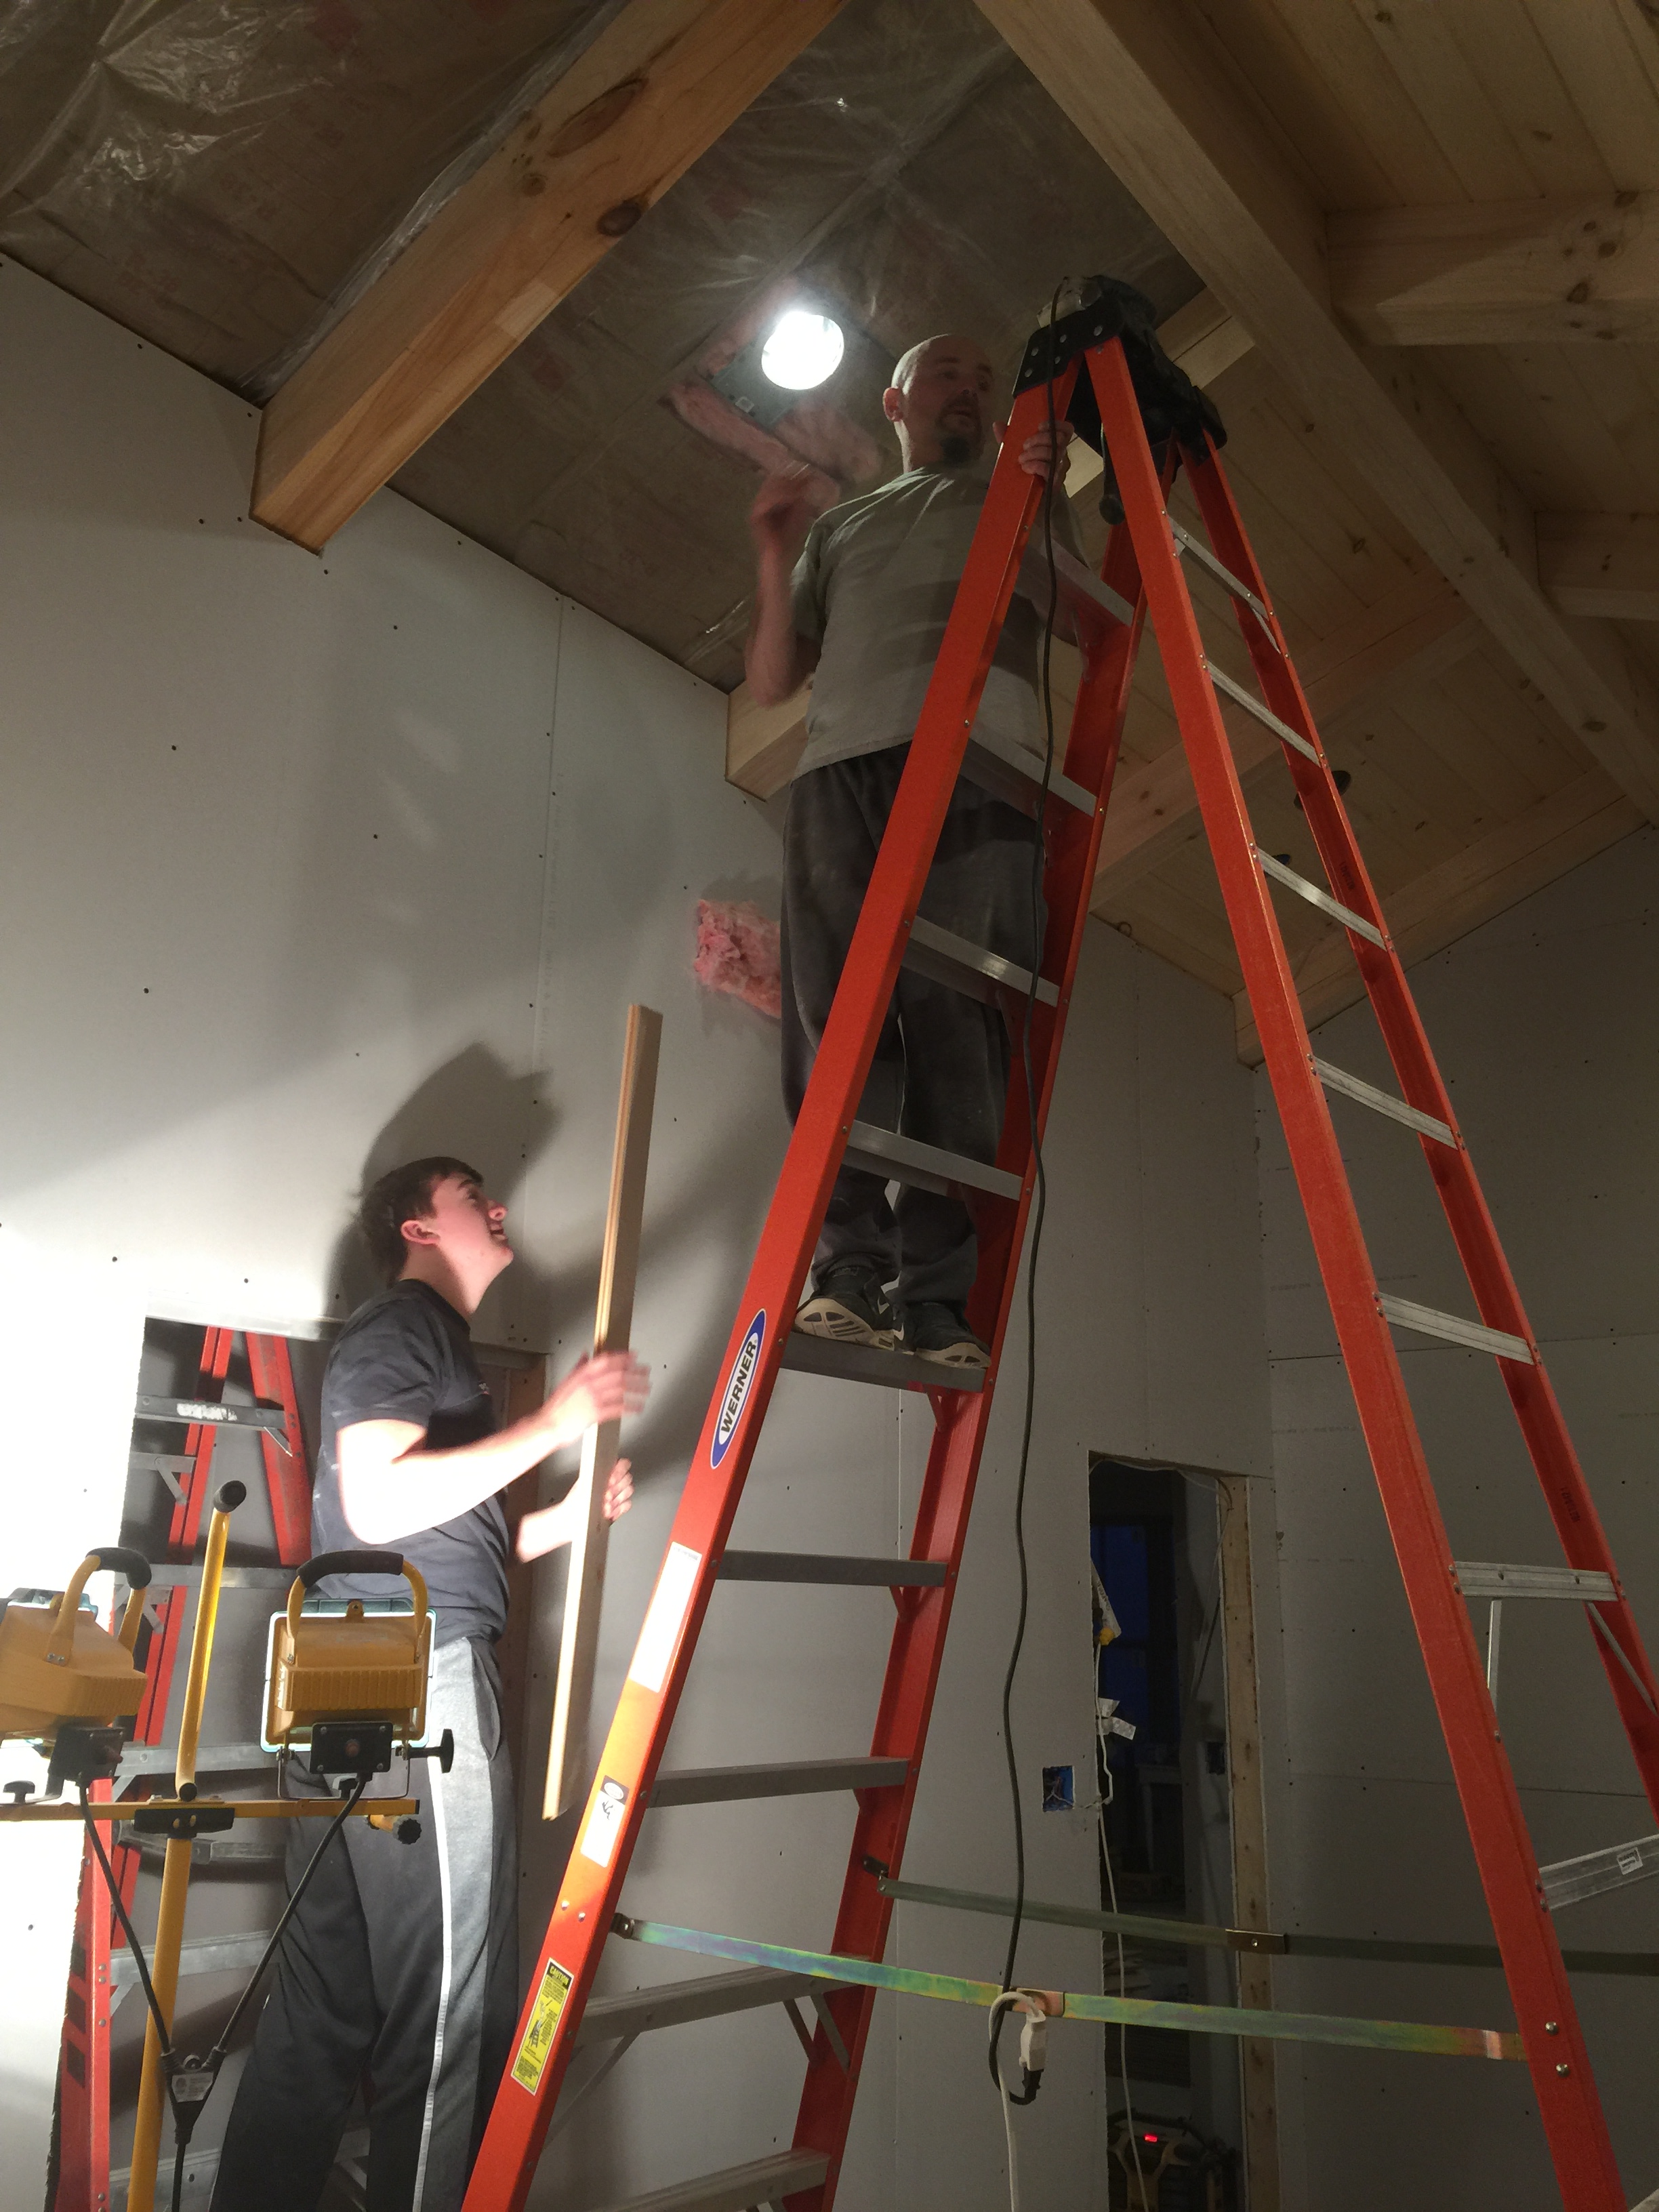
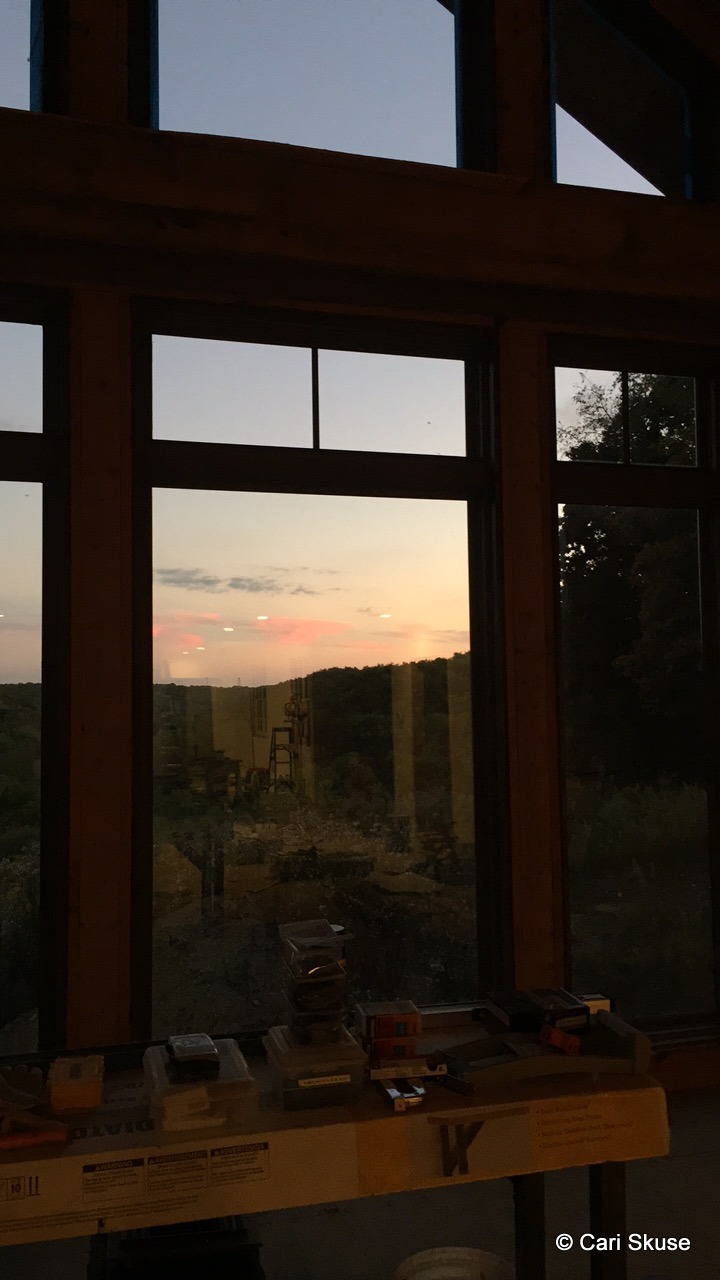
The early sunset has been a real pain in the butt. We have to finish outside work shortly after 5. Sometimes we have to resort to this.

IMG_3422

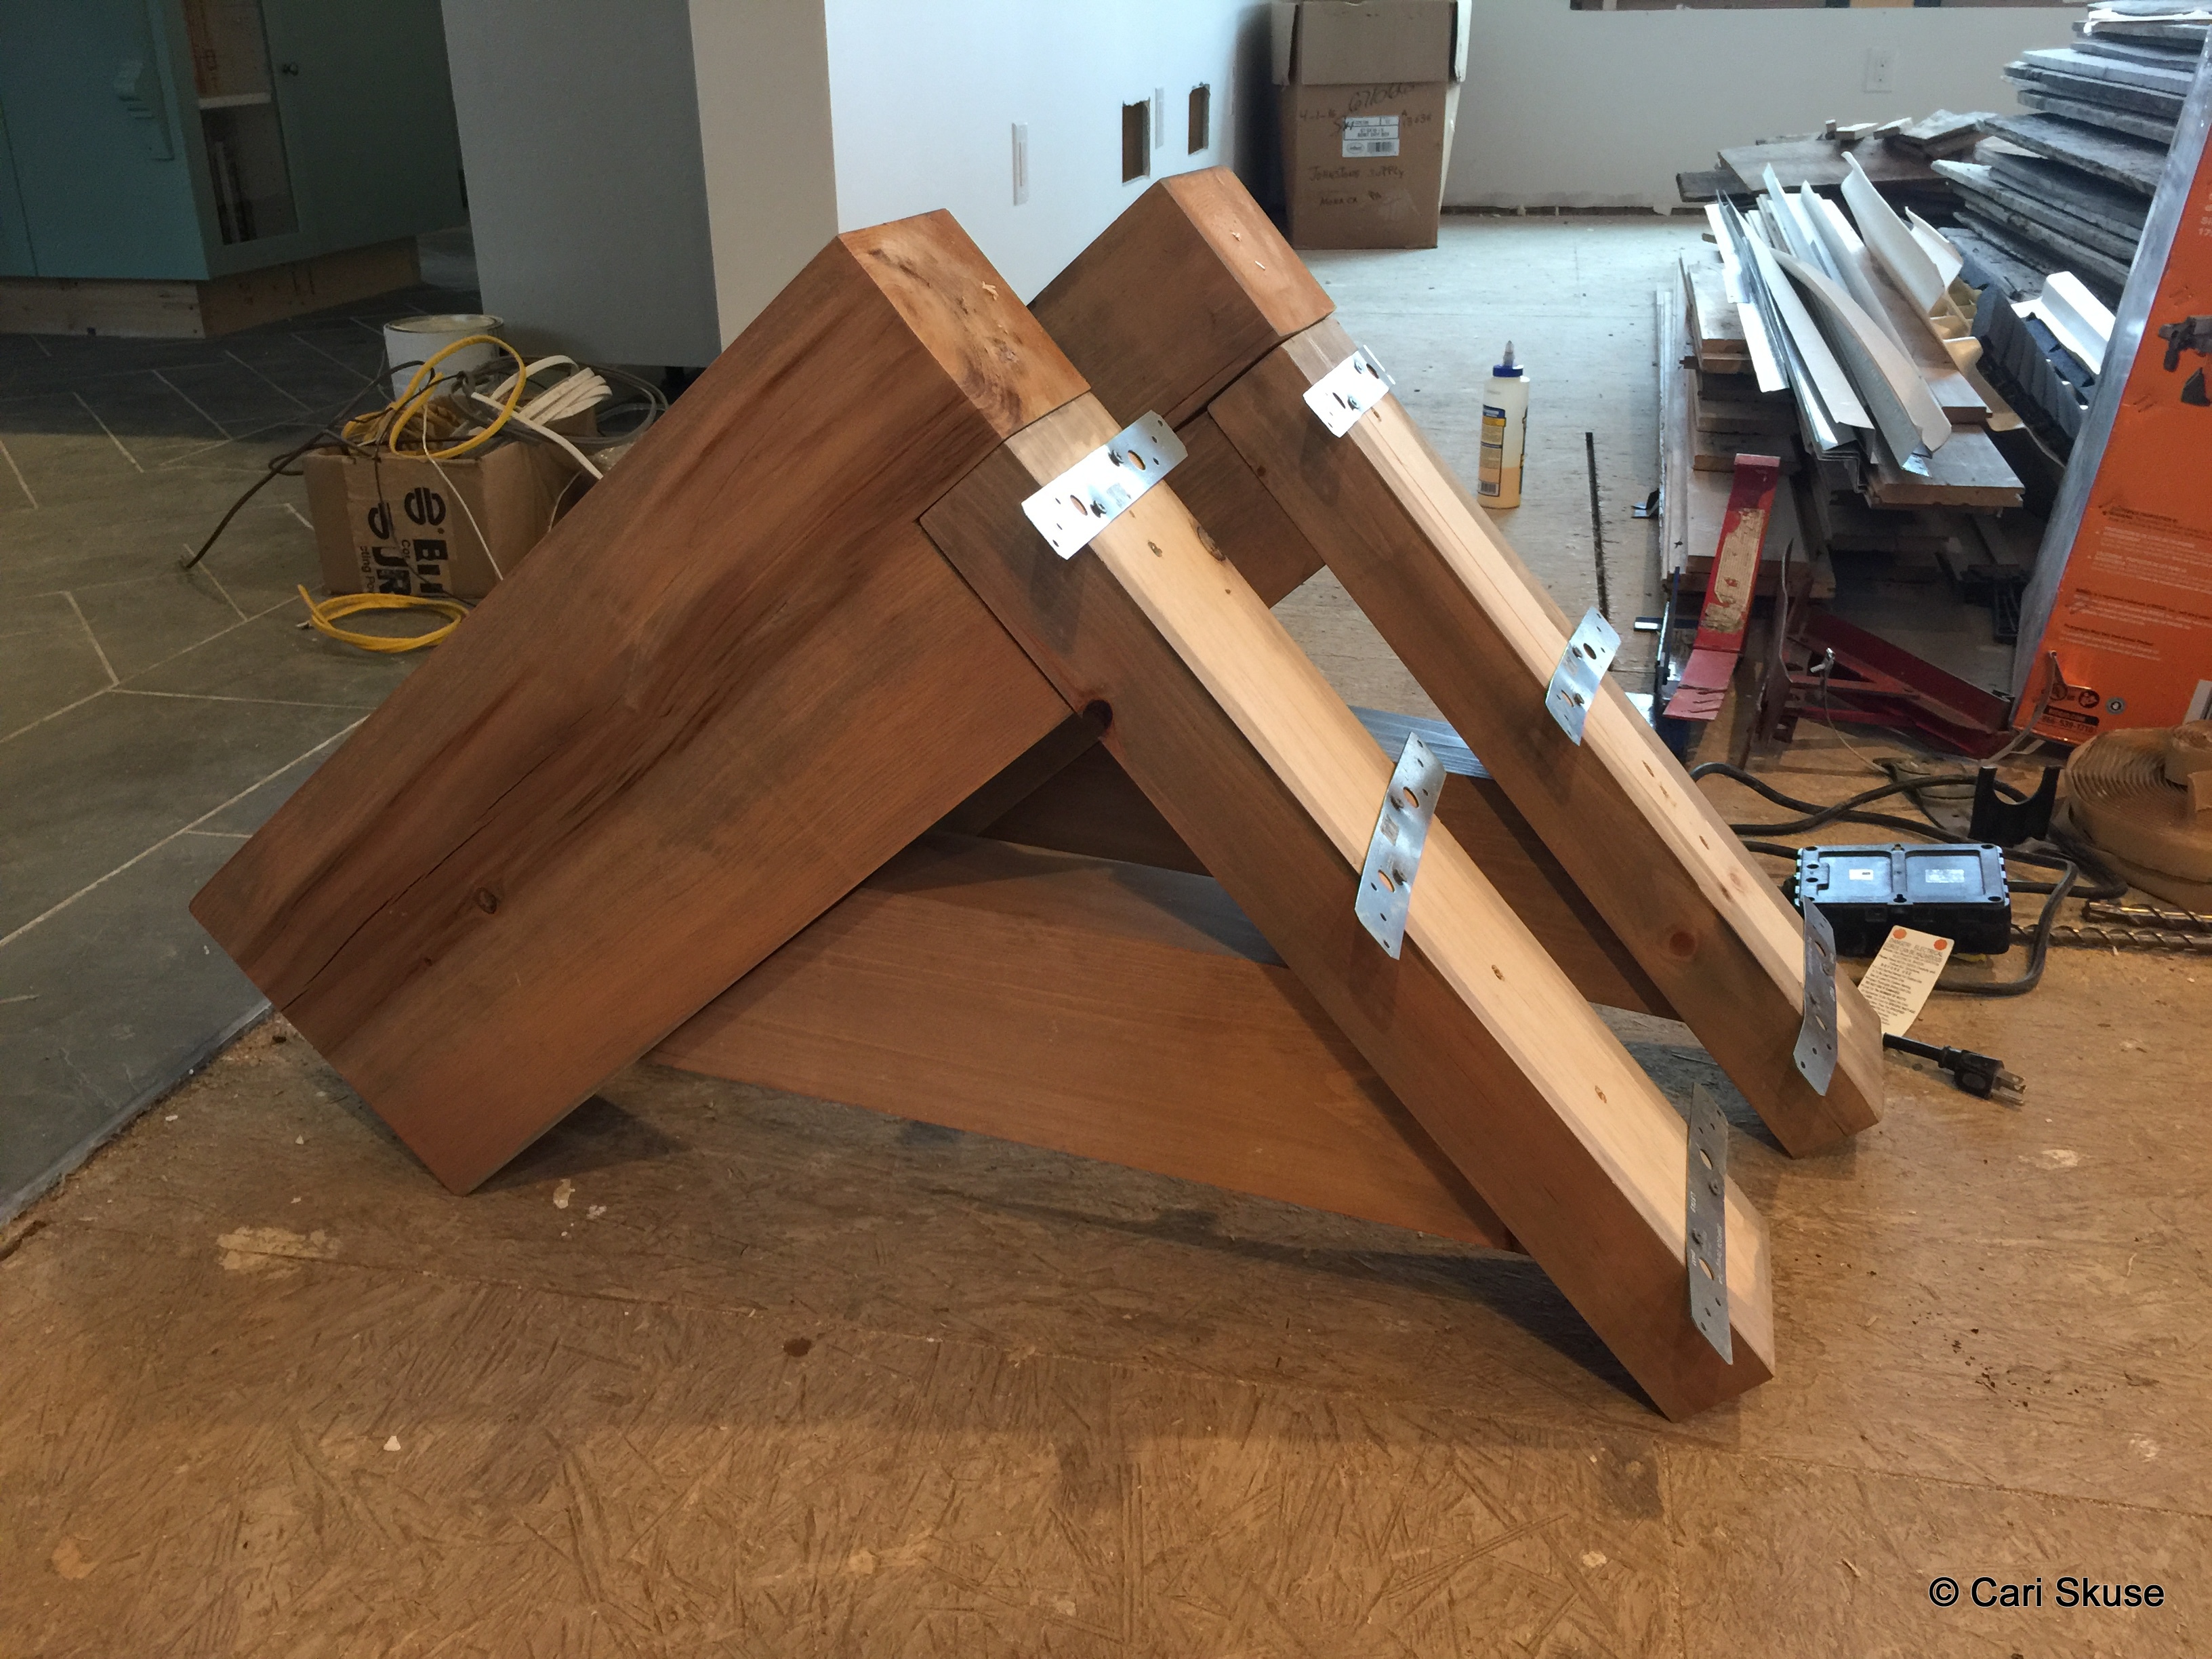
Two of the pine corbels that will be installed under the gables of the house. These are the small ones! They are quite heavy.

IMG_3342

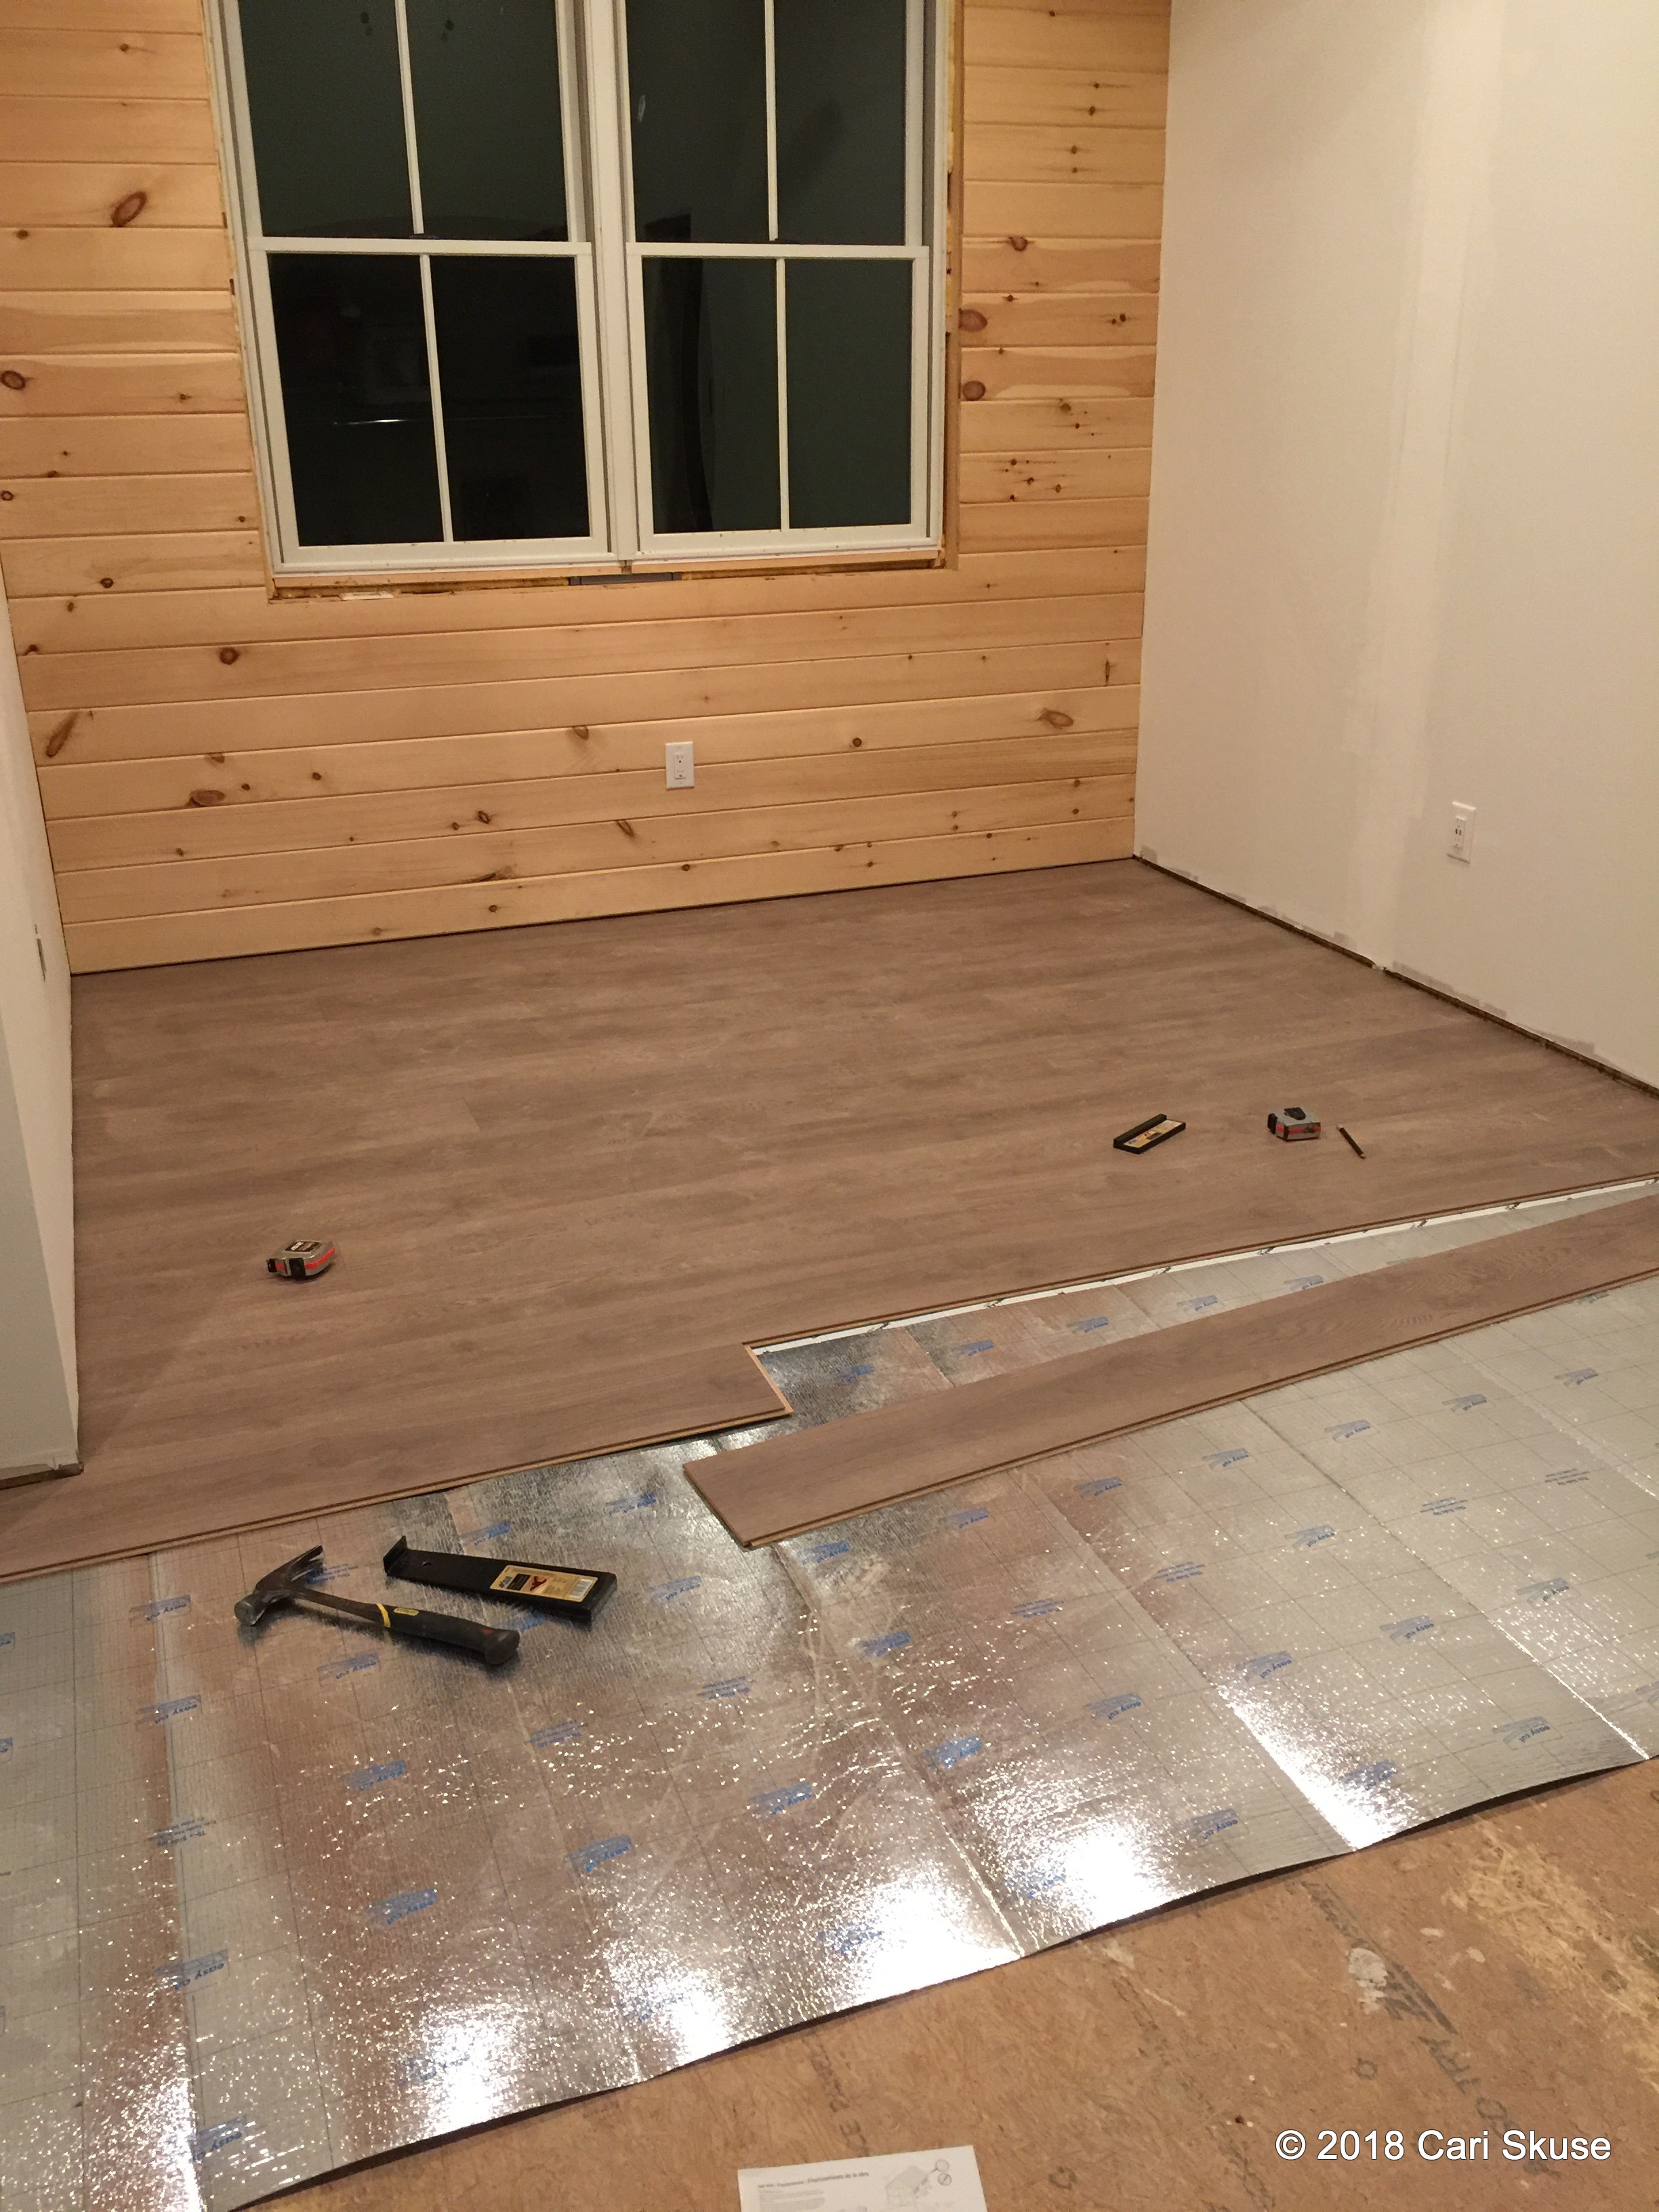
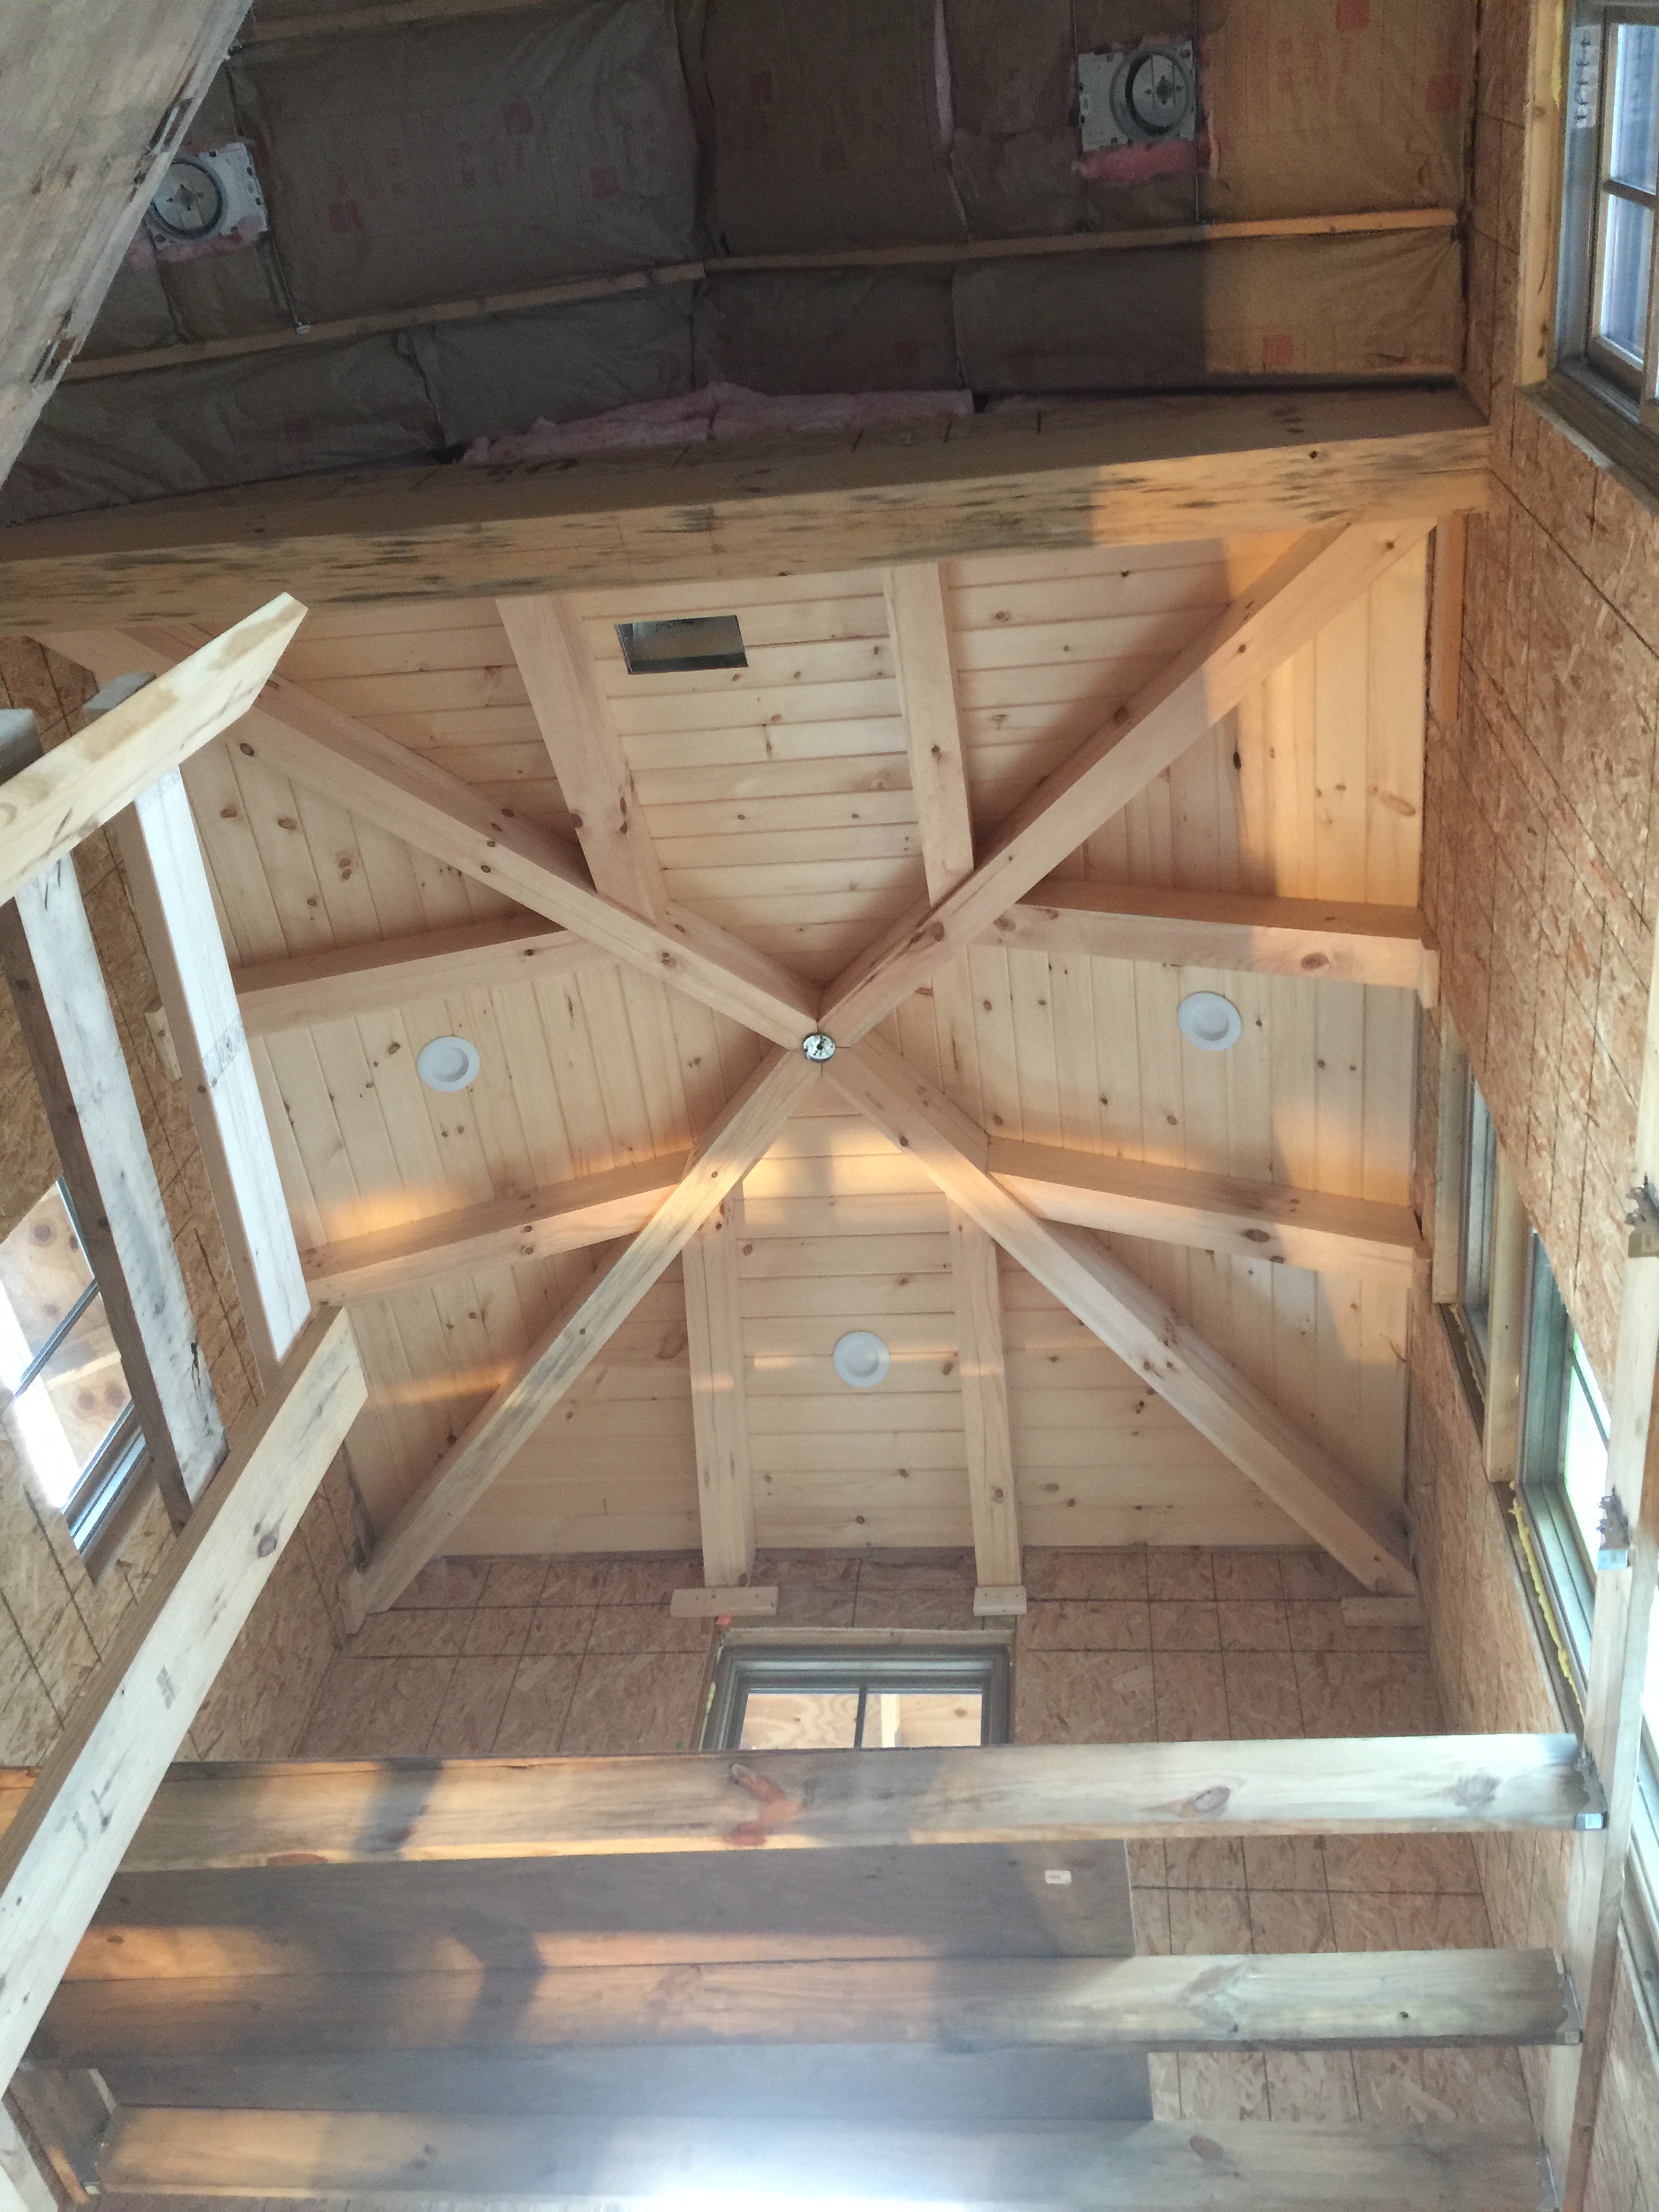
That’s all for now. At least all I have photos of. The boys’ rooms upstairs have been almost completed. Their bathroom fixture hookups and the Pergo flooring are the only major items remaining! Woohoo.

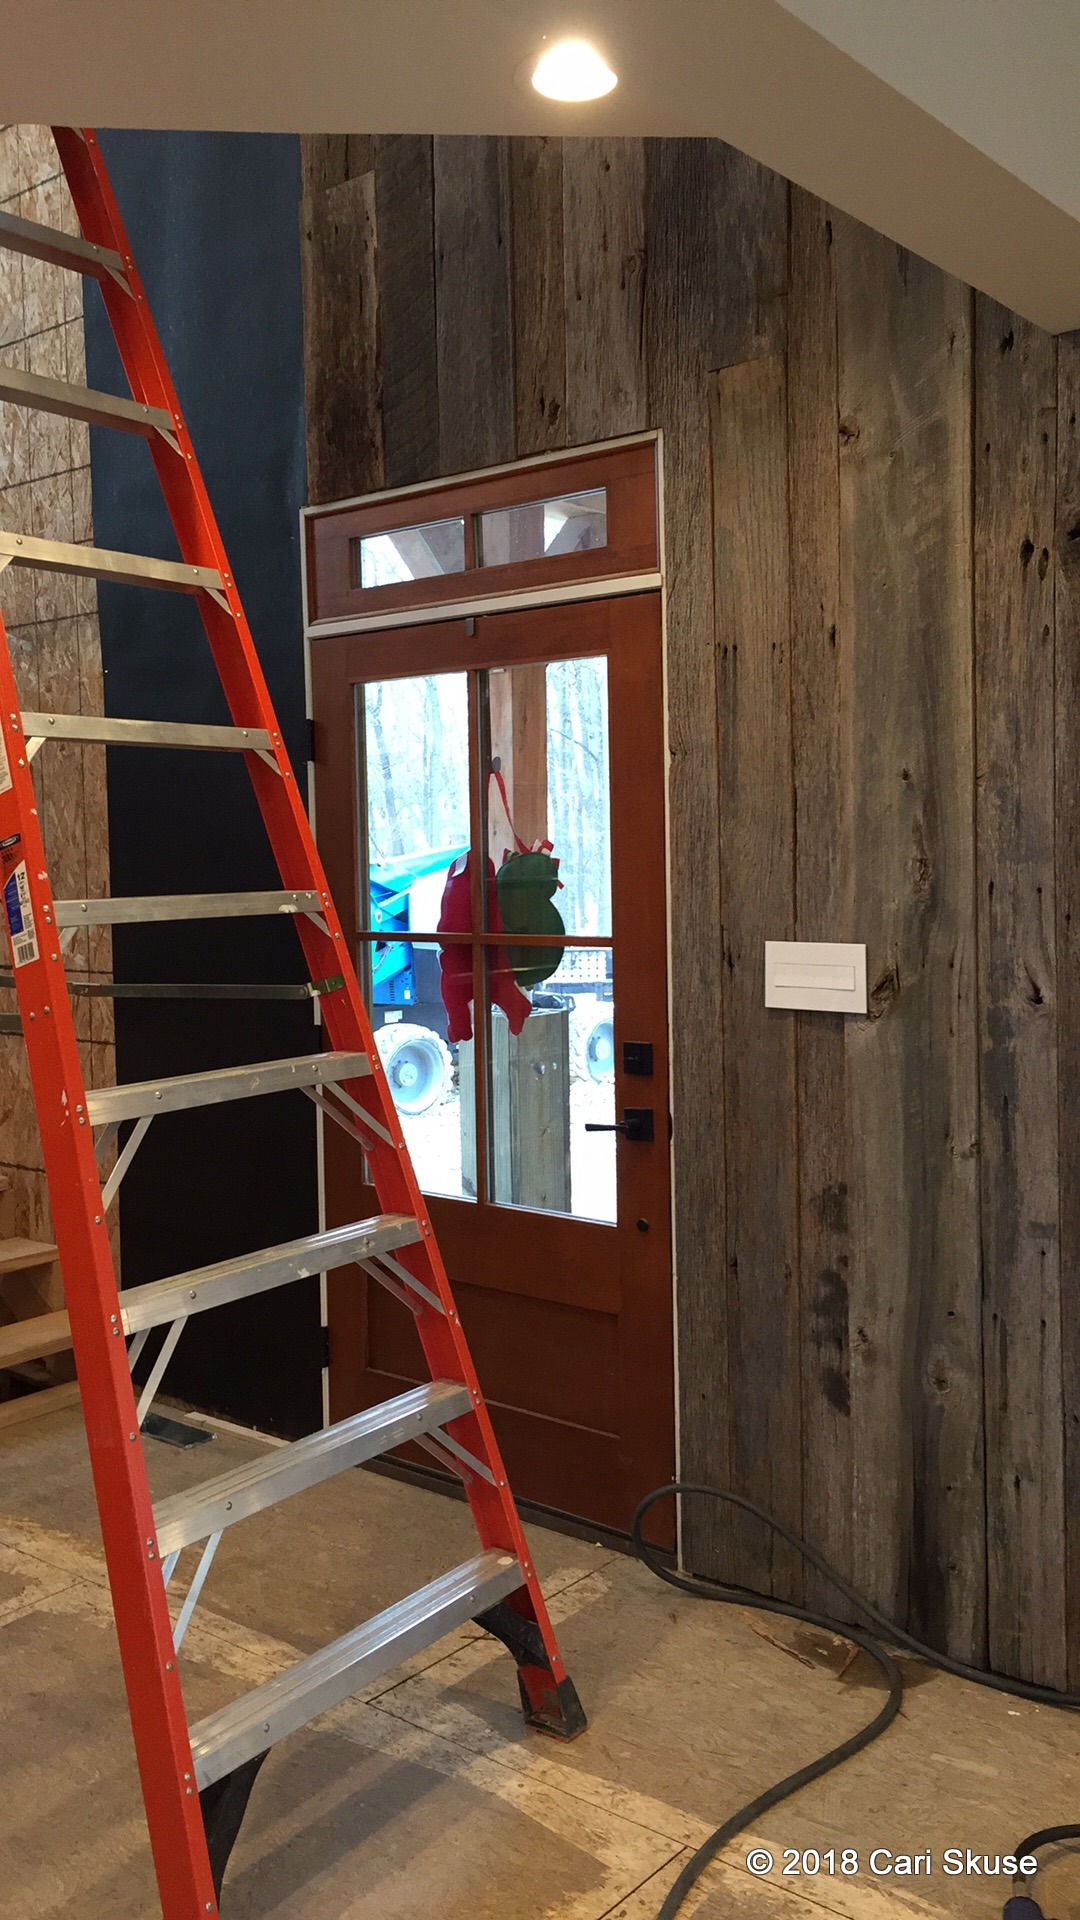
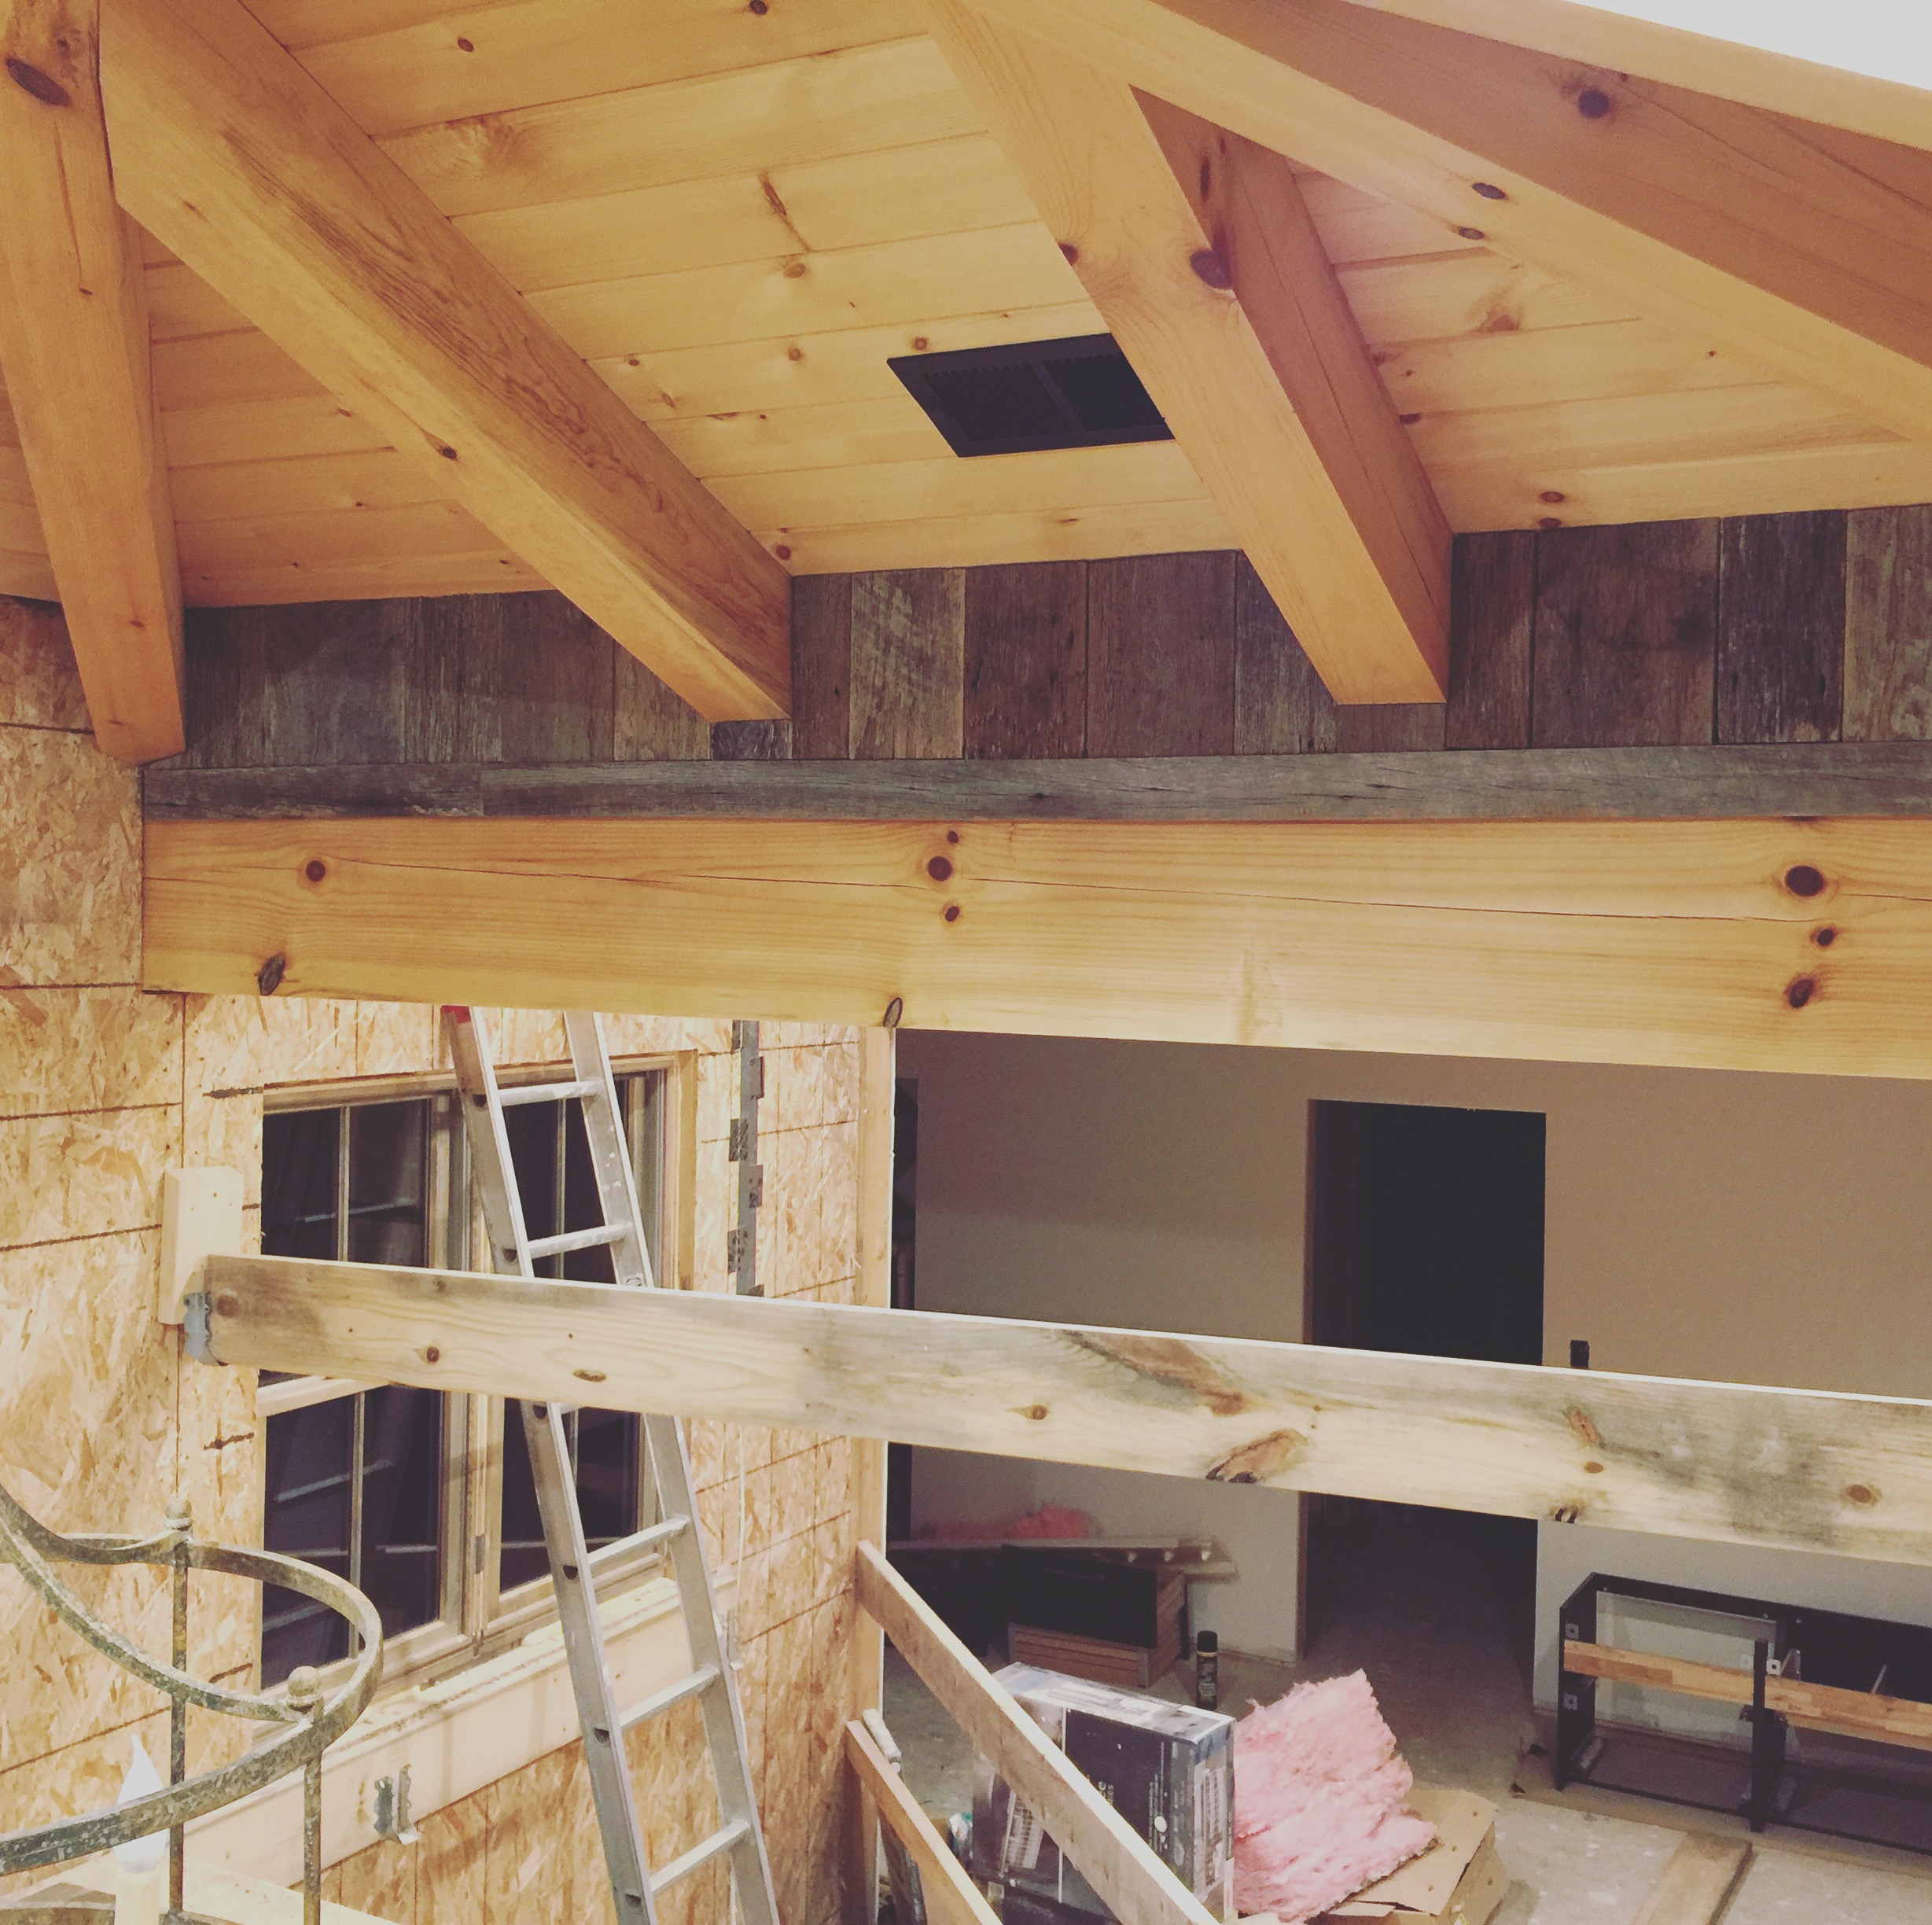
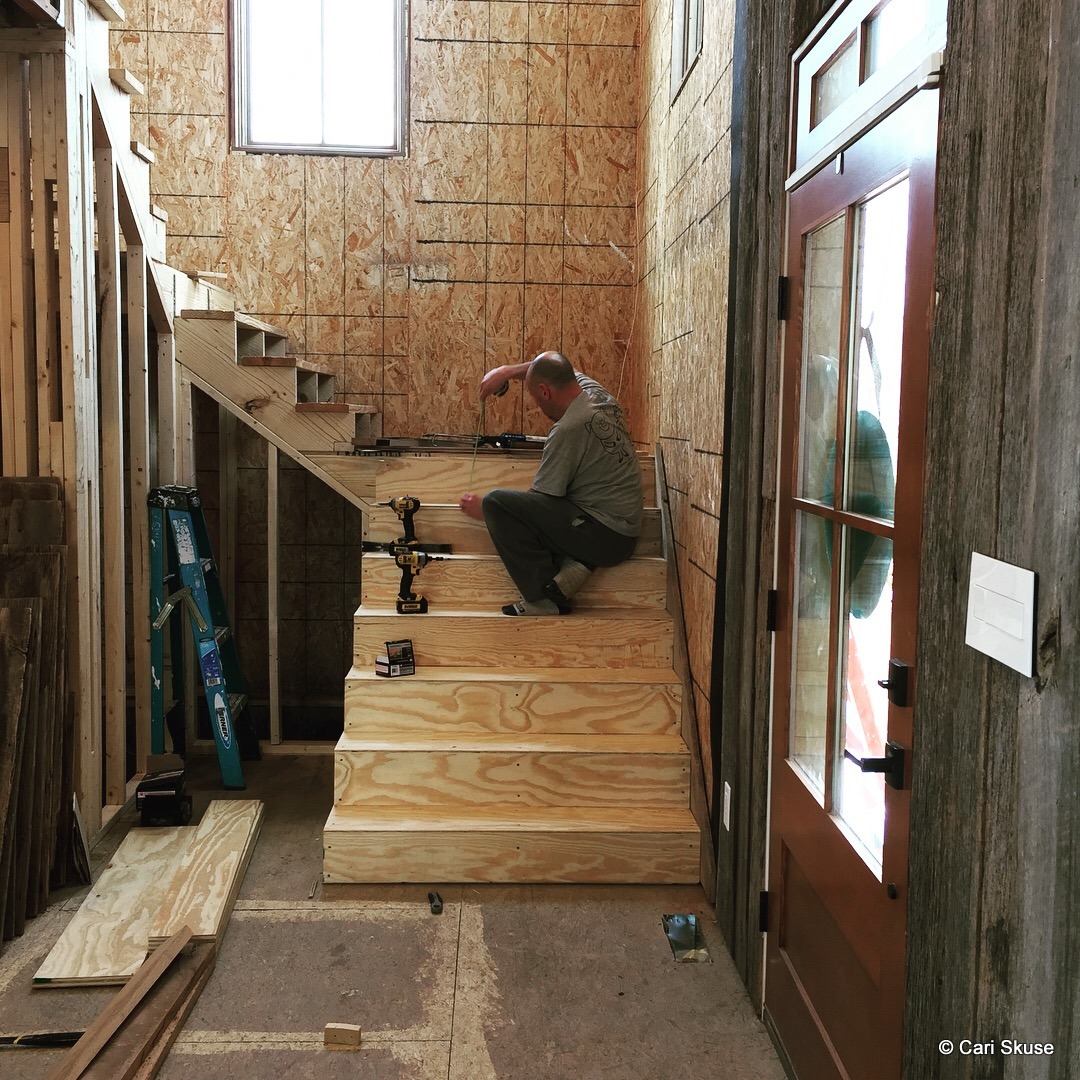
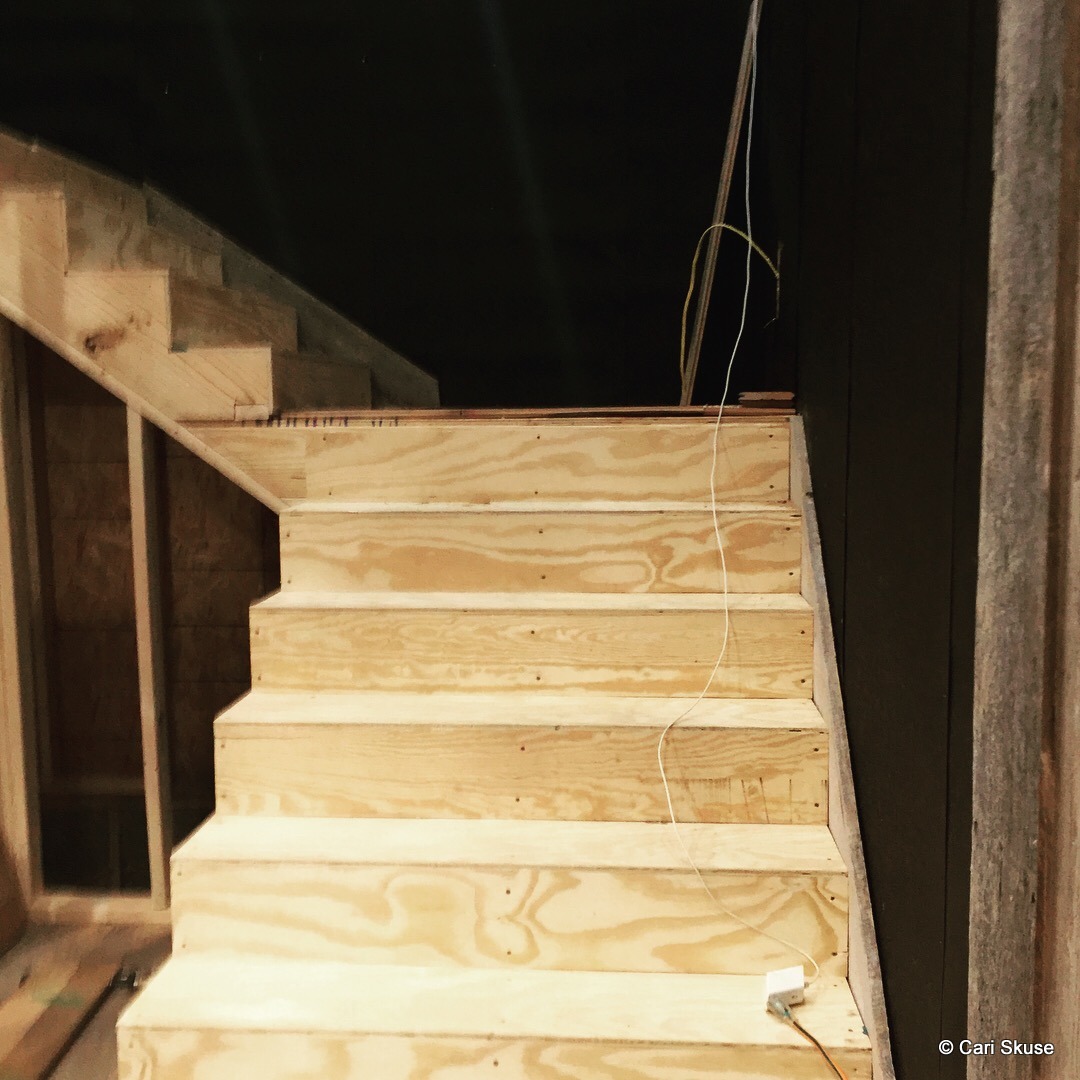
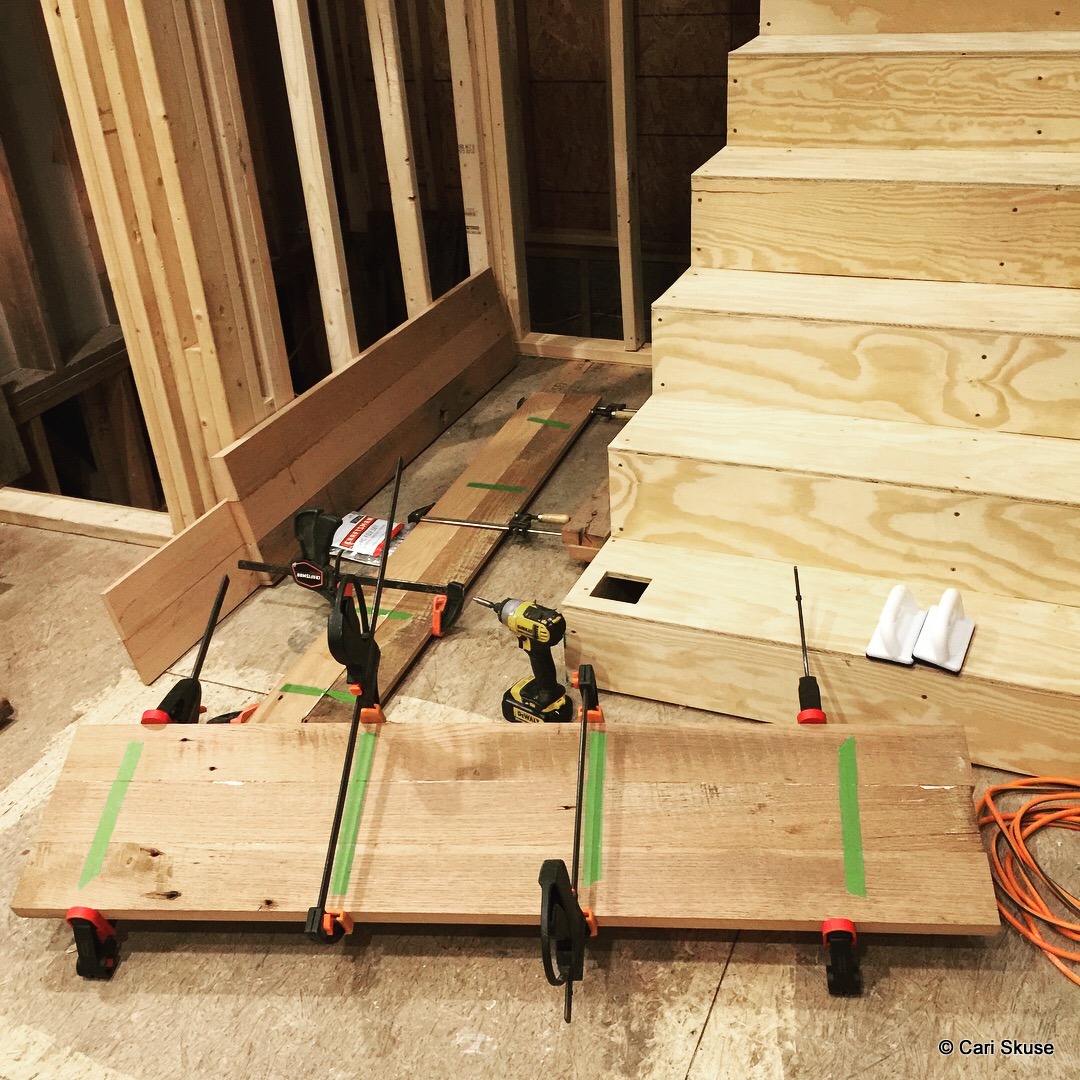
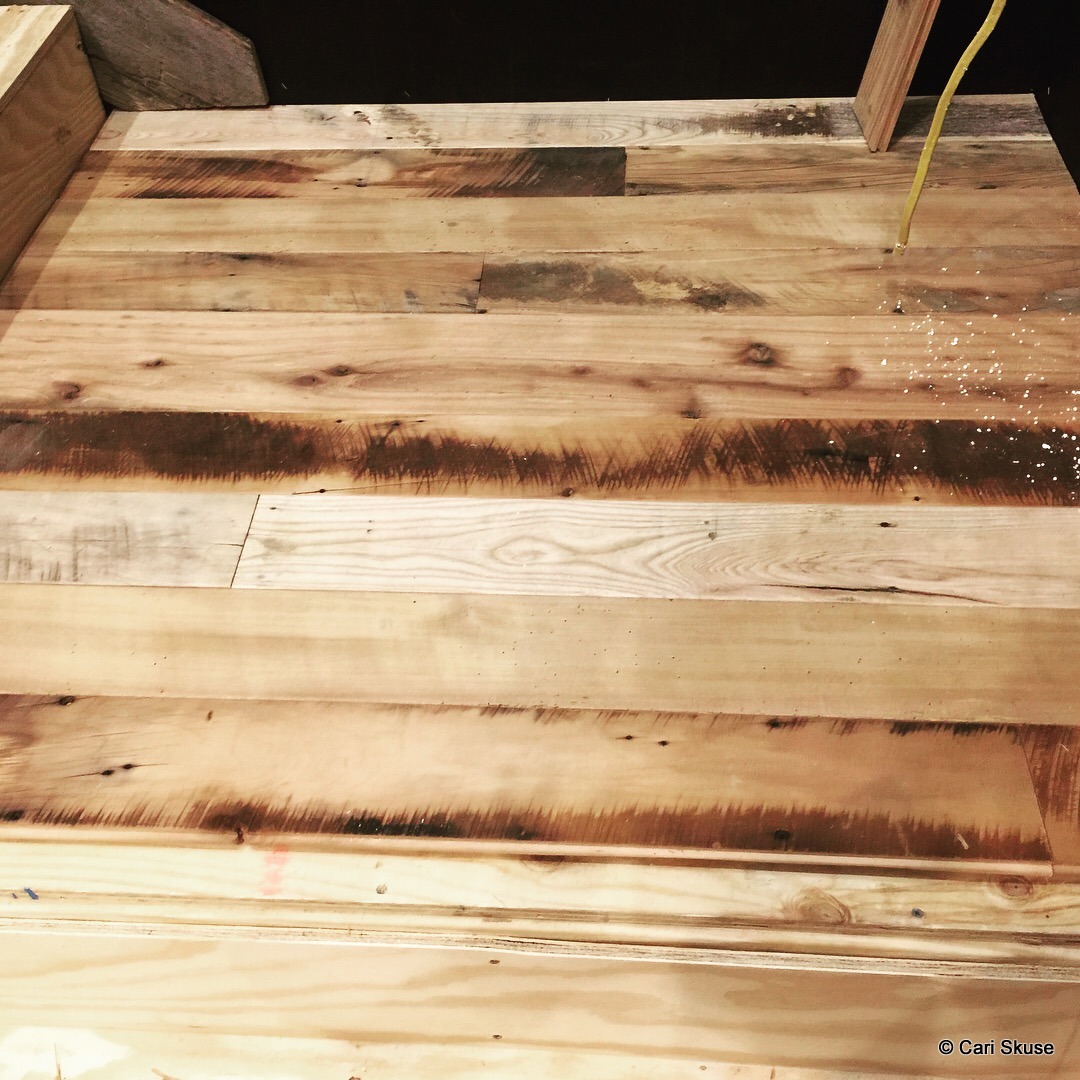
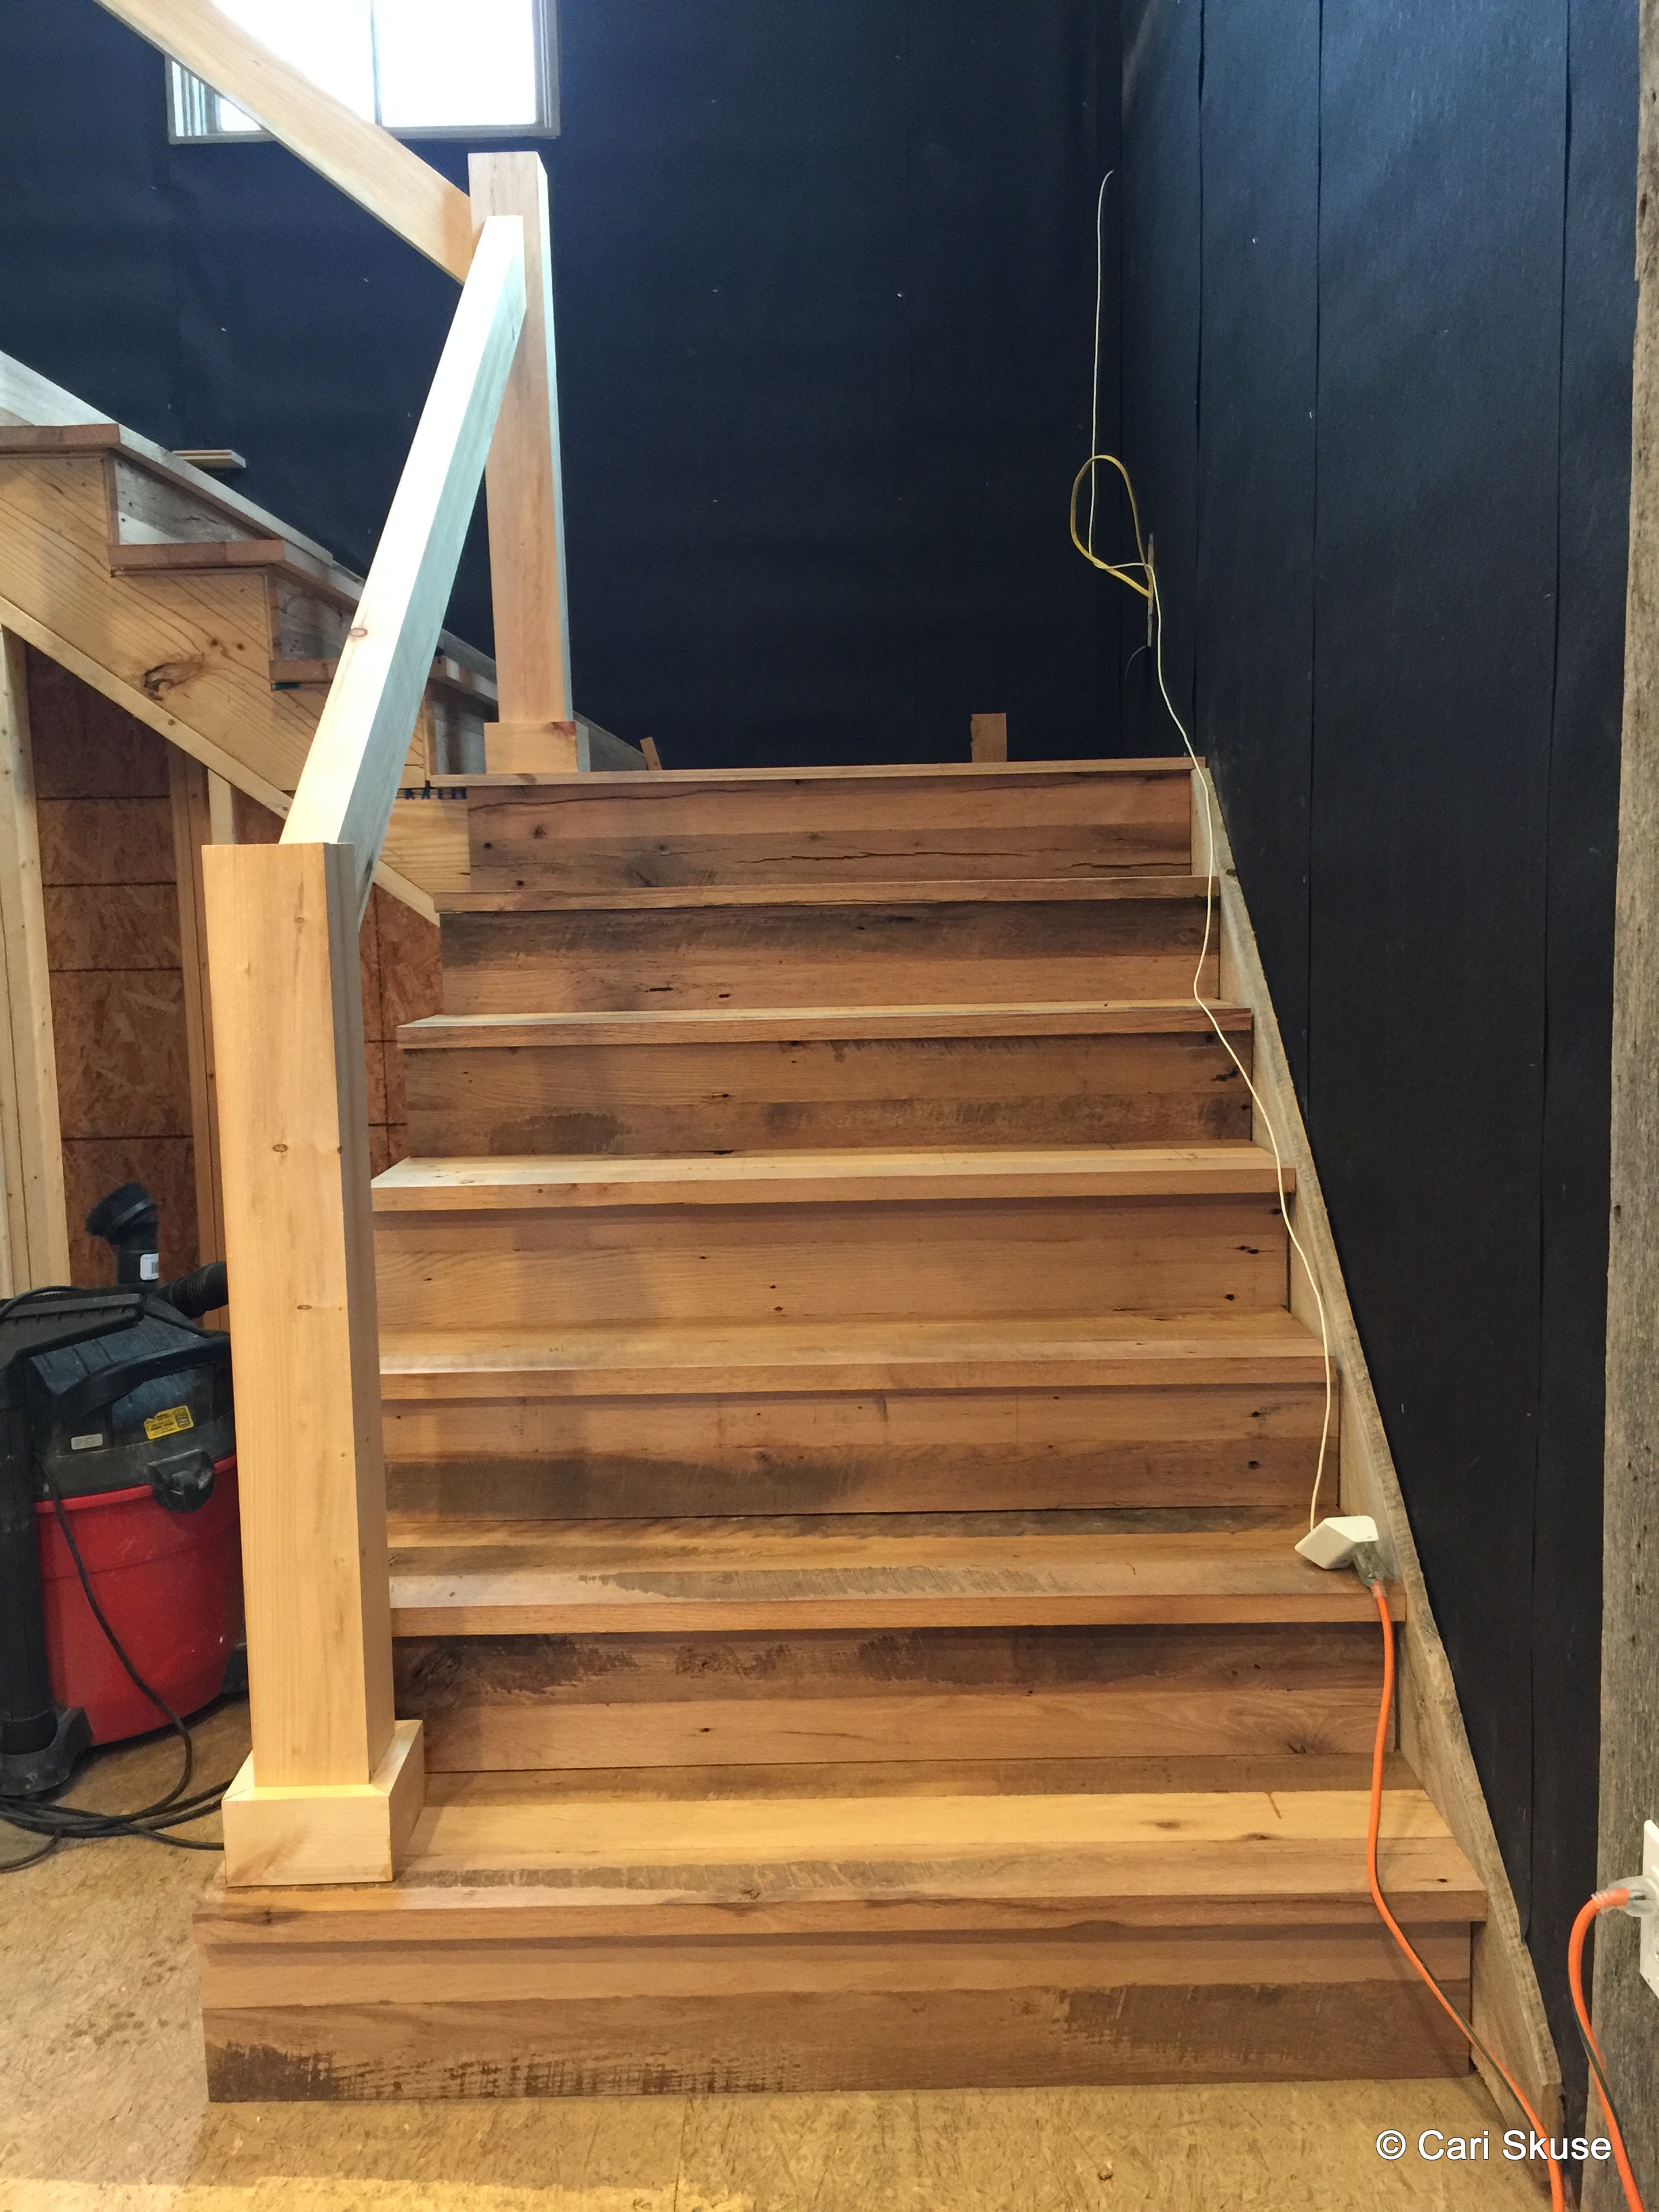
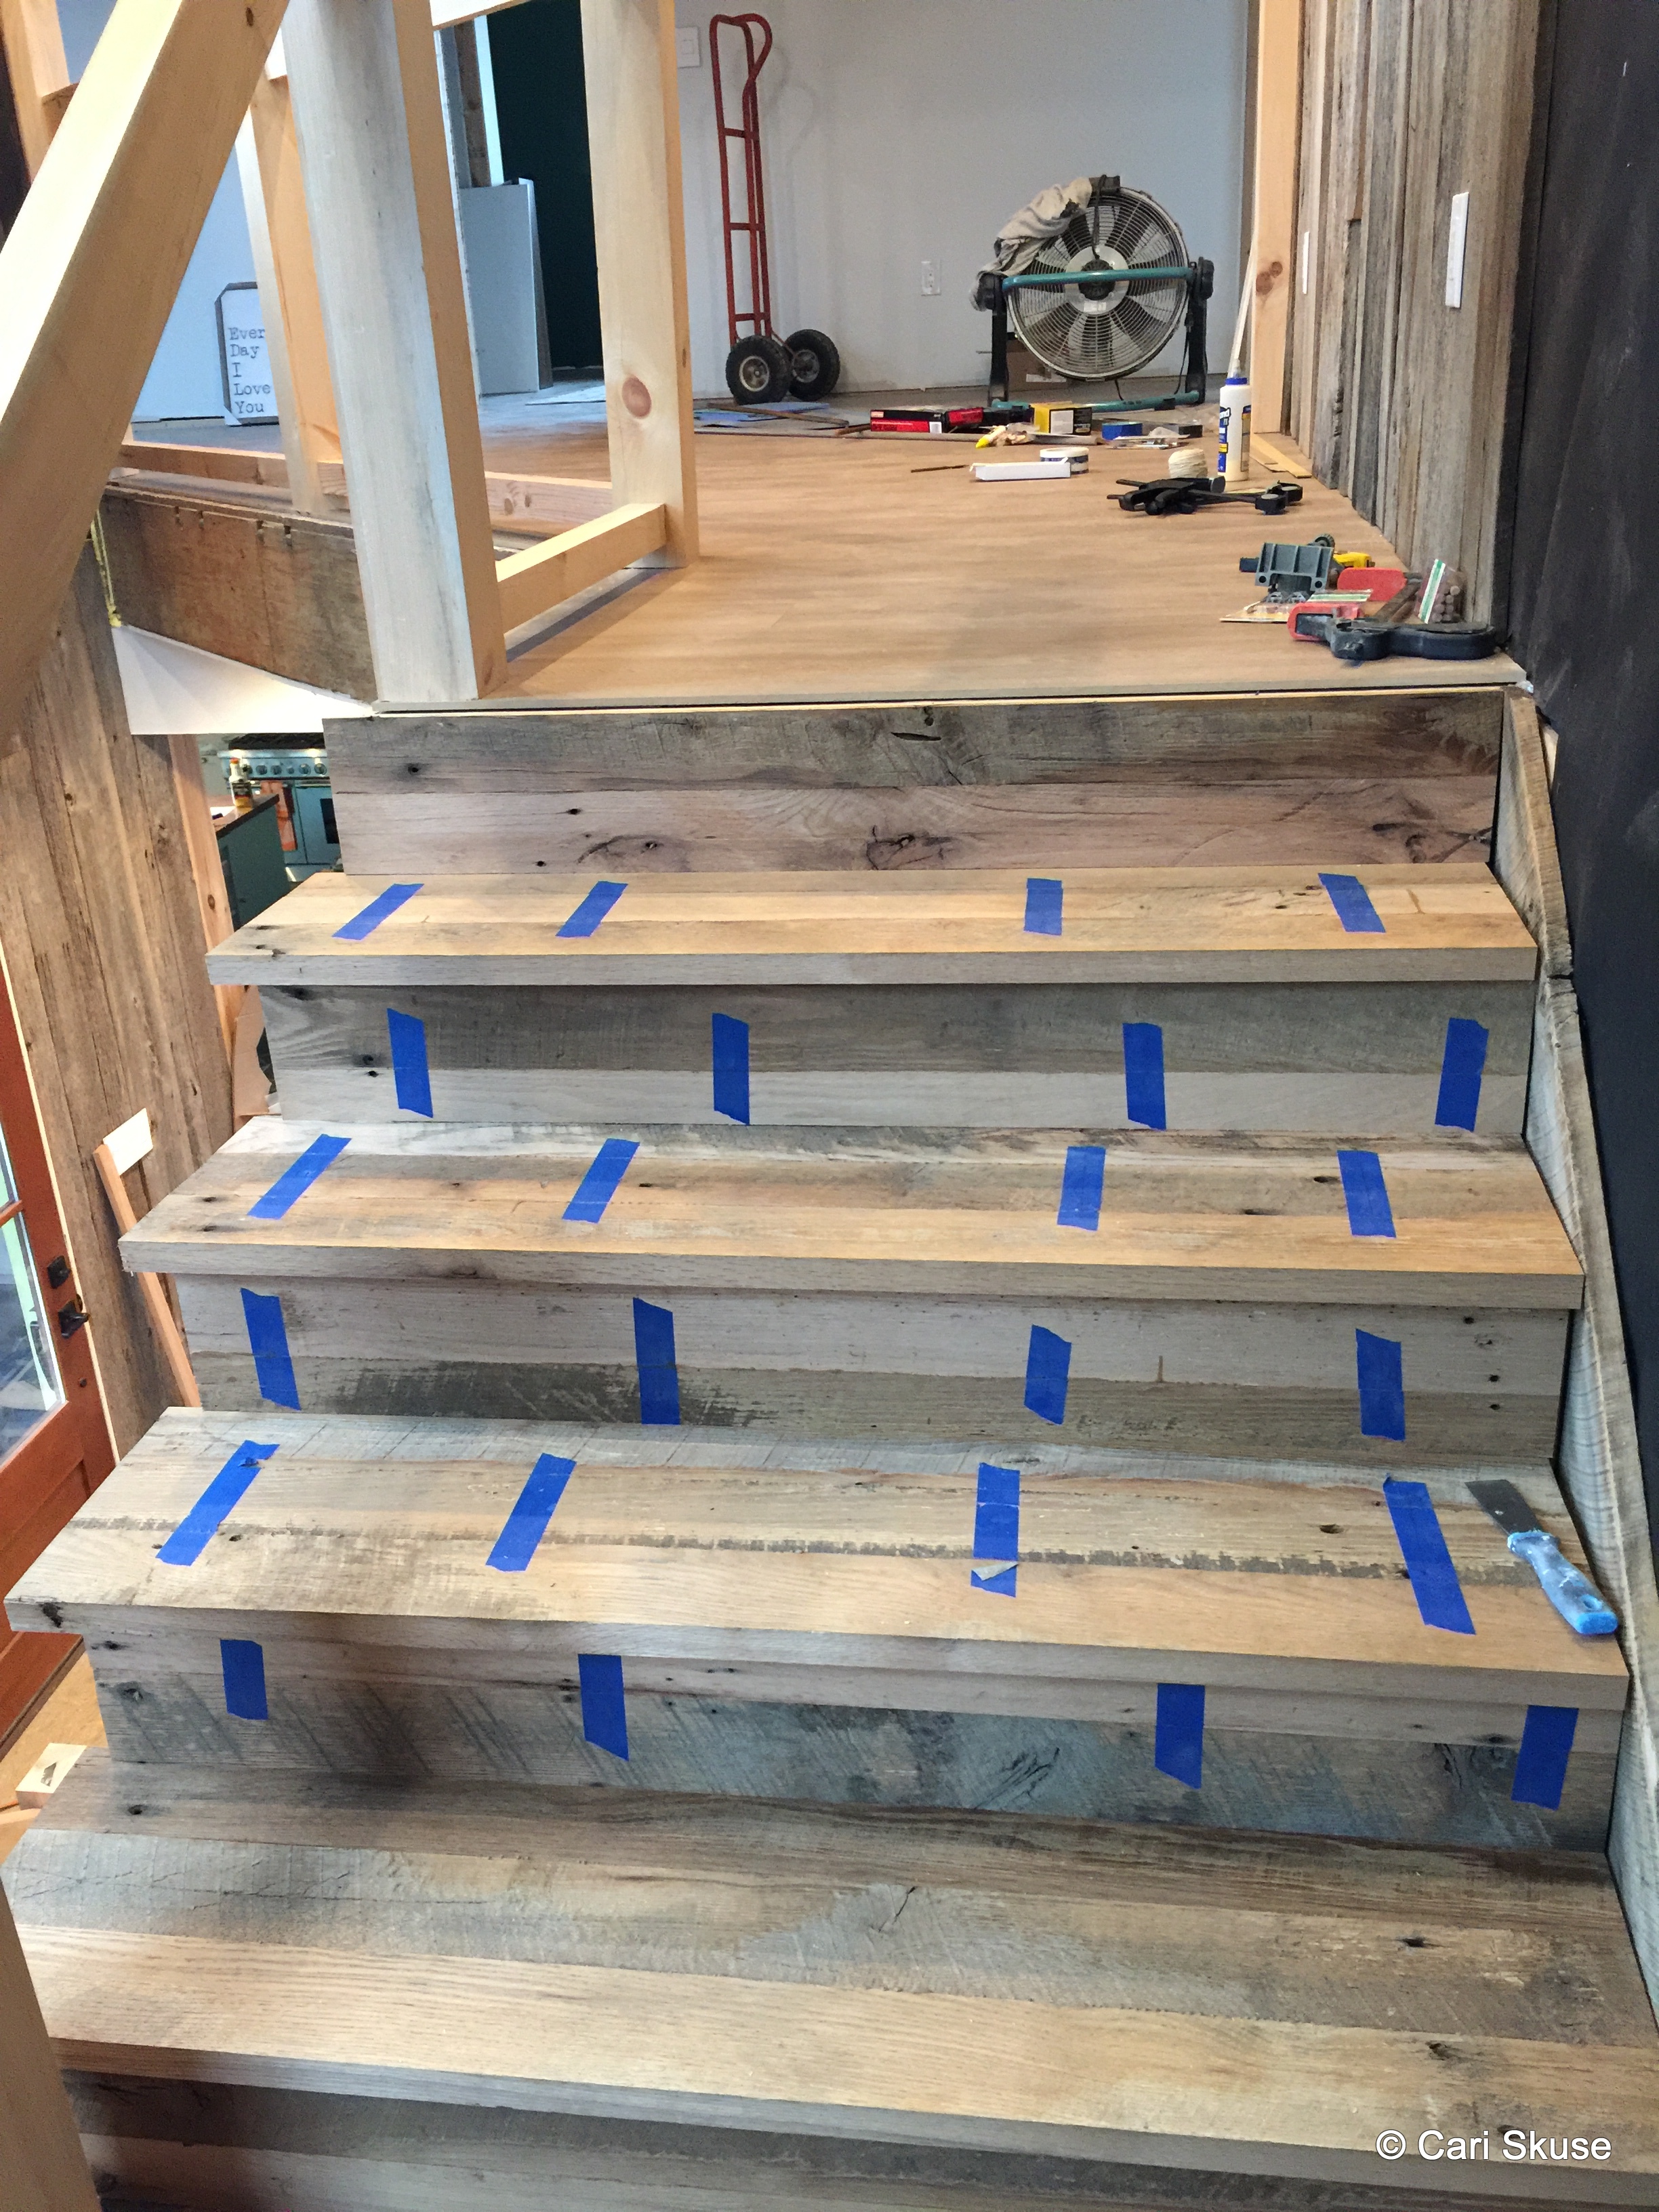
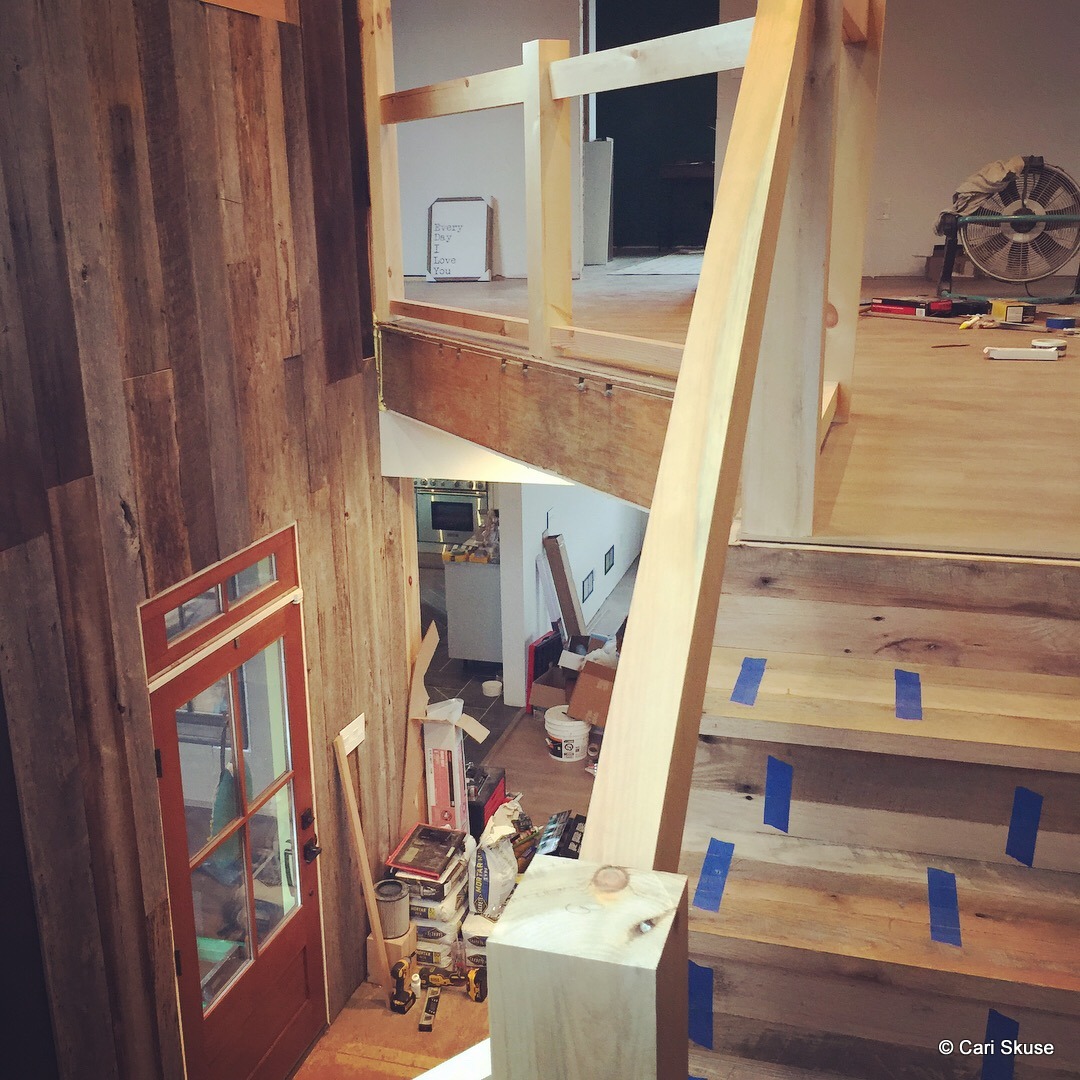
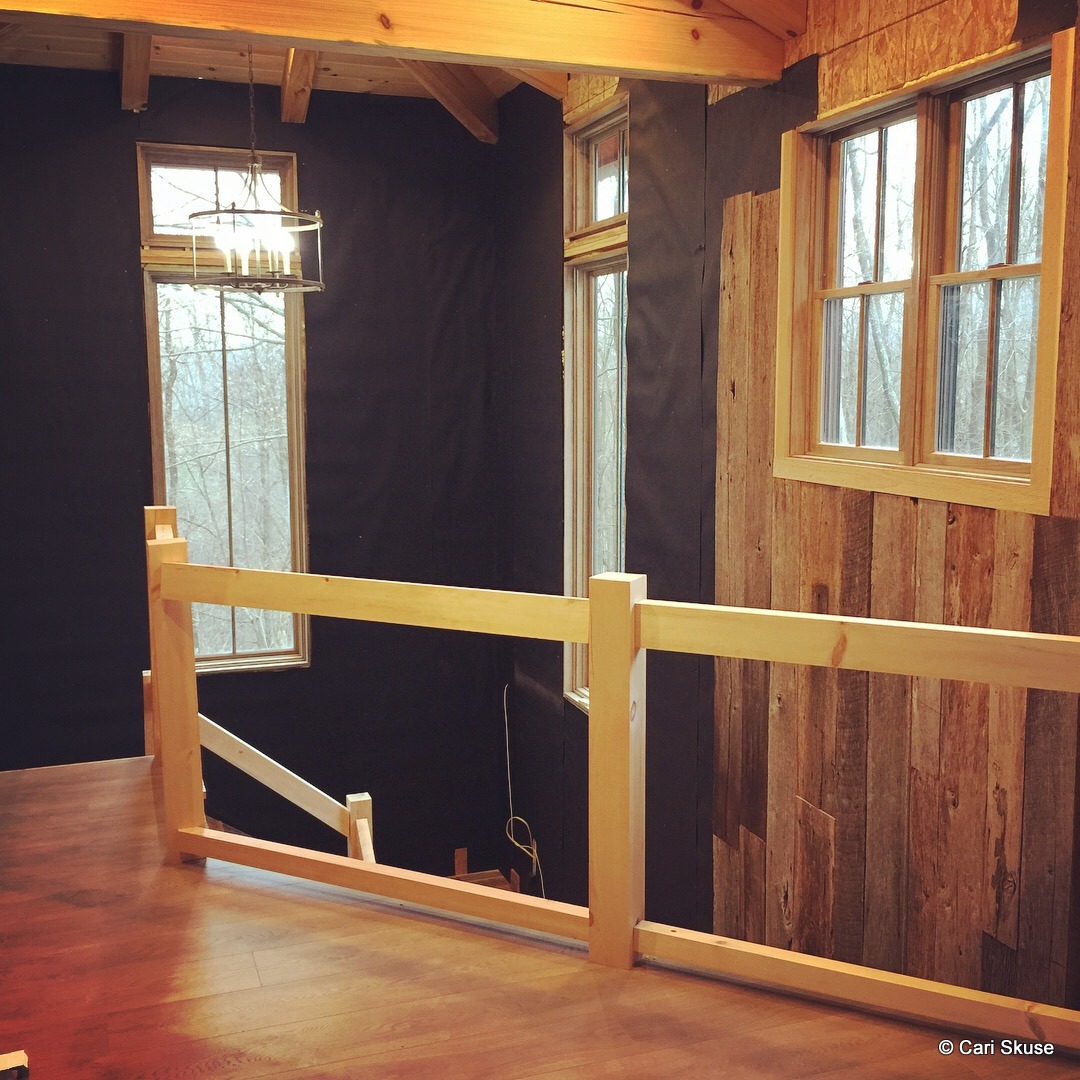
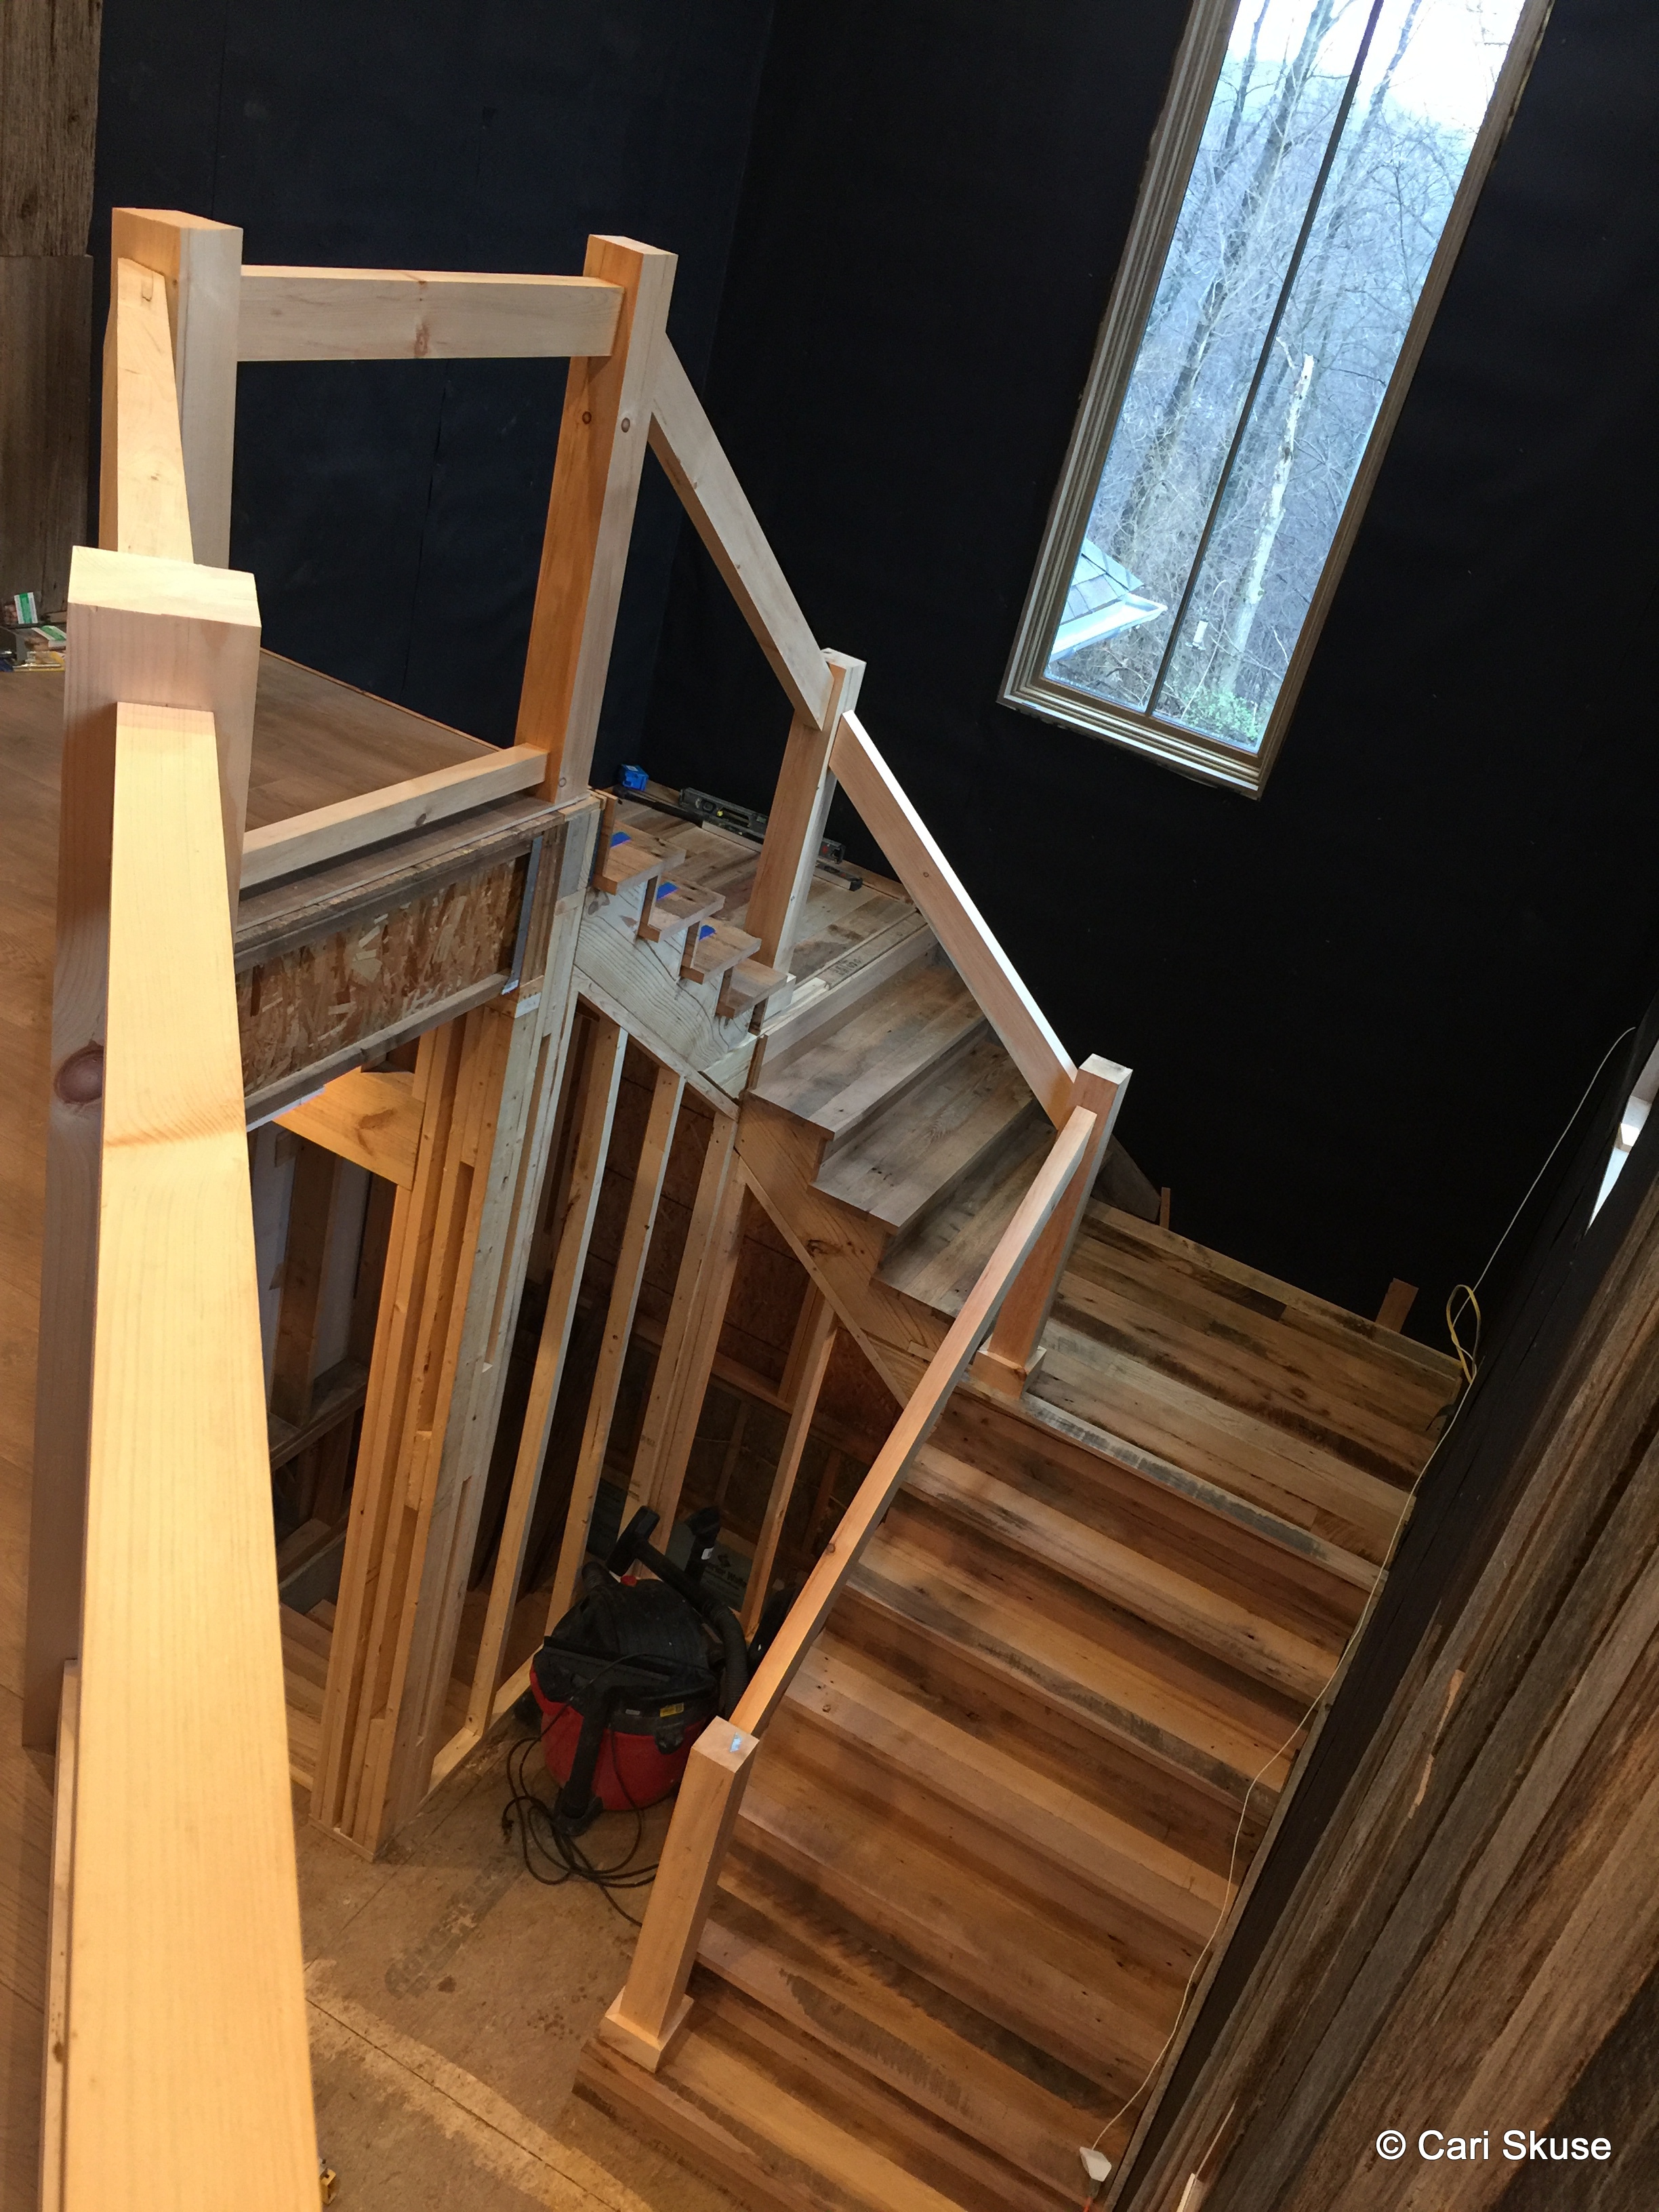
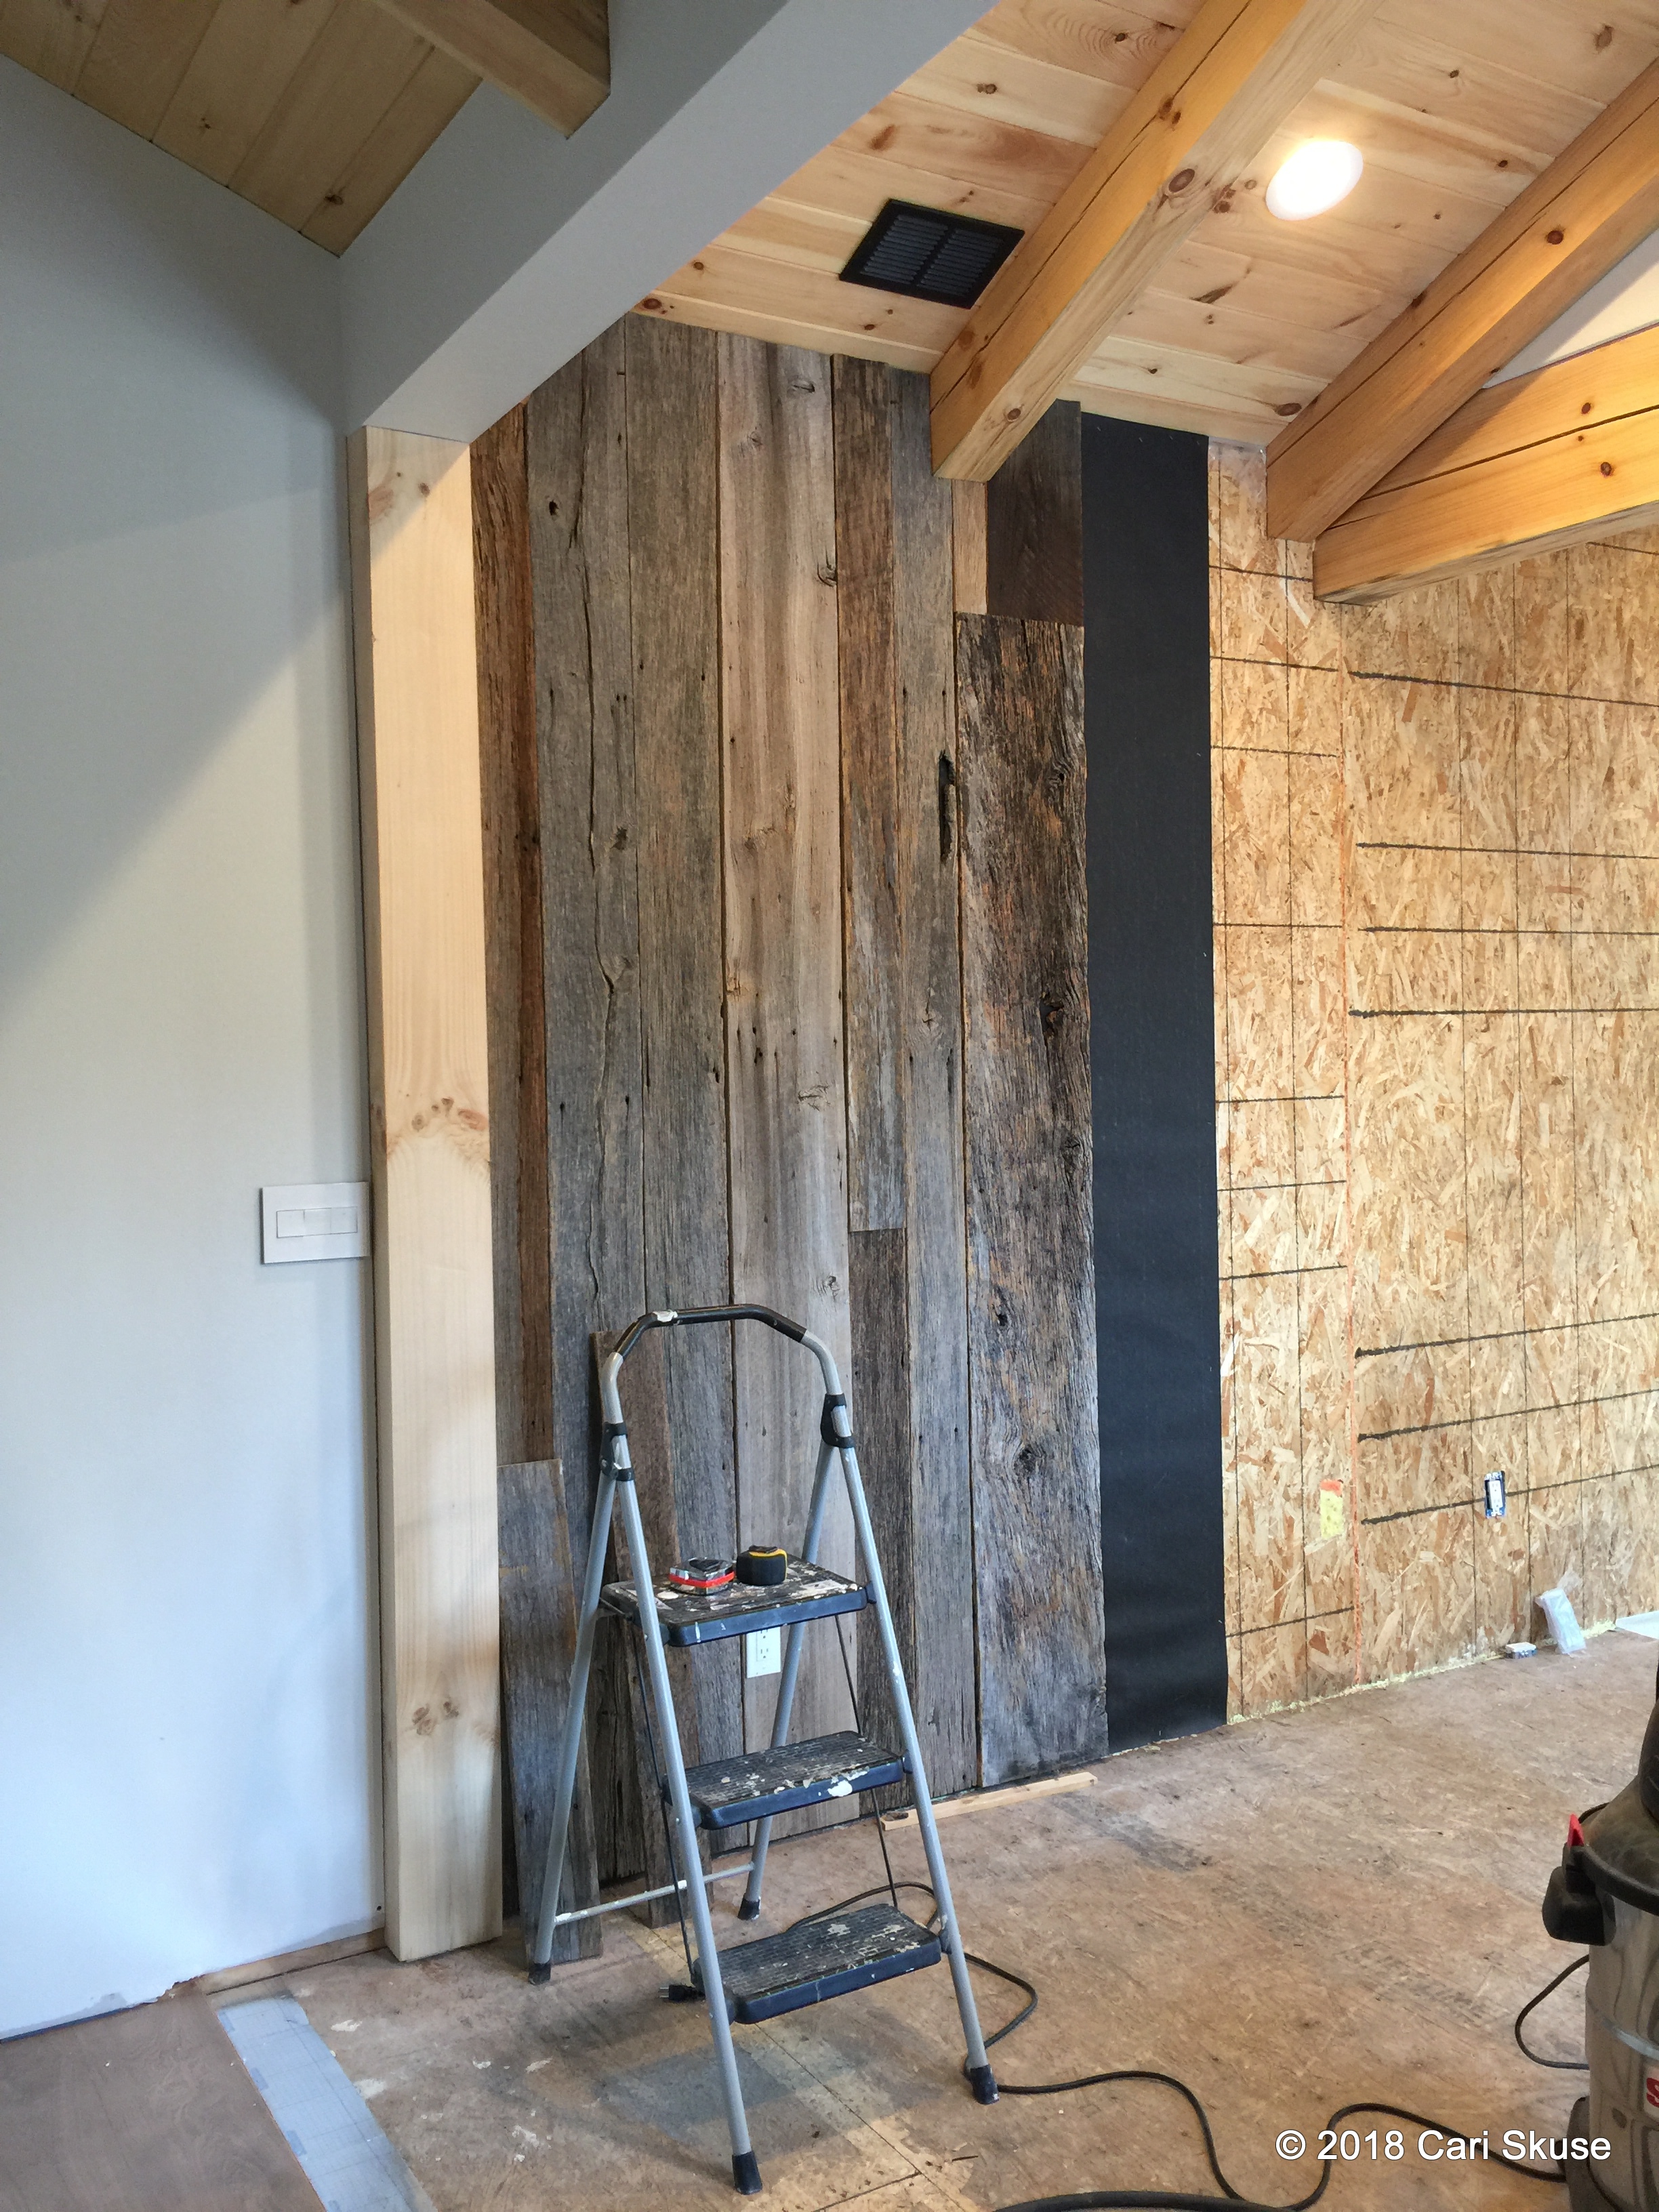
Major indoor projects remaining are Pergo flooring on both floors, the stair rebuilding with reclaimed wood and the barn wood on the walls, countertops and appliances.

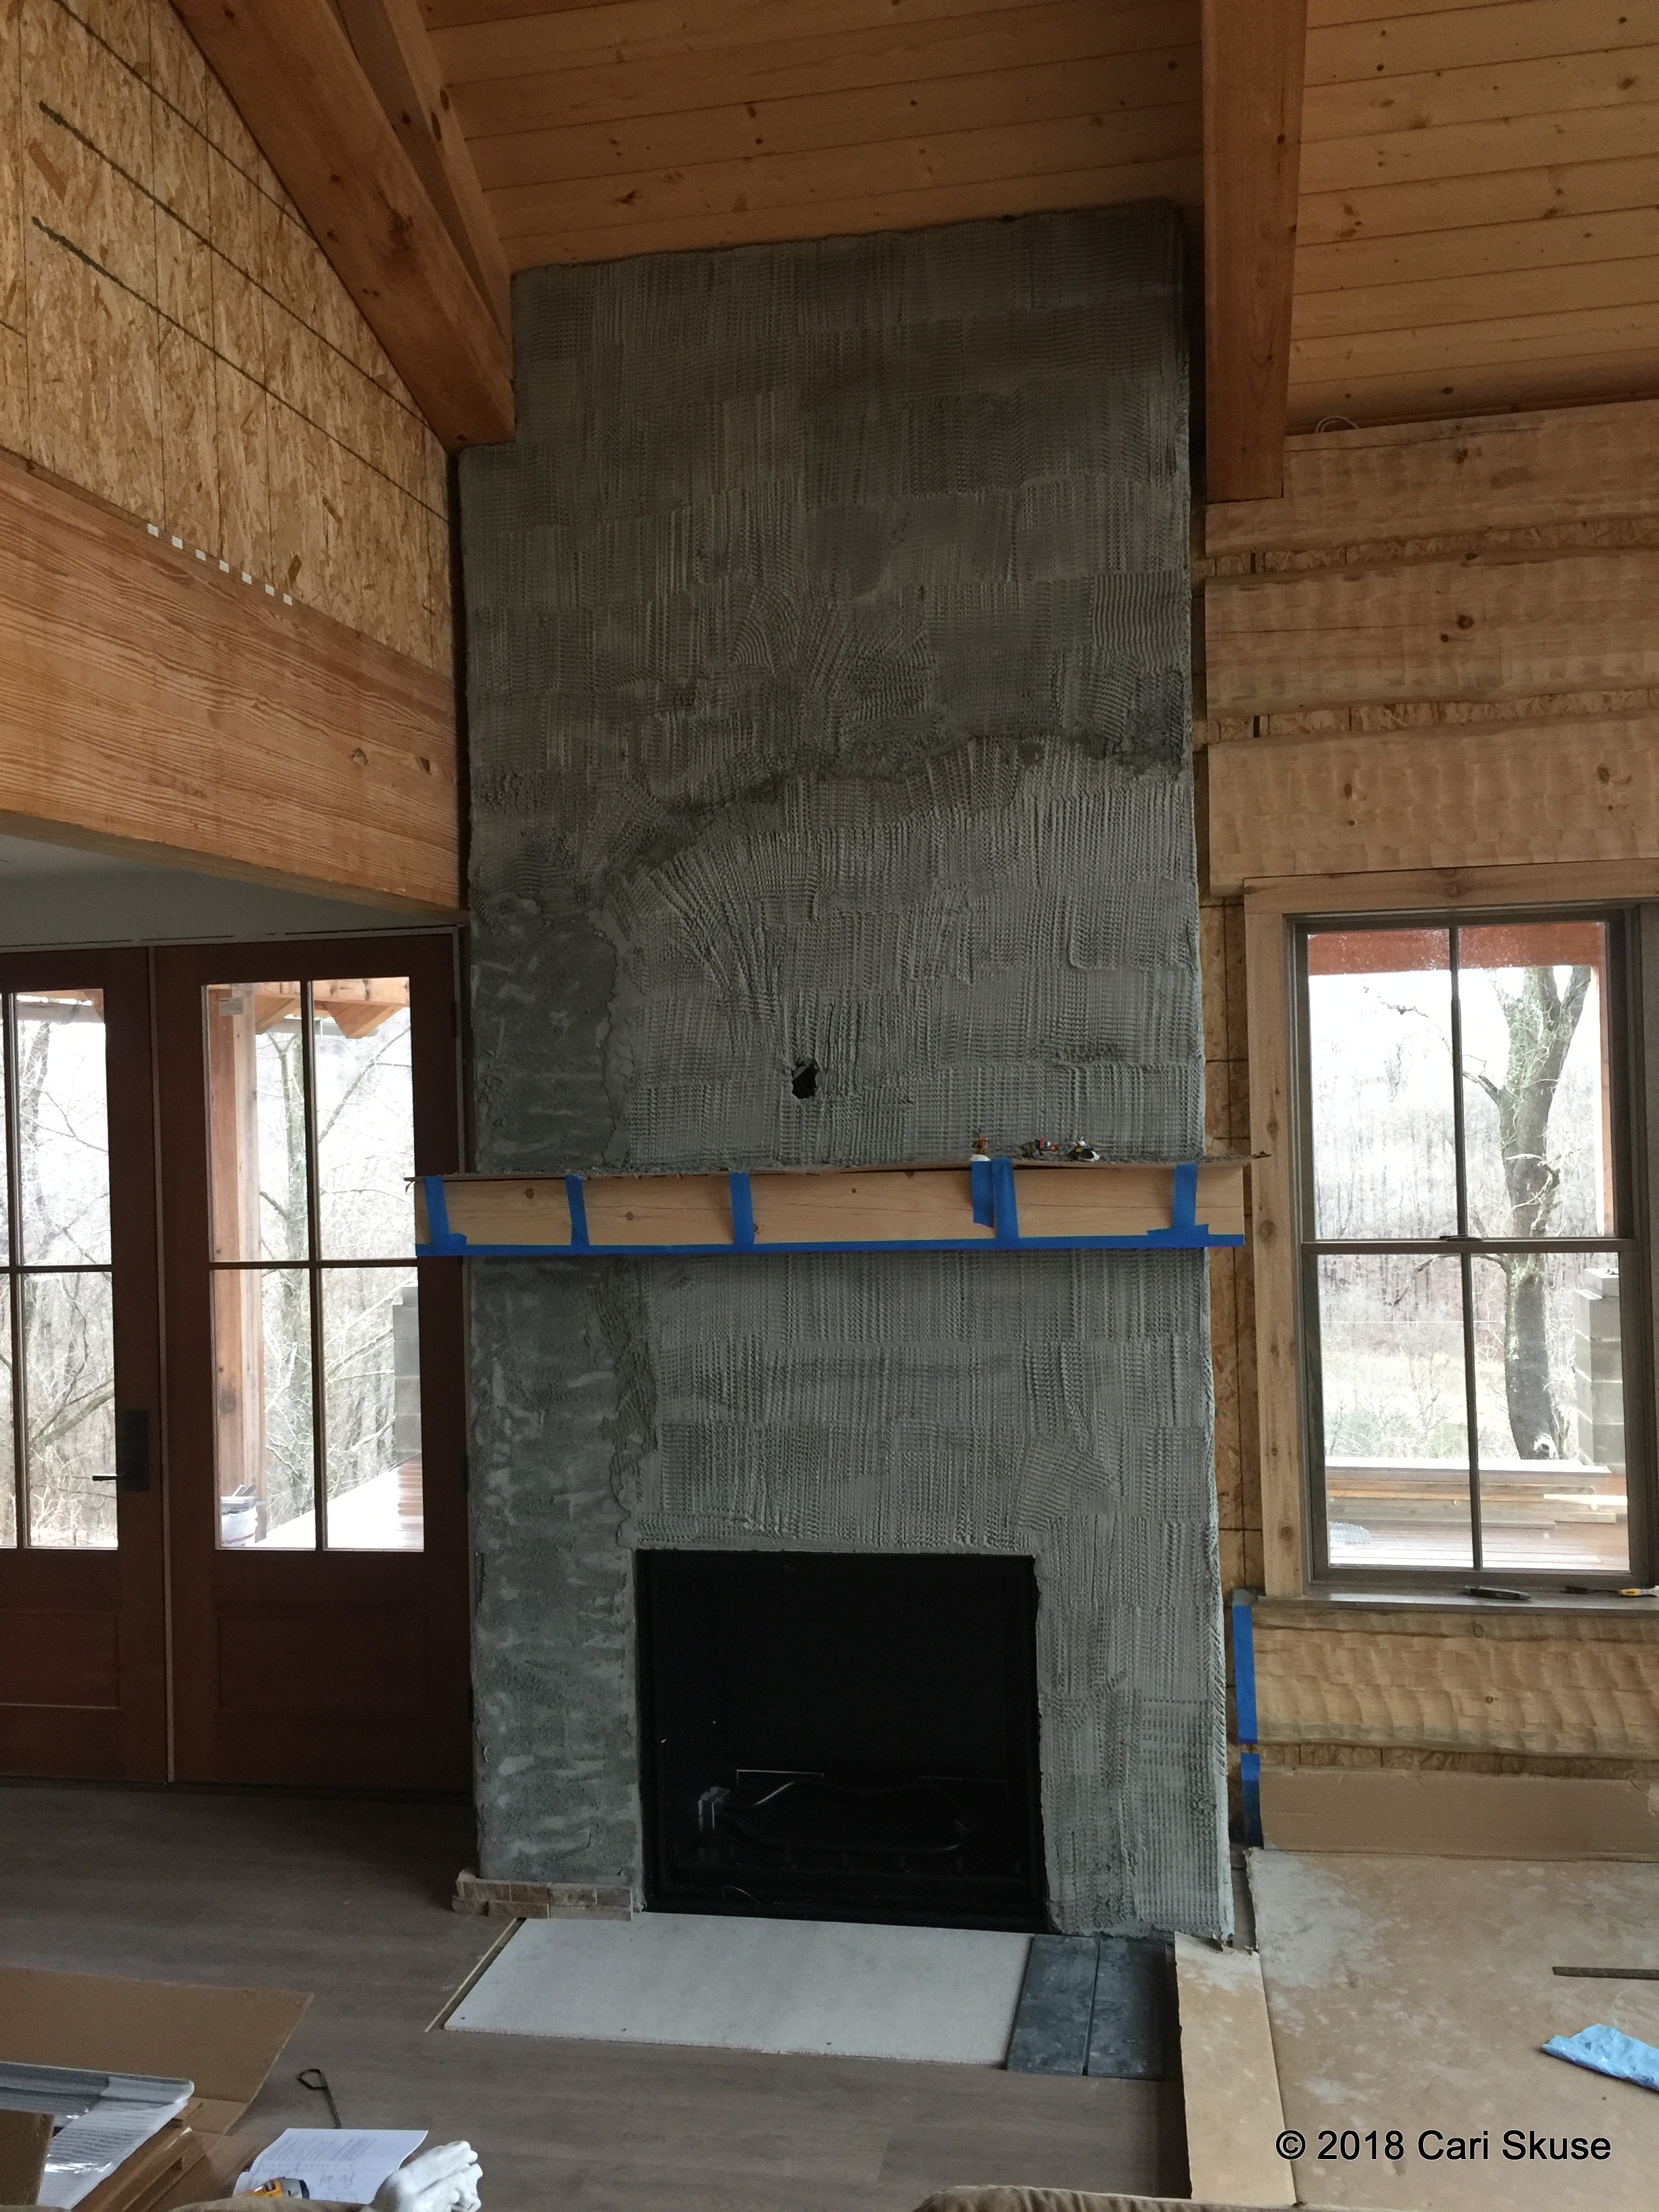
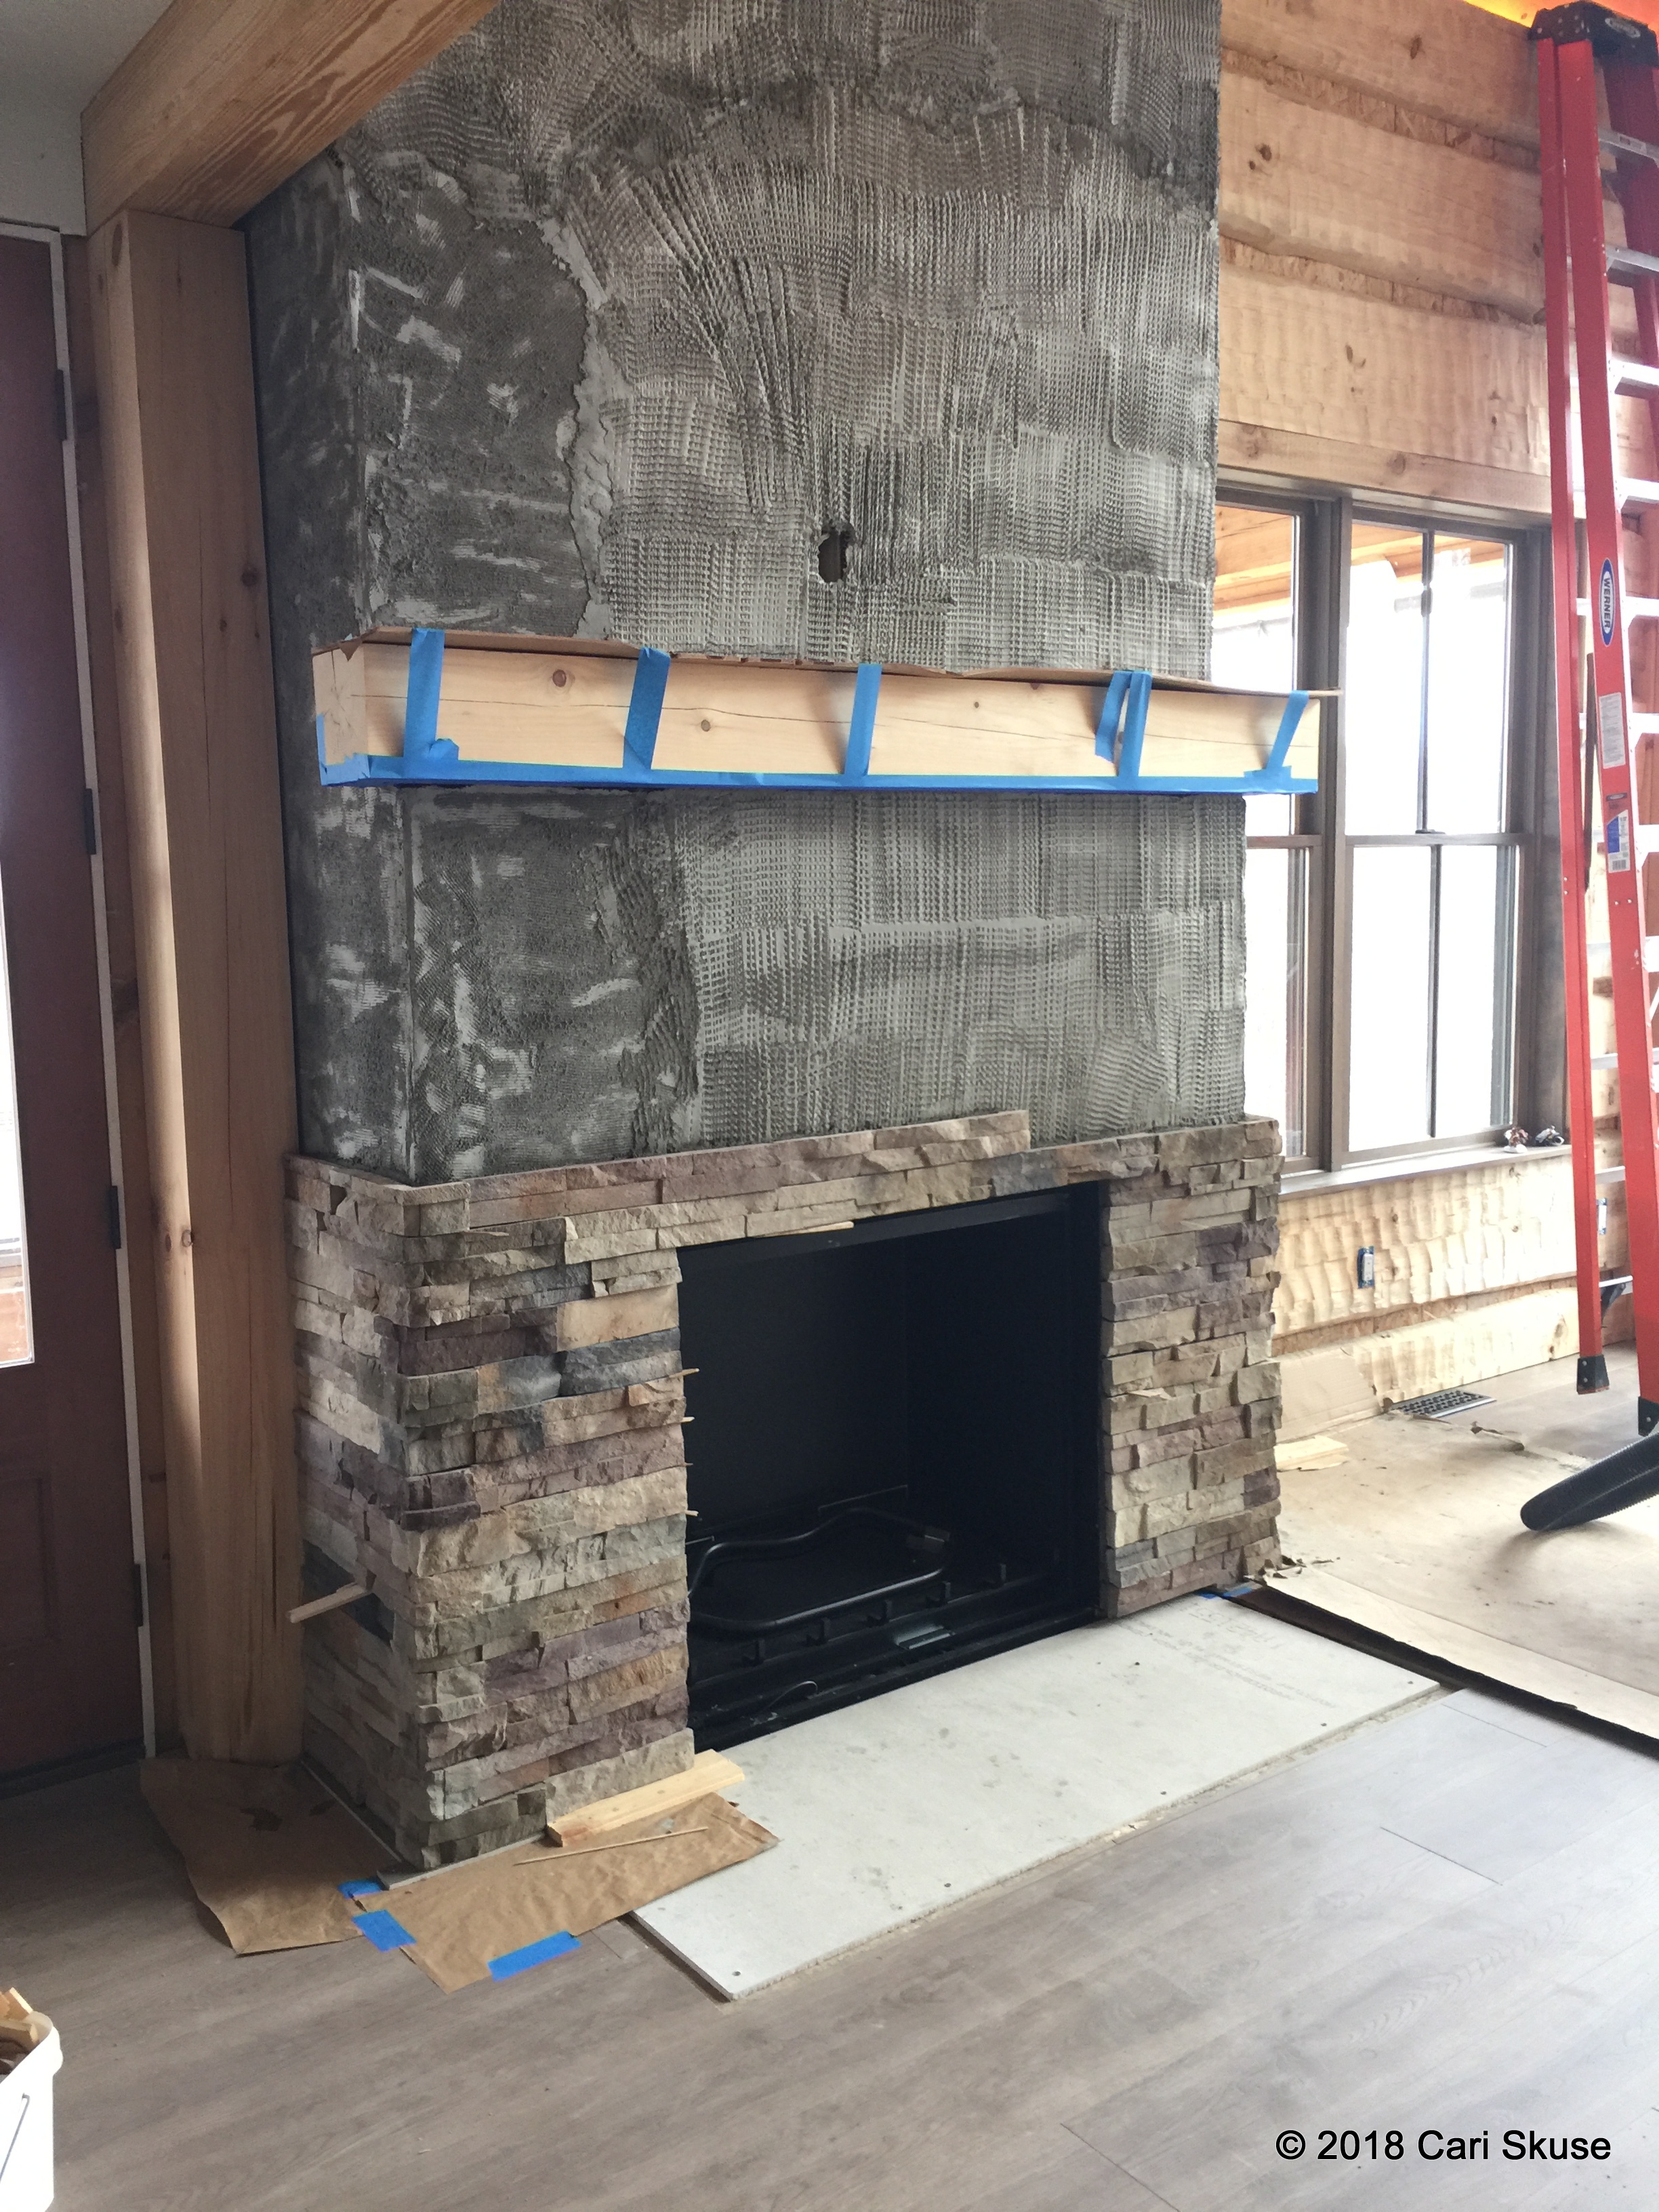
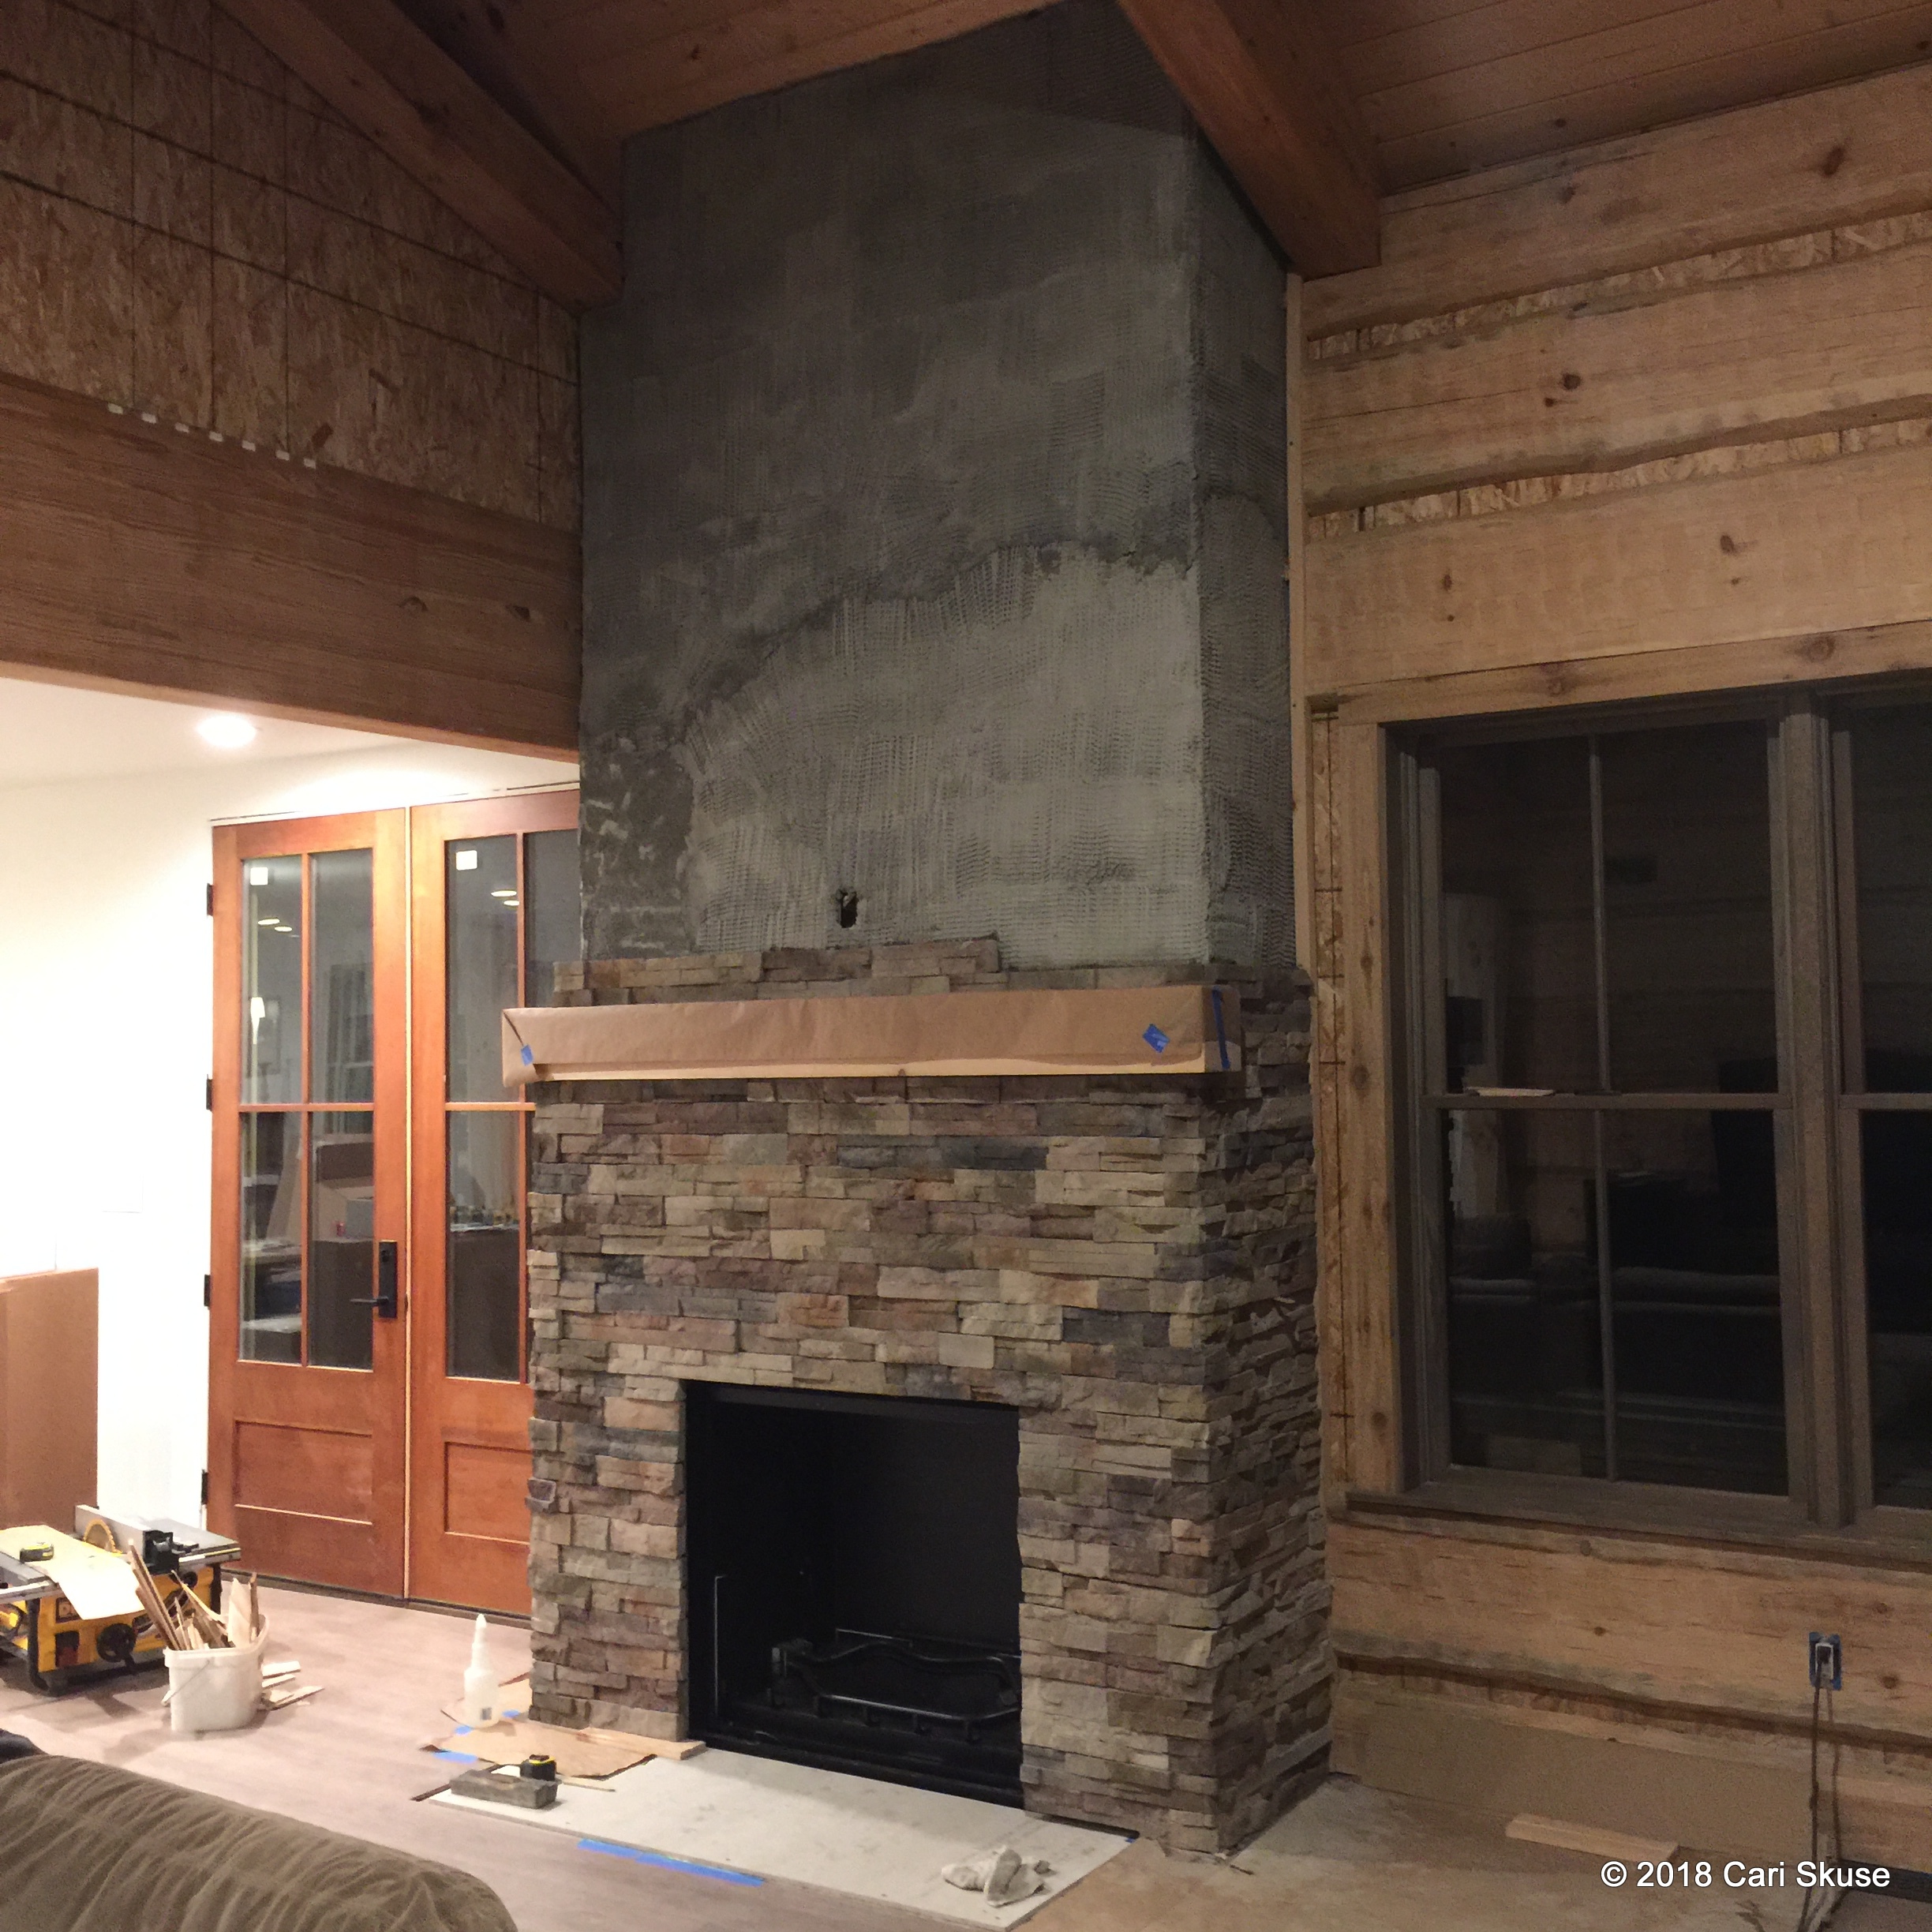
Outdoor projects remaining are finish siding and soffitt, install veneer on chimneys, and install skylight and final roofing (roofer).

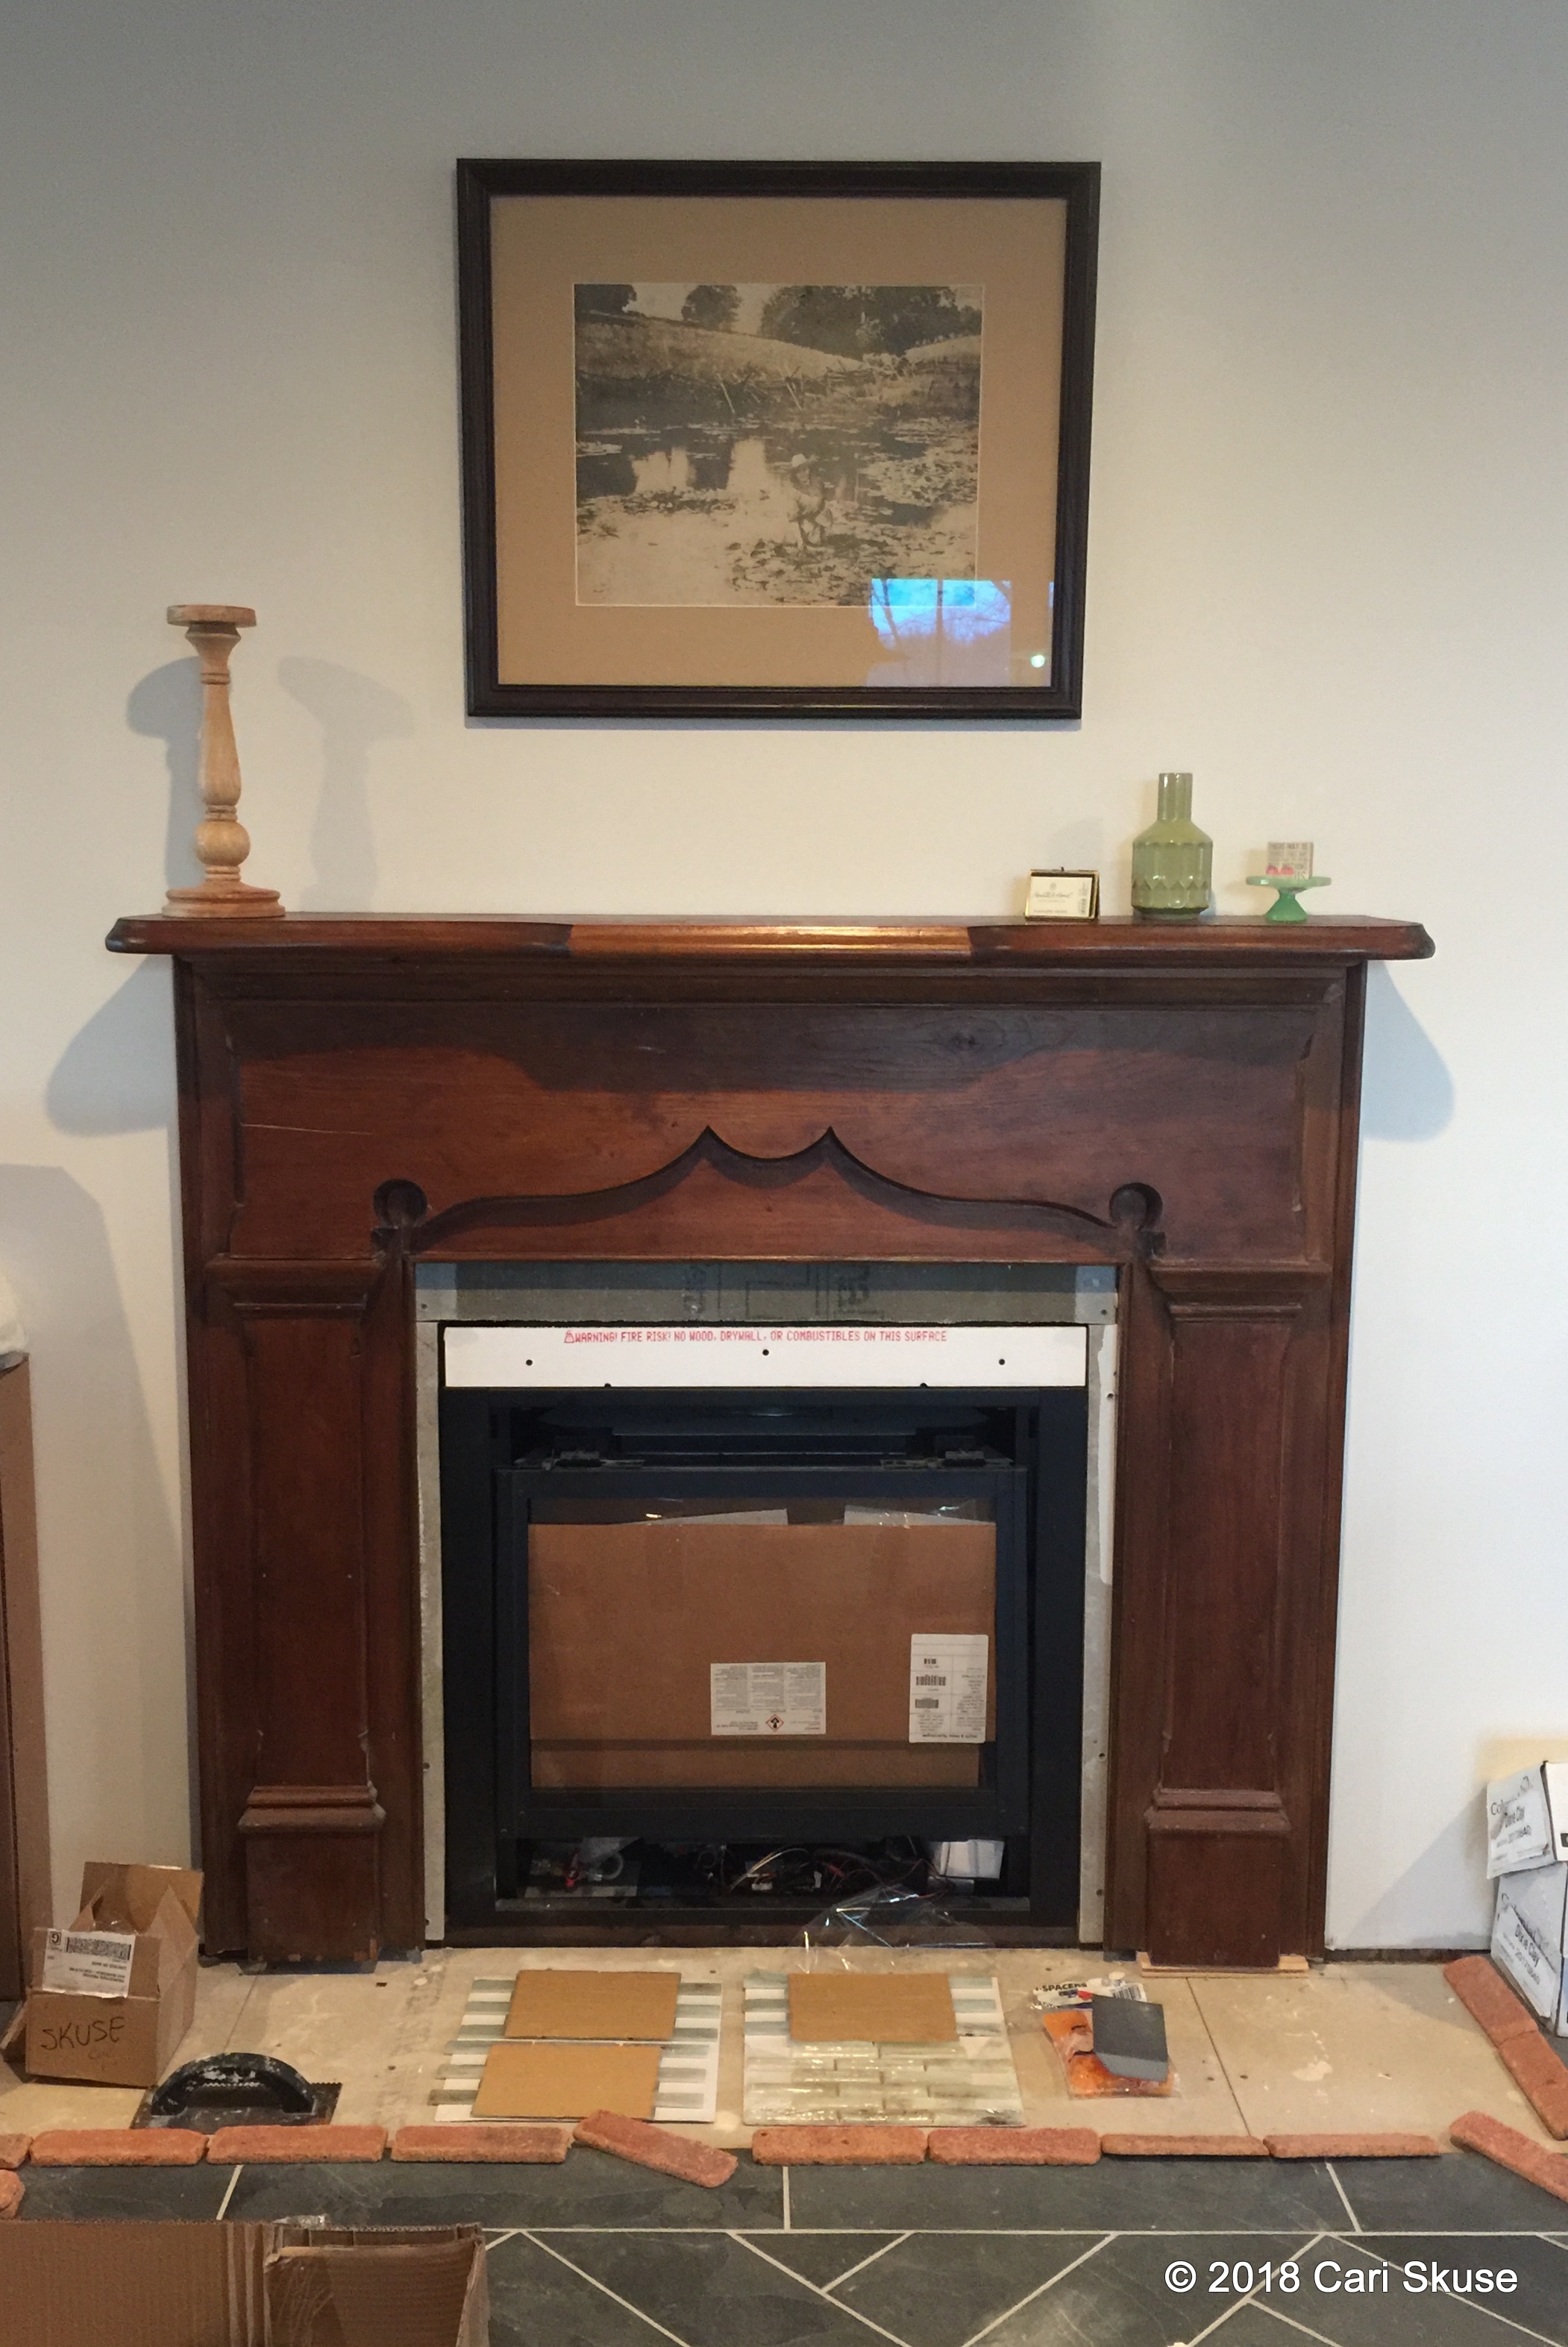
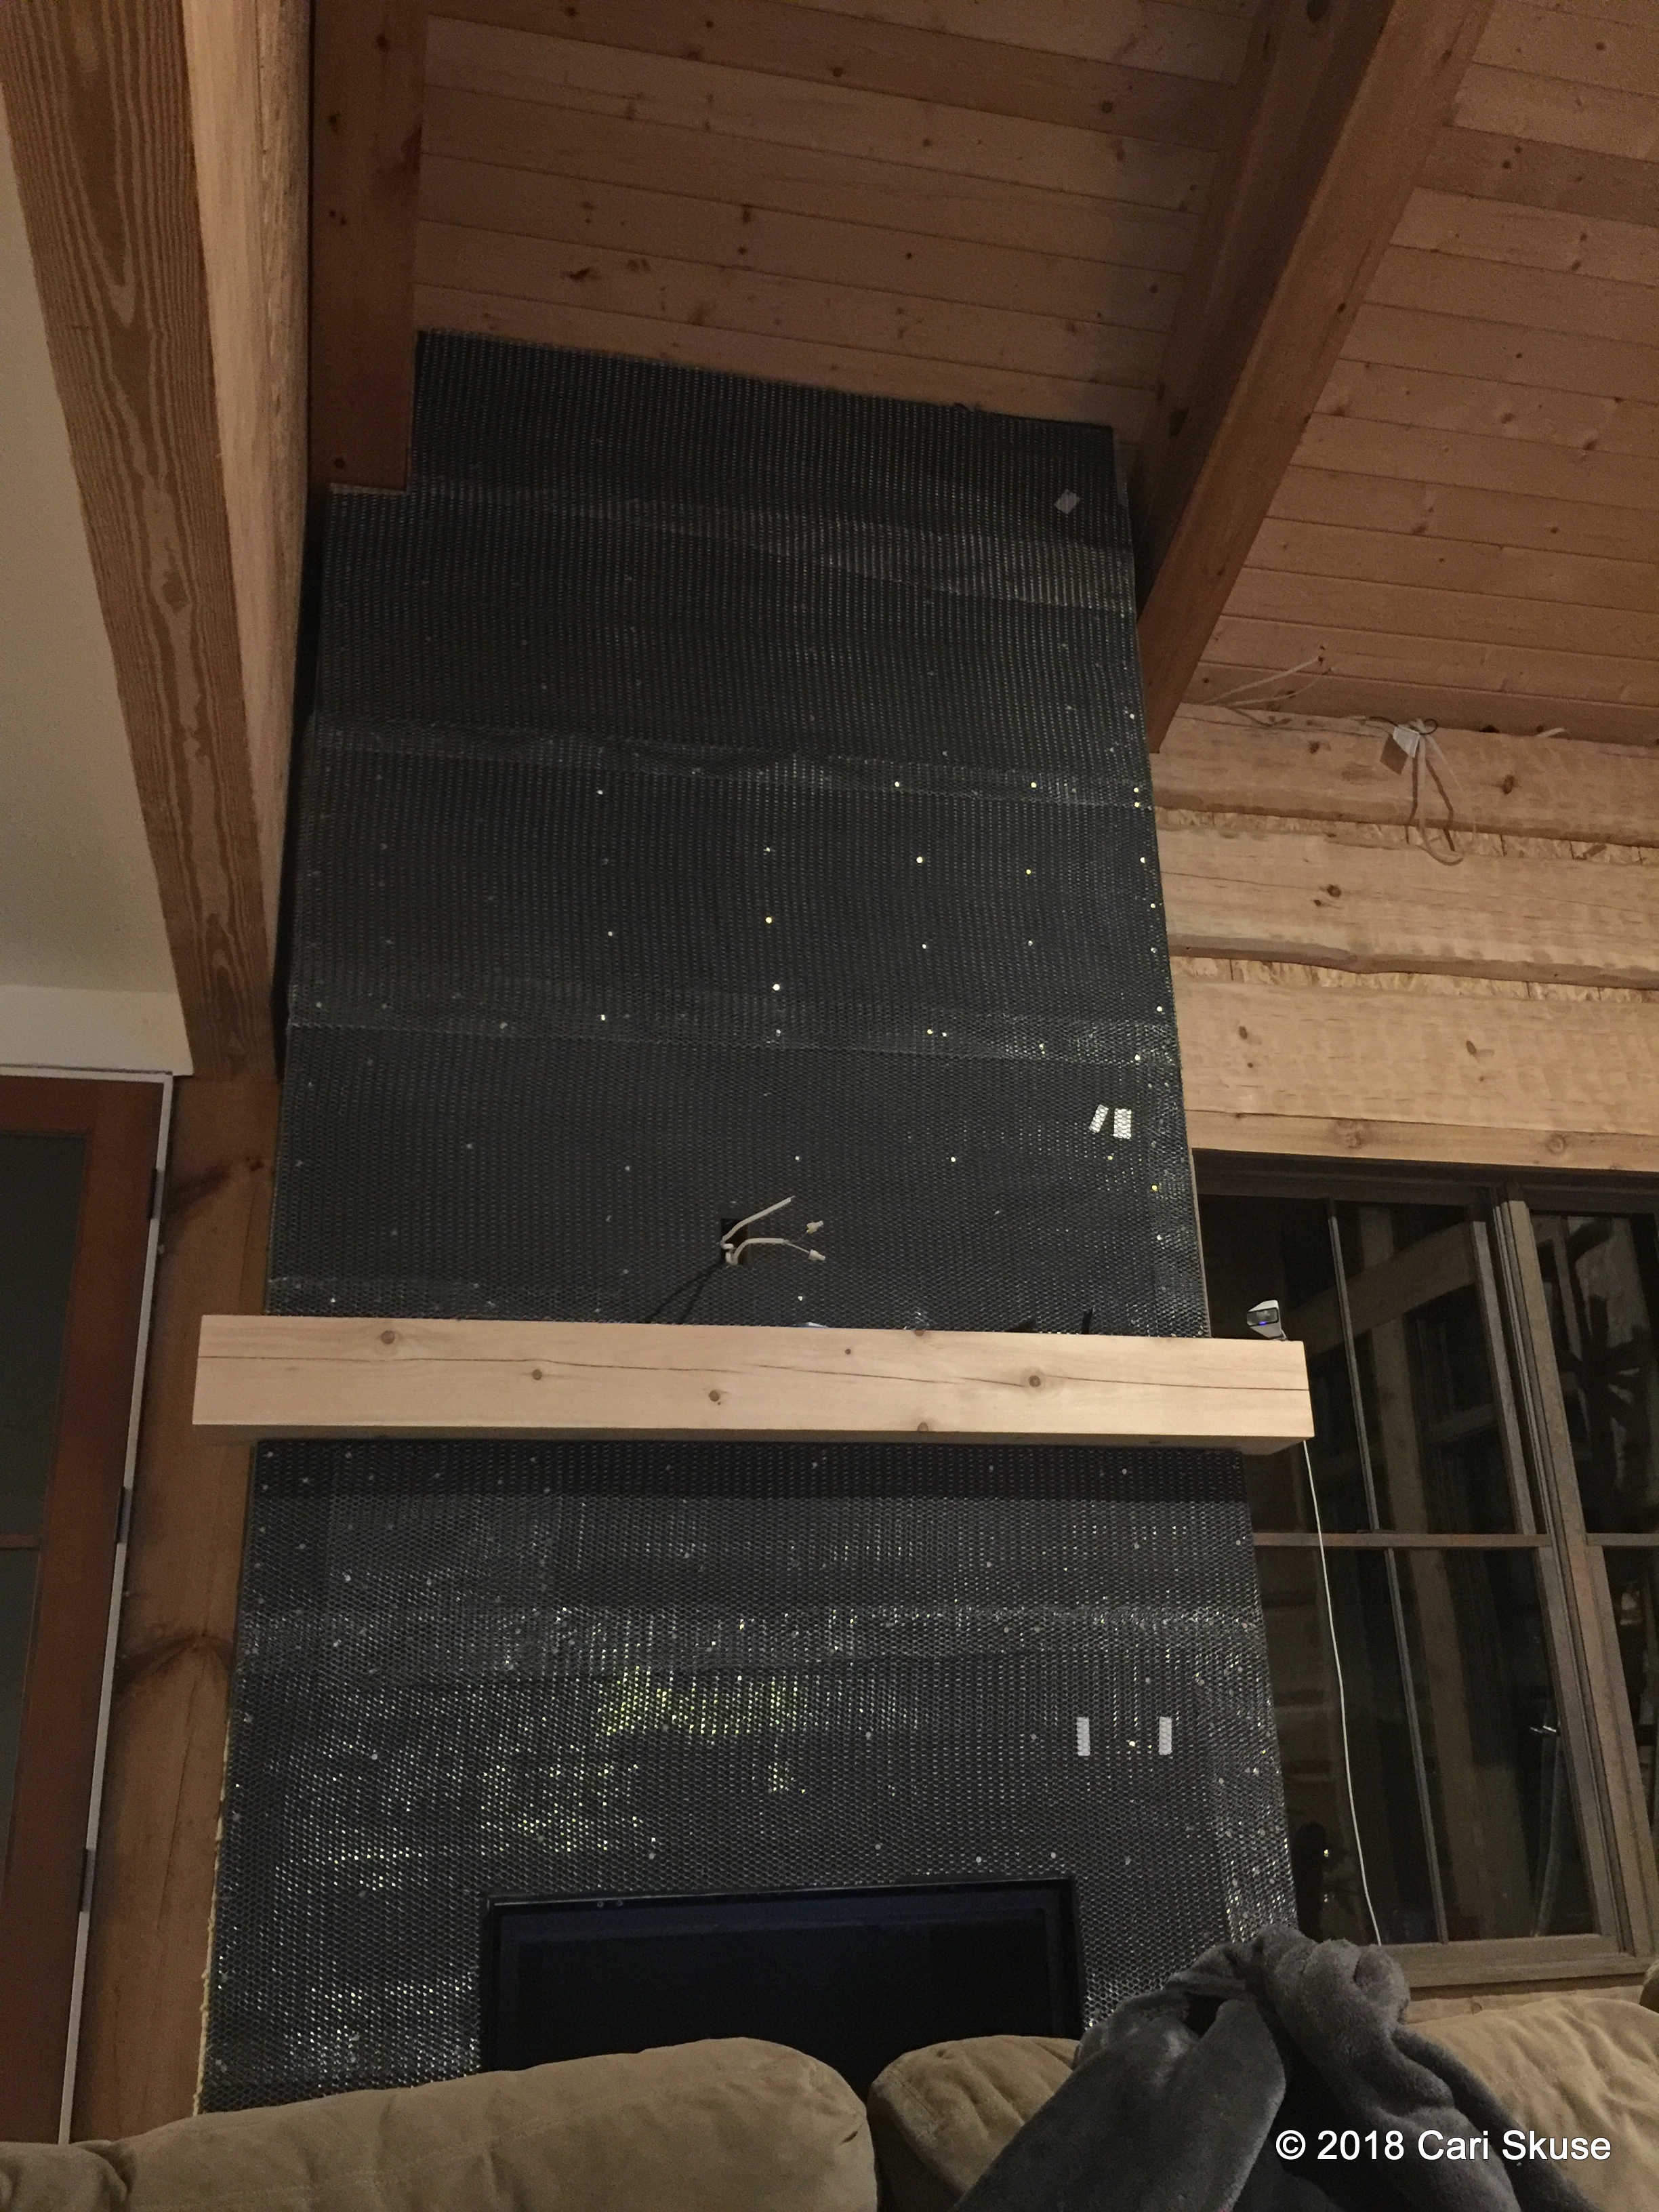
The fireplaces should be installed within the next week. That will be exciting. We are only installing 2 of the 4 right now. They are all propane.


Thanks for checking in with us. Hopefully with the final push, we’ll be able to get in by Christmas!
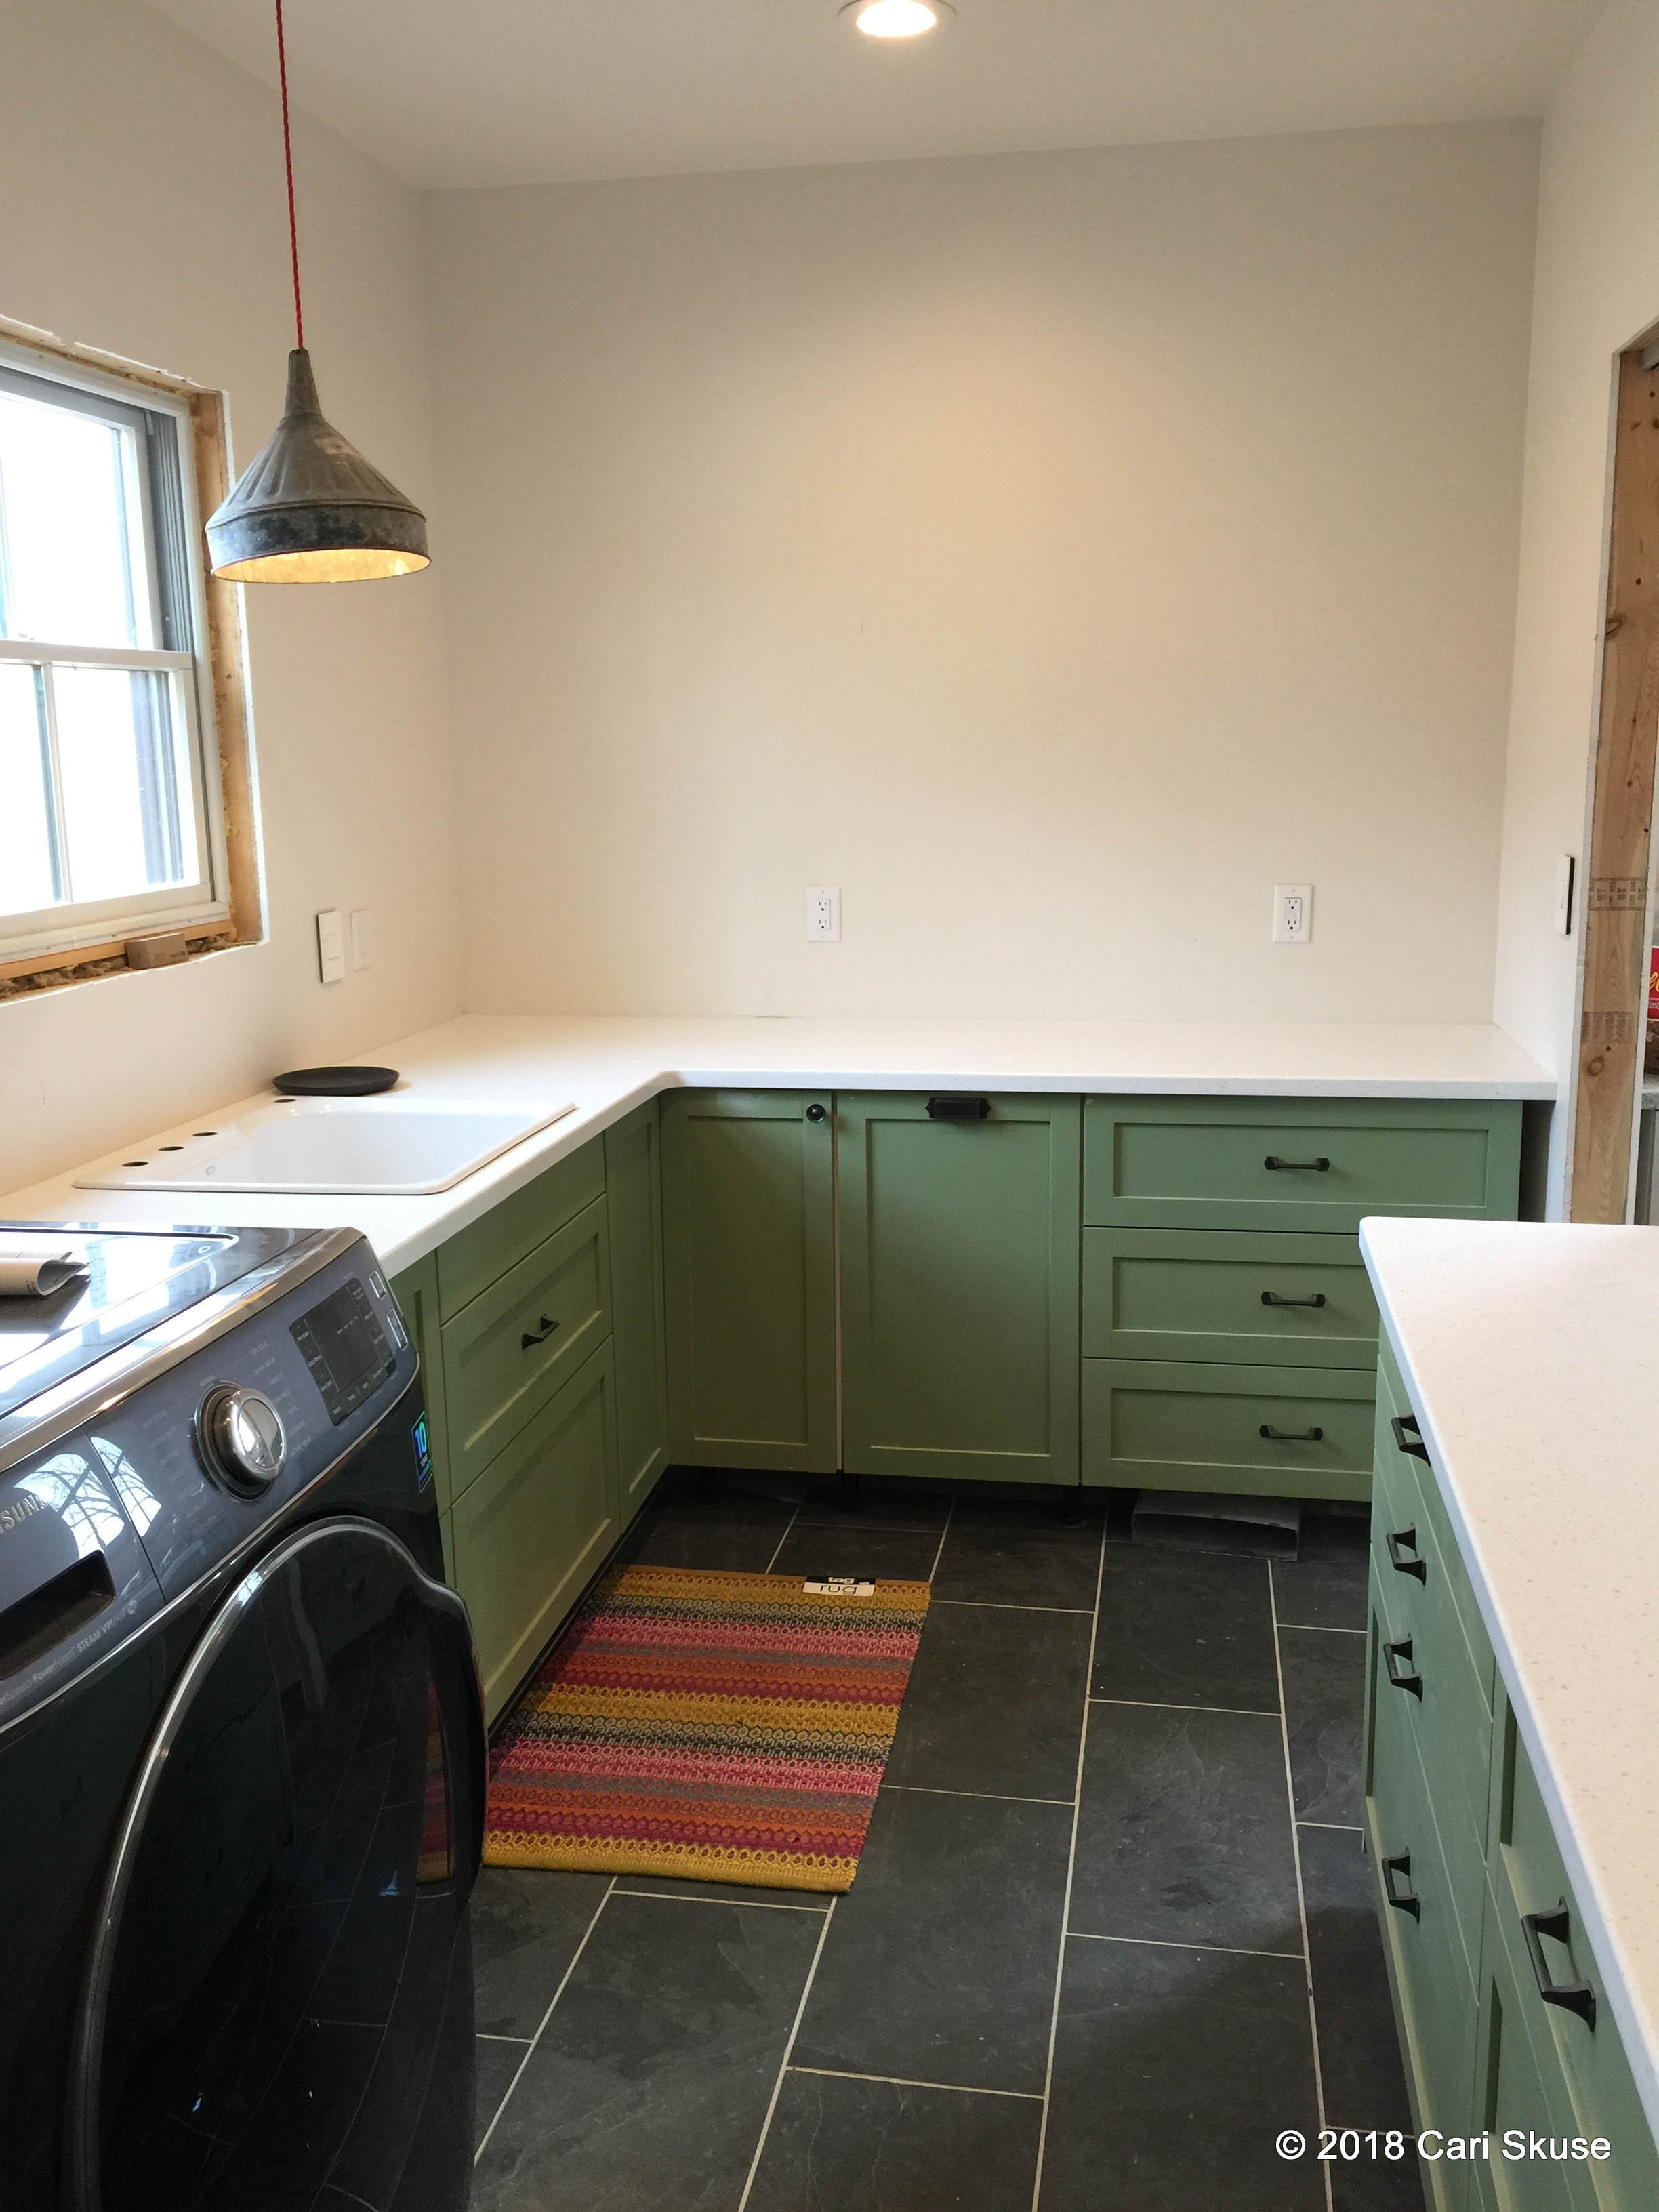
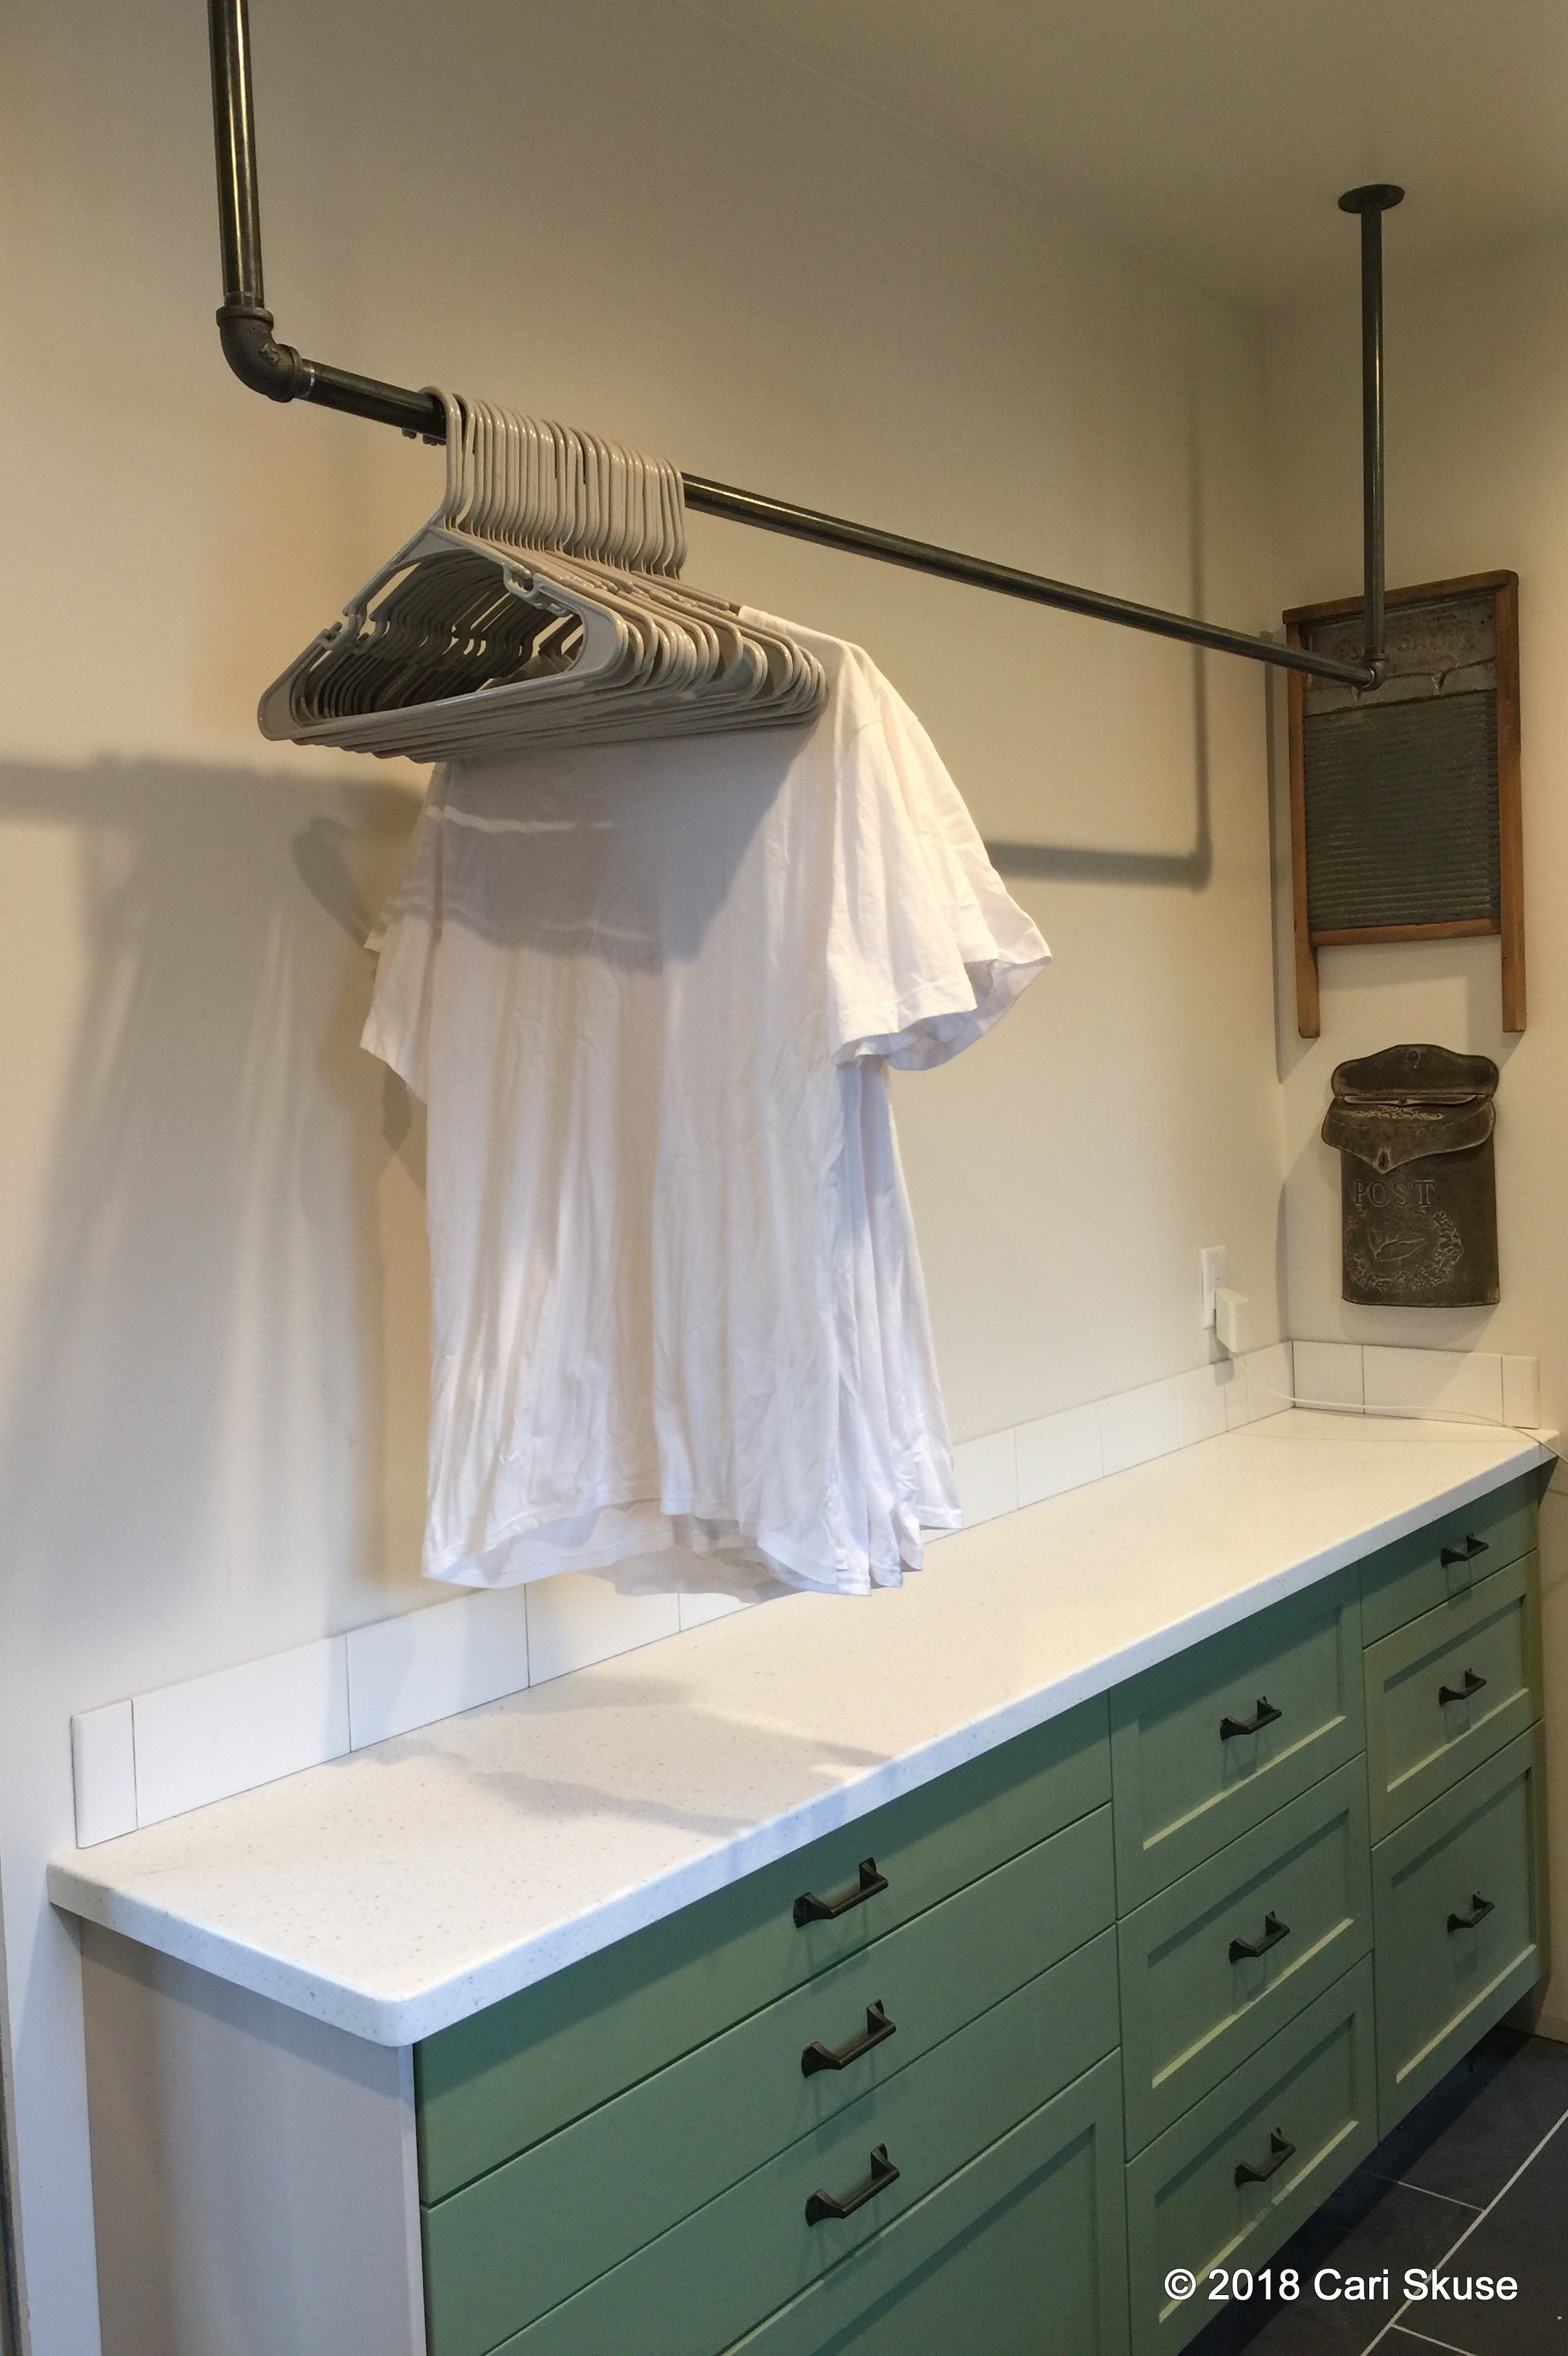
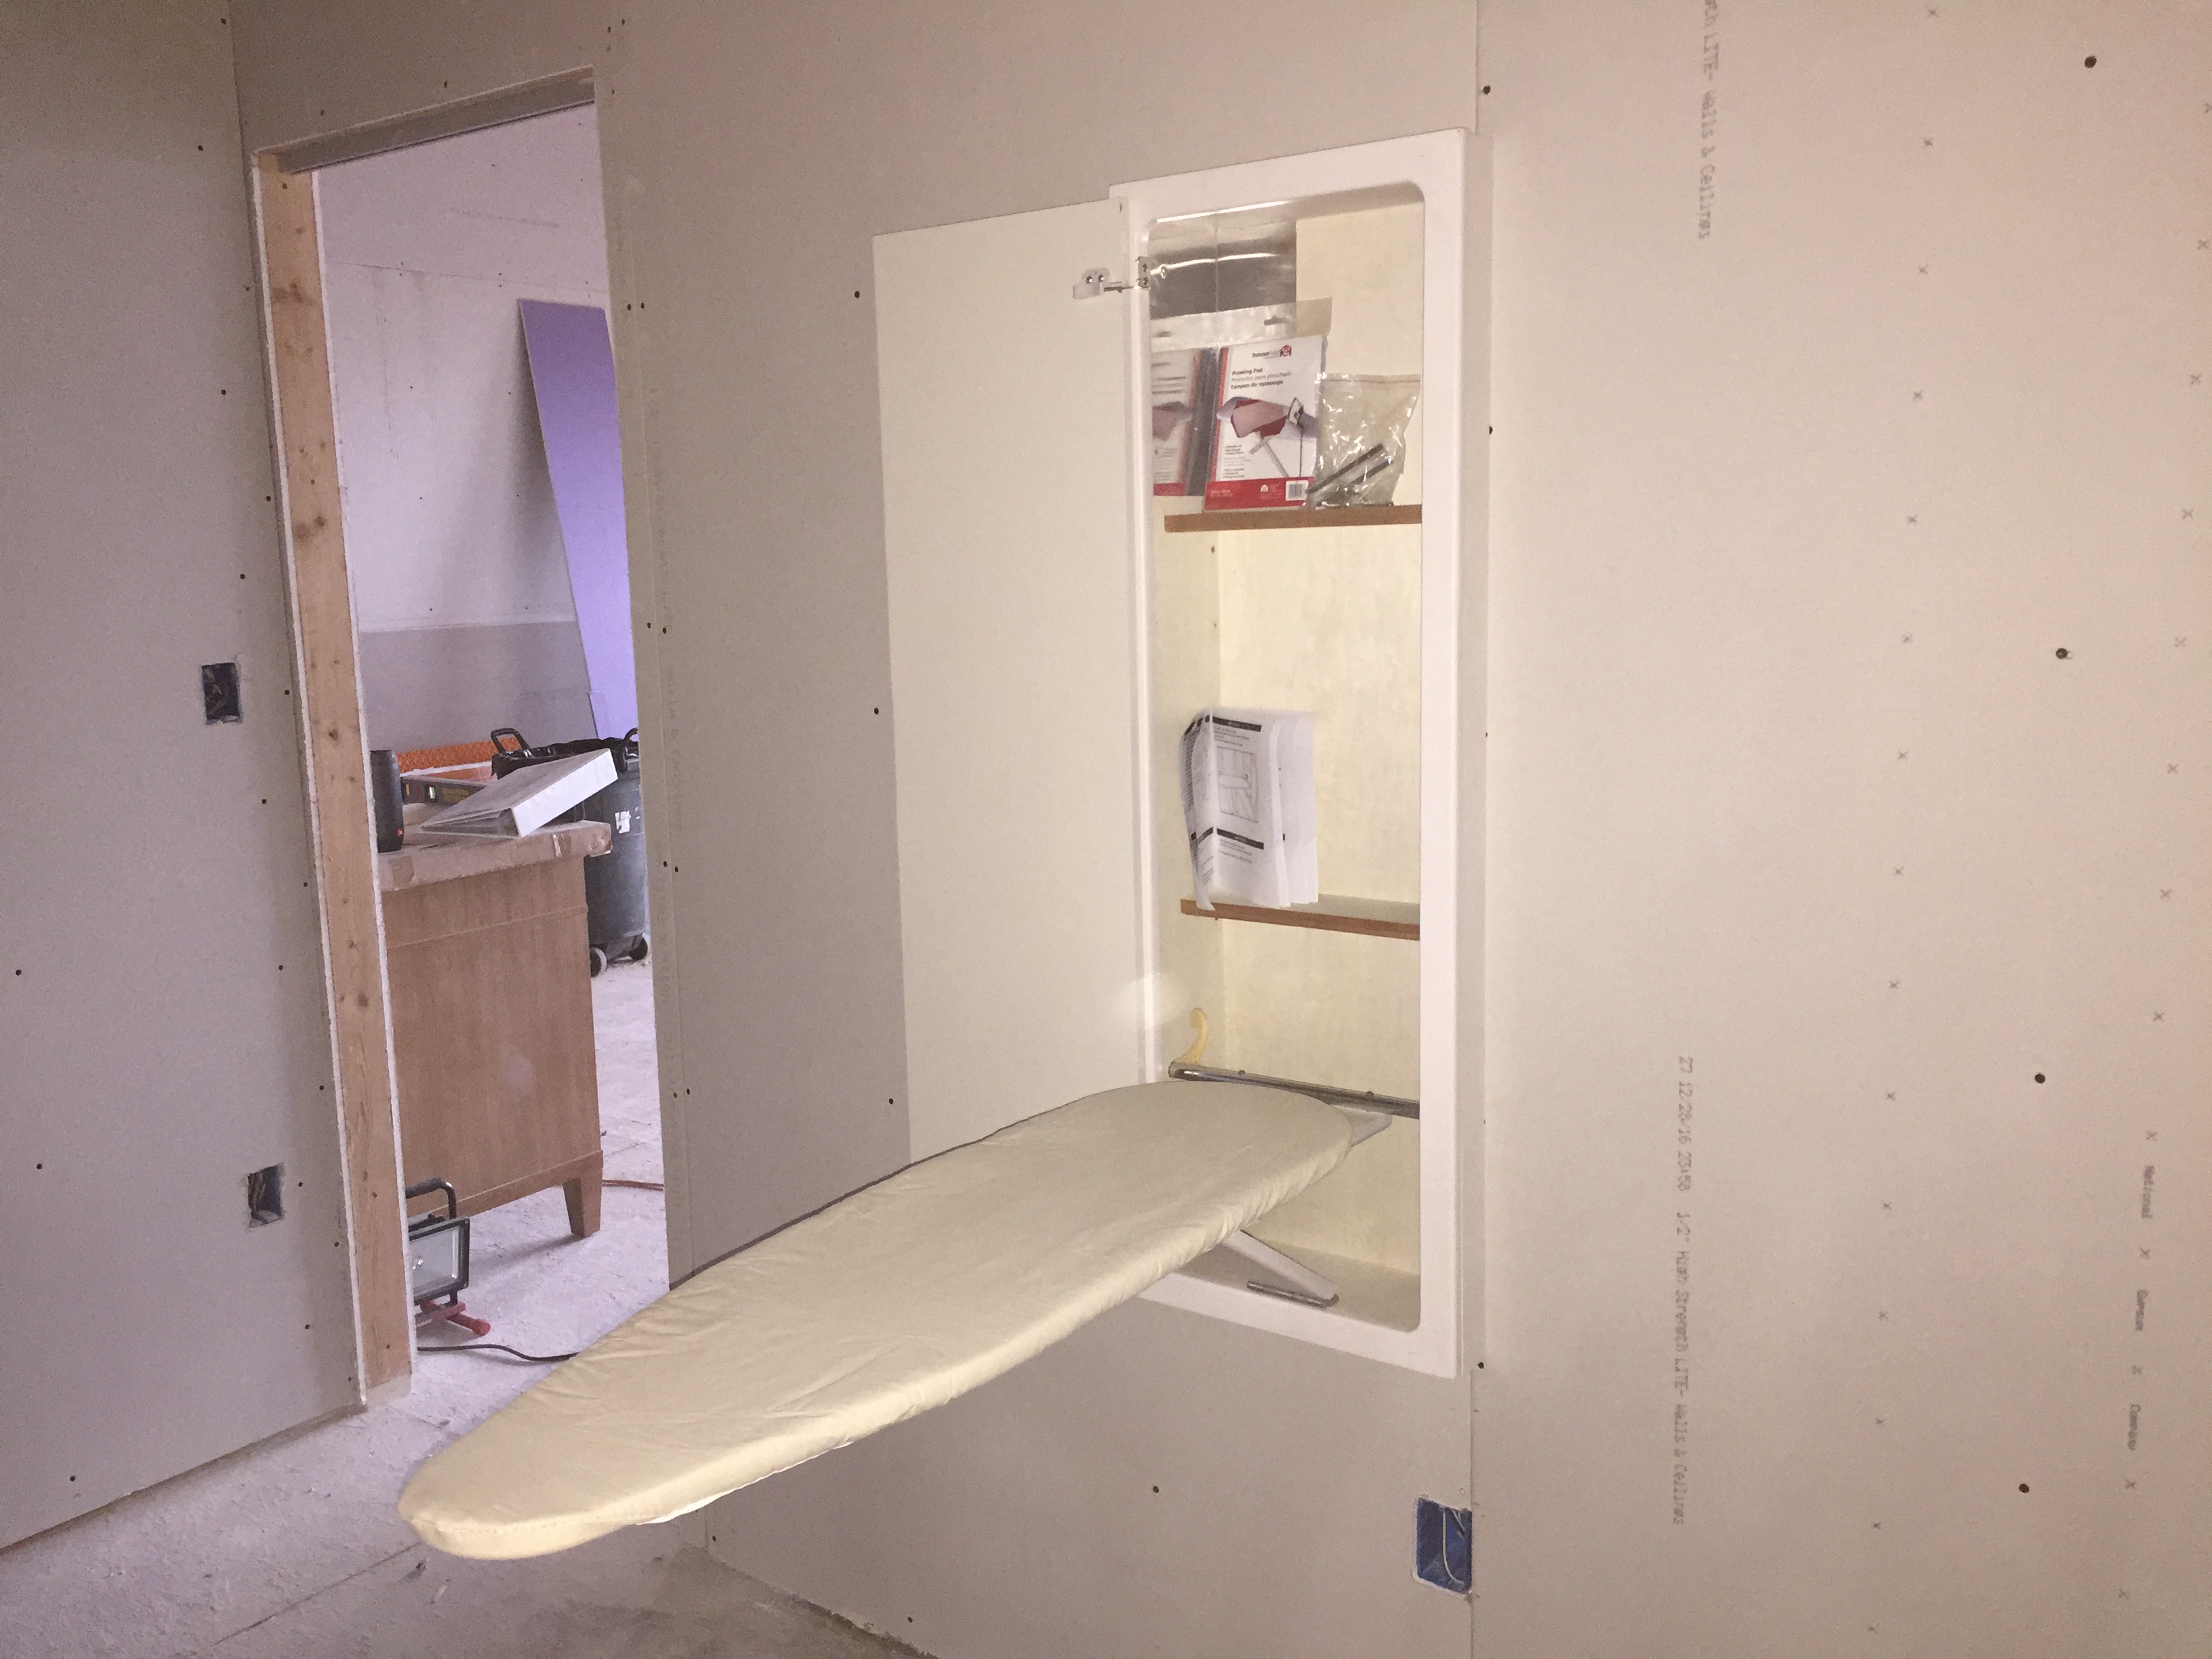
Progress Update – 09/22/2017

I know that it has been 4 months since I have done an update, but we have been so busy this summer working on the house and various activities the kids have, that this is the first time I have had a chance to sit down and do this. I hope that I still have someone out there that is interested.

Let’s start with:

Mudroom/Pantry/Kitchen

IMG_3150

We used the same tile throughout the kitchen/pantry/mudroom. It is a black/grey slate called Montauk Black Slate from Home Depot. 

In the Pantry and Mudroom, we did a running bond layout. In the Kitchen we wanted something a little more interesting, so we did a herringbone pattern. It took a lot of figuring and tile cutting, but I think it was worth it!

IMG_3148

Here’s a closeup so you can see how we installed it. It took a lot of patience and tile cutting (we cut 12 x 24 tiles in half for the herringbone).  There is a two tile width border around the whole kitchen and the pattern is inside that border.

img_3300.jpg

And here is what it looks like now! The grout is more of a grey color (Silverado).

2017-09-06_15-54-19_807

Here’s an updated photo of the Pantry/Laundry room. The cabinets are all installed and just waiting for the countertops to be installed.

Next steps in the kitchen are to finish up the grouting — I have a little more to do along the other wall, finish sealing the gray cabinets (I ended up changing the color to Luxe Gray because the original had a pink cast to it), and install hardware and countertops.

Great Room

The biggest changes in the Great Room have been the installation of the veneer logs and the fireplace skeleton.

IMG_3202

Before photo of what the wall looked like when we started. Just regular OSB clad wall with openings for the air returns.

IMG_3208

Half way through the project on this wall. We would sand the veneer before picking which logs to use, and then dry-fit them on the wall with screws to make sure it was spaced correctly. When that was complete, we took them back down and permanently attached them with screws and Liquid Nail. Now I need to stain and seal them before adding the chinking in between the logs.

2017-09-06_15-55-07_401

View from the Foyer into the Dining and Great Room. You can see all the log veneer installed and the fireplace frame to the left. The window frames have also been stained and sealed and the trim molding all cut and fit.

After I finish with the logs, cedar trim will be installed around all the windows. The fireplace will be a gas insert and clad in stone veneer.

Foyer/Tower

We put the platform back in the tower so we could work on the ceiling and install the light and barn board. All of the ceiling is now sealed with Heritage Natural Finish. It is all natural and smells so good!

IMG_3290

I purchased this light quite a while ago from Magnolia before they became huge. It was from a warehouse sale that they had and I got a great price on it. I was hoping that it would work here and I was so happy to see that it does!

IMG_3307

We purchased a lot of barn wood from Good Wood Nashville. This is just a tiny section that we installed over the stairs in the tower to the right of the light. The entire Tower will have barn board on the walls. We also got reclaimed wood for the stairs, but those need to be adjusted before we can start on that.

Bathrooms

Almost all the tile work has been completed in the bathrooms! Only need to get them all sealed and grouted. For some reason I only took photos of the Master Bath! You’ll have to wait for the boys’ completed photos.

IMG_3210

The tile here is almost complete, but I still have to get the custom mosaic band done.

IMG_3211

Shot of the shower floor. Still have to make the final cuts around the drain and then grout.

IMG_3212

I love this light in the bathroom! I got it for a steal from Wayfair (no longer available there). I would have loved to have it over the bathtub, by by code it cannot be installed there, so I opted to have it offset.

Still left to do in here: concrete top for the bathtub, grouting tile, and installing fixtures.

Outside

We’ve been getting the outside ready for the siding — finally! Mark and Carrick have been working on the chimney skeletons so that the roofing can be finished around them and then install the exhausts.

IMG_3308

The front porch decking went on last weekend. It is Trex Enhance Decking in Saddle. We installed it with the Camo System so that there are no visible screws. Having the decking on makes the porch look so much bigger (ignore all the dirt on the deck… it’s so dry here because we’ve had no rain for a while)!

IMG_3309

Next up is the siding and the stone veneer, along with the metal roofing that will go on the porch roof.

Even though there is still a lot to do, we hope to move in before Thanksgiving! Thank so for following along with us!

Progress – 5/4/2017

Long time, no progress report! I am sorry, but it seems like time passes by so fast and at the time it doesn’t seem like a lot gets done until I go back and look at the photos. We will be SO glad when we can finally move in! And no, we have no idea when that will be! We just have to keep plugging along and eventually we’ll get there. We’ve been at this for over a year and it will be nice when we can finally enjoy all the hard work we’ve put in.

snow_jenn
Photo of our house during the last snow from the neighbors (thanks Jen).

IMG_2690
Early Spring photo at the top of the driveway.

IMG_2691
Completed the last of the pine ceiling in the loft area. We made a temporary platform so that it was easier to work on it.

IMG_2710
Cole’s completed shower surround before grouting. Love the glass mosaic he picked for the accent tile.

IMG_2743
Close up of the tile after 1 side grouted. Sorry for the rough photos, but most of these were taken in the evening after I finished for the day.

IMG_2753
Carrick’s shower. He chose 4 x 16 subway tiles and a dark border of slate and glass mosaic tiles. We’ll have to build out the side wall a bit to made it smaller so the glass doors will fit.

IMG_2731
The laundry/pantry off of the kitchen and mudroom. The drywall has been completed and painted here! Now the cabinets are being installed.

IMG_2732
Side view of the pantry. These cabinets aren’t as wide (only 15″) so that I will still have storage, and still be able to open the washer on the opposite side.

IMG_2863
The kitchen is almost ready for final painting. The primer coat is on and there are just a few touch up spots to fix. I highly recommend this Kilz PVA primer.

IMG_2864
The other side of the kitchen. After painting, we’ll install the cabinets (Sektion from IKEA). The grey cement board section will be where the stove is located. There will also be a center island.

IMG_2866
The dining room and great room. I have also primed this area, but didn’t take a photo yet. This was just before I started. This room is almost completed too.

IMG_2675
Some of the color choices I had a hard time deciding over. I went with Pergo flooring because we needed so much and I really liked it! Originally I chose the 2nd from the left, but when I tried to place the order it had been discontinued. Lucky for me, Lowe’s had some new options that I liked even better.

IMG_2688-001
Here’s what we went with: 8″ wide Pergo London Oak.

IMG_2695
Pantry cabinets almost done. Just need the final topcoat for protection.

IMG_2687
I’ve narrowed down my cabinet pull choices to these at Home Depot.

So the next month will be busy. Hopefully our siding and gutters/facia will all be installed, and the septic will too. On the inside, we’ll be finishing up drywall, painting, installing the floor, tiling and then moving on to the fun stuff: all the finishing touches, like fixtures and lighting! Wish us luck, just thinking about it makes me want to take a nap!

Save

Progress 2/23/2016

img_2641
Beautiful sunset from the hill. The weather this winter hasn’t been that bad. The only problem has been with the freeze/thaw cycle and making the whole work site a sticky mudhole. The past week has dried it out though, thank goodness!

img_2630
We moved on the the tower ceiling after the drywall on the 1st floor. We built a platform up in the tower to be able to reach the ceiling without being on ladders. Made life a whole lot easier! The plan is to put reclaimed barnwood on the walls in the tower after the drywall is done elsewhere.

img_2633
The completed Master Bath waiting for the next phase of drywall mud and tiling.

img_2627
After the tower and bath, we moved on the ceiling in the Mast Bedroom. This was a little easier because we had more straight shots and not as many angles.

img_2643
Each piece was cut to fit in the cavity between the beams, so that it could slide in. Some cuts had to be made for lags that hold the heavy timbers up and lights and vents.

img_2646
And here is the completed ceiling!

img_2655
Next we moved up to the second floor and the boys’ bedrooms. This took about a week of nights and weekend to complete. It went pretty quick once we got the hang of it. The only hang ups here were the cuts for wiring, lags and pipes.

img_2654
Now we’ve moved on the dry walling the 2nd floor. It can be tricky trying to get the long sheets of drywall up the stairs!

img_2657
Cole’s bedroom

img_2658
Cade’s bedroom.

For now, we’ll be finishing up the drywall on the second floor. That will take a little more figuring because Mark has to build little walls at the top of the big walls so that they touch the ceiling and we can attach the drywall.

Since the weather has been so nice, we even started working on the outside —installing some of the soffit and siding.

Most of the electrical work is done. We even have some switches and outlets so that we don’t have to run so many extension cords!

I will most likely start the tiling soon. I’ve ordered a lot of the tile and there is a lot to do!

Progress 1/20/2017

This week’s progress has been slow-going. The mud is back (it’s been warm) and it is hard to get up to the house. We’re also finishing up the tedious work in the Master bedroom and bath where the walls and ceilings meet with the difficult cuts and additions where the heavy timbers go through the walls/ceilings. That involves a lot of figuring and dry-fitting.

Now the drywall is up in the bedroom and going up in the bath (the special purple kind). We added a small wall in the shower like I found in one of my inspiration photos:

ghk050115yhhomefeature_lo-7

img_2603
Carrick putting up drywall in the shower. Note the new wall in the opening.

img_2616
Mark doing his figuring to get the spaces right in between the beams and walls.


img_2614
Drywall up in the Master.

img_2613
The view out the Master windows. This is facing down Blacks Woods Road if you are familiar with our area.

img_2609
Built-in ironing board in the Master closet. I got the idea for this from Hometime.

I watch A LOT of HGTV, Hometime, and This Old House, along with reading magazines, blogs, Instagram and Pinterest to cull down what I wanted in this house. I keep lots of boards on Pinterest if you are interested in my thought process. It helps me a lot to be able to see everything visually in one place and to keep track of where I found items online and their prices. I also keep binders with inspiration from magazines and other sources, along with another binder of the actual items I have already purchased for the house, so that I have instructions, measurements and other important information all in one place.

img_2592
The foyer. The first door on the left is a small closet, the next door is the powder room, and the next is the way down to the basement.

img_2589
The Pantry/Laundry room. All the cabinet cases are put together.

I had to move a few cabinets around to fit the area that changed from the original plans. One of the 15″ deep cabinets on the right will be moved to our Master closet and replaced with a 15″ x 24″ to fit in the space. So I did pretty good, only have to replace one and the extras were used somewhere else!

I got into a rhythm on putting these together, so as I went along it got easier and quicker. I love how sturdy they are and how I could easily change them to what I wanted. I have them in my current kitchen and they have help up very well!

img_2599
The tall cabinet goes in the Pantry to hold all my cleaning supplies, vacuums, and other stuff. The other cabinets are put together with the exception of the island.

I have to wait because Mark wants to tape and mud the seams now before I put them in. So we have to move them around a bit. I will be working on painting the doors and putting down the backboard on the floor for the tiles.

This weekend will be warm, but with the chance of rain. I think the plan is to do some facia work and maybe even start some of the siding on the front if the weather cooperates! If not, we have plenty to do on the inside!