Progress Update – 09/22/2017

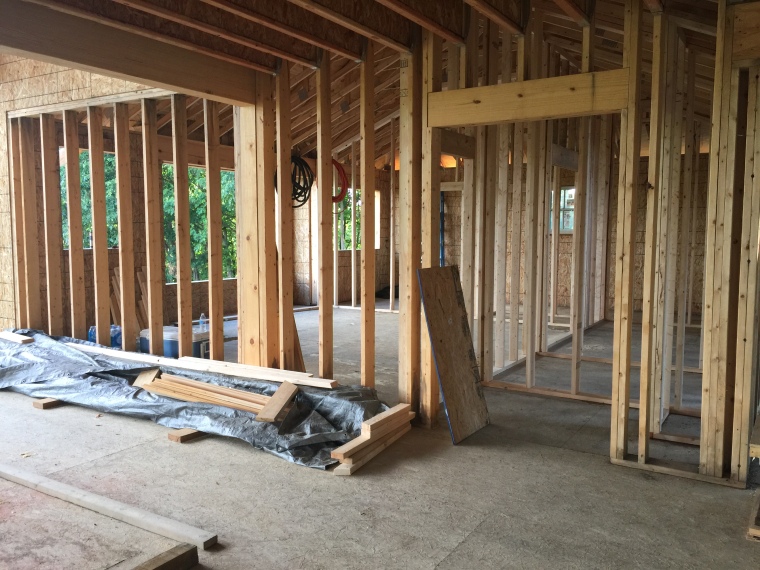
I know that it has been 4 months since I have done an update, but we have been so busy this summer working on the house and various activities the kids have, that this is the first time I have had a chance to sit down and do this. I hope that I still have someone out there that is interested.

Let’s start with:

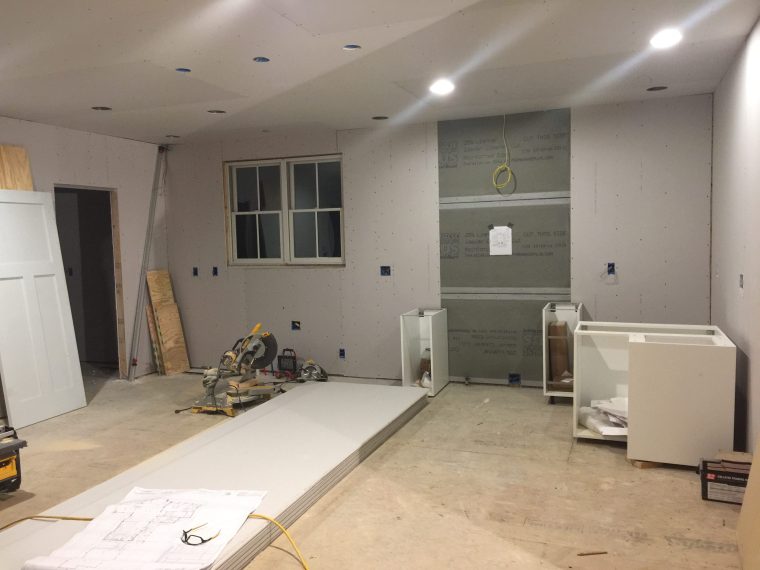
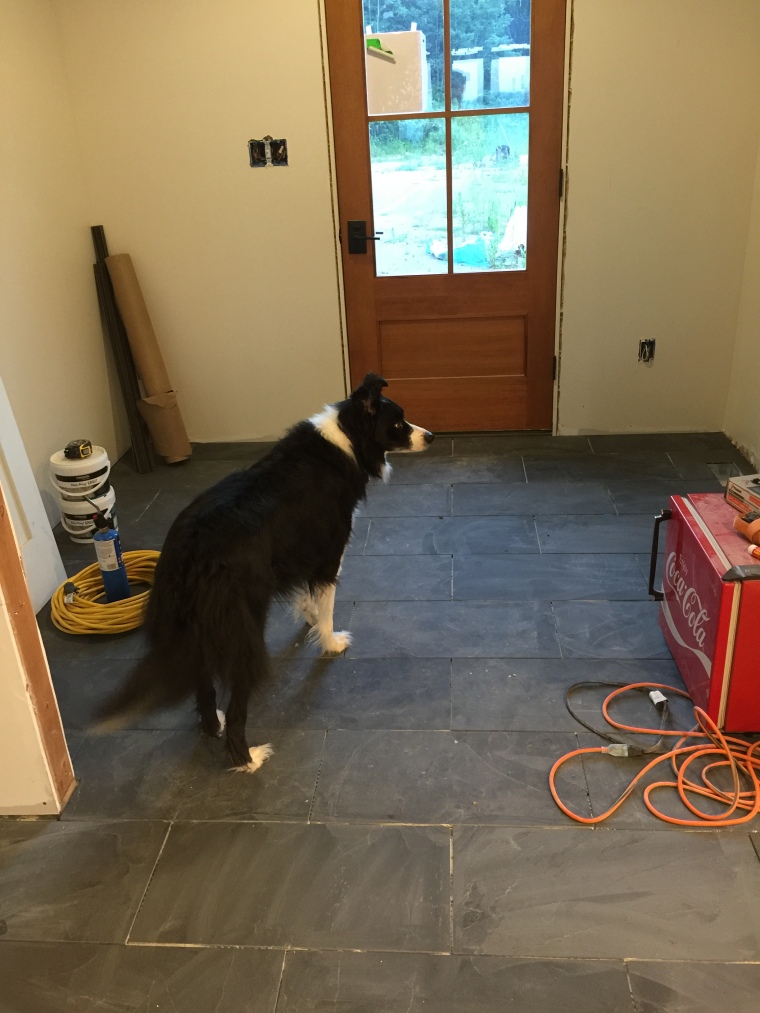
Mudroom/Pantry/Kitchen

IMG_3150

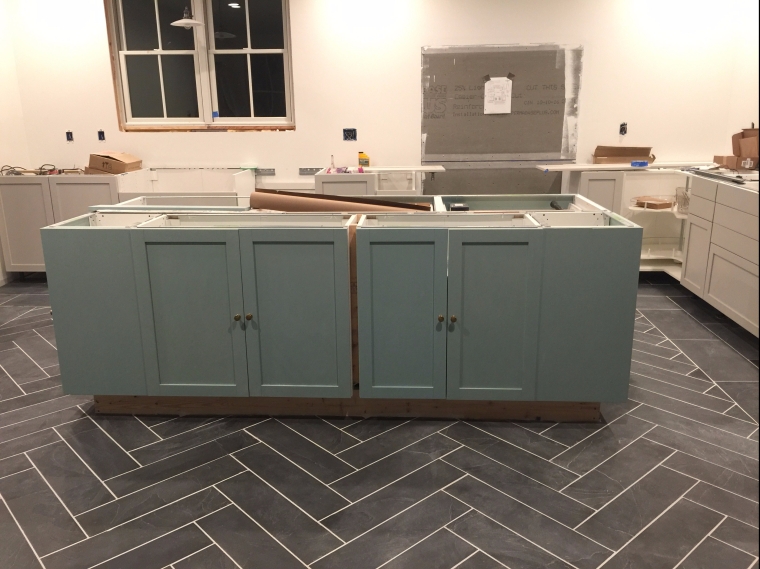
We used the same tile throughout the kitchen/pantry/mudroom. It is a black/grey slate called Montauk Black Slate from Home Depot. 

In the Pantry and Mudroom, we did a running bond layout. In the Kitchen we wanted something a little more interesting, so we did a herringbone pattern. It took a lot of figuring and tile cutting, but I think it was worth it!

IMG_3148

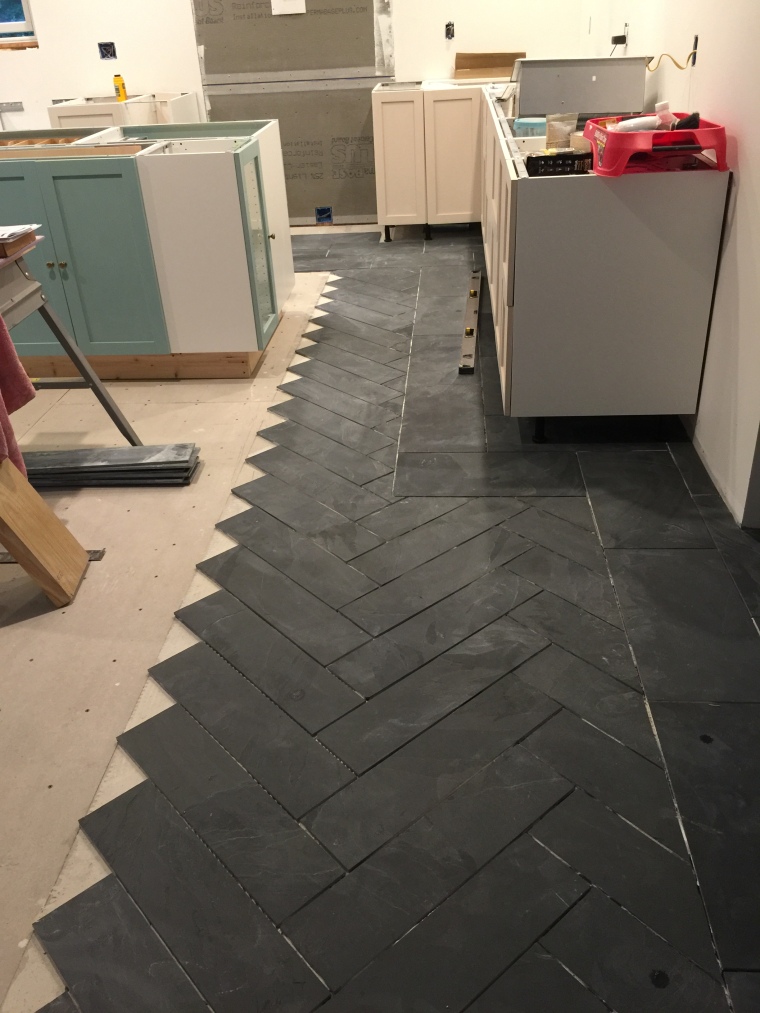
Here’s a closeup so you can see how we installed it. It took a lot of patience and tile cutting (we cut 12 x 24 tiles in half for the herringbone).  There is a two tile width border around the whole kitchen and the pattern is inside that border.

img_3300.jpg

And here is what it looks like now! The grout is more of a grey color (Silverado).

2017-09-06_15-54-19_807

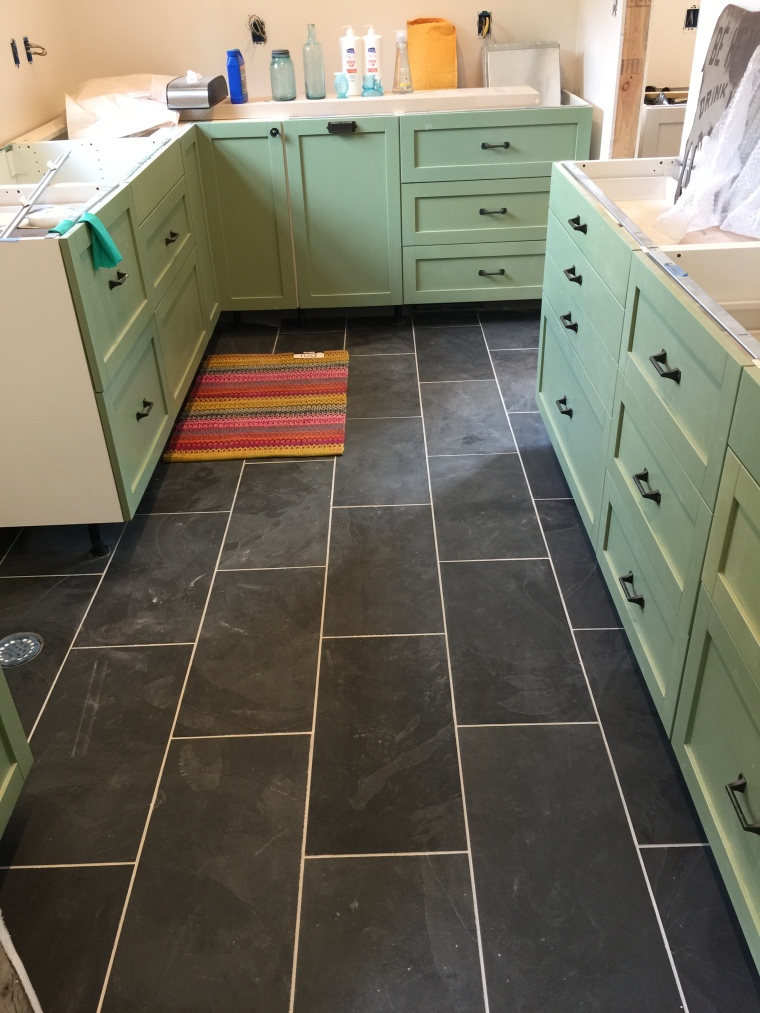
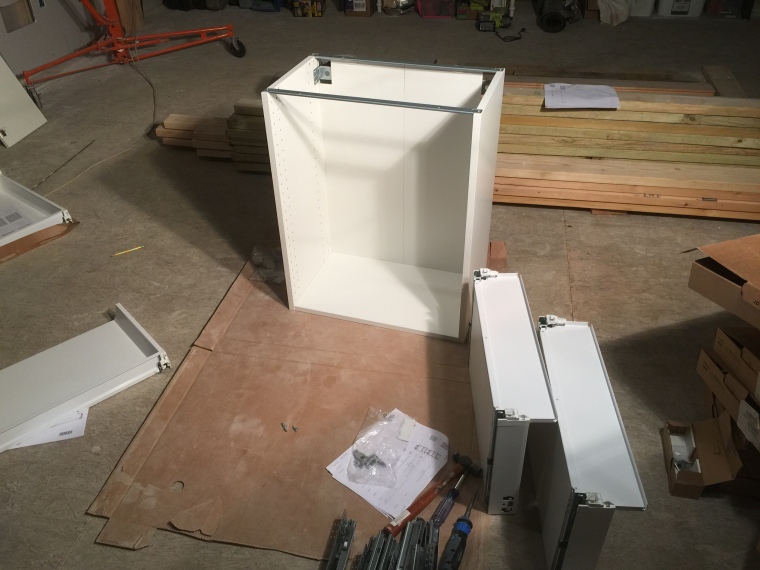
Here’s an updated photo of the Pantry/Laundry room. The cabinets are all installed and just waiting for the countertops to be installed.

Next steps in the kitchen are to finish up the grouting — I have a little more to do along the other wall, finish sealing the gray cabinets (I ended up changing the color to Luxe Gray because the original had a pink cast to it), and install hardware and countertops.

Great Room

The biggest changes in the Great Room have been the installation of the veneer logs and the fireplace skeleton.

IMG_3202

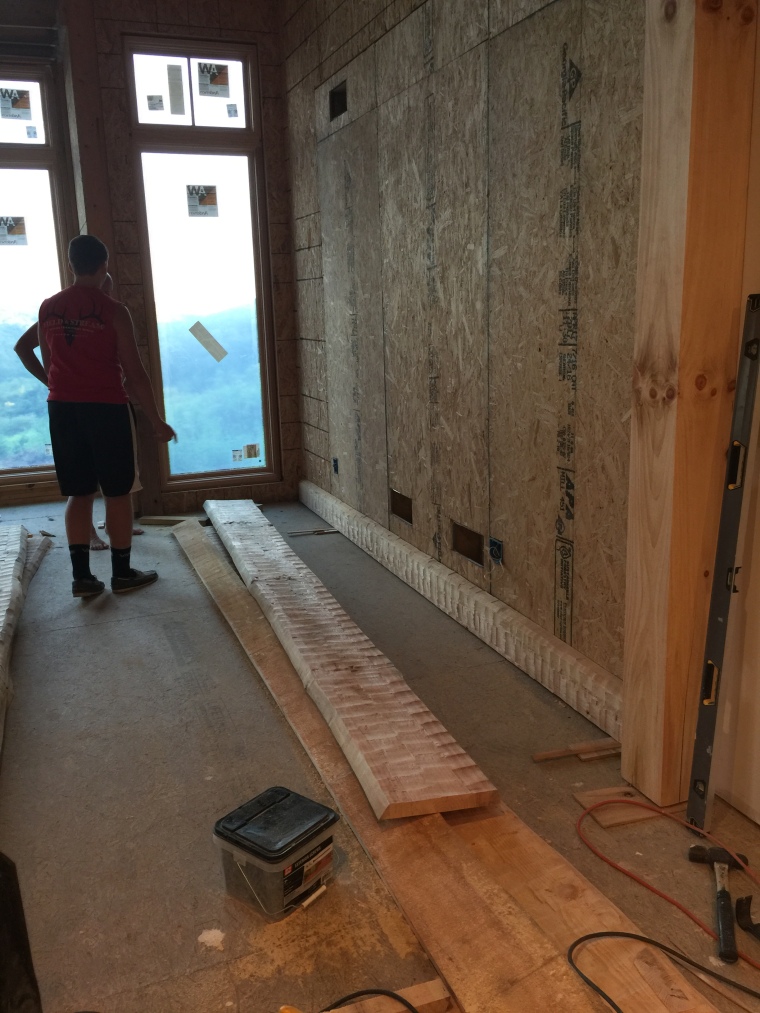
Before photo of what the wall looked like when we started. Just regular OSB clad wall with openings for the air returns.

IMG_3208

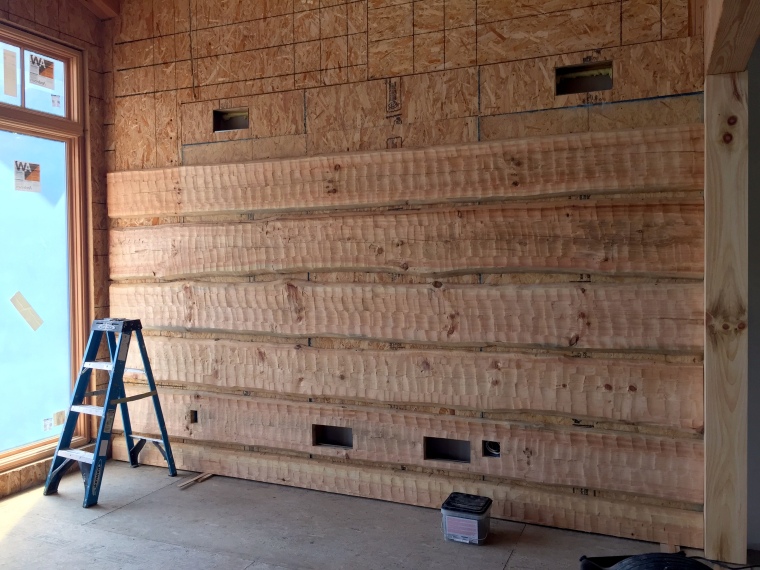
Half way through the project on this wall. We would sand the veneer before picking which logs to use, and then dry-fit them on the wall with screws to make sure it was spaced correctly. When that was complete, we took them back down and permanently attached them with screws and Liquid Nail. Now I need to stain and seal them before adding the chinking in between the logs.

2017-09-06_15-55-07_401

View from the Foyer into the Dining and Great Room. You can see all the log veneer installed and the fireplace frame to the left. The window frames have also been stained and sealed and the trim molding all cut and fit.

After I finish with the logs, cedar trim will be installed around all the windows. The fireplace will be a gas insert and clad in stone veneer.
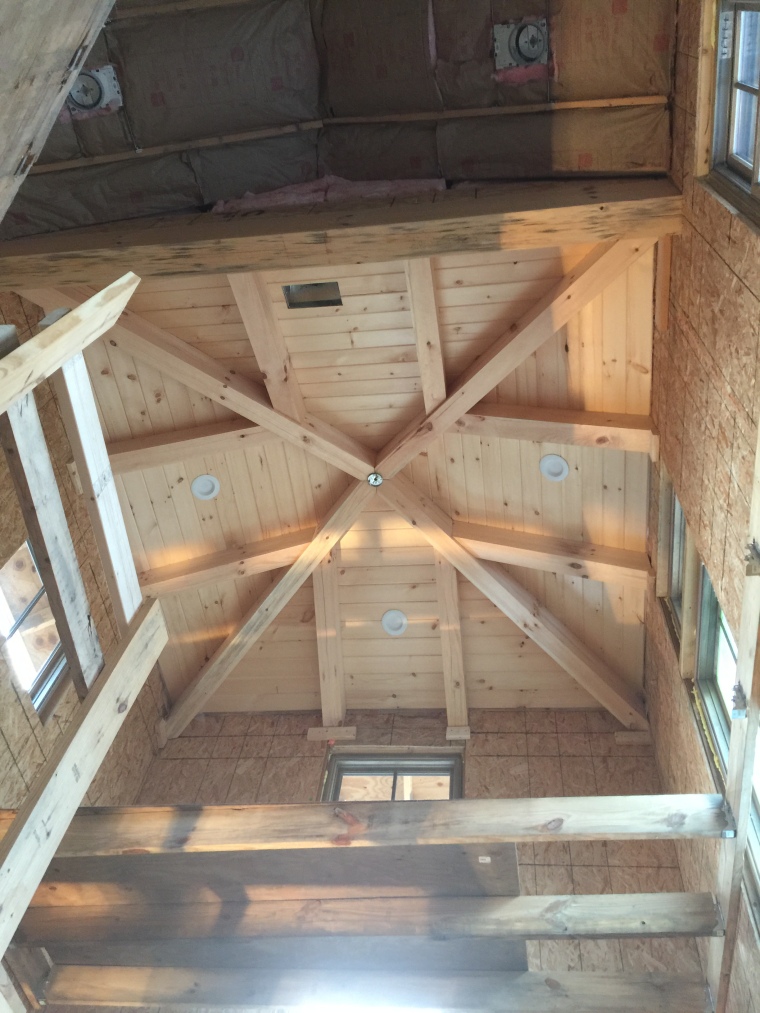
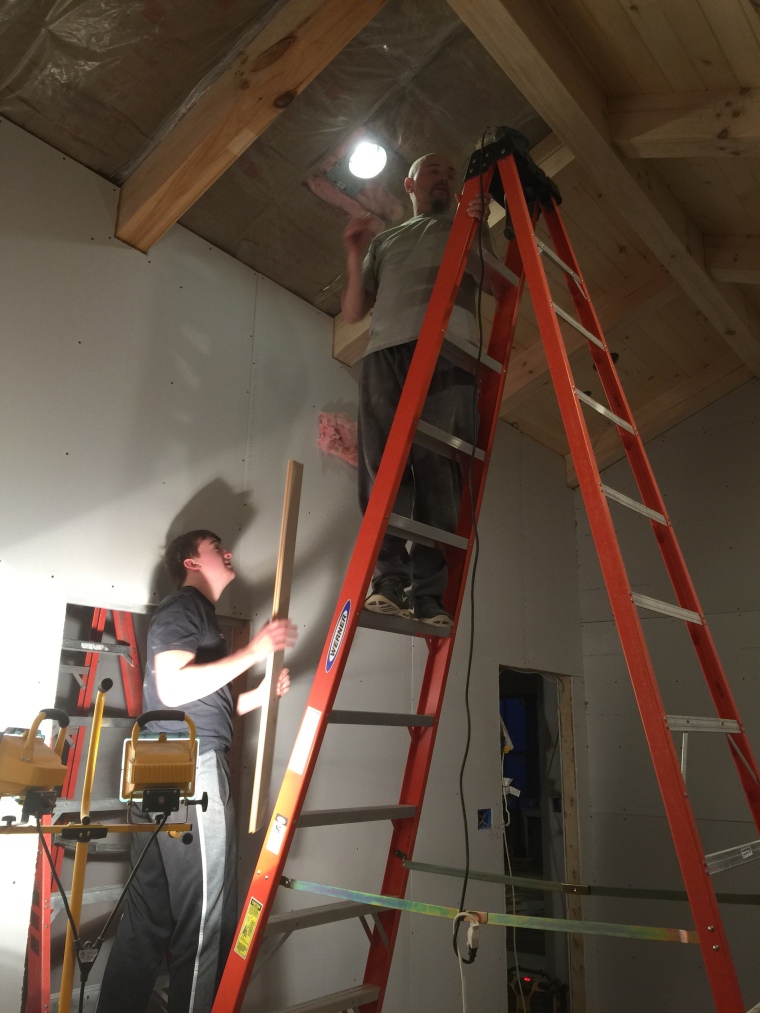
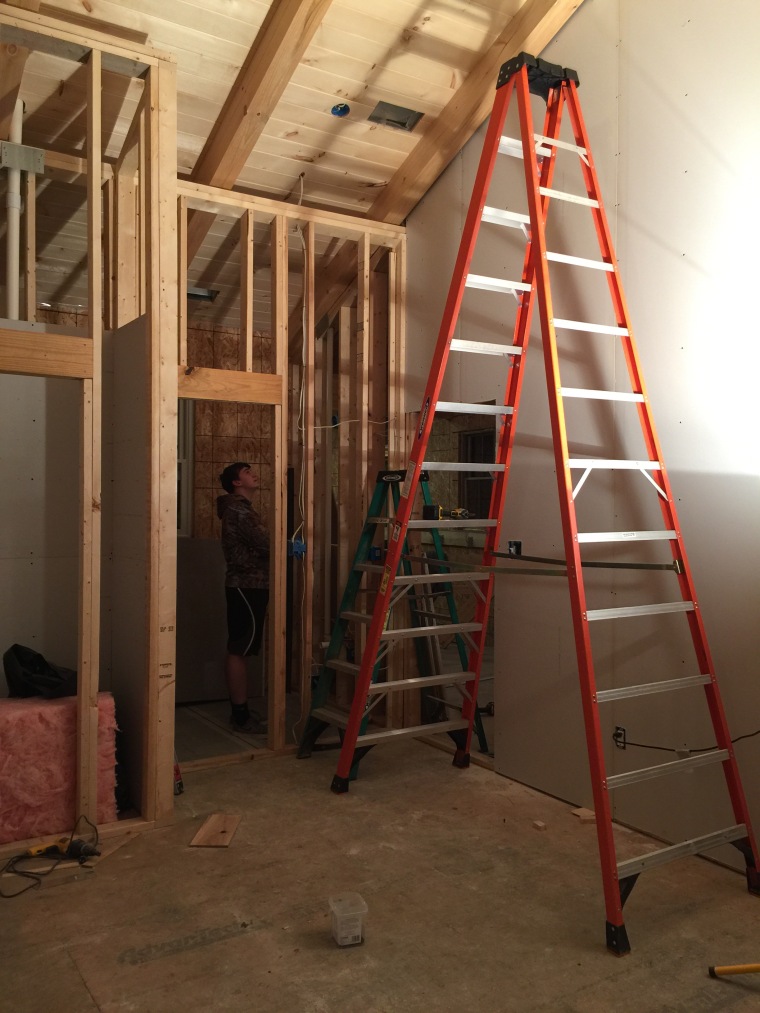
Foyer/Tower

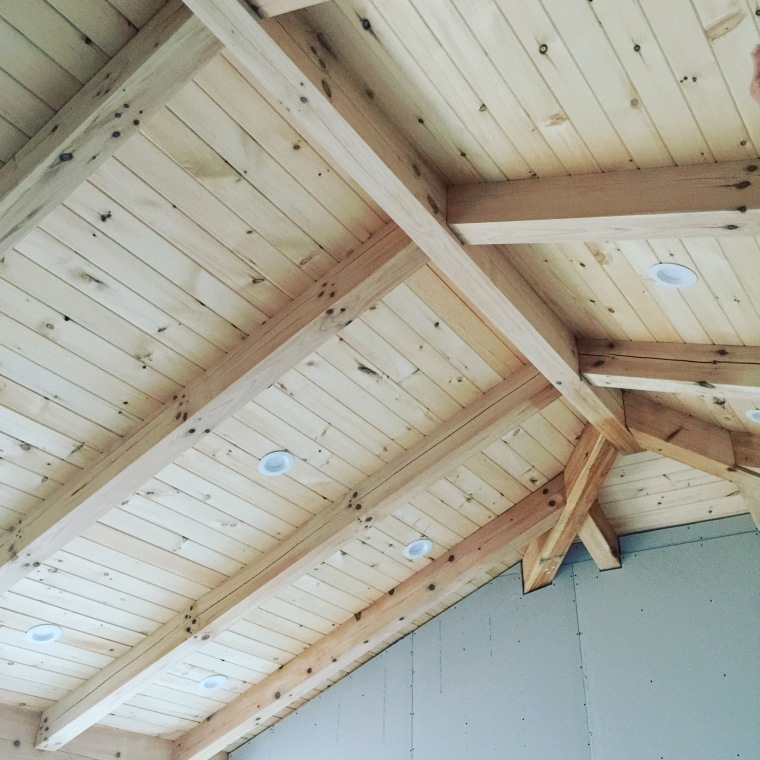
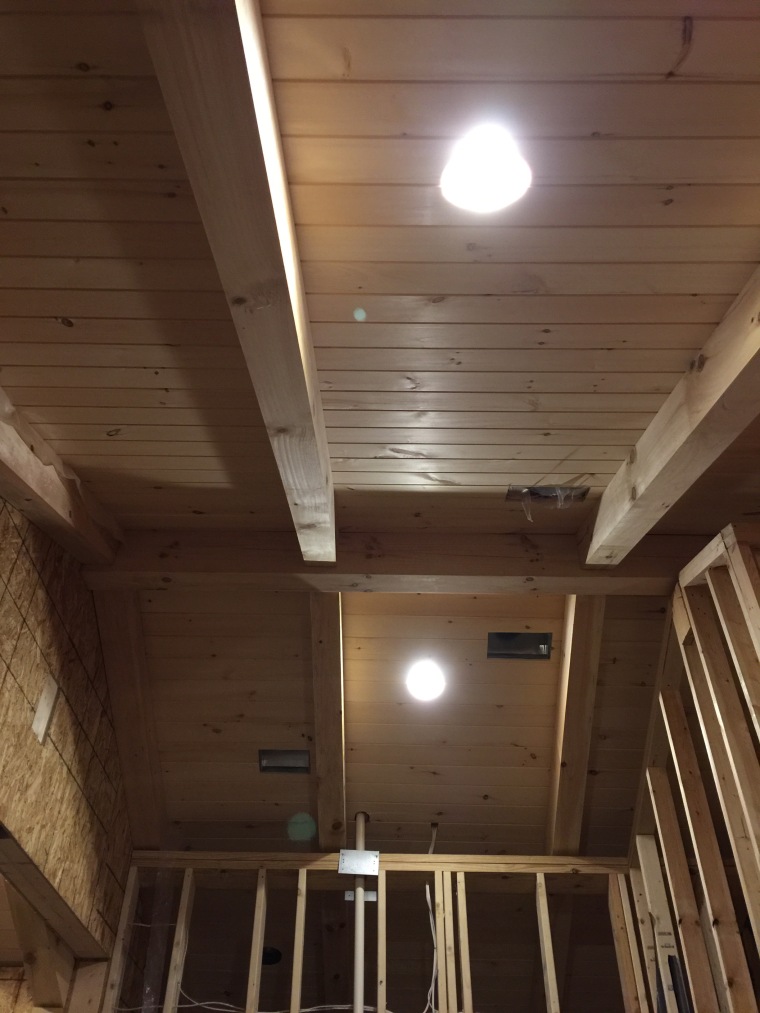
We put the platform back in the tower so we could work on the ceiling and install the light and barn board. All of the ceiling is now sealed with Heritage Natural Finish. It is all natural and smells so good!

IMG_3290

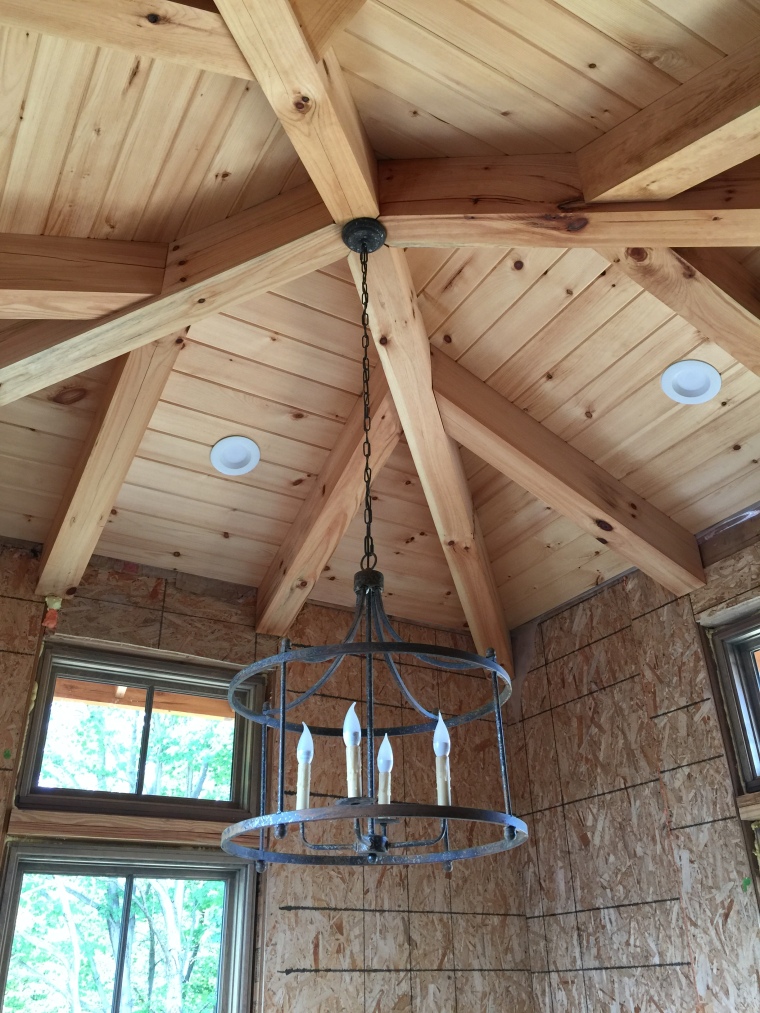
I purchased this light quite a while ago from Magnolia before they became huge. It was from a warehouse sale that they had and I got a great price on it. I was hoping that it would work here and I was so happy to see that it does!

IMG_3307

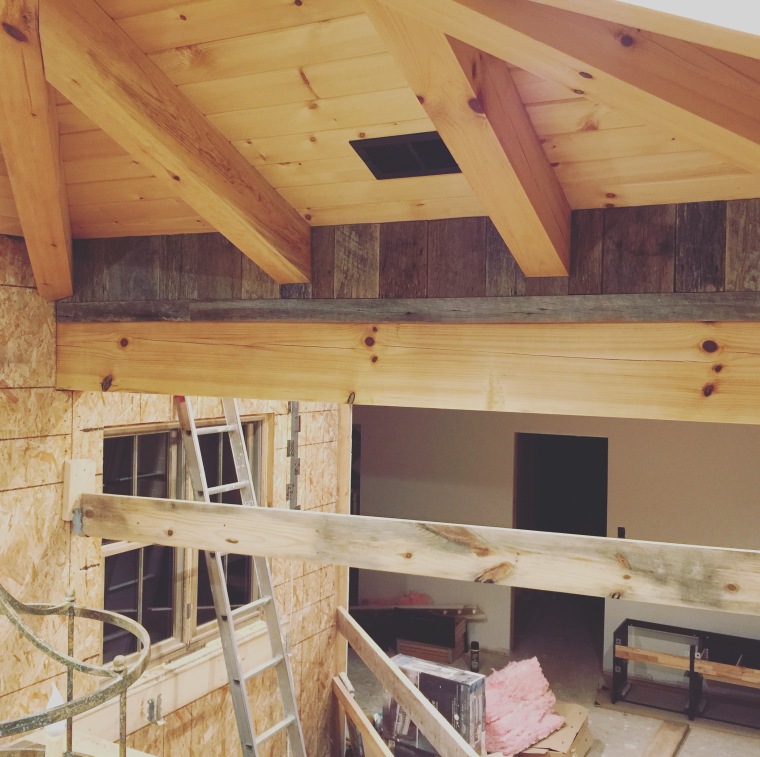
We purchased a lot of barn wood from Good Wood Nashville. This is just a tiny section that we installed over the stairs in the tower to the right of the light. The entire Tower will have barn board on the walls. We also got reclaimed wood for the stairs, but those need to be adjusted before we can start on that.
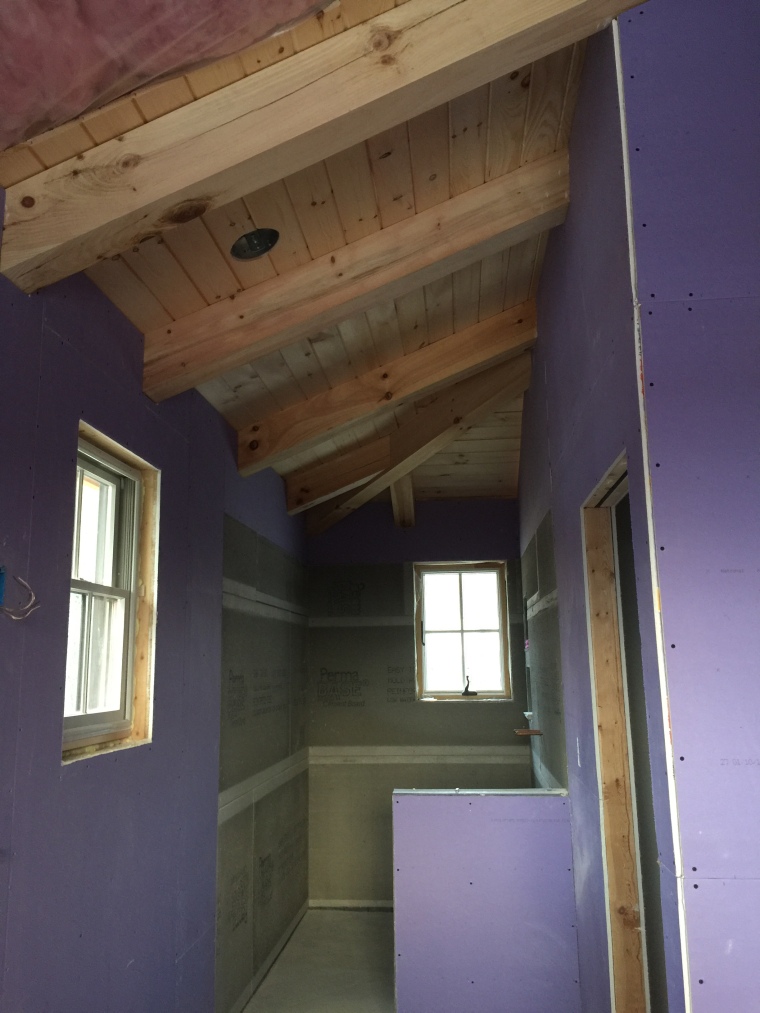
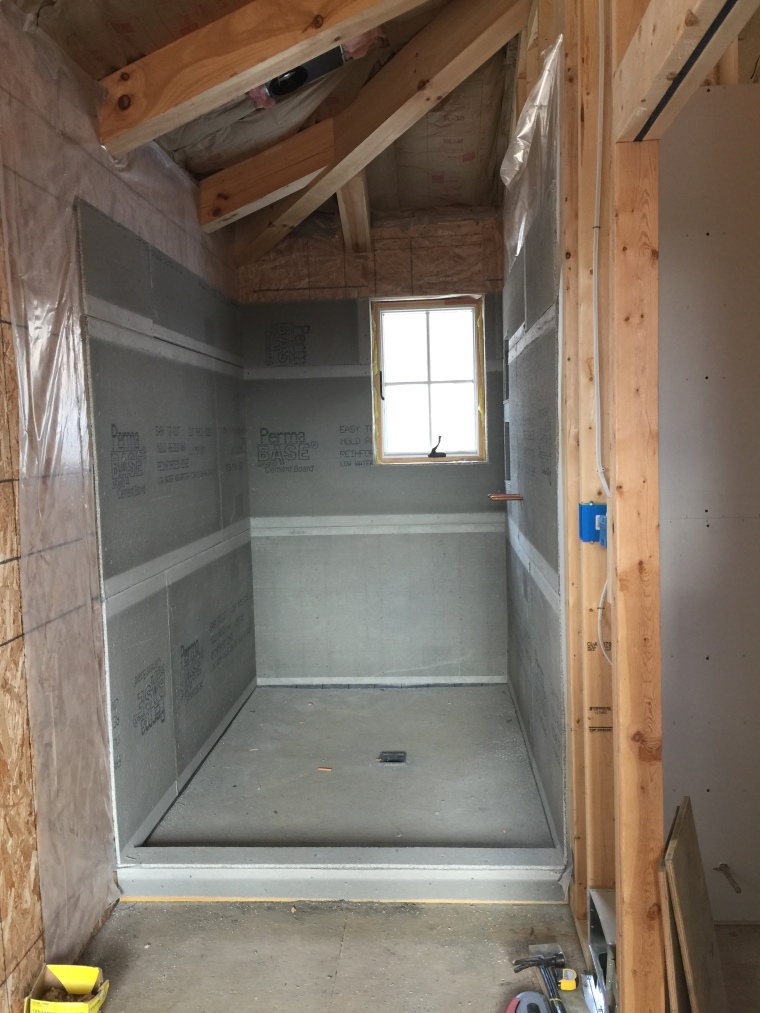
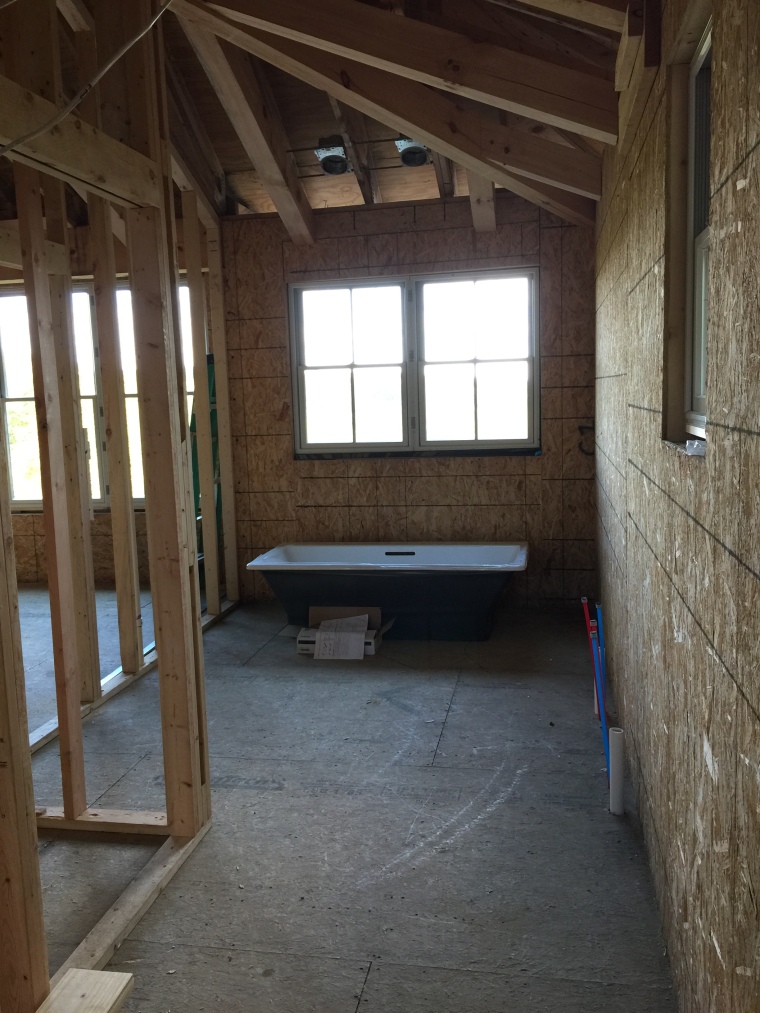
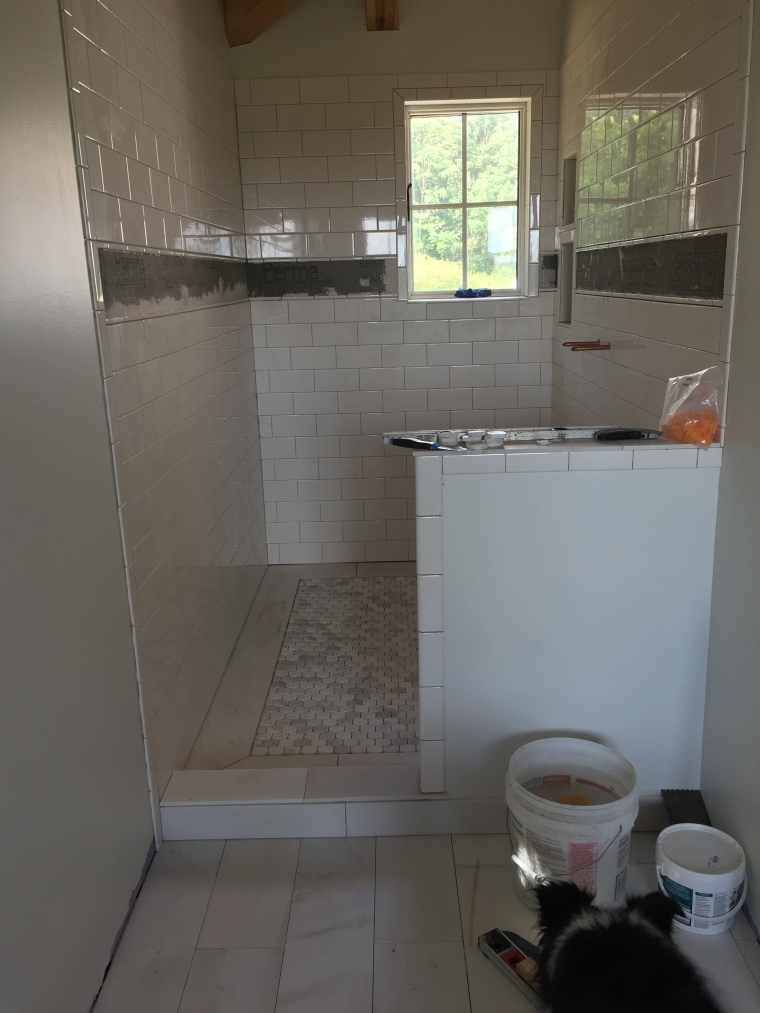
Bathrooms

Almost all the tile work has been completed in the bathrooms! Only need to get them all sealed and grouted. For some reason I only took photos of the Master Bath! You’ll have to wait for the boys’ completed photos.

IMG_3210

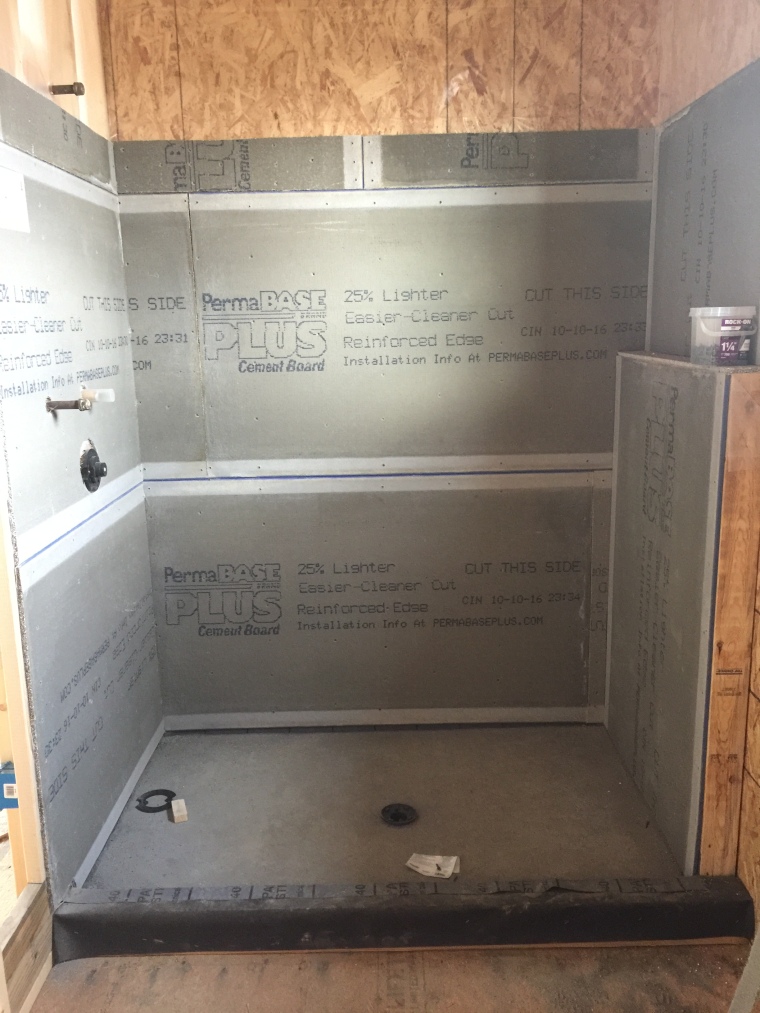
The tile here is almost complete, but I still have to get the custom mosaic band done.

IMG_3211

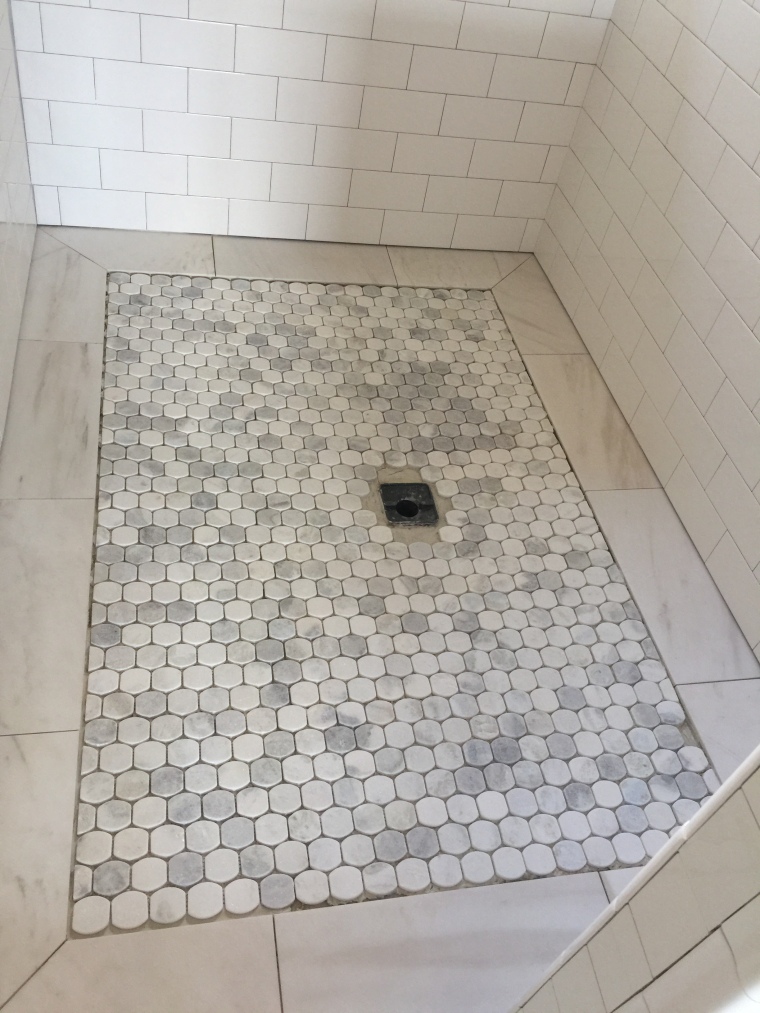
Shot of the shower floor. Still have to make the final cuts around the drain and then grout.

IMG_3212

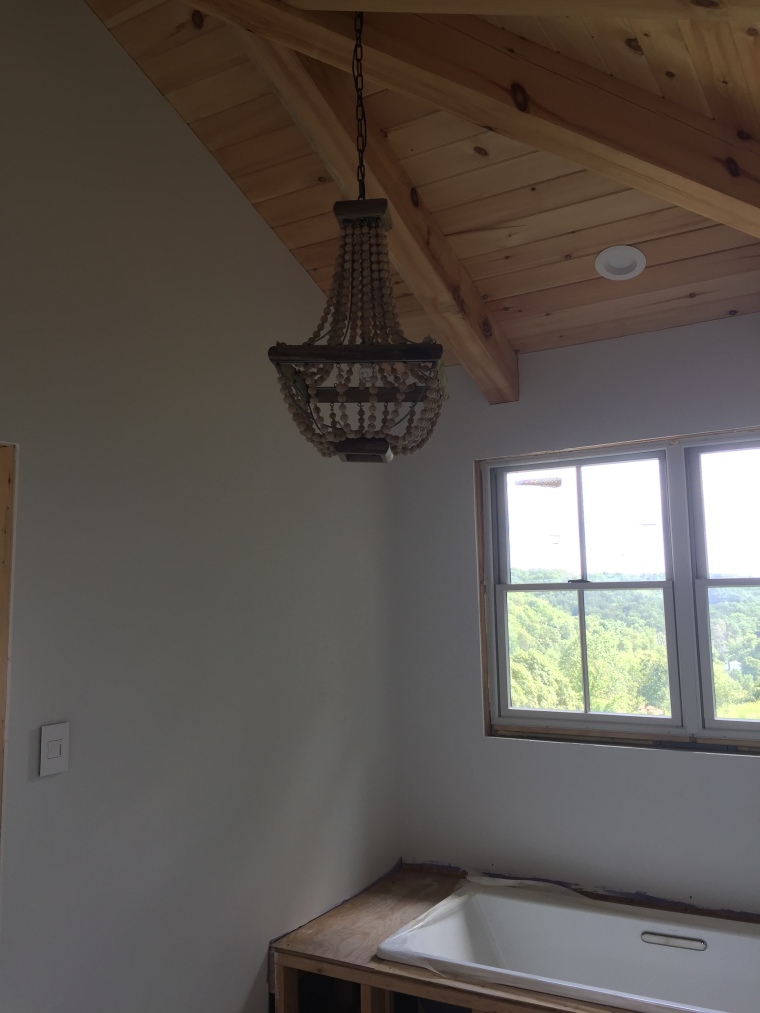
I love this light in the bathroom! I got it for a steal from Wayfair (no longer available there). I would have loved to have it over the bathtub, by by code it cannot be installed there, so I opted to have it offset.

Still left to do in here: concrete top for the bathtub, grouting tile, and installing fixtures.
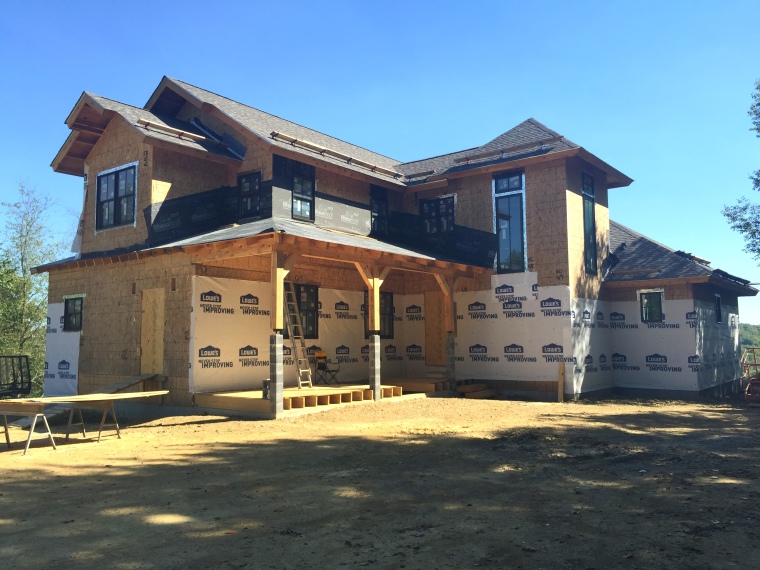
Outside

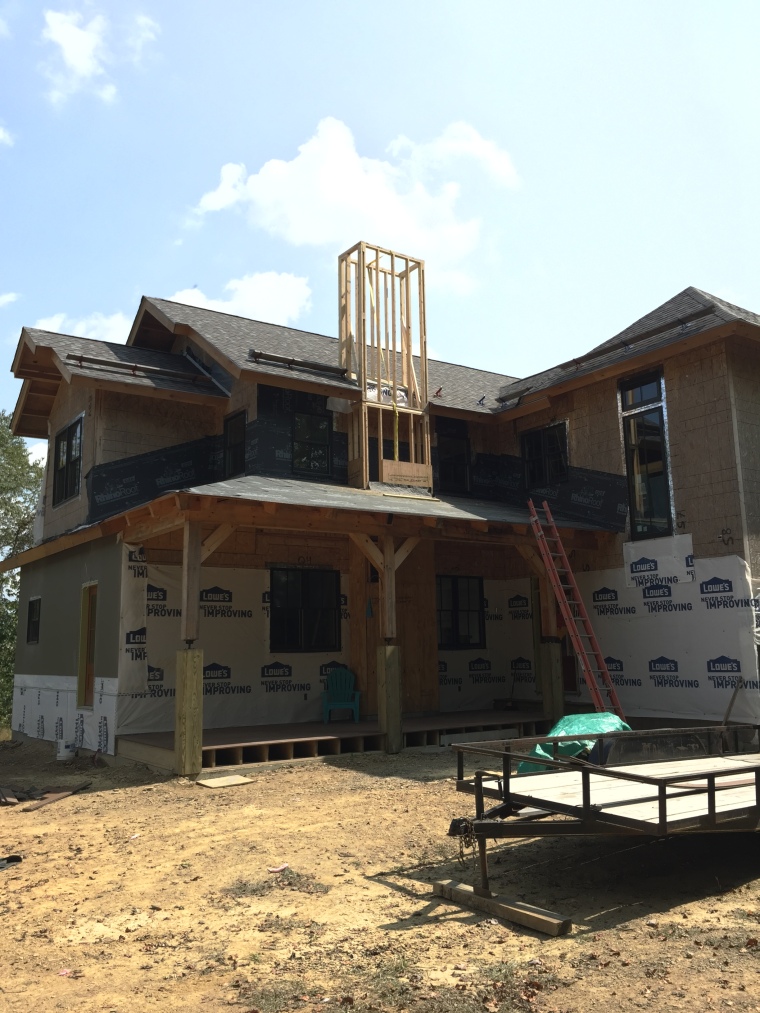
We’ve been getting the outside ready for the siding — finally! Mark and Carrick have been working on the chimney skeletons so that the roofing can be finished around them and then install the exhausts.

IMG_3308

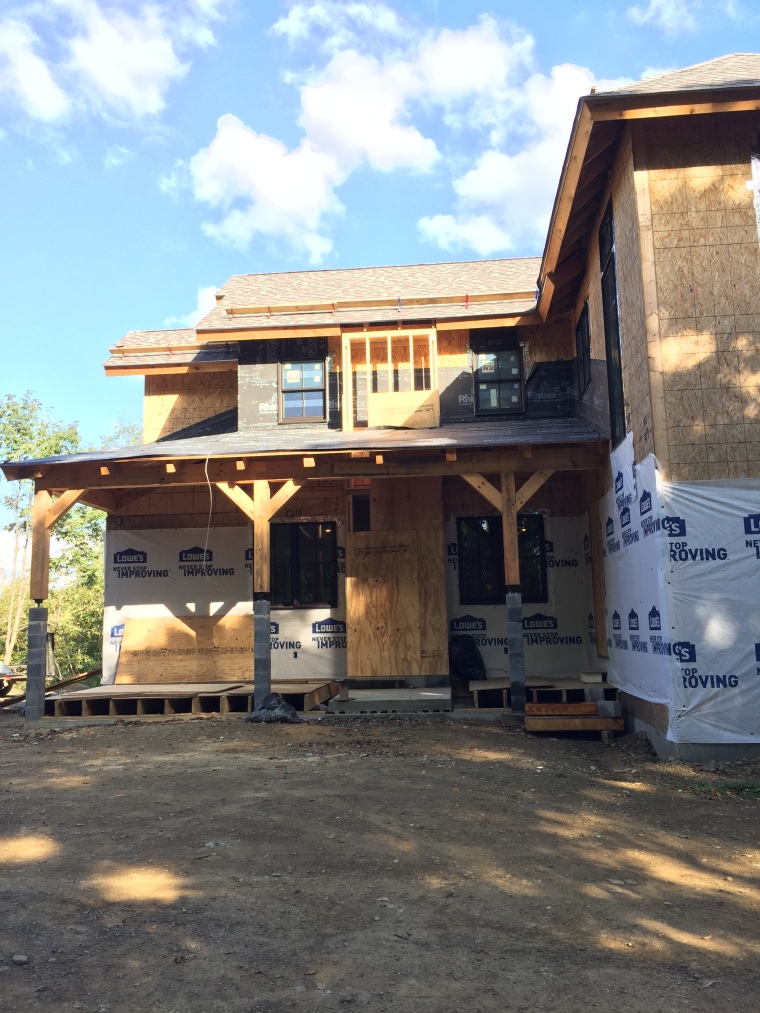
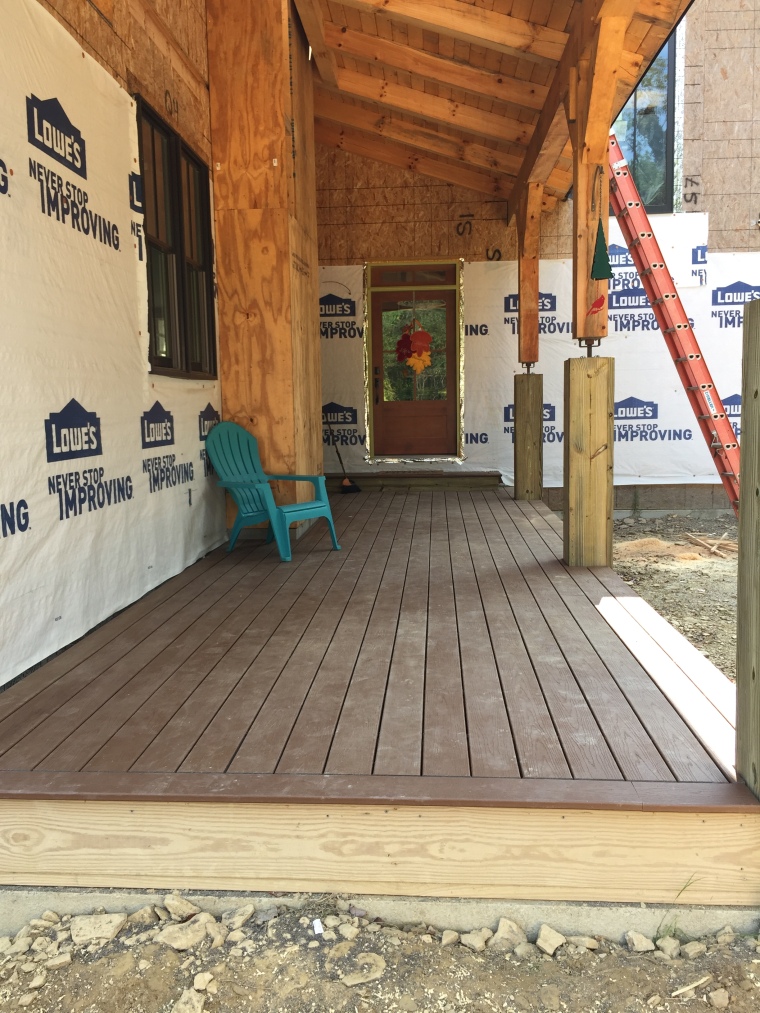
The front porch decking went on last weekend. It is Trex Enhance Decking in Saddle. We installed it with the Camo System so that there are no visible screws. Having the decking on makes the porch look so much bigger (ignore all the dirt on the deck… it’s so dry here because we’ve had no rain for a while)!

IMG_3309

Next up is the siding and the stone veneer, along with the metal roofing that will go on the porch roof.

Even though there is still a lot to do, we hope to move in before Thanksgiving! Thank so for following along with us!

Progress 2/23/2016

img_2641
Beautiful sunset from the hill. The weather this winter hasn’t been that bad. The only problem has been with the freeze/thaw cycle and making the whole work site a sticky mudhole. The past week has dried it out though, thank goodness!
img_2630
We moved on the the tower ceiling after the drywall on the 1st floor. We built a platform up in the tower to be able to reach the ceiling without being on ladders. Made life a whole lot easier! The plan is to put reclaimed barnwood on the walls in the tower after the drywall is done elsewhere.
img_2633
The completed Master Bath waiting for the next phase of drywall mud and tiling.
img_2627
After the tower and bath, we moved on the ceiling in the Mast Bedroom. This was a little easier because we had more straight shots and not as many angles.
img_2643
Each piece was cut to fit in the cavity between the beams, so that it could slide in. Some cuts had to be made for lags that hold the heavy timbers up and lights and vents.
img_2646
And here is the completed ceiling!
img_2655
Next we moved up to the second floor and the boys’ bedrooms. This took about a week of nights and weekend to complete. It went pretty quick once we got the hang of it. The only hang ups here were the cuts for wiring, lags and pipes.
img_2654
Now we’ve moved on the dry walling the 2nd floor. It can be tricky trying to get the long sheets of drywall up the stairs!
img_2657
Cole’s bedroom
img_2658
Cade’s bedroom.

For now, we’ll be finishing up the drywall on the second floor. That will take a little more figuring because Mark has to build little walls at the top of the big walls so that they touch the ceiling and we can attach the drywall.

Since the weather has been so nice, we even started working on the outside —installing some of the soffit and siding.

Most of the electrical work is done. We even have some switches and outlets so that we don’t have to run so many extension cords!

I will most likely start the tiling soon. I’ve ordered a lot of the tile and there is a lot to do!

Progress 01/09/2017

Even though the weather has been really cold, we’ve gotten a lot done over Christmas break. A lot of drywall has gone in and most of the first floor is almost ready for taping and mudding. Thank goodness for heat. We keep it around 55 degrees most of the time.

I’m glad that it has been cold for a while, because when it warms up the driveway turns to very slippery, greasy mud. I think that we are in store for that again this week. Can’t have everything!

img_2477
The well is hooked up. We had some issues there, but hopefully they are all resolved.
img_2481
The Master shower is ready for tiling. The floor pan is done by hand in 2 steps. I know the shower is huge, but the space would have been tiny and wasted in the Master closet, so I added it to the shower. Most likely it will be done in large format subway tile with accents and honed marble floor.


img_2484
Carrick’s shower is also complete and ready for tiling. Cade’s is almost identical, but Cole asked for a bathtub in his.
img_2500
The kitchen part way through dry walling.
img_2525
The kitchen even further along. The area that has the grey backerboard is where the range will be. That area will be tiled and a hood will be installed.


img_2532
Here is Mark working on the pocket door between the Laundry/Pantry room and Kitchen.


img_2522
Mark installing drywall in the Dining Room.


img_2504
View from the Great Room into the Dining Room and Kitchen.


img_2558
View of the Kitchen with all the drywall complete.


img_2559
Another view of the Kitchen with a view of the pocket door hardware installed. The door beside the opening is the one that will be installed there. The other area to the right is the Mudroom. The flooring throughout this area will be a dark gray slate. This area, along with the Dining Room and part of the Foyer will have drywall ceilings for a change over the pine board that will be in the other parts of the house.
img_2586
And now I am working on putting all the cabinets together that I purchased at IKEA almost 2 years ago! Who knew it would take so long to get this far! It has been a little difficult because the final room sizes didn’t end up being the exact same as the plans. That means I have to make some adjustments and move some around. All of the cabinet doors will be painted. The cabinets around the perimeter of the Kitchen will be Linen from Amy Howard Paints. The Island in the Kitchen will be painted Eulalie’s Sky and the Pantry will be Luckett’s Green from Miss Mustard Seed.
mm-paint
Miss Mustard Seed Paints – Eulalie’s Sky (Island) and Luckett’s Green (Pantry).
ah-paint
Amy Howard Paints


Next up is

  • Finishing cabinet construction. Pantry is almost done and Kitchen is partly done.
  • Install cabinets.
  • Finish drywall in the Master Bedroom and Foyer.
  • Start taping and mudding and sanding (I HATE this part).
  • Begin tile work.
  • Decide on tile for all the boys’ baths (that ought to be interesting).
  • Decide on flooring. This has been a real struggle for me.
  • Get the other heating system installed upstairs when our HVAC guy isn’t on Emergency Call! This weather has kept him busy, but we aren’t in a hurry.
  • Finish the wood staining in the Great Room (windows) and seal.

Save

Save

Save

Progress – 10/26/2016

OK, so it’s been two months since I updated! Things got hectic with back to school and everything that goes along with carting 3 boys around to all their events.

Steady progress has been made since the last time I checked in. The roof is on most of the house (with the exception of where the chimneys will go), all the doors are installed, the electric and plumbing are almost complete, large beams were installed in the Master Bedroom, and a whole bunch of other smaller jobs were completed. We are looking forward to our first inspection soon!

Here is the visual tour:

IMG_2104.JPG
View of the house with the roof completed. (09/13/16)
IMG_2197.JPG
The fireplace going in. Since all of our fireplaces are propane, they just need to be plywood boxes that we will apply the stone to. (10/4/16)
IMG_2205.JPG
Large pine beams in the Master Bedroom and Bath – completed. (10/4/16)
IMG_2146.JPG
Mark installing the beams. We had to use a pulley system with straps to get the very heavy beams in place. (9/25/16)
IMG_2207.JPG
My bath tub installed in the bath. It is a wonder that it survived in one piece for as long as it has been sitting around the work site! (10/4/16)
IMG_2209.JPG
Electric and heating going in the basement. (10/6/16)
IMG_2228.JPG
Mudroom door installed.(10/16/16)
IMG_2229.JPG
French doors to the screened in porch. These doors are 96″ tall. The open spot to the right of the doors will be a fireplace, and there will also be one on the porch.
IMG_2233.JPG
Front door installed! (10/16/16)
IMG_2216.JPG
Timber roof over the window in the basement. These will be covered with metal roofing. (10/10/16)


IMG_2179.JPG
This is what happened to some of our beams during storage while we were constructing our house. Because they were wet, mildew grew on the beams. I tried about 15 different things to remove it, but nothing worked. Bleach was the only thing that removed it somewhat, but still not enough.
After a lot of research, Mark decided to purchase an electric planer. Even though it was expensive, it did the job much quicker and better than the previous attempts. No more black and hours of sanding/treating. (10/23/16)
IMG_2255.JPG
Shot of the rear of the house. You can see the huge pile of shavings left behind after we planed some of the beams. Also note that the La Cantina door has been installed.

Next up on the schedule is getting the siding and soffit installed, insulation in the ceilings and partial basement walls, beams on the second floor ceiling, finishing up the HVAC so we can work in a warmer area since the weather has turned colder, painting the cabinet doors for the kitchen/pantry, installing the septic, gas and water, and about a thousand other things! I hope that the weather doesn’t turn too cold for a while.

IMG_2149.JPG
And a big shout out to this guy for all the help he gives us. We couldn’t get as much as we do without his help.

Thanks for checking in!

Save

Save

Progress 7/25/2016

IMG_1745
Interior Framing, looking into Master Bedroom

We started the framing of the first floor last weekend. It went relatively quickly, except for all the extra figuring with the vaulted ceilings. We got all the framing completed there and then moved on to the stairs.

IMG_1746
Interior Framing – looking from Dining into Kitchen


IMG_1747
Interior Framing – Master Bedroom, closet and bath
IMG_1749
Electric Service, waiting for hookup

It was interesting to get the wires from the house to the pole so that our house can be hooked up for service. It took about 250 ft. of large electric cable and a lot of horsepower to get the cables pulled through the pipe. The cable was slowly pulled through the pipe with a lot of pipe lube and the cable attached to a rope, which was then attached to the truck. Everything was hooked up on our end and inspected. Now we just have to wait until Dusquesne Light comes to hook it up to their system. Hopefully soon! It stinks to have to run everything off of a generator.

This past weekend we worked on framing the stairs, which took a bunch of figuring! None of the sets of plans we had were the same, so Mark had to figure out all the measurements, build the walls, and cut all the stringers. I have to say he did a really good job! Everything worked as he thought it would.

IMG_1763
Second floor framing

Now we are moving on to the 2nd floor framing of the boys’ bedrooms and bathrooms. This is also time-consuming because of the vaulted ceilings here, along with beams that will be installed later.

IMG_1764
Stairway to second floor

I realized that I didn’t take a photo of the stairs from the 1st floor, so I’ll have to do that.

IMG_1770
Trying to keep the rain out during the storm

It wasn’t too long into the afternoon yesterday when it began to storm. We could still keep working, but it is hard because the roofing is not on yet and it leaks like a sieve!

Hopefully the roof will be put on soon. We’re just waiting on special order drip-edge (my fault — I wanted galvanized like the gutters).

IMG_1773
The valley during the rain storm
IMG_1774
2nd Floor framing of the boys’ bedrooms and baths

IMG_1775IMG_1776

Our crew is supposed to return this week, so hopefully we can get the roof on the front porch and all the windows installed, along with the new roof on the tower.

I’m still waiting on the bid for the siding and gutters, so after the roof is on we’ll move to buttoning up the outside so we can get working on the interior finishes.

I’ve completed finishing one set of doors to the porch and have 1/2 of the front door completed (stained and finished). It takes a while since there are so many steps to getting them done. I’ll have to remember to snap a photo of them.

Progress hasn’t been as fast the past two weeks because Mark started a new job and he’s still learning the ropes and going to training. But I think that we still have done pretty well.

Thanks for checking in!