Progress in 2020 – October 22, 2020

I know it has been a long time since I updated this blog on what we have been doing. A lot of it was just finishing off small job and working towards completion of things that didn’t look that impressive. That’s why I hadn’t updated. Plus with the pandemic and many other health-related setbacks, I just didn’t feel it.

But not I have some progress to show: the completed powder room and a driveway in progress.

The Powder Room

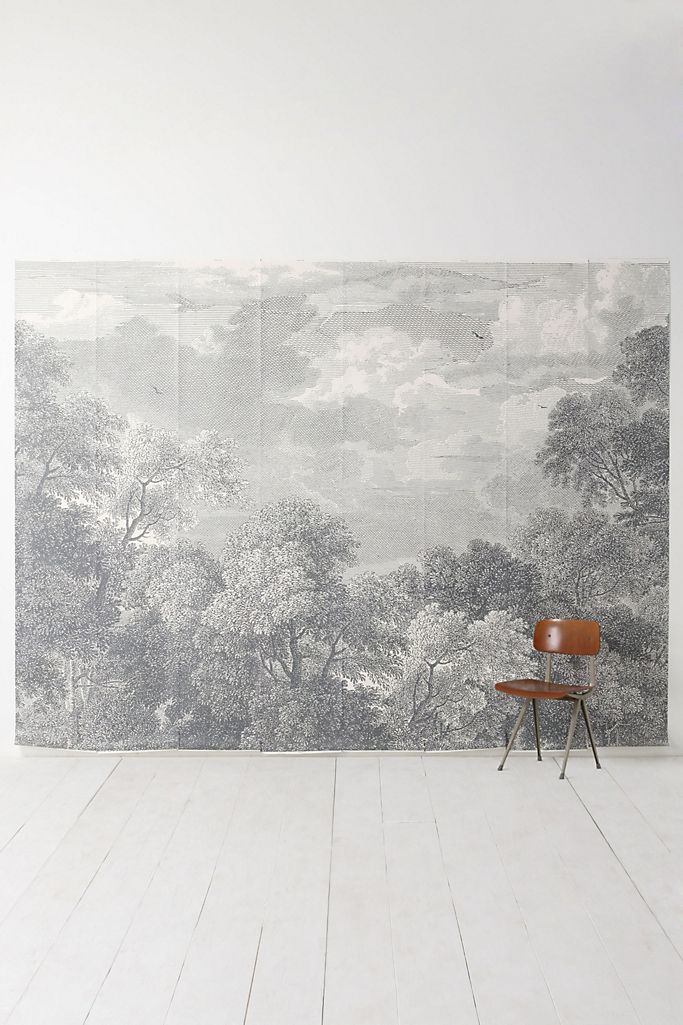
I had visions of what I wanted this room to look like, but I wasn’t sure exactly how to get that done. I wanted to do something on the upper walls because the ceiling is so high in this room compared to it’s size, but I didn’t want to spend a fortune here. I am all about the most bank for the buck! Wallpaper for a wall of probably 16 ft. would not be cheap, so I had to move on to something else. I decided on a mural that I would paint. I looked for a long time, but could commit to anything that I saw. I did like this one from The Gold Hive:

I thought it was a little too intricate for the space and only addressed one wall. But it did remind me of this wallpaper that I loved, but was out of my price range and it has the wrong size:

After going some more searching I found exactly what I wanted:

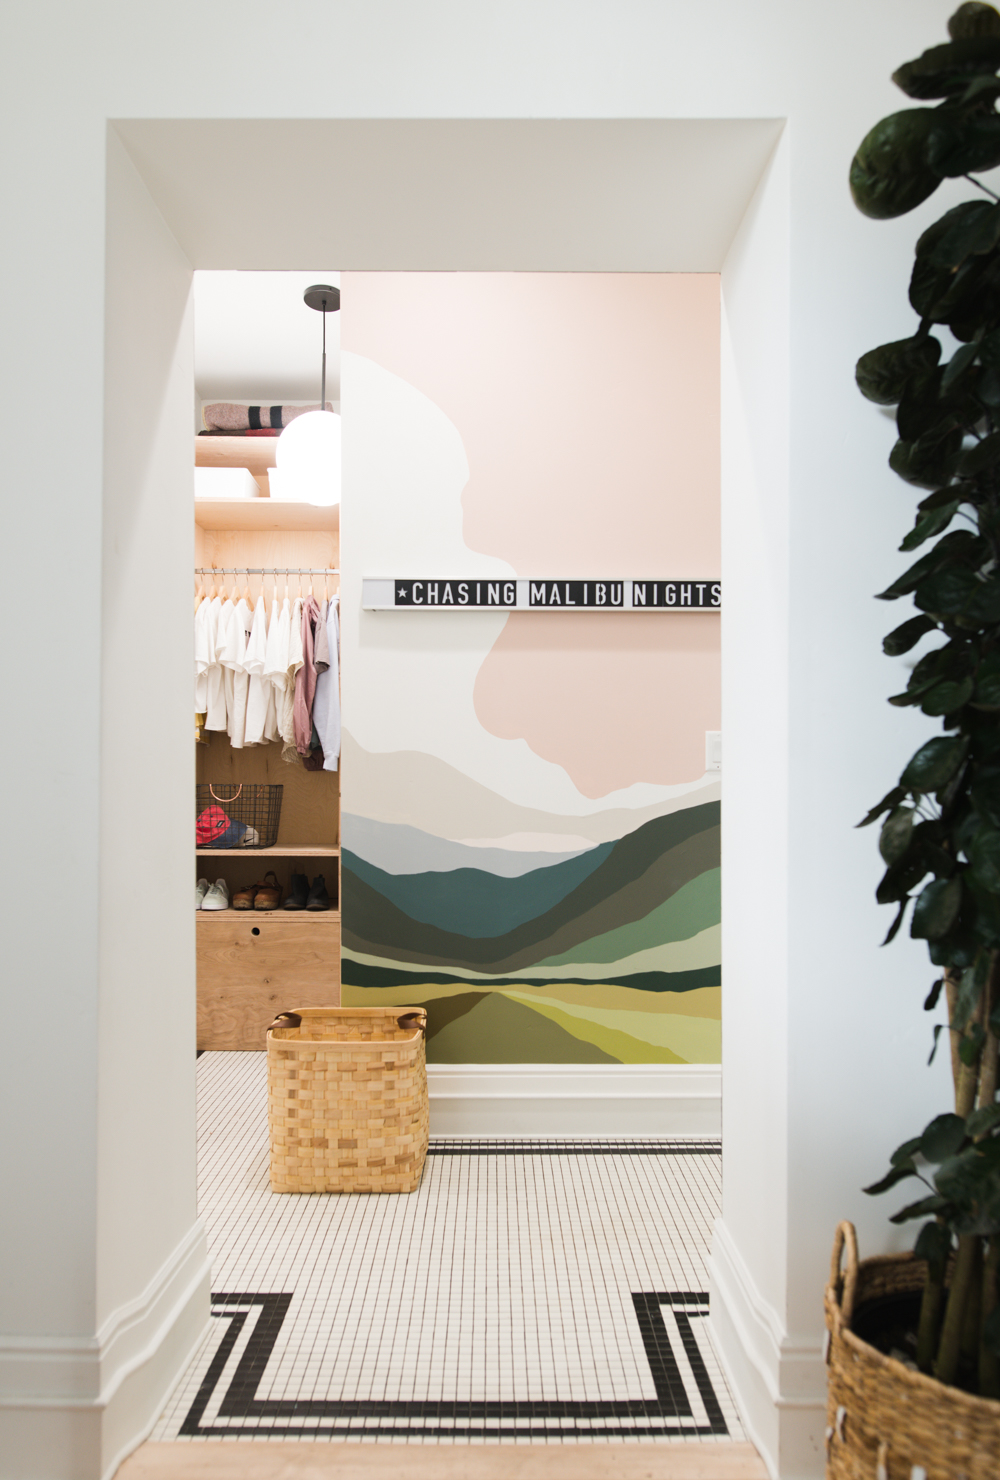
I found the post on Vintage Revivals blog : https://vintagerevivals.com/bathroom-reveal-paint-by-numbers-wall-mural/ . The mural was designed by Colleen Elizabeth ( https://colleenelizabethart.com/ ) and it was perfect. I followed the instructions on the blog and I had to get creative and replicate Colleen’s style on the remaining 3 walls because I wanted the mural to surround the room. I made a grid on both the photo of the mural and on my wall to transfer it. Here is what it looked like:

I have done smaller murals before in HS. That helped is figuring this out. Next I got the paint. I got the colors she suggested, but since you don’t use a lot of paint (and the smallest size paint you can get from Sherwin Williams is a quart) you could always try to use another brand of paint that comes in smaller sizes or even acrylic paints from the craft store. I couldn’t find an easy way to figure out comparable colors, so I just went with her suggestions and waited until SW had a sale and used the coupon you can find on the VR blog.

From there I started painting! Most of the colors required at least two coats and a very steady hand.

After completing this much I also added to the mural on the sides of the room by using other paintings of Colleen’s for inspiration, but didn’t follow any of them exactly. I made space at the bottom of the mural so that I could add my collection of vintage school photos that I have collected for a long time. You’ll see what I mean in the final photos.

And after about a month of work (definitely not continuous), I completed the mural and I couldn’t be happier!

The final photos also show the board and batten finish I did at the bottom of the wall. It was really pretty inexpensive. MDF battens and MDF boards attached to the wall with trim nails and then painted with Magnolia Paint in Shiplap (like the rest of our house). Here’s the final product:

I still have to hang the mirror. I have to figure out the best way to do that and I have totally decided if I want to use the one I have. When I have a little more time, I will update the post with links for all of the items I used. I also have to install the trim on the door, but it needs moved in the doorway to center it (the wall is a 2×6 instead of a 2×4).
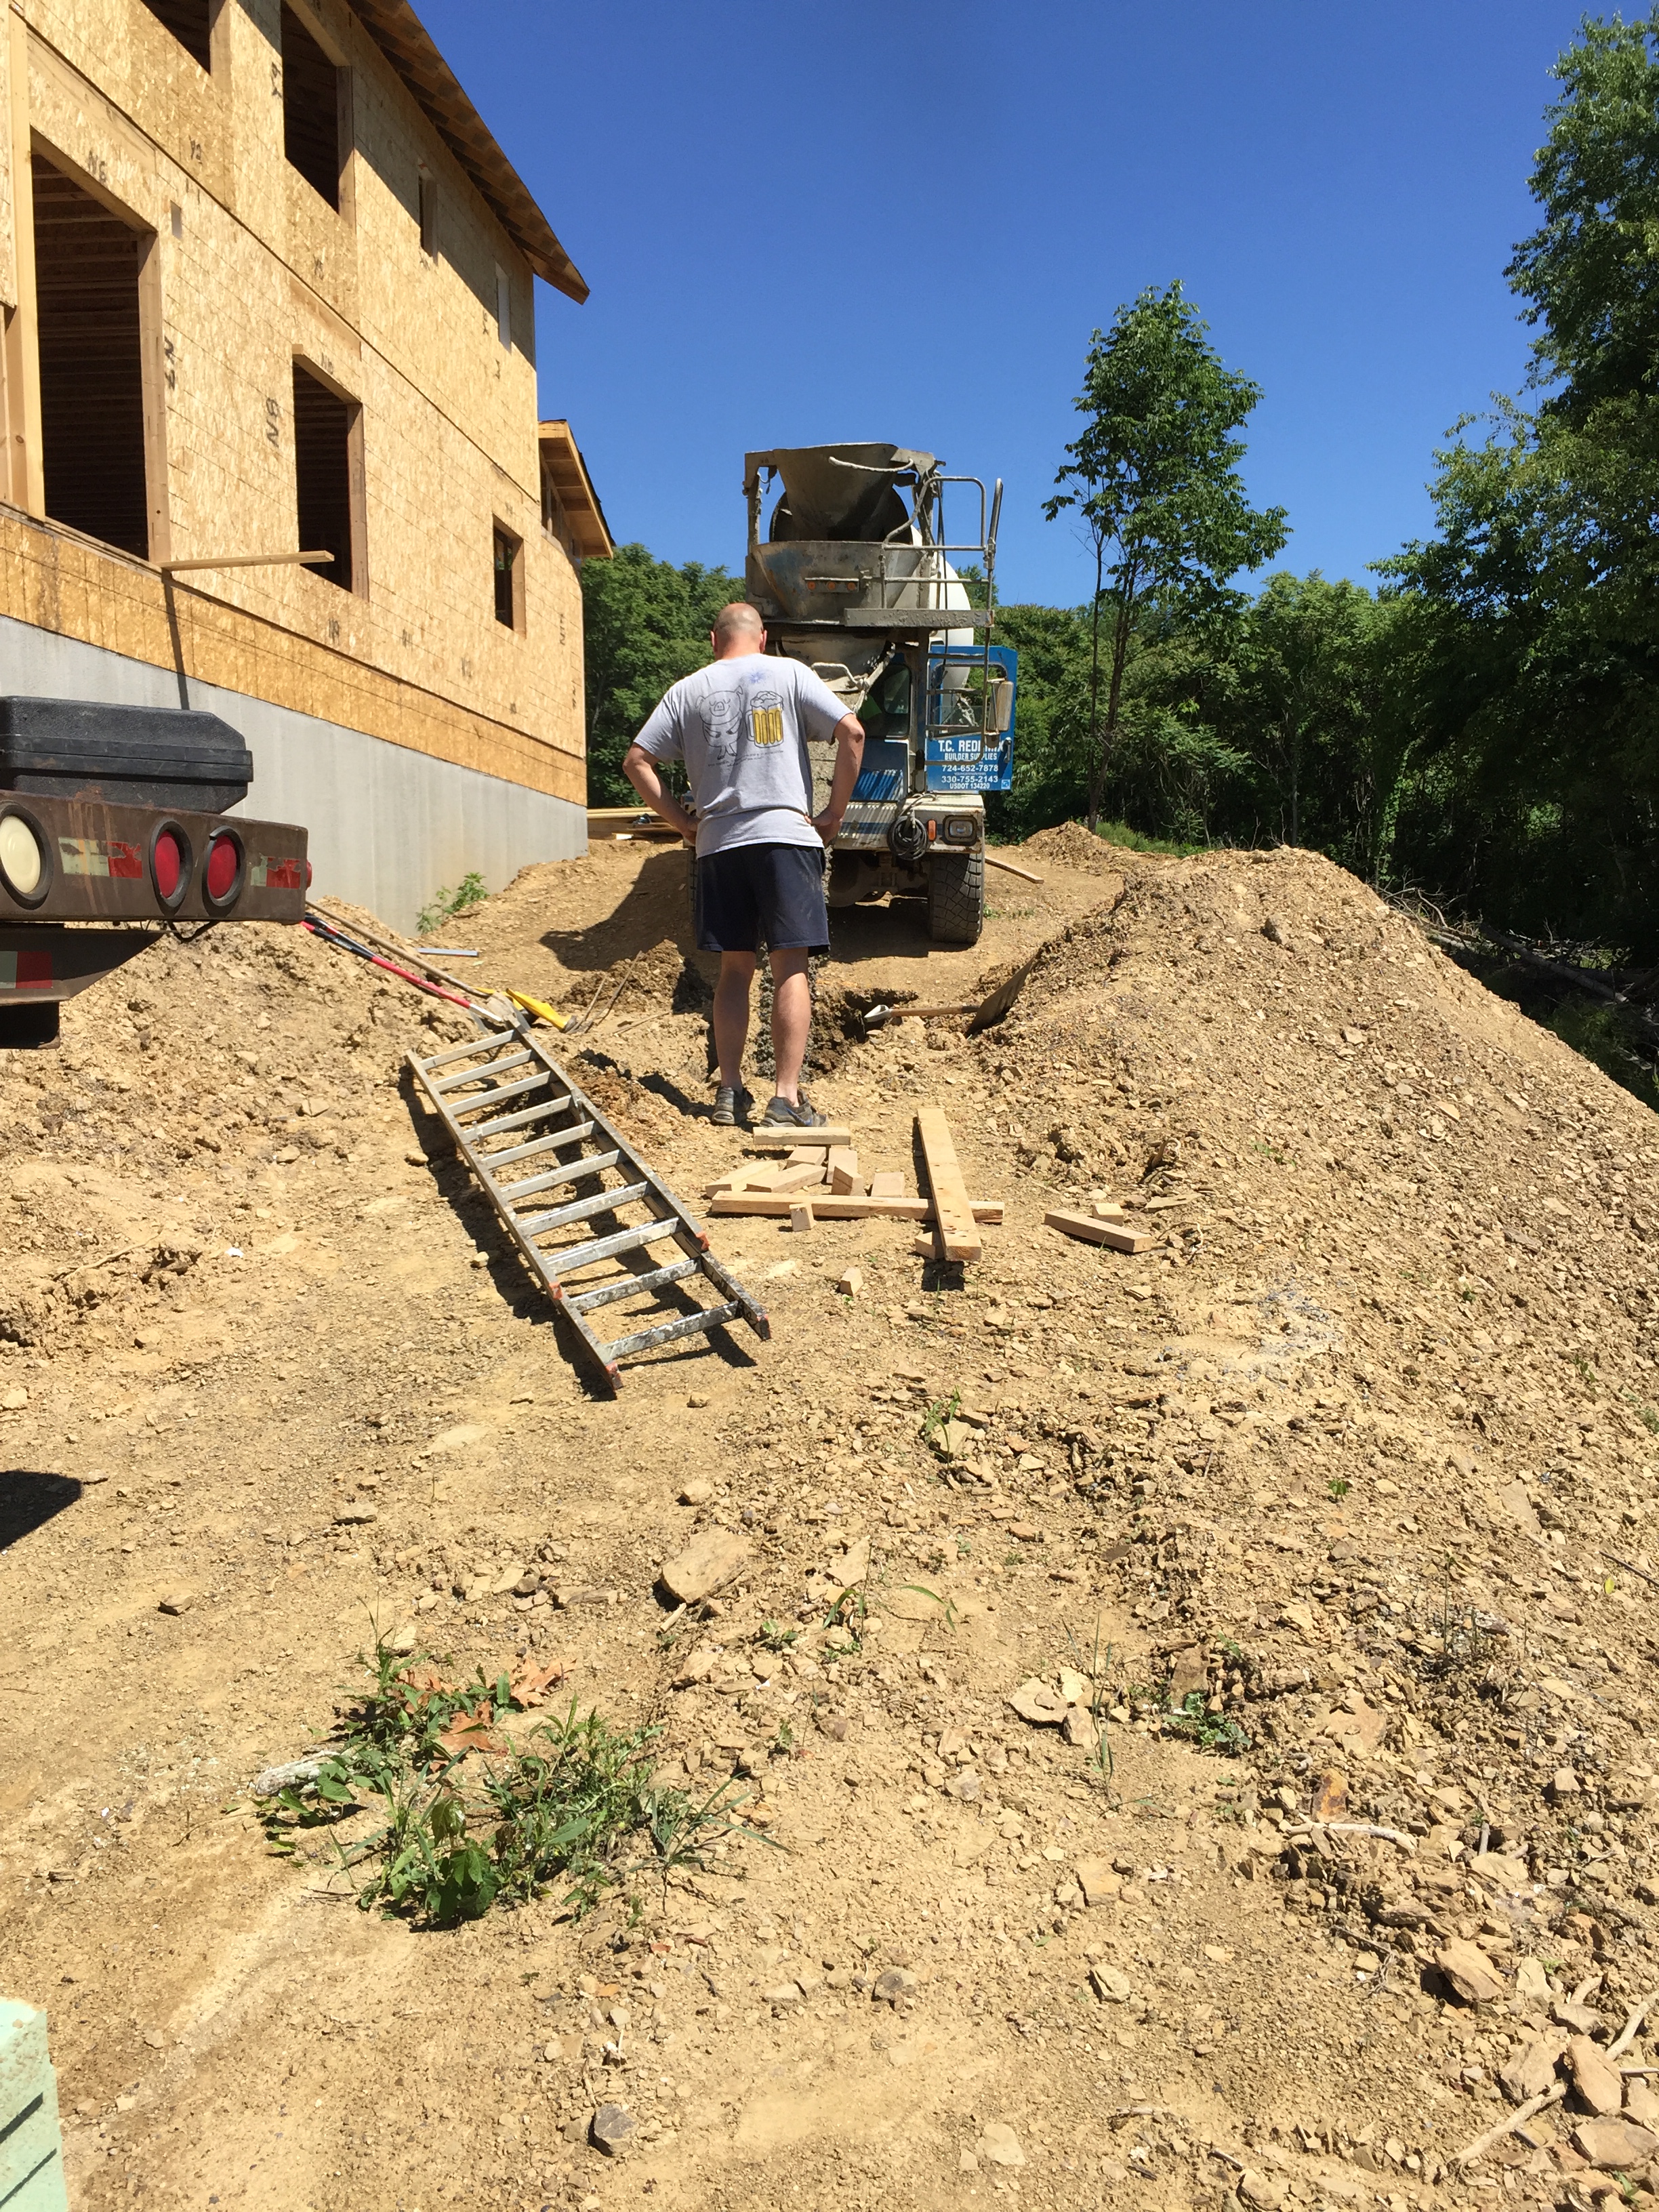
The Driveway

We finished up the garage this Spring and it is so nice to have somewhere to store a lot of our stuff. We still have a lot in the basement, but hopefully we’ll start on finishing that this winter.

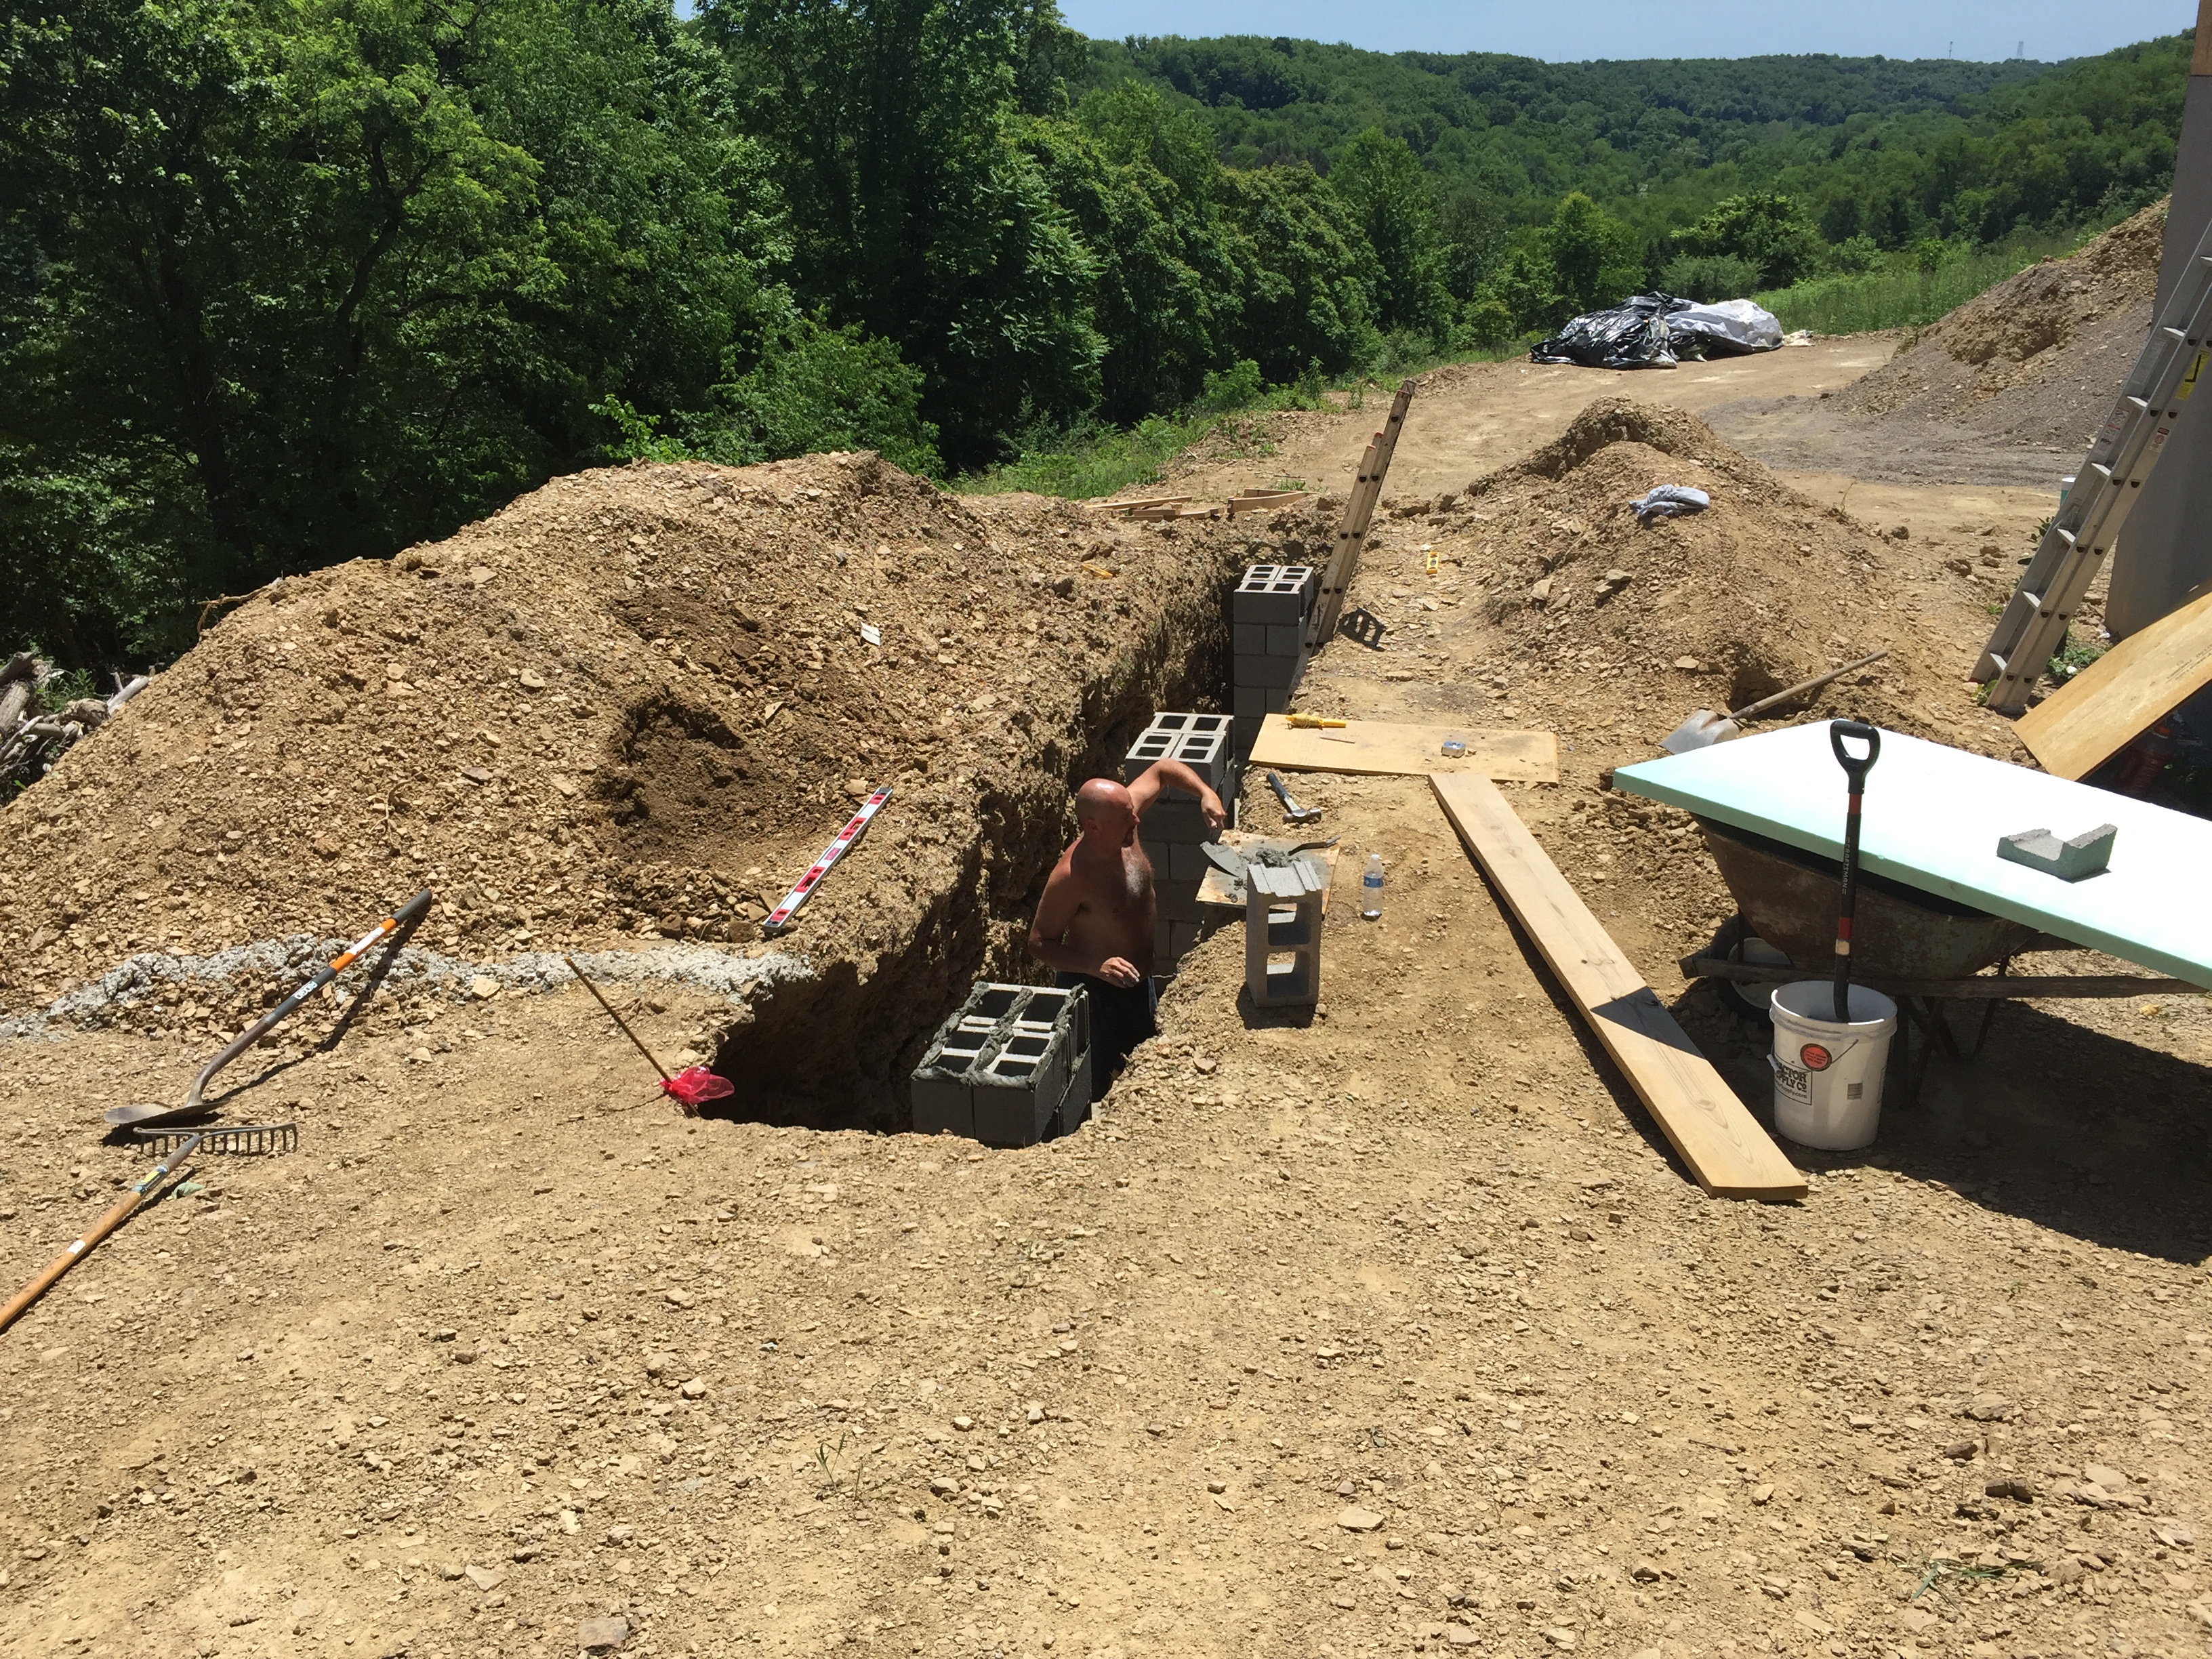
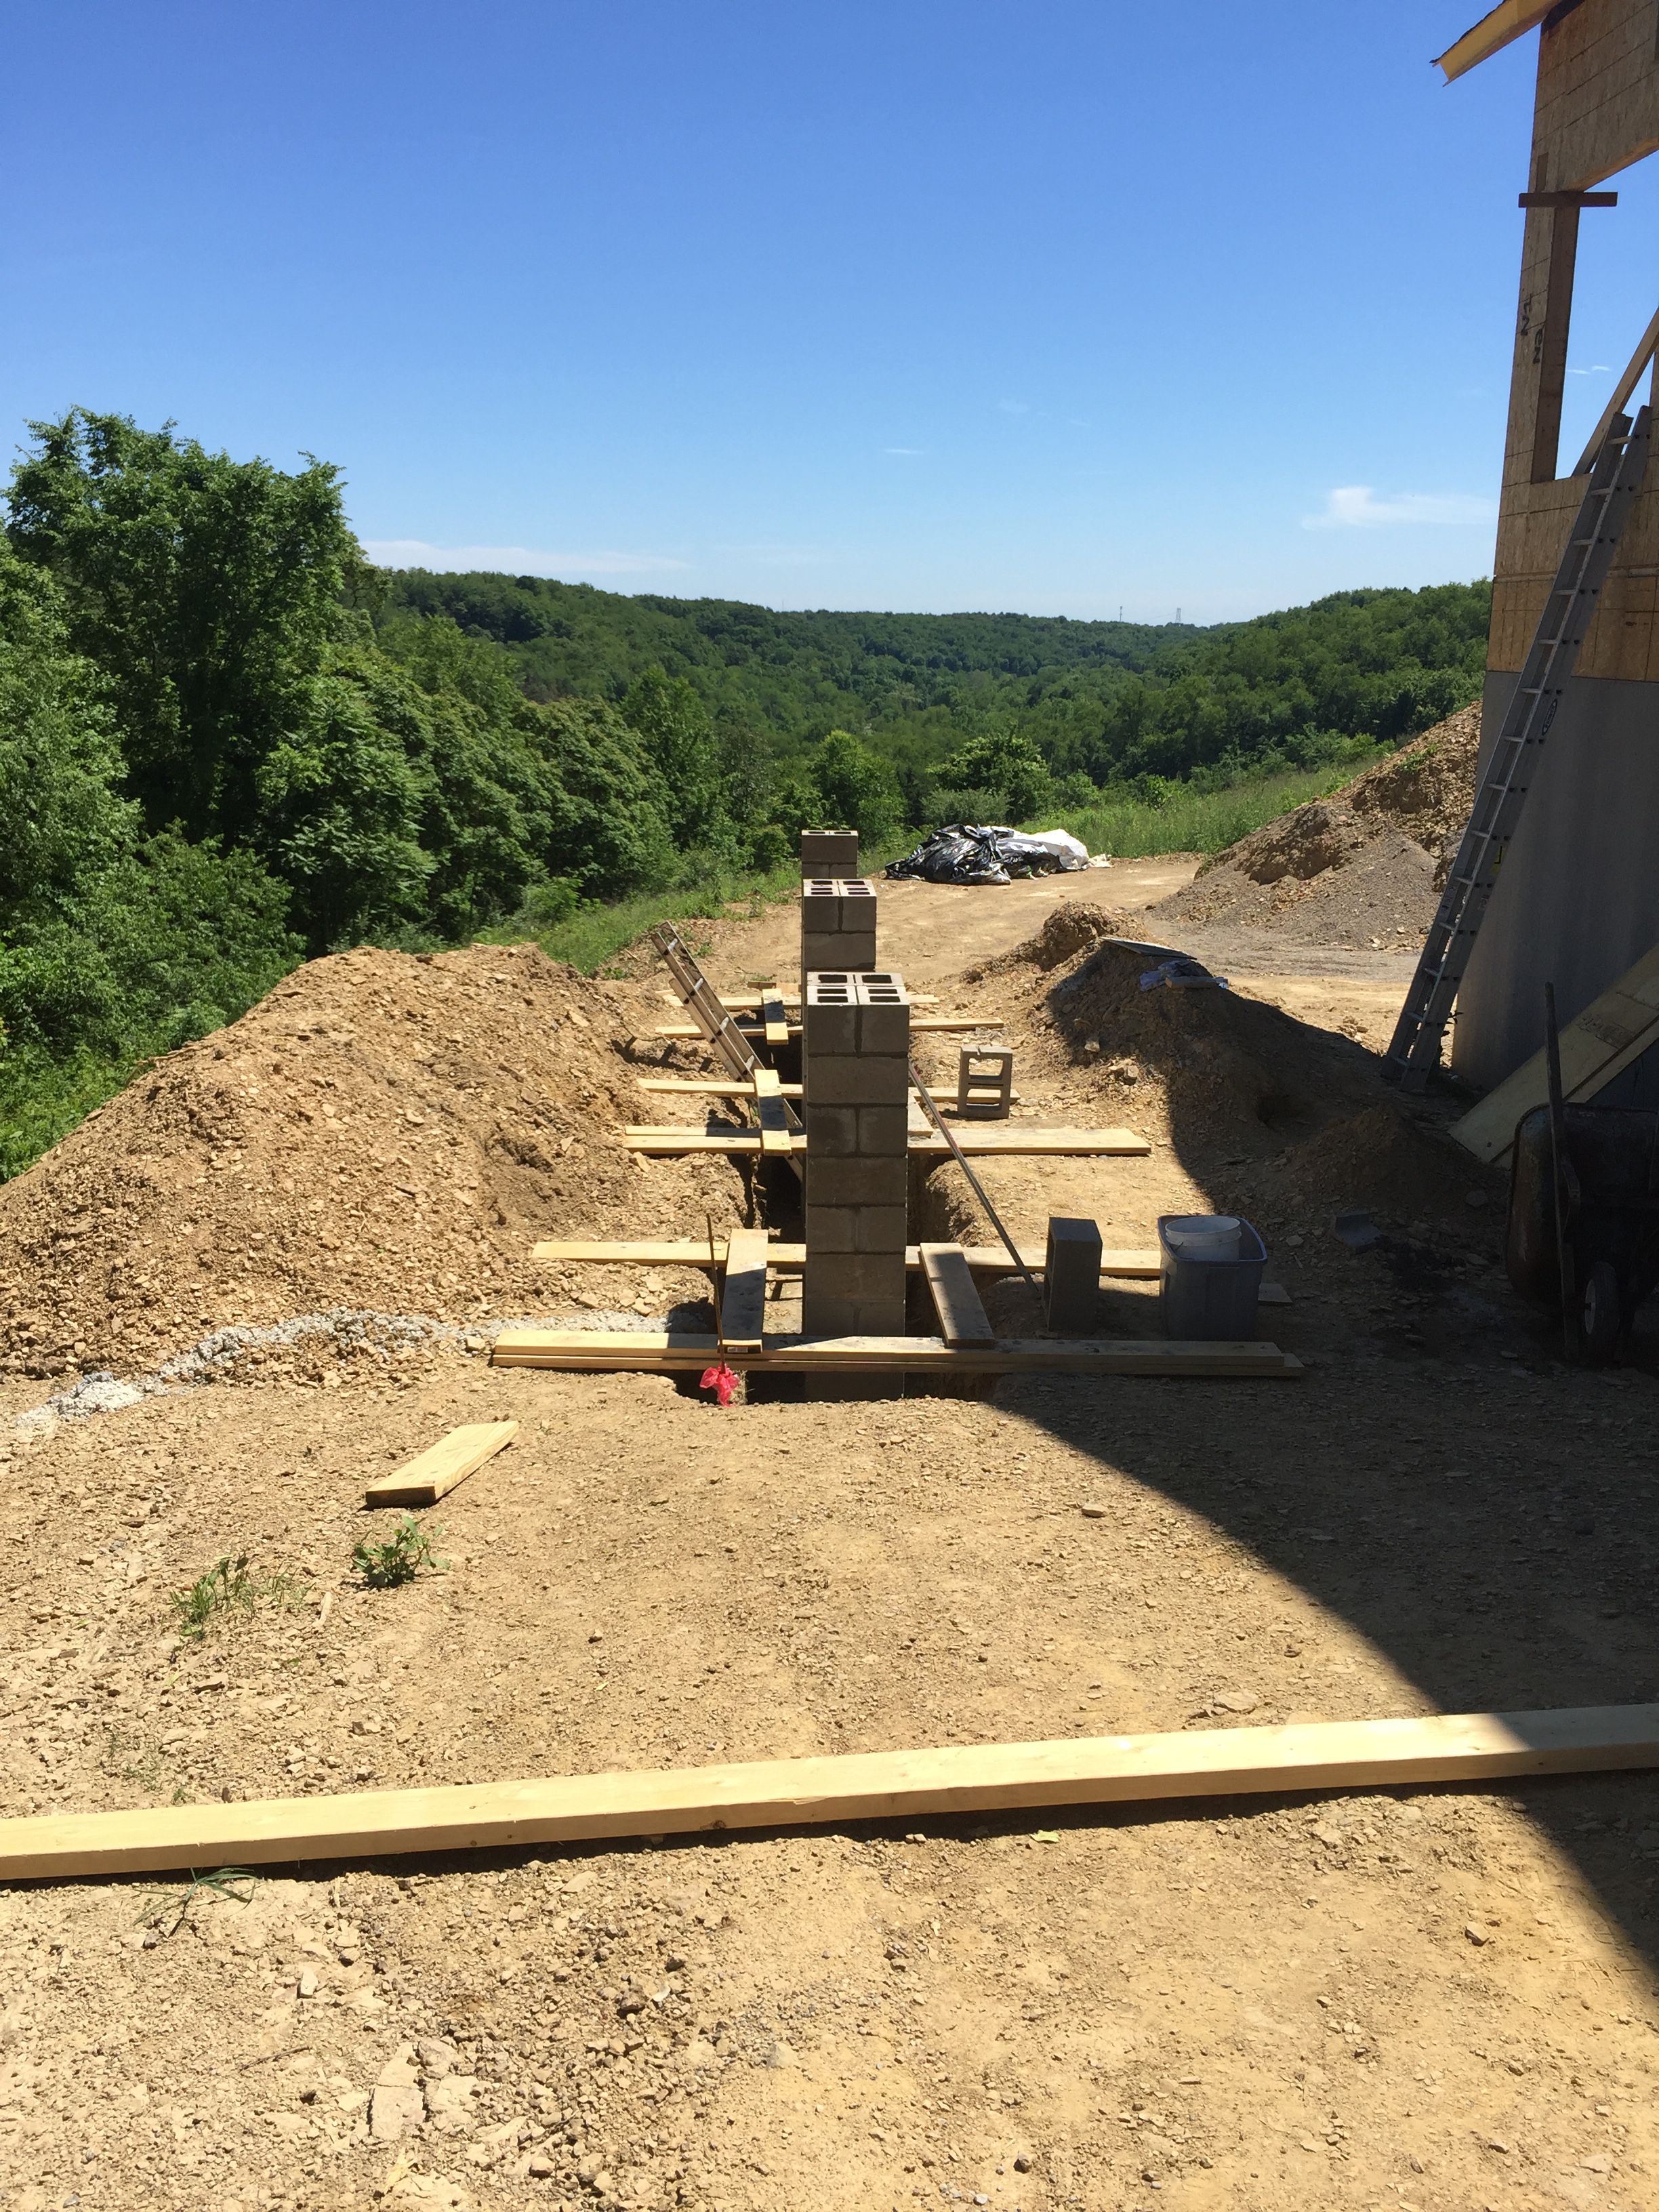
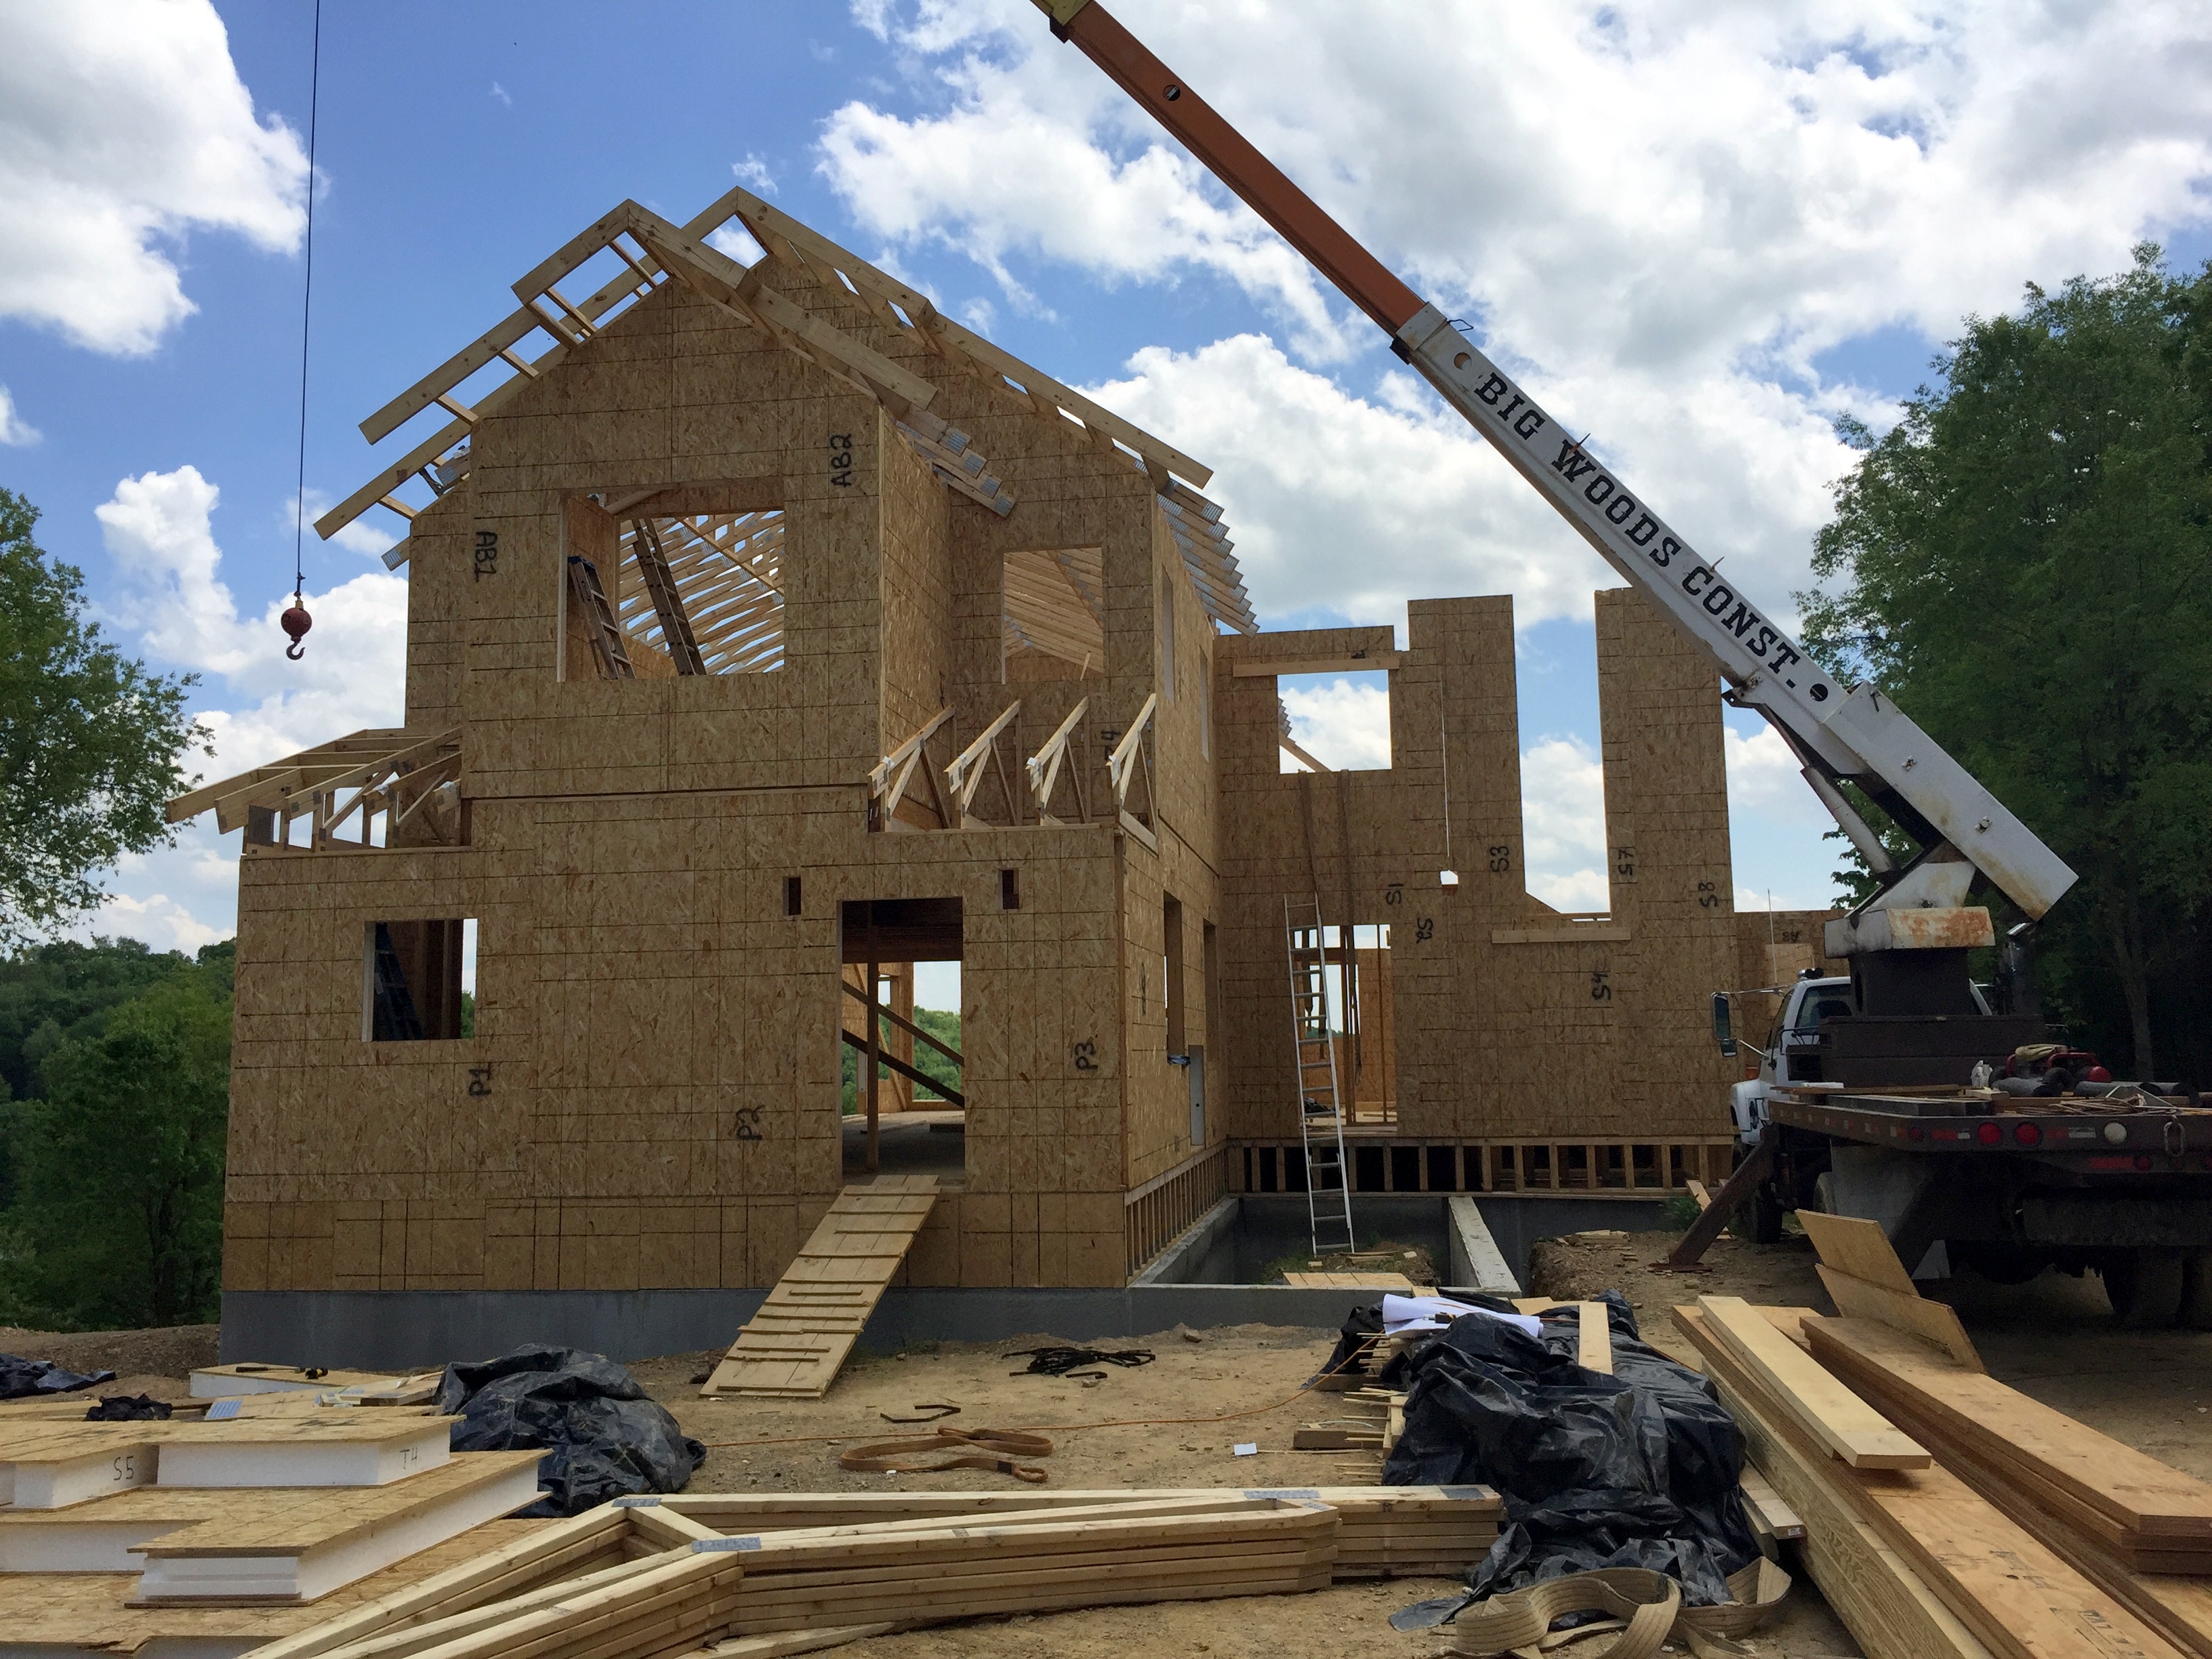
Sine we used pre-poured walls for our basement, the elevation of the house sits higher than normal. This is why the garage and house sit higher and we had to do additional grading work. The plan has always been to add in a partial paver driveway and eventually a pool with a paver patio in the backyard. The driveway part is going on now. We selected Unilock Westport pavers for our project. We have used Unlilock before at our home in Chicago and had great luck with them. We are installing these ourselves, which is not easy. It takes a lot of site preparation to get ready to lay the block. And since they are for driveways, they are heavier than usual!

We’ll continue work on this over the next few days (and probably weeks) after the sand dries out. The finished pad size should be 35′ x 35′. If you are local to our area, we have worked with and bought all our stone from The Barn, located in Pittsburgh. They have the best prices and are more than willing to help you find exactly what you need. http://thebarnlandscapesupply.com/

Tanks for checking in with us! Let me know if you have any questions! I will try to update more often.

Progress Update – 09/22/2017

I know that it has been 4 months since I have done an update, but we have been so busy this summer working on the house and various activities the kids have, that this is the first time I have had a chance to sit down and do this. I hope that I still have someone out there that is interested.

Let’s start with:

Mudroom/Pantry/Kitchen

IMG_3150

We used the same tile throughout the kitchen/pantry/mudroom. It is a black/grey slate called Montauk Black Slate from Home Depot. 

In the Pantry and Mudroom, we did a running bond layout. In the Kitchen we wanted something a little more interesting, so we did a herringbone pattern. It took a lot of figuring and tile cutting, but I think it was worth it!

IMG_3148

Here’s a closeup so you can see how we installed it. It took a lot of patience and tile cutting (we cut 12 x 24 tiles in half for the herringbone).  There is a two tile width border around the whole kitchen and the pattern is inside that border.

img_3300.jpg

And here is what it looks like now! The grout is more of a grey color (Silverado).

2017-09-06_15-54-19_807

Here’s an updated photo of the Pantry/Laundry room. The cabinets are all installed and just waiting for the countertops to be installed.

Next steps in the kitchen are to finish up the grouting — I have a little more to do along the other wall, finish sealing the gray cabinets (I ended up changing the color to Luxe Gray because the original had a pink cast to it), and install hardware and countertops.

Great Room

The biggest changes in the Great Room have been the installation of the veneer logs and the fireplace skeleton.

IMG_3202

Before photo of what the wall looked like when we started. Just regular OSB clad wall with openings for the air returns.

IMG_3208

Half way through the project on this wall. We would sand the veneer before picking which logs to use, and then dry-fit them on the wall with screws to make sure it was spaced correctly. When that was complete, we took them back down and permanently attached them with screws and Liquid Nail. Now I need to stain and seal them before adding the chinking in between the logs.

2017-09-06_15-55-07_401

View from the Foyer into the Dining and Great Room. You can see all the log veneer installed and the fireplace frame to the left. The window frames have also been stained and sealed and the trim molding all cut and fit.

After I finish with the logs, cedar trim will be installed around all the windows. The fireplace will be a gas insert and clad in stone veneer.

Foyer/Tower

We put the platform back in the tower so we could work on the ceiling and install the light and barn board. All of the ceiling is now sealed with Heritage Natural Finish. It is all natural and smells so good!

IMG_3290

I purchased this light quite a while ago from Magnolia before they became huge. It was from a warehouse sale that they had and I got a great price on it. I was hoping that it would work here and I was so happy to see that it does!

IMG_3307

We purchased a lot of barn wood from Good Wood Nashville. This is just a tiny section that we installed over the stairs in the tower to the right of the light. The entire Tower will have barn board on the walls. We also got reclaimed wood for the stairs, but those need to be adjusted before we can start on that.

Bathrooms

Almost all the tile work has been completed in the bathrooms! Only need to get them all sealed and grouted. For some reason I only took photos of the Master Bath! You’ll have to wait for the boys’ completed photos.

IMG_3210

The tile here is almost complete, but I still have to get the custom mosaic band done.

IMG_3211

Shot of the shower floor. Still have to make the final cuts around the drain and then grout.

IMG_3212

I love this light in the bathroom! I got it for a steal from Wayfair (no longer available there). I would have loved to have it over the bathtub, by by code it cannot be installed there, so I opted to have it offset.

Still left to do in here: concrete top for the bathtub, grouting tile, and installing fixtures.

Outside

We’ve been getting the outside ready for the siding — finally! Mark and Carrick have been working on the chimney skeletons so that the roofing can be finished around them and then install the exhausts.

IMG_3308

The front porch decking went on last weekend. It is Trex Enhance Decking in Saddle. We installed it with the Camo System so that there are no visible screws. Having the decking on makes the porch look so much bigger (ignore all the dirt on the deck… it’s so dry here because we’ve had no rain for a while)!

IMG_3309

Next up is the siding and the stone veneer, along with the metal roofing that will go on the porch roof.

Even though there is still a lot to do, we hope to move in before Thanksgiving! Thank so for following along with us!

Progress 12/7/2016

As you can see, we’ve made some progress since the last time I posted. To us it seems things drag along, never going as fast as we’d like. We had hoped to be done by now, but that is not even close to happening! Shooting for early Spring now.

img_2253
All the exterior doors are installed and the chimneys have been framed in.

img_2255
Rear view with all the doors and windows installed. All those shavings are from the beams that had to be planed because of mold.

img_2349
All the siding waiting patiently to be installed.

img_2248
These are some of the colors/textures that will be on the outside/inside of the house. Includes cement siding from James Hardie (both here are painted BM Caliente {will be on the tower exterior} and Parrot Green {outside trim color}), the bark siding will be on the front top bump out & garage, and the weathered barn board will be on the walls in the tower, along with the pine beams.

img_2380
We got our 1000 gallon propane tank installed.

img_2411
Insulation work in progress, almost totally complete now.

img_2422
Starting to drywall the Master Bedroom – only partial because we are waiting to get an inspection.

img_2426
First layer of the shower pans are in. Next comes the rubber membrane and then another layer of cement/sand mix to have the correct slope to the drain.

img_2430
Current view into the Great Room.


img_2431
Foyer progress. Powder room in the room right next to the stairs.

img_2449
Electric panels. Lots going on here!

img_2450
Gas lines installed!

img_2444
We have heat! The first of two furnaces is installed and running on propane until we get the heat pumps installed and the vents in the roof.

img_2453
Decorative corbels stained for the exterior of the house.

img_2456
Window in the tower stained with a custom mix to look weathered and will hopefully match the barn board that will be installed on the walls. We built a platform about half-way up so that the beams, insulation and ceiling could be installed. Made it much easier, except for the part of getting up the stairs!

img_2463
View into Carrick’s room from the loft area. On the right will be where the 2nd furnace goes. He’s excited that he won’t have to be cold in the winter anymore or cook in the Summer.

img_2464
Insulation and the beams all installed in Cole’s bedroom ceiling.

Next on our agenda is

  • to finish up the shower pans
  • get the roof vents in (today)
  • get electric and plumbing inspected (hopefully this week)
  • work on drywall
  • get septic installed (next week)
  • get water run to the house (next week)
  • start tiling bathrooms and floors
  • about a million other things!

Thanks for checking in to see our progress. I’ll try to update more often as there will be more of the “finishes” going in.


Progress – 10/26/2016

OK, so it’s been two months since I updated! Things got hectic with back to school and everything that goes along with carting 3 boys around to all their events.

Steady progress has been made since the last time I checked in. The roof is on most of the house (with the exception of where the chimneys will go), all the doors are installed, the electric and plumbing are almost complete, large beams were installed in the Master Bedroom, and a whole bunch of other smaller jobs were completed. We are looking forward to our first inspection soon!

Here is the visual tour:

IMG_2104.JPG
View of the house with the roof completed. (09/13/16)

IMG_2197.JPG
The fireplace going in. Since all of our fireplaces are propane, they just need to be plywood boxes that we will apply the stone to. (10/4/16)

IMG_2205.JPG
Large pine beams in the Master Bedroom and Bath – completed. (10/4/16)

IMG_2146.JPG
Mark installing the beams. We had to use a pulley system with straps to get the very heavy beams in place. (9/25/16)

IMG_2207.JPG
My bath tub installed in the bath. It is a wonder that it survived in one piece for as long as it has been sitting around the work site! (10/4/16)

IMG_2209.JPG
Electric and heating going in the basement. (10/6/16)

IMG_2228.JPG
Mudroom door installed.(10/16/16)

IMG_2229.JPG
French doors to the screened in porch. These doors are 96″ tall. The open spot to the right of the doors will be a fireplace, and there will also be one on the porch.

IMG_2233.JPG
Front door installed! (10/16/16)

IMG_2216.JPG
Timber roof over the window in the basement. These will be covered with metal roofing. (10/10/16)


IMG_2179.JPG
This is what happened to some of our beams during storage while we were constructing our house. Because they were wet, mildew grew on the beams. I tried about 15 different things to remove it, but nothing worked. Bleach was the only thing that removed it somewhat, but still not enough.

After a lot of research, Mark decided to purchase an electric planer. Even though it was expensive, it did the job much quicker and better than the previous attempts. No more black and hours of sanding/treating. (10/23/16)

IMG_2255.JPG
Shot of the rear of the house. You can see the huge pile of shavings left behind after we planed some of the beams. Also note that the La Cantina door has been installed.

Next up on the schedule is getting the siding and soffit installed, insulation in the ceilings and partial basement walls, beams on the second floor ceiling, finishing up the HVAC so we can work in a warmer area since the weather has turned colder, painting the cabinet doors for the kitchen/pantry, installing the septic, gas and water, and about a thousand other things! I hope that the weather doesn’t turn too cold for a while.

IMG_2149.JPG
And a big shout out to this guy for all the help he gives us. We couldn’t get as much as we do without his help.

Thanks for checking in!

Save

Save

Progress 07/01/2016

IMG_1621
Radiant floor heating in the basement

IMG_1635
Lots of late nights working ’til Midnight

IMG_1629
More basement in floor heating

IMG_1625
Mark’s beautiful piers

IMG_1651
Making sure it’s straight and level

IMG_1671
Windows are in and porch roof is up!

IMG_1678
Wink putting up the trusses on the porch

IMG_1675
Front and side — porch will be constructed next

IMG_1699
View of porch from the driveway

IMG_1706
Roof completed on the porch and shingles ready to go on

IMG_1708
Back-filling has begun

group pig roast
Pig Roast #24 crew

Lots of progress since the last update! The house is totally under roof now and some of the windows have been installed. The past couple of weeks were a blur because we were under deadline to get the in-floor heating installed each night after parts of the concrete floors were poured in the basement. We had three consecutive nights where we worked until after Midnight to complete the job. But we made it, and the basement floor is complete.

Our crew was also scheduled to complete their job for our builder (Hearthstone), but they agreed to stay and help us finish up some of the harder items on our list, like installing the windows and the timberframe roof on the porch. We had some hiccups getting the lift here and work slowed a bit, but we caught up. The porch is built, the roof is on, windows got installed and back-filling has started.

Our crew has to go to Virginia for a job, but then they’ll be back to finish up the windows and redo our tower roof. The original trusses were wrong, so they will be replaced to make the tower as tall as it should be!

We got a much-needed break this past weekend during our 24th annual Pig Roast held in Corry, PA to celebrate our 23rd wedding anniversary. Just look at the wonderful group that was there!

We’ll now put our attention to the shingle installation, final siding choices, porch construction, interior walls, electric installation to the house and a million other things! Thanks for checking in!

Progress 6/14/2016

IMG_1568
Progress on the Great Room

IMG_1573
Great Room Ceiling

IMG_1576
Master Bedroom trusses

IMG_1552
Pouring concrete for the porch footing

IMG_1577
Working on laying block for the porch piers

IMG_1579
Porch piers progress

The past two weeks seem to have been a blur at the job site. More of the roof was completed and the crew is getting to the end of their part of the job. Right now they are working on completing the roof over the Master Bedroom/Bath and the Tower stair area. We have been working on the piers for the screened in porch and getting the basement ready for the rest of the concrete flooring, which will start tomorrow. We are also waiting for our plumbing and footing inspections that will take place tomorrow.

Next up after that is getting the roofing on and the windows installed, along with back-filling the foundation so that we can have a weather-tight shell to get moving on the inside work.

Progress 05/31/2016

IMG_1514
Front view of the house

IMG_1512
Side view of the house

IMG_1519
Inside view of second floor

IMG_1524
Side view at back

IMG_1528
Back view

As you can see, things have really been moving along! In the past week and a half they got the 2nd floor up and many of the roof rafters. This week I think most of the roof will be up and covered. The great room (shown in the photo above) will be more time consuming I think because it is all heavy timber rafters.

Over the Memorial Day weekend Mark, Carrick and I worked on finishing up the skirting around the first floor trusses, removing the forms from the last concrete pour, screeding and removing extra gravel from the basement to get more area ready for the next pour and just generally cleaning up the work site (which the crew keeps pretty clean). We also took time to honor those who gave the ultimate sacrifice for our freedom (Cade & Cole marched in the Freedom and Conway Memorial Day Parades).

IMG_1545
Waiting in Conway to start the parade.

Our next steps are the get the footing poured for the porch supports, estimate the huge amount of stone we need to order, and get the house under roof so windows can be installed. All of my doors came in and it took me a while to finally decide on stain color. I also have all my appliances. The last purchase was the hood and blower for the stove that I bought on eBay. I will be glad to get all of these things installed that we have been storing for over a year!